Felt Piecing Featuring Neat & Tangled Stitching Dies
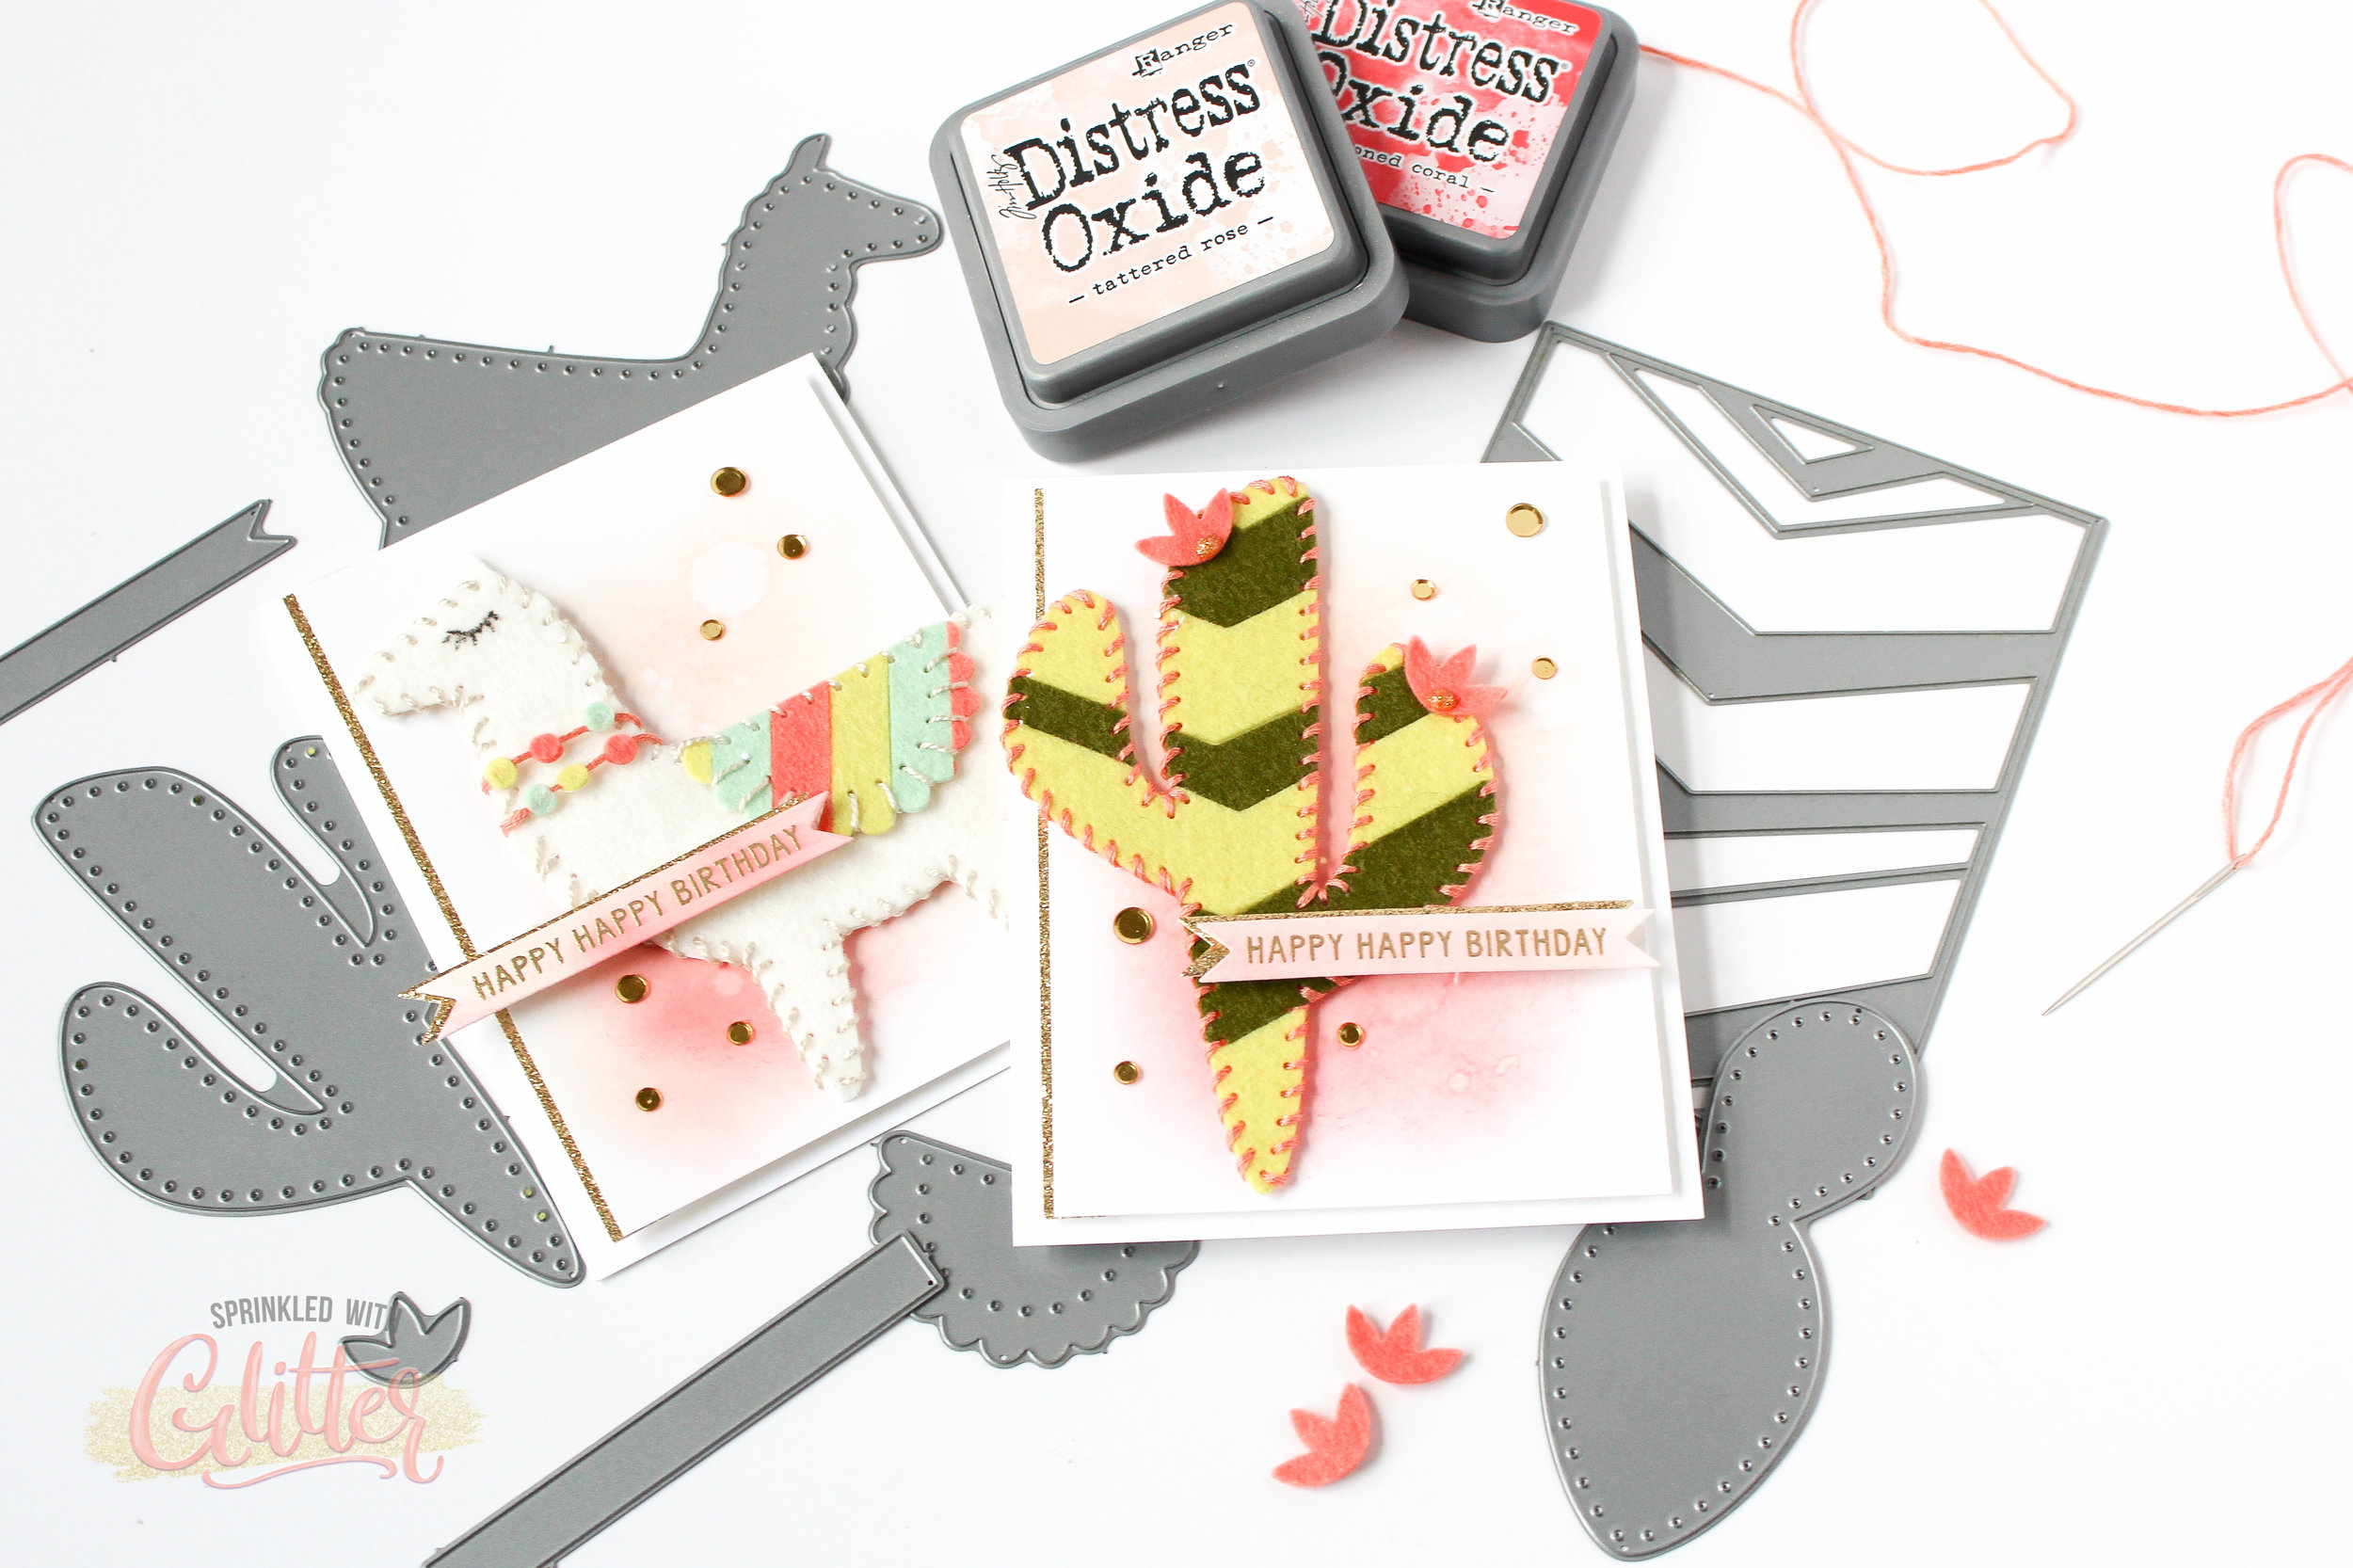
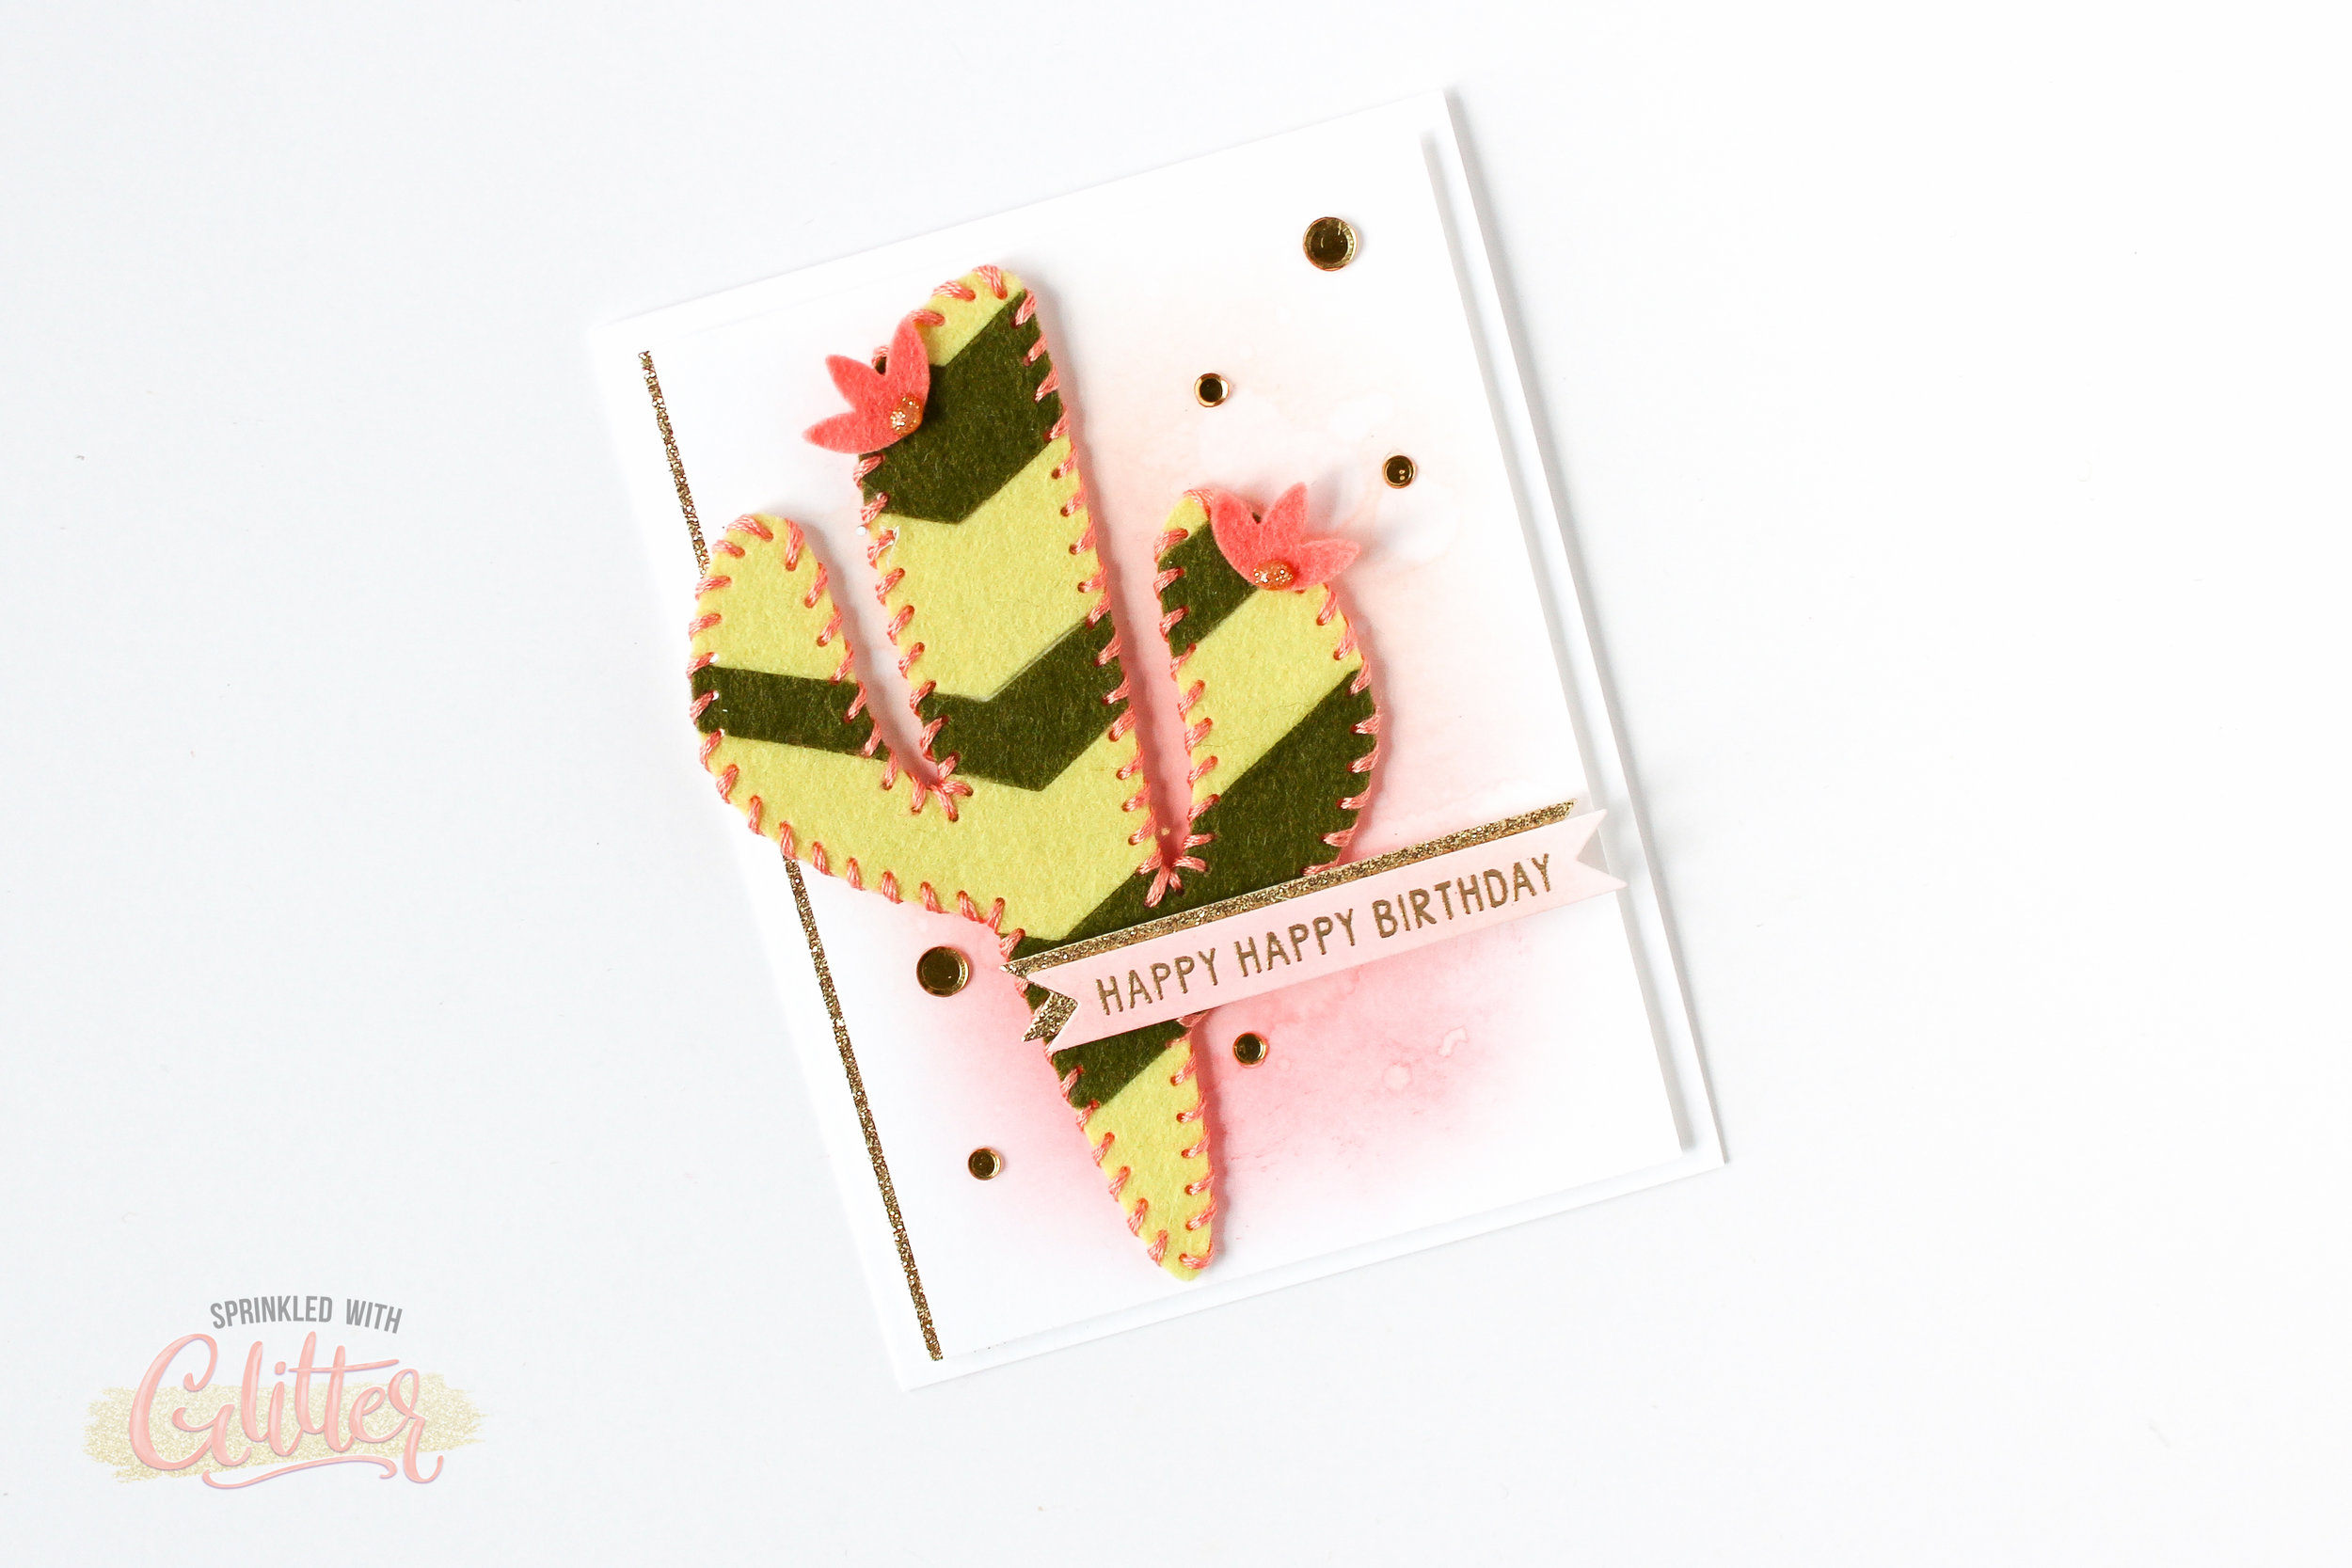
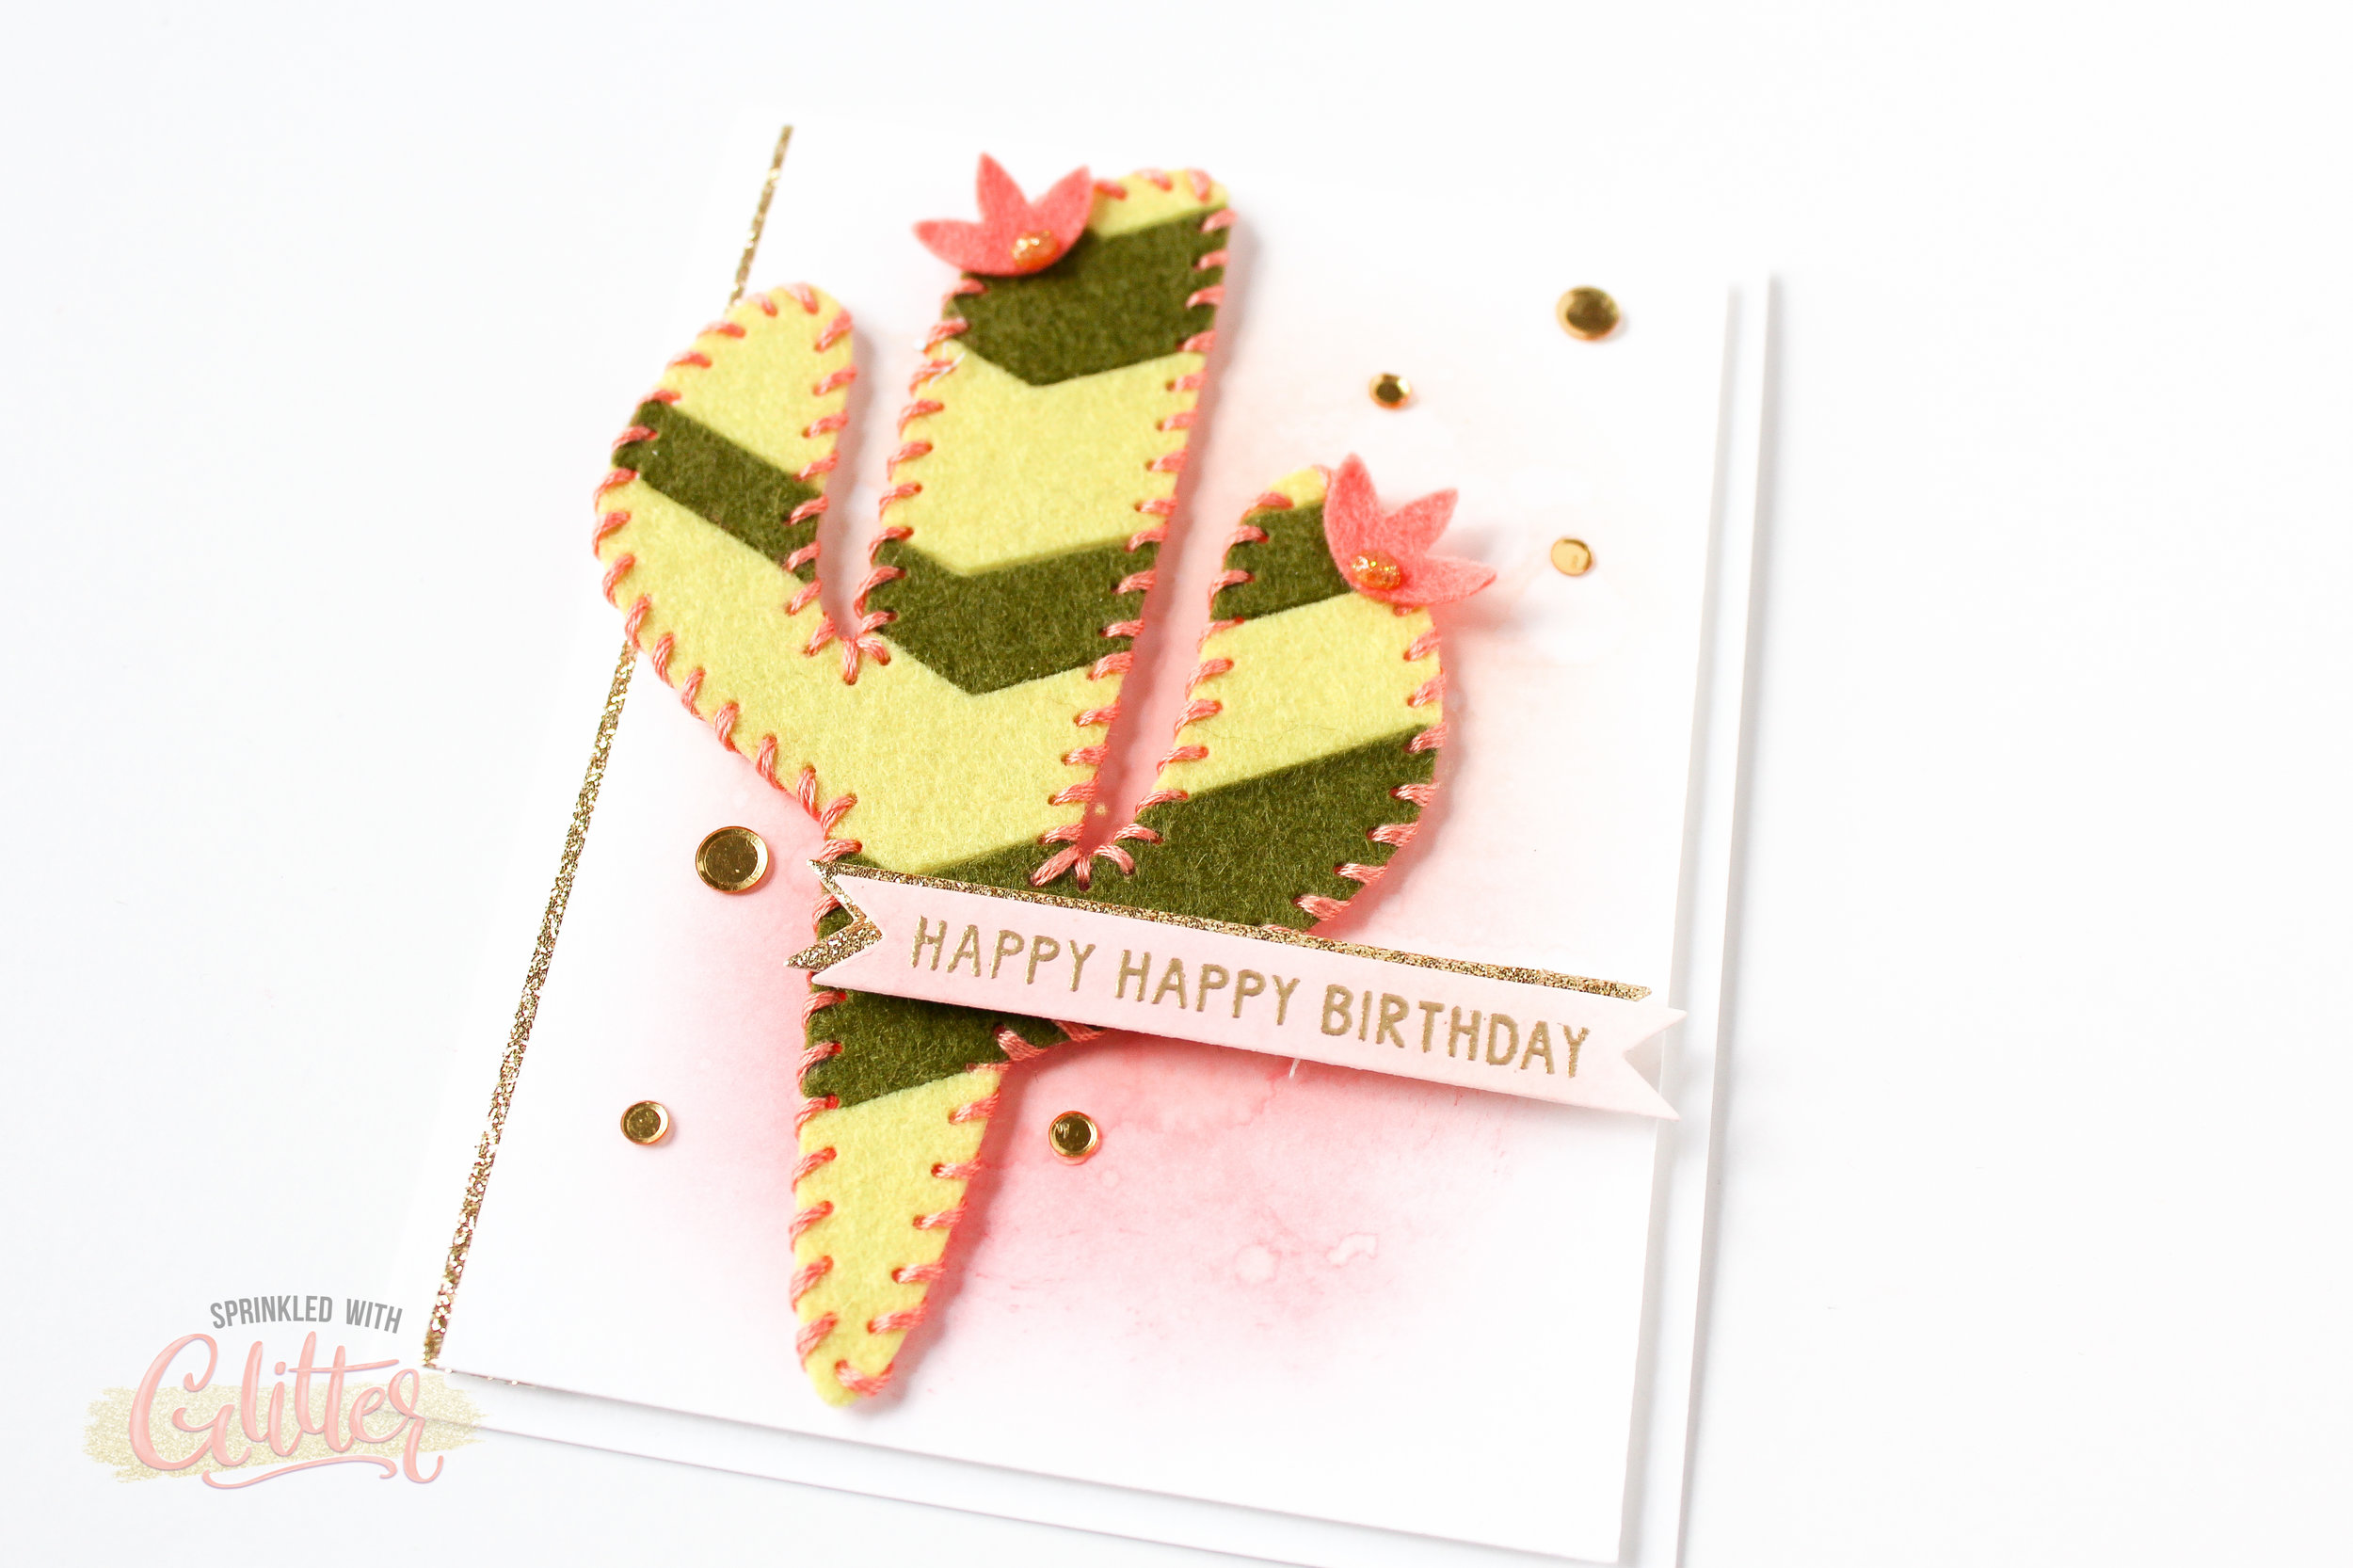
Today I’m going to show you felt piecing, using different colors of felt, to create adorable, felt die cuts. I’m also going to show you a simple stitching technique to use on your card making projects to add a fun hand-stitched accent to the edges of your die cuts.
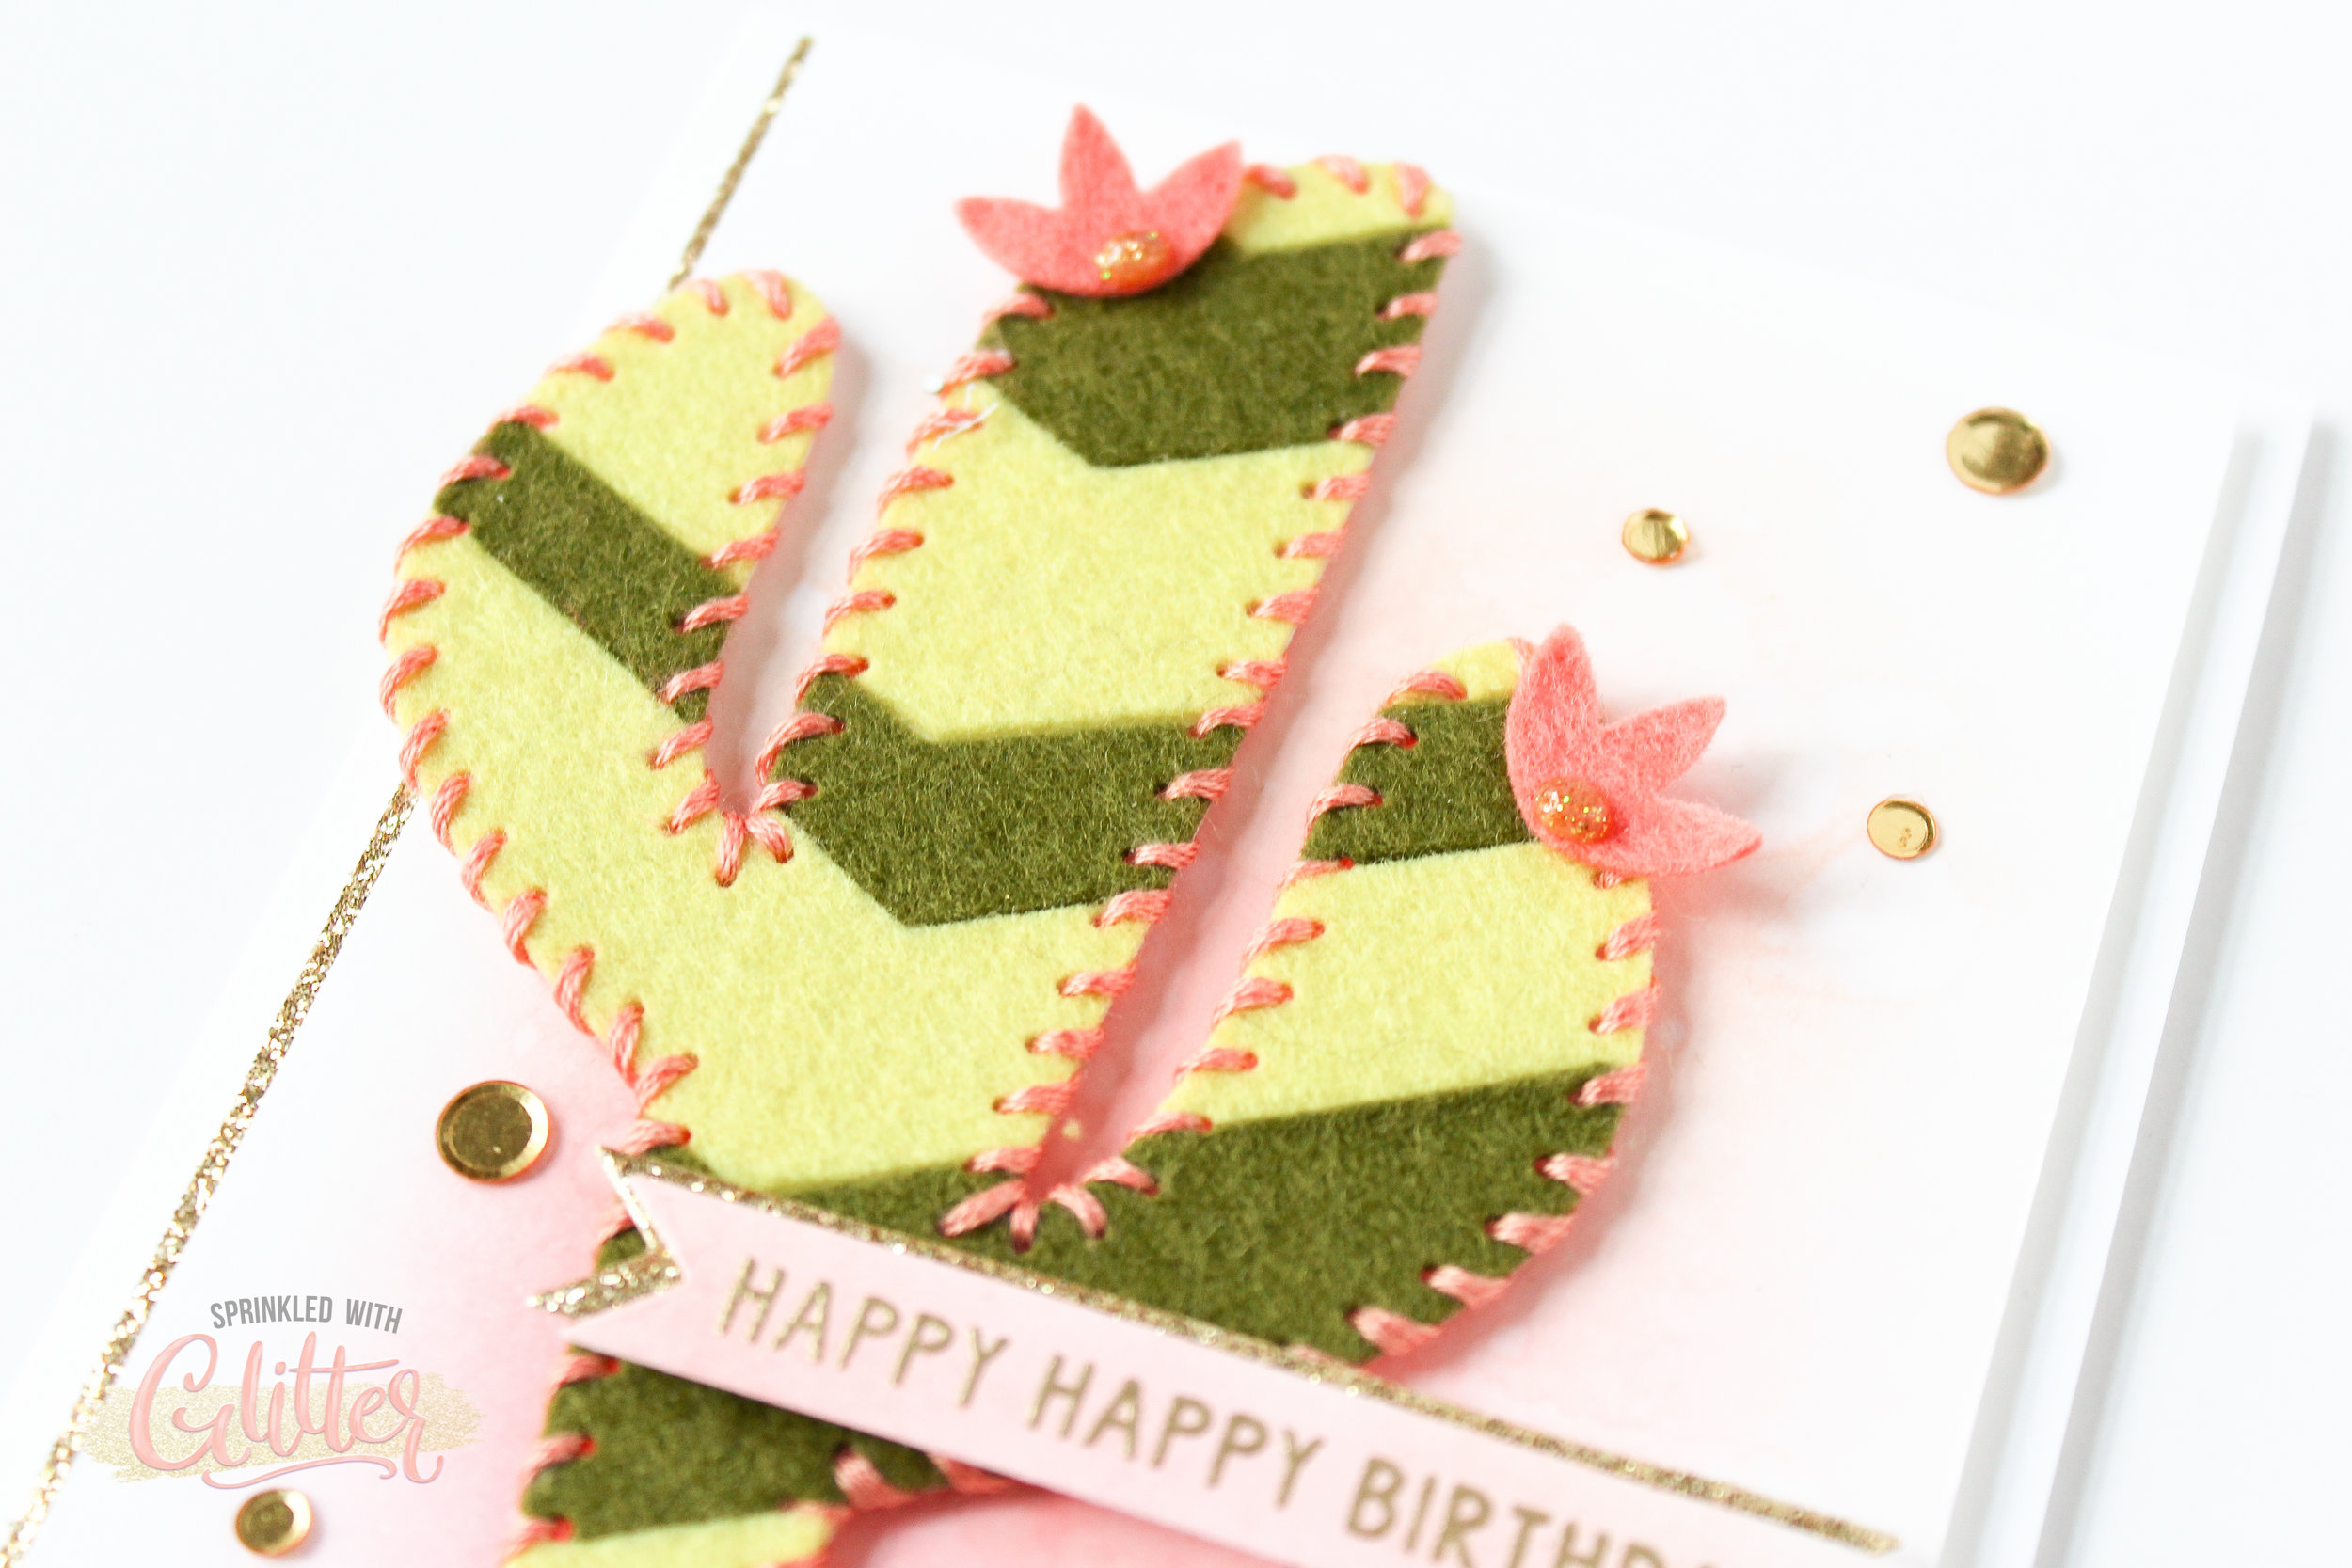
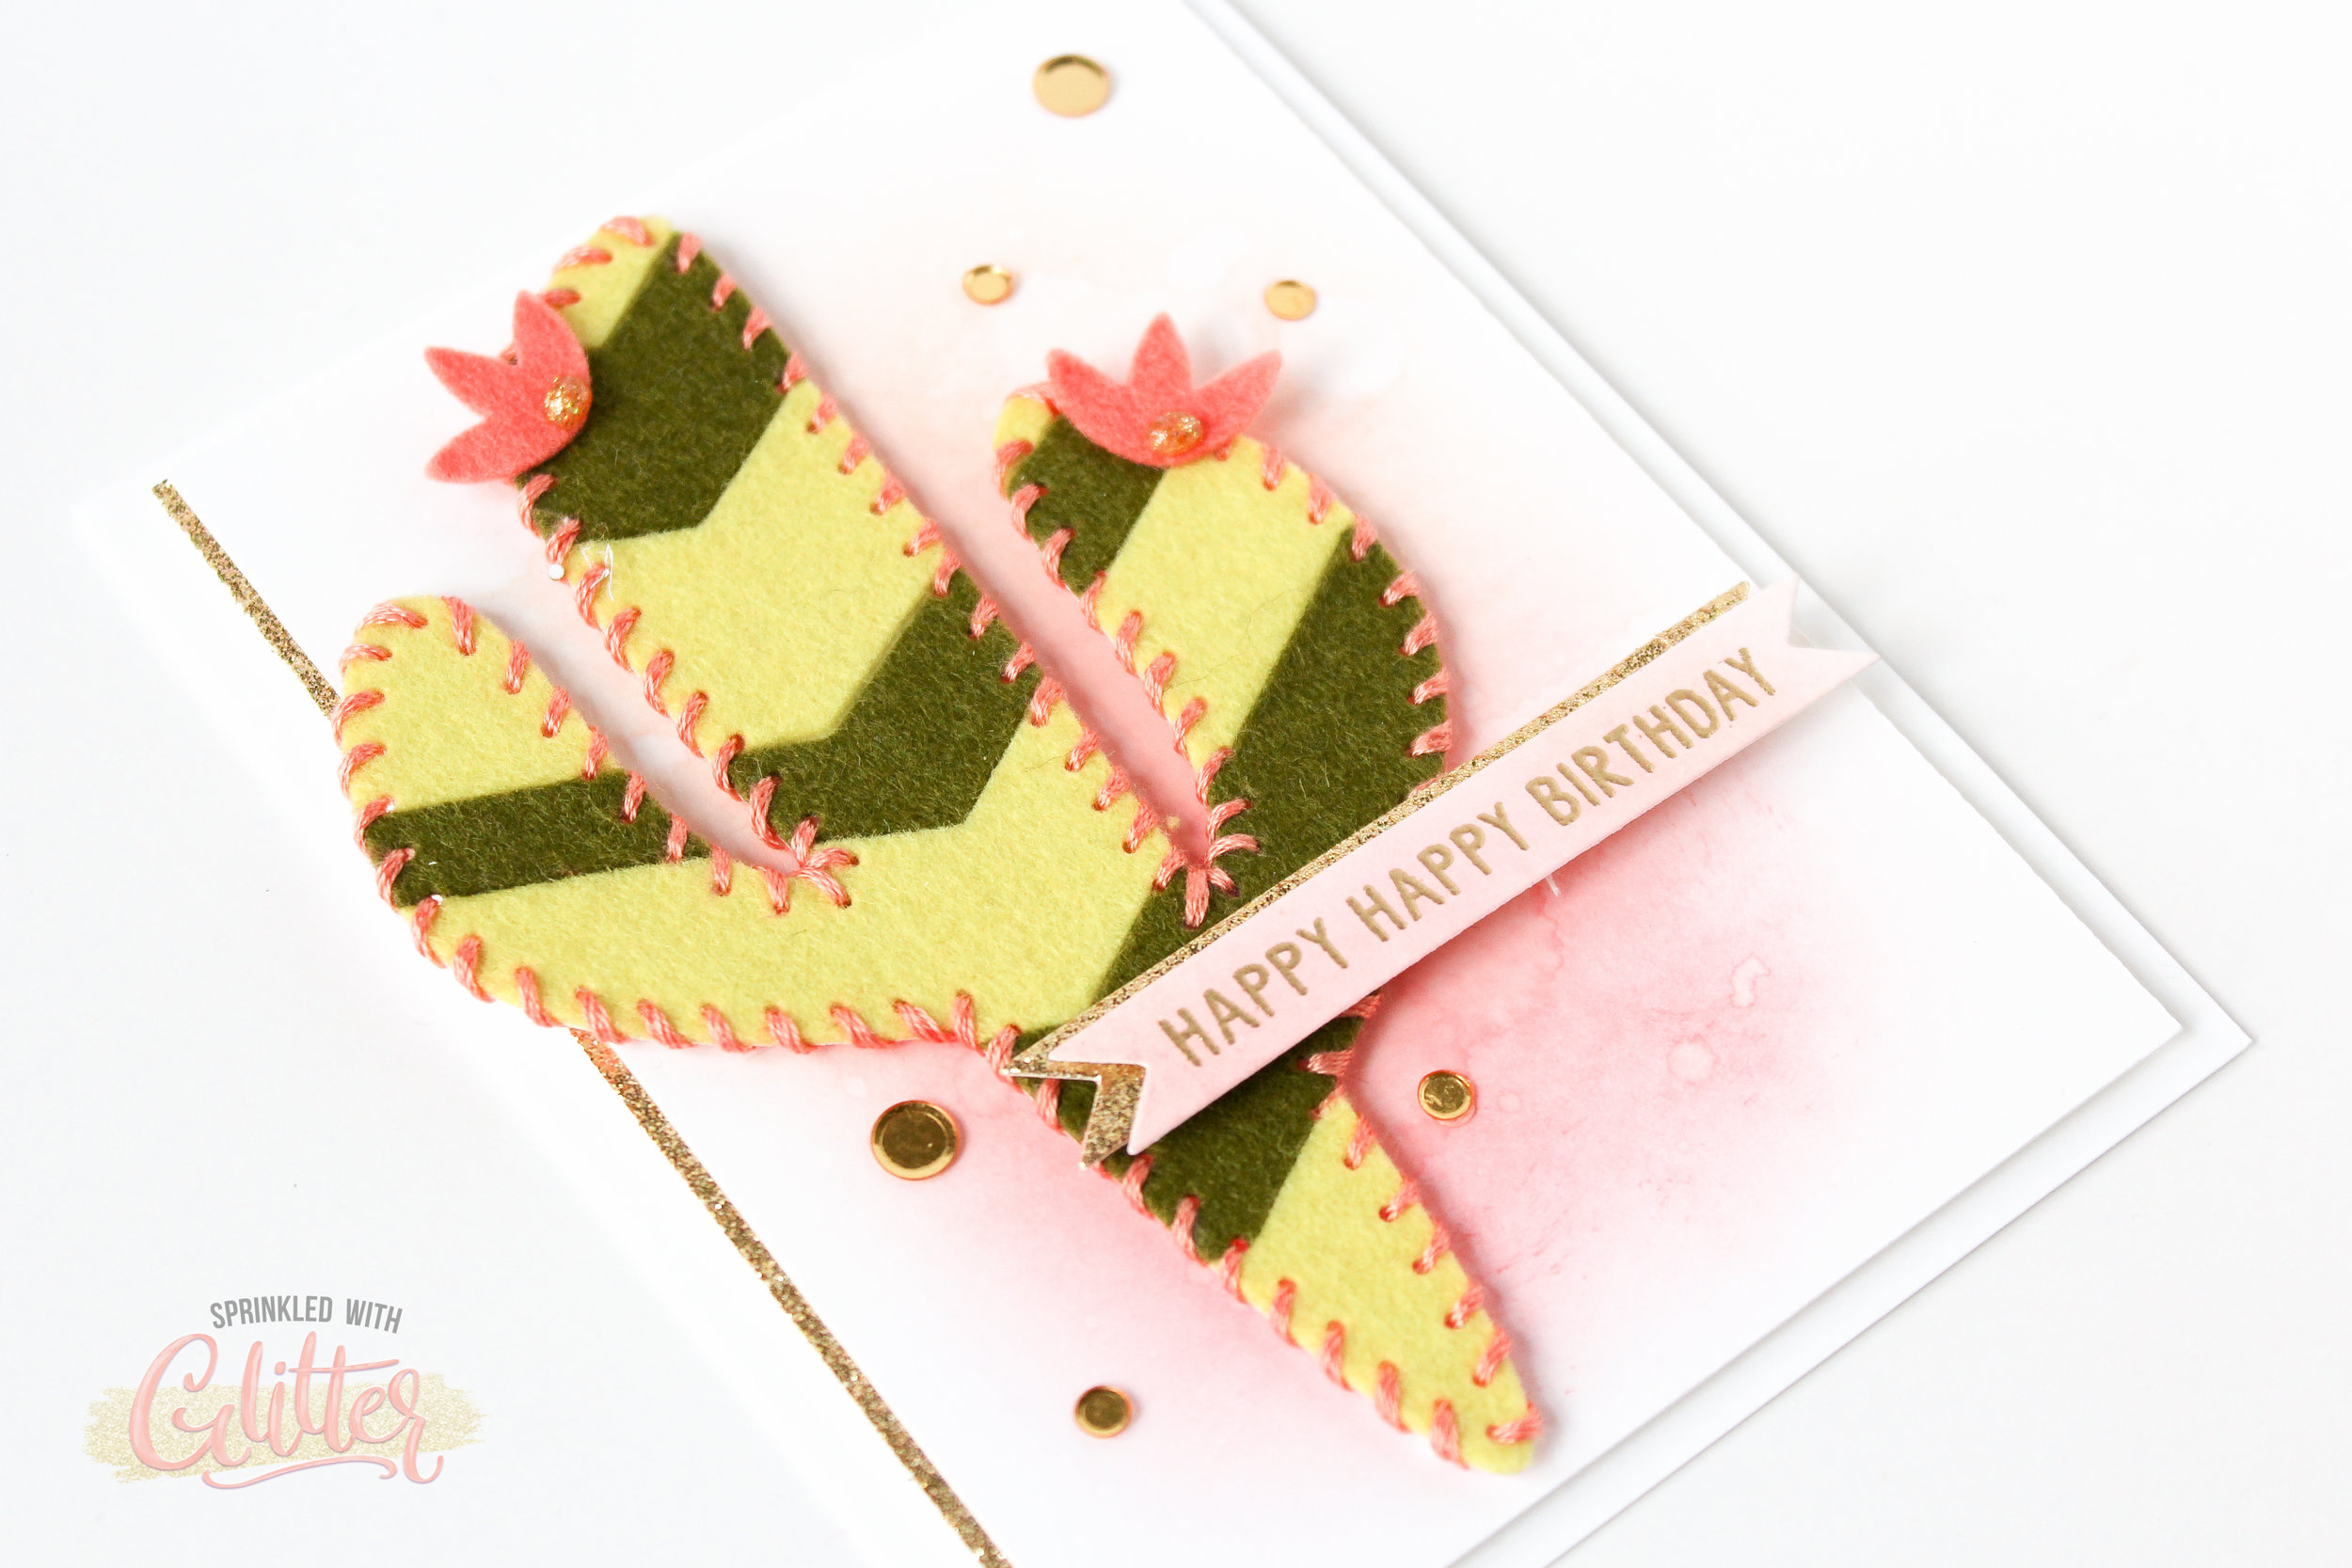
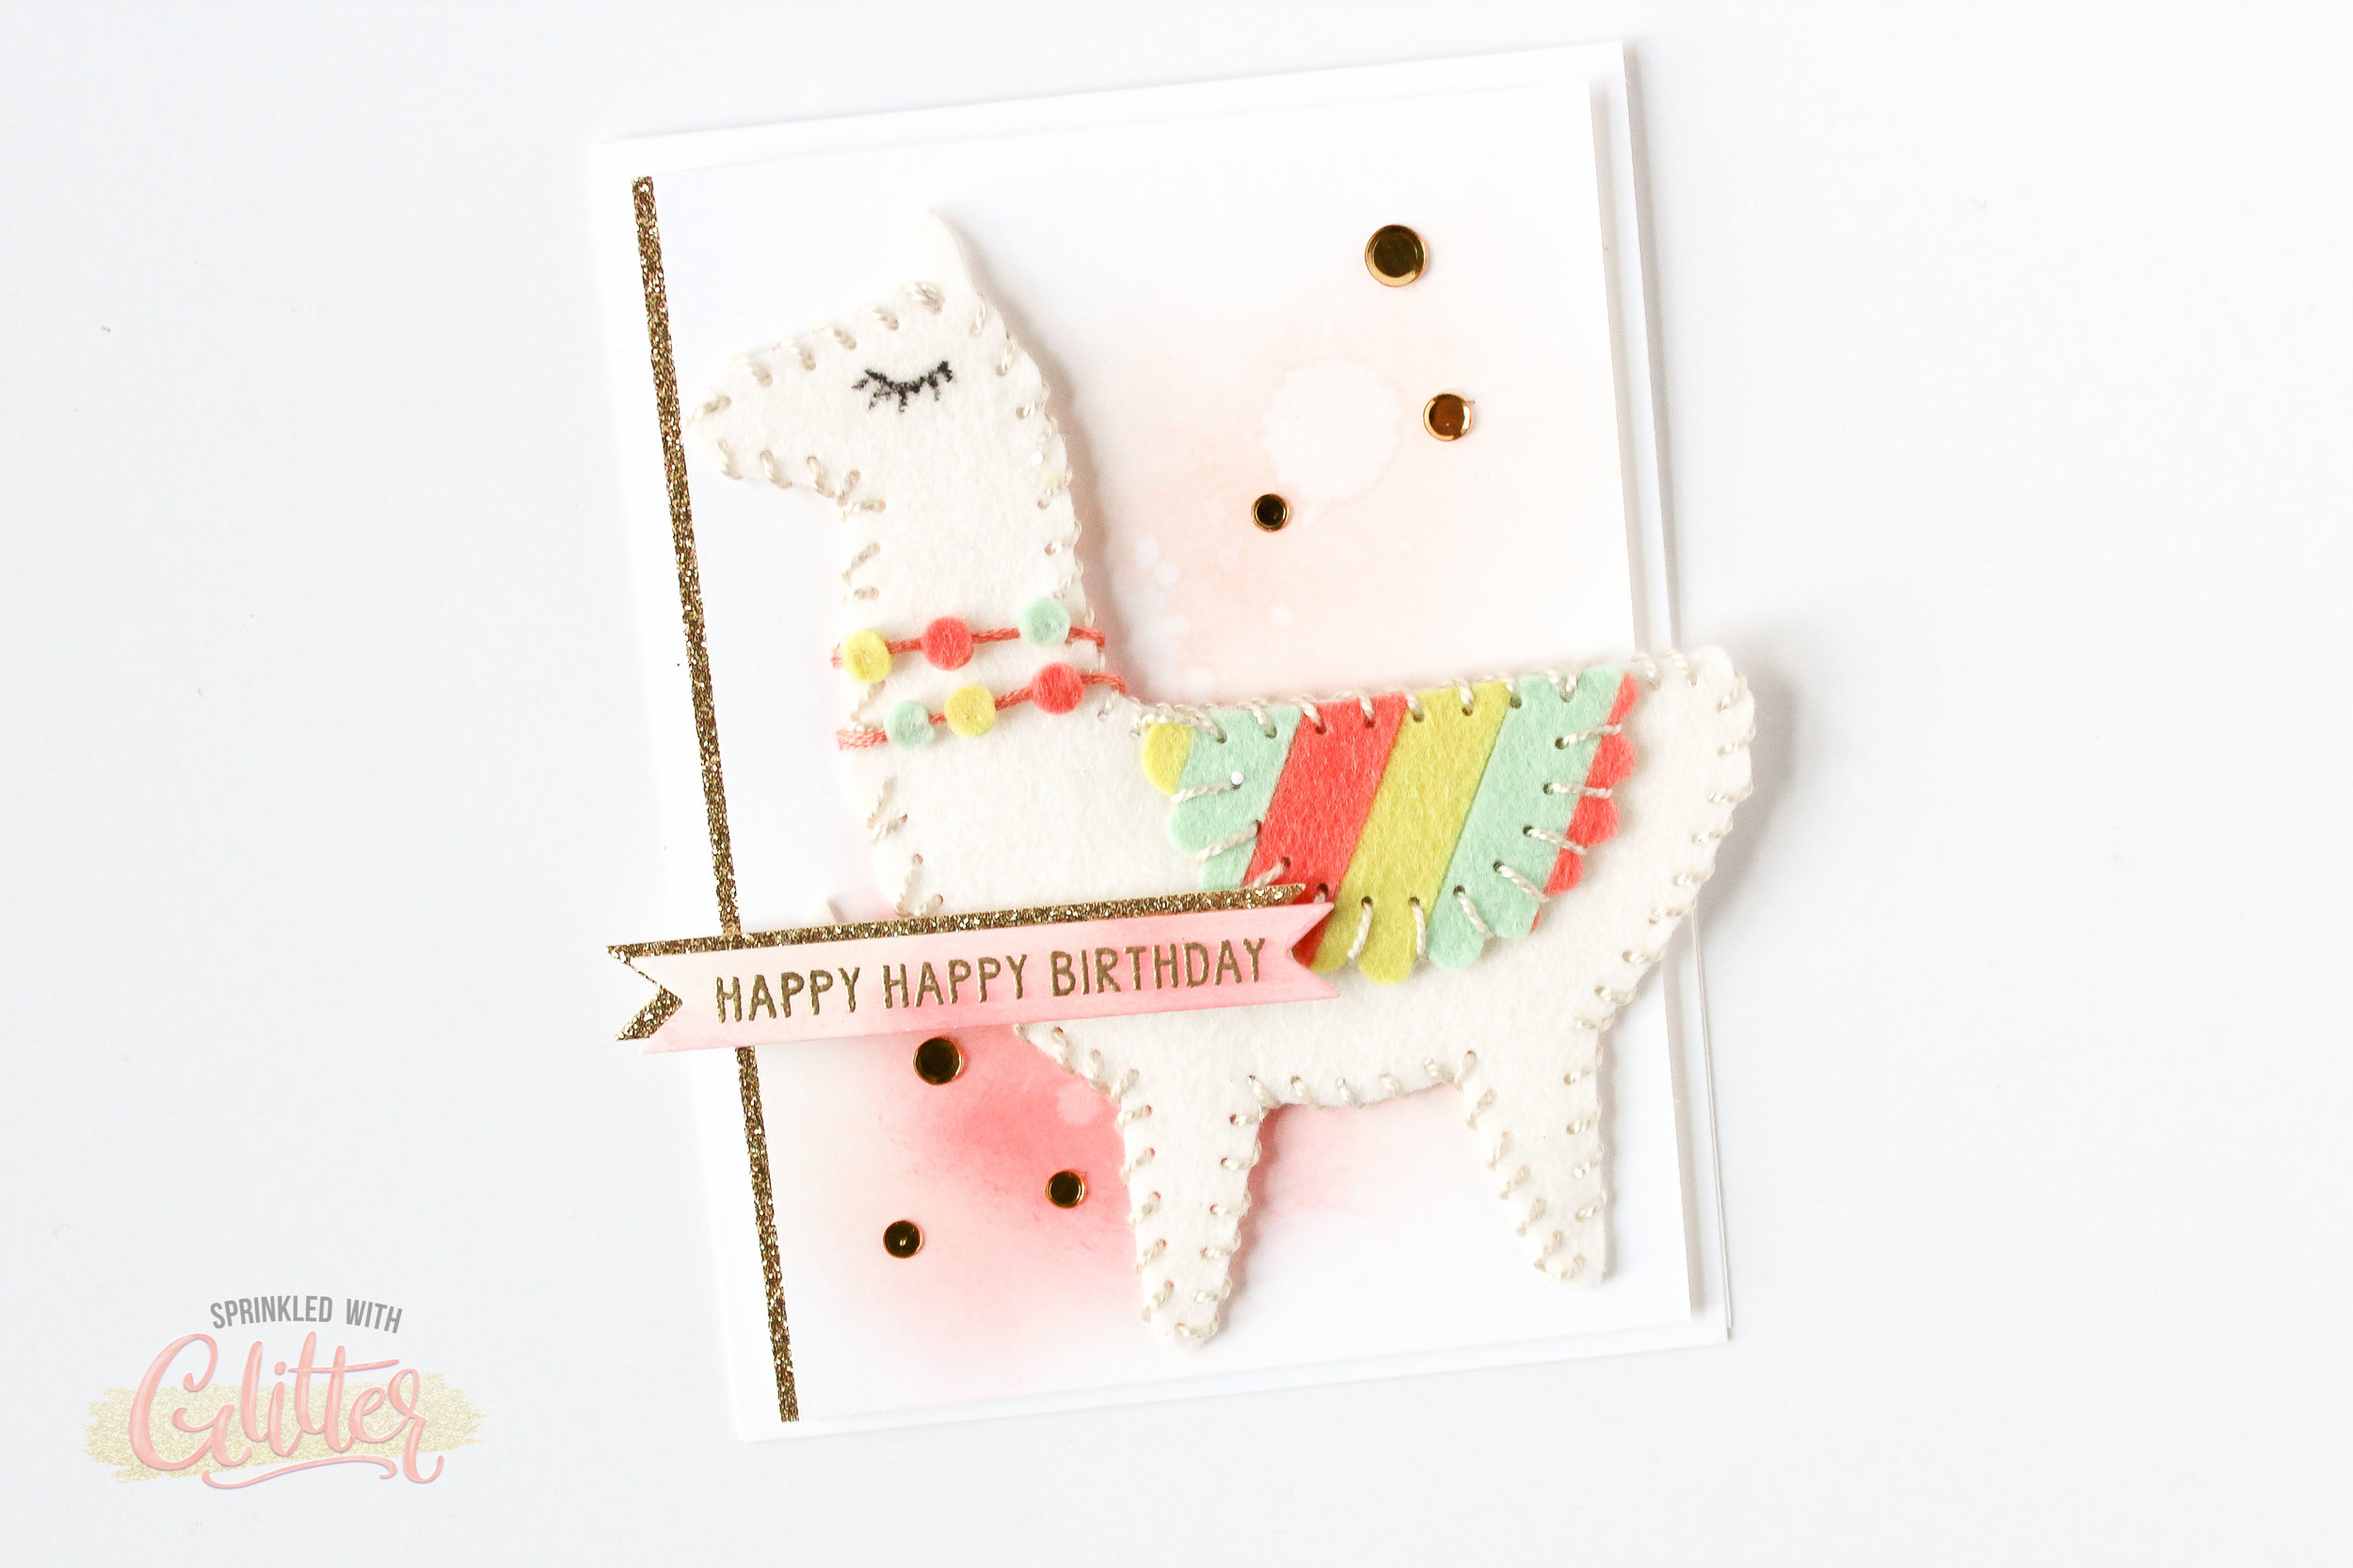
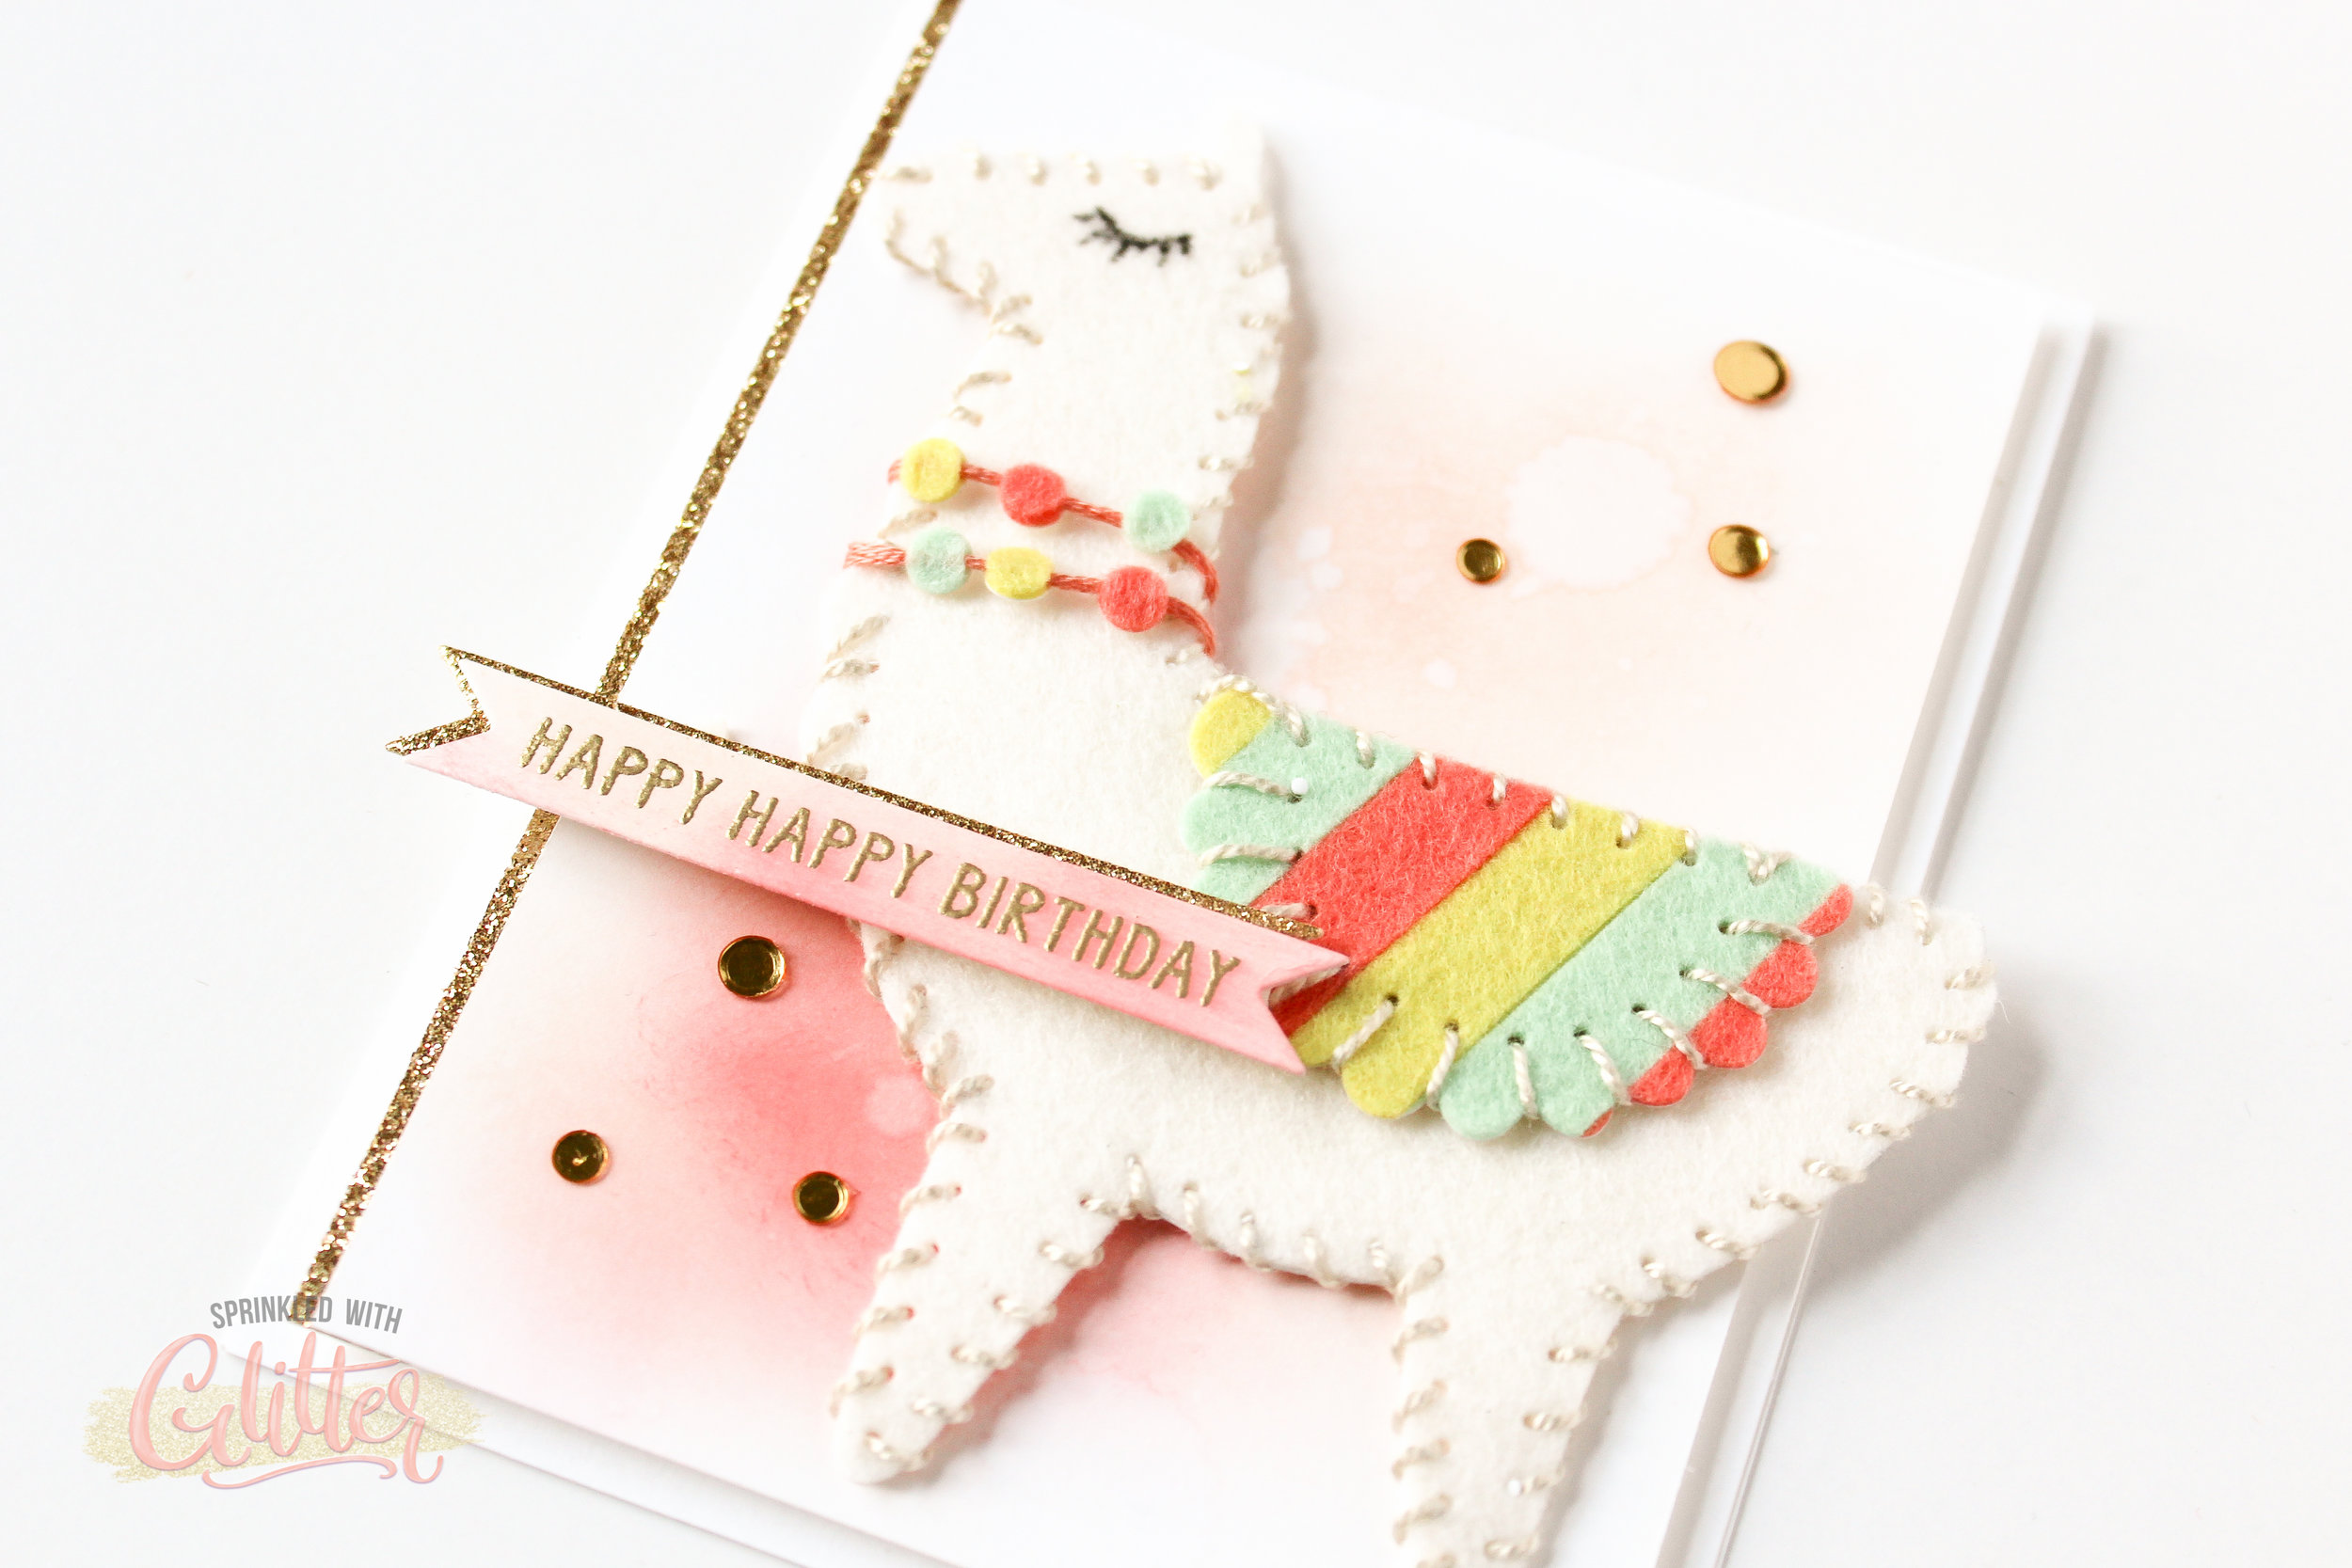
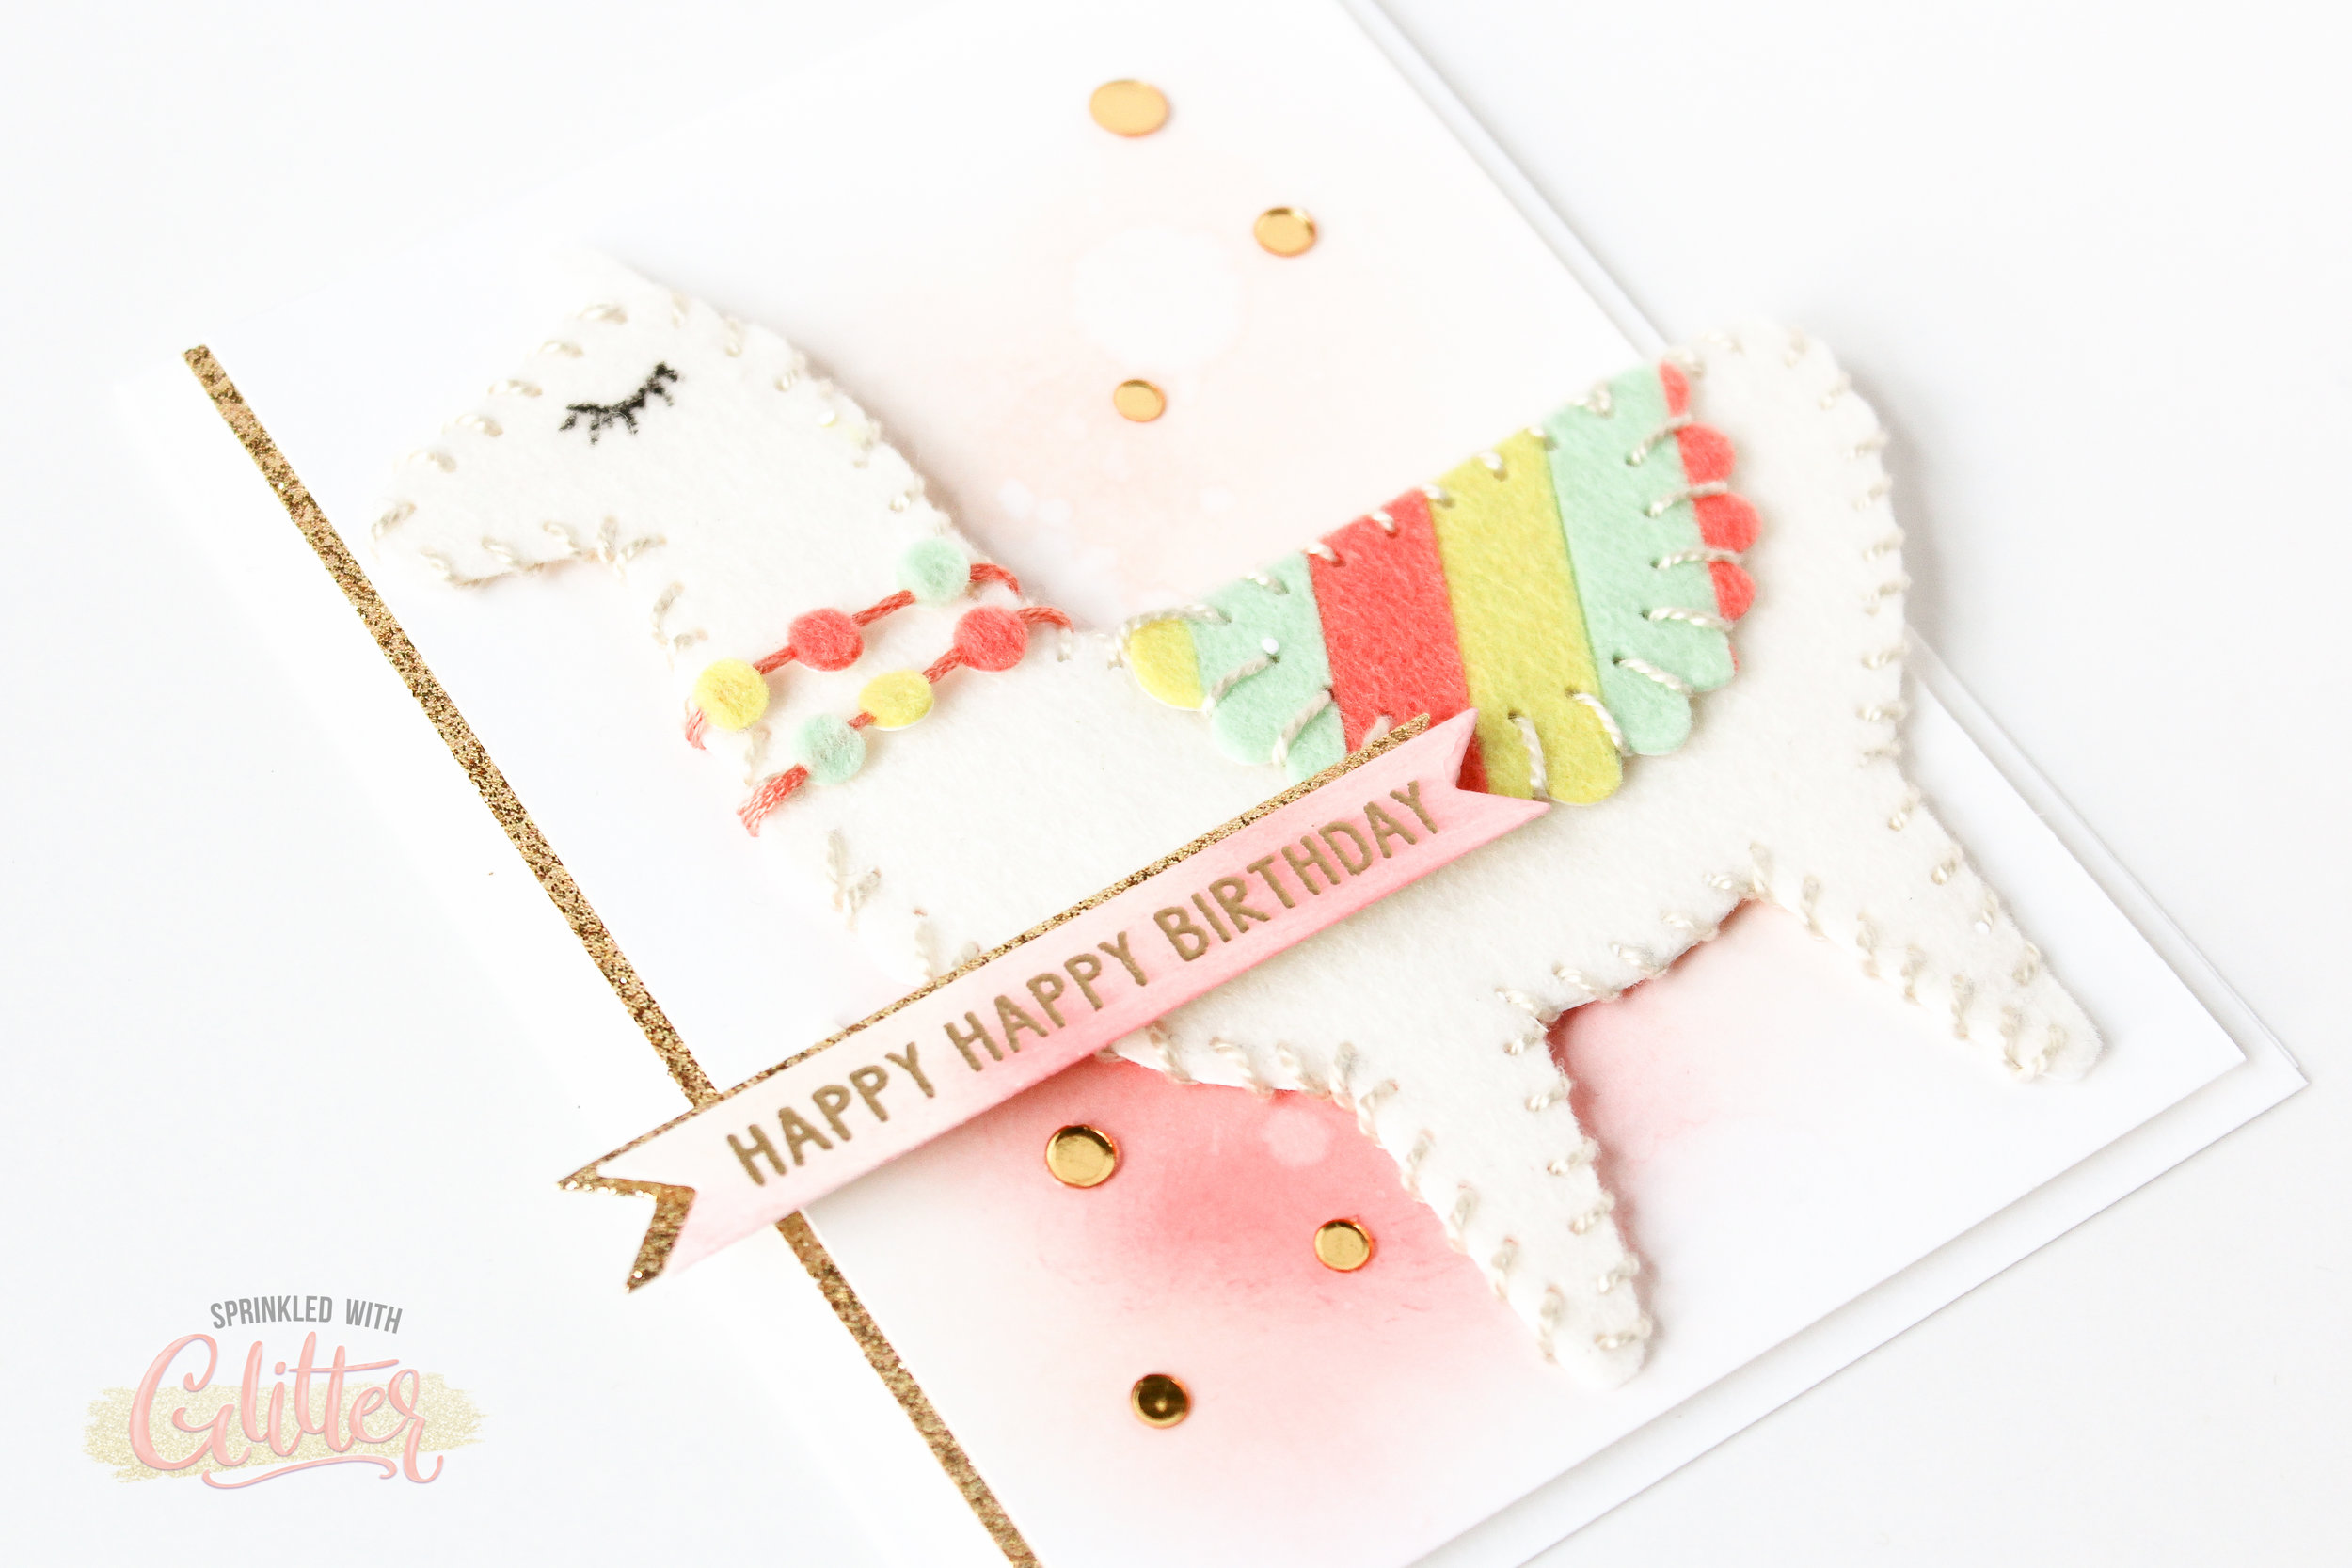
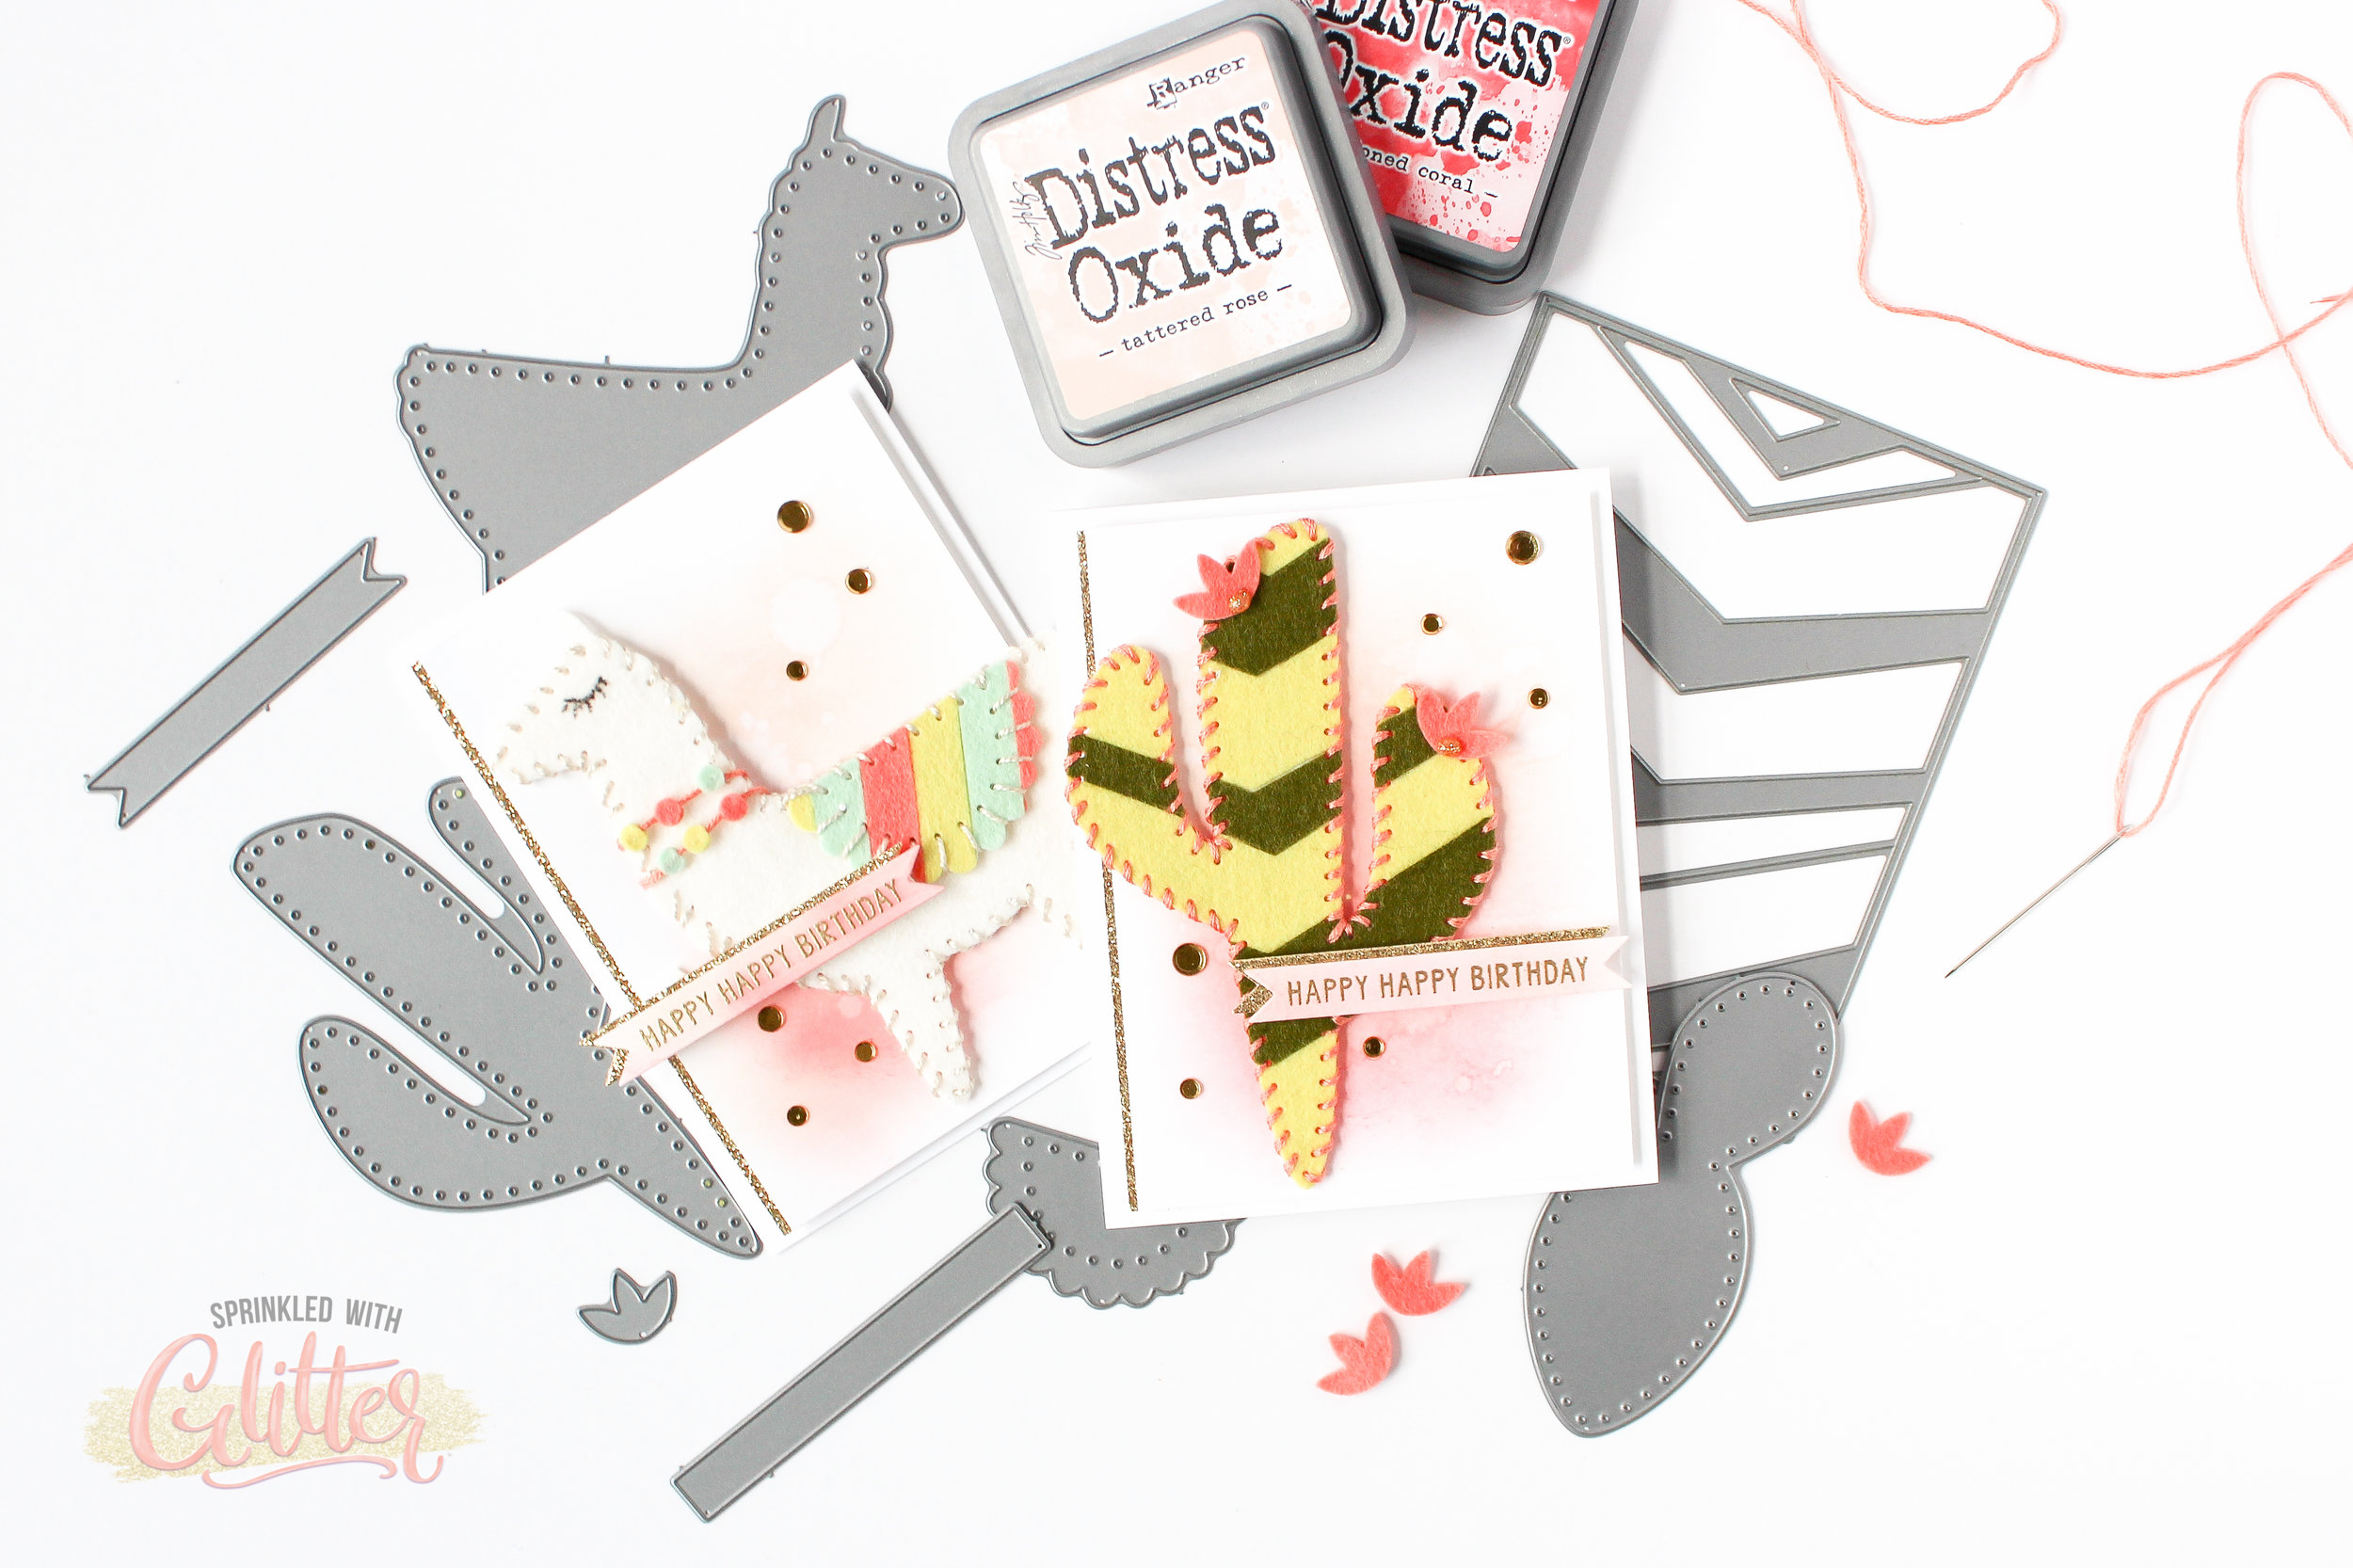
Today I’m featuring stitching dies from Neat & Tangled. I absolutely ❤︎ the Cactus and Llama stitching dies. I think they are so much fun for creating what I call “desert chic” projects. I know you’ve seen all the cacti and llamas in the home decor area of your favorite store…usually combined with some pinks and minty greens….that’s what I refer to as desert chic. :)
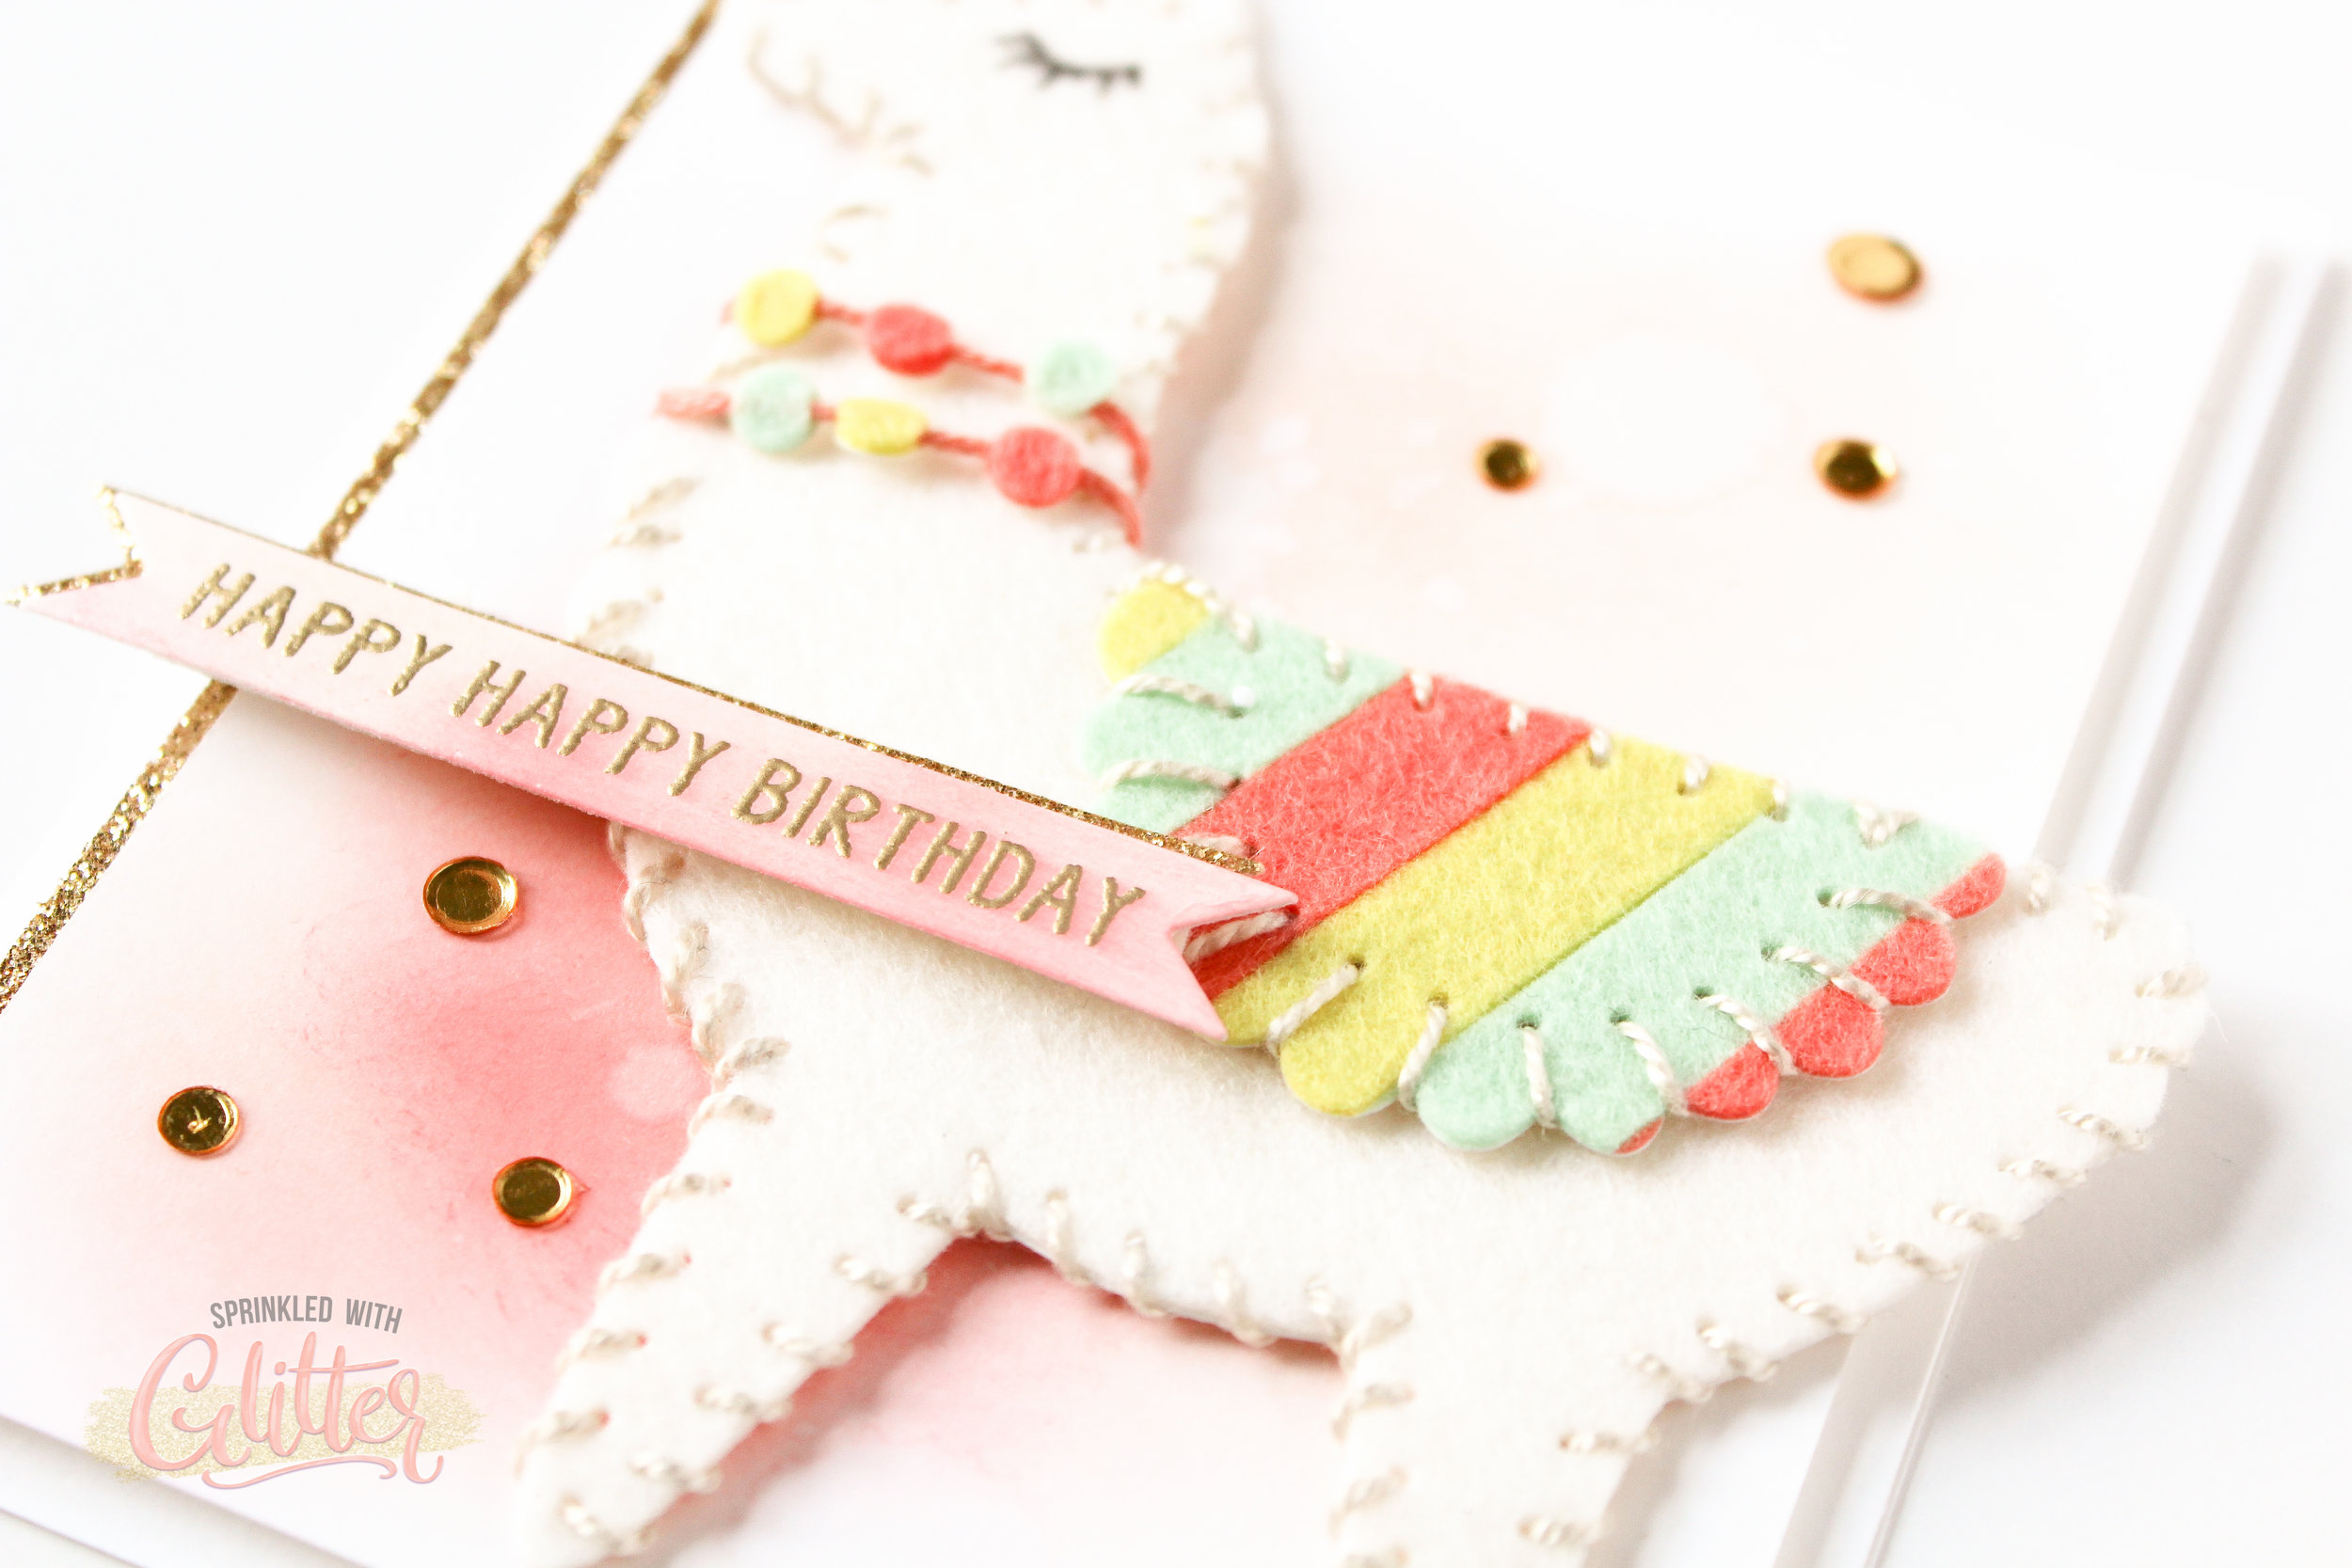
In order to create even strips of felt, I used a die to cut my felt. If you’re handy with a rotary cutting tool and a straight edge, you could also create your felt strips for piecing with that. For the cactus, I used the Wonky Chevron Background die and for the blanket on the llama, I used one of the Skinny Strips dies. These dies allow me to cut my felt perfectly straight so I can piece them together, leaving me with a multi-colored felt piece.
I will walk you through all of this in today’s video tutorial, so be sure to check that out. If you want to watch today’s video in HD on YouTube, click HERE to head over there now. Don’t forget to like, subscribe and turn on the notifications while you’re there. ❤︎
I wanted to keep the adorable felt cactus and llama as the focal point of my cards, so I created a simple ink blended background using Distress Oxide inks and the Picket Fence Studio Life Changing Blending Brushes.
I rarely use this technique, but to add a little texture to the ink blended background, I splattered a bit of water on to the blended ink and then picked up the excess using a dry cloth. This leaves a water splattered look on the ink blending and creates a lot of texture and variation in the background.
I finished off both cards with a touch of gold...a layered glitter sentiment banner, a strip of glitter card stock down the side and a few gold confetti pieces. This gold touch really puts the chic in "desert chic". ;)
Thanks for stopping by today. I hope you enjoyed these projects. Until next time, I hope you have a fabulous day!
XOXO

SUPPLIES
*affiliate links used*
|


