Watercolor Wonders - Rock And Roll Technique With A Twist And A Giveaway
Hi everyone! Welcome back and thanks for stopping by. I'm excited to share some quick and easy, but beautiful, card projects with you today. When I made these cards, I actually had just intended on playing with a few stamps and some new (to me) inks from Altenew. I had no intention of making any cards or even filming a video. But sometimes, inspiration hits you and out pops five cards.
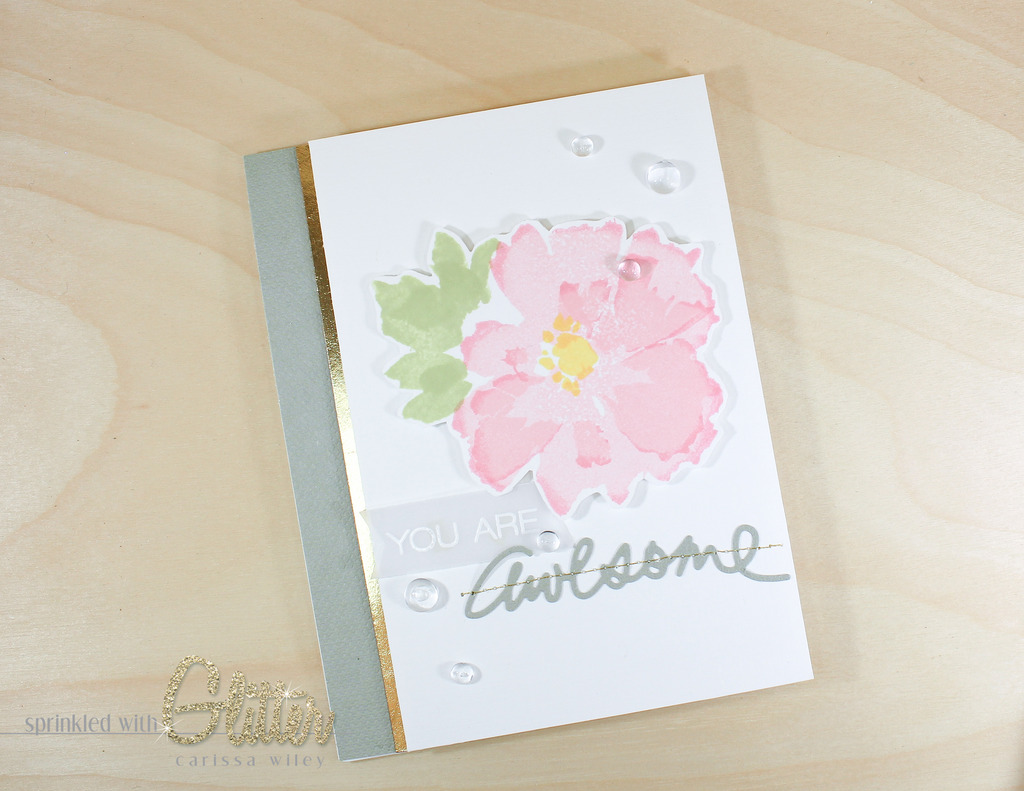
Remember the old Rock and Roll stamping technique? I decided that it would be fun to modify this technique to make it work with the mini ink cubes I have from Altenew. Using the Rock and Roll technique, you add one color of ink all over your stamp and then you "roll" the edges of the stamp in a different (usually darker) ink. Because my ink cubes aren't big enough to successfully roll a stamp, I decided to modify it. I added the darker color to the edges of the flower stamps by angling the ink cube and tapping it around the edge of the stamp. This gives me a little shading around the edges of my flowers. I'll show you exactly how I do this in the video tutorial below.
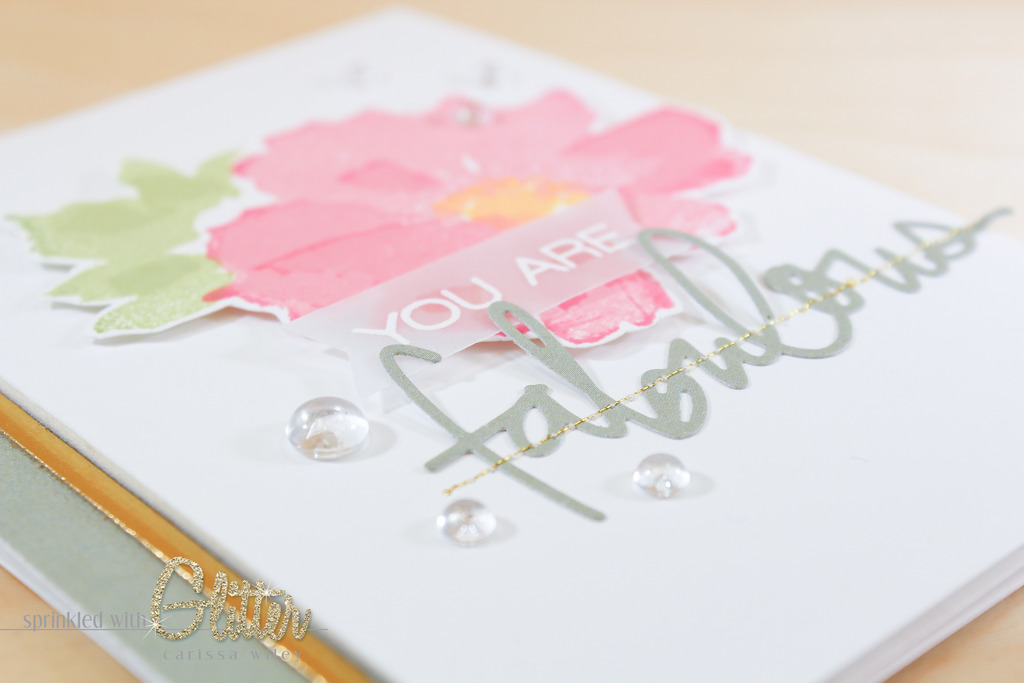
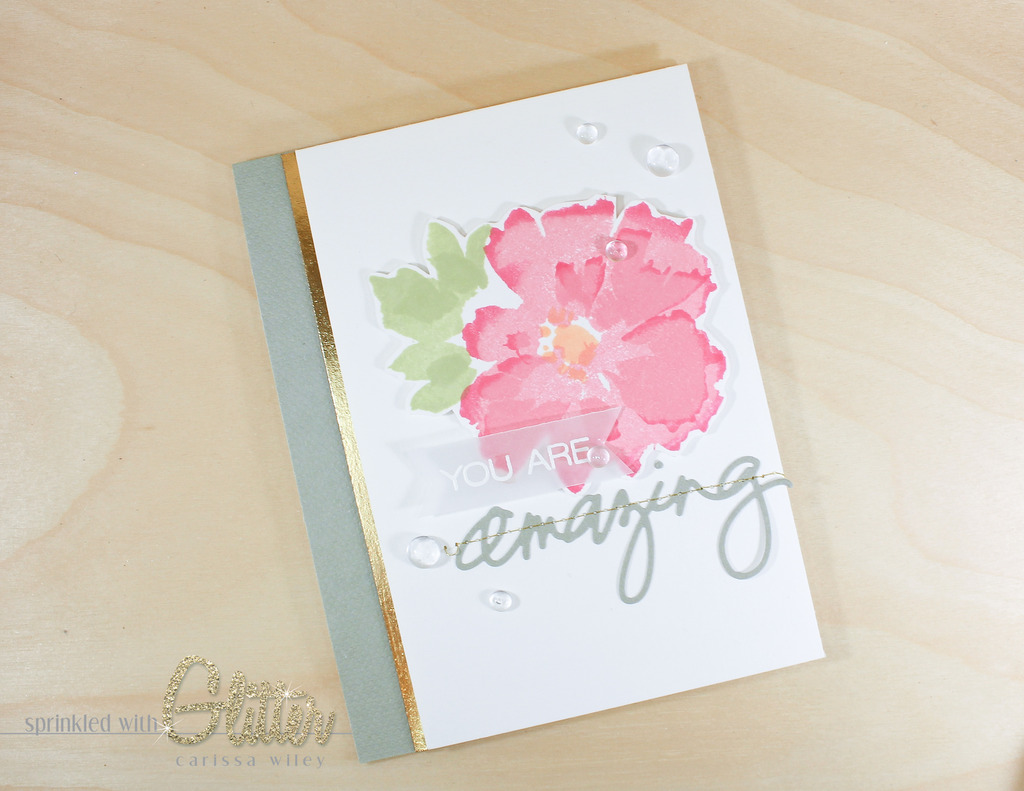
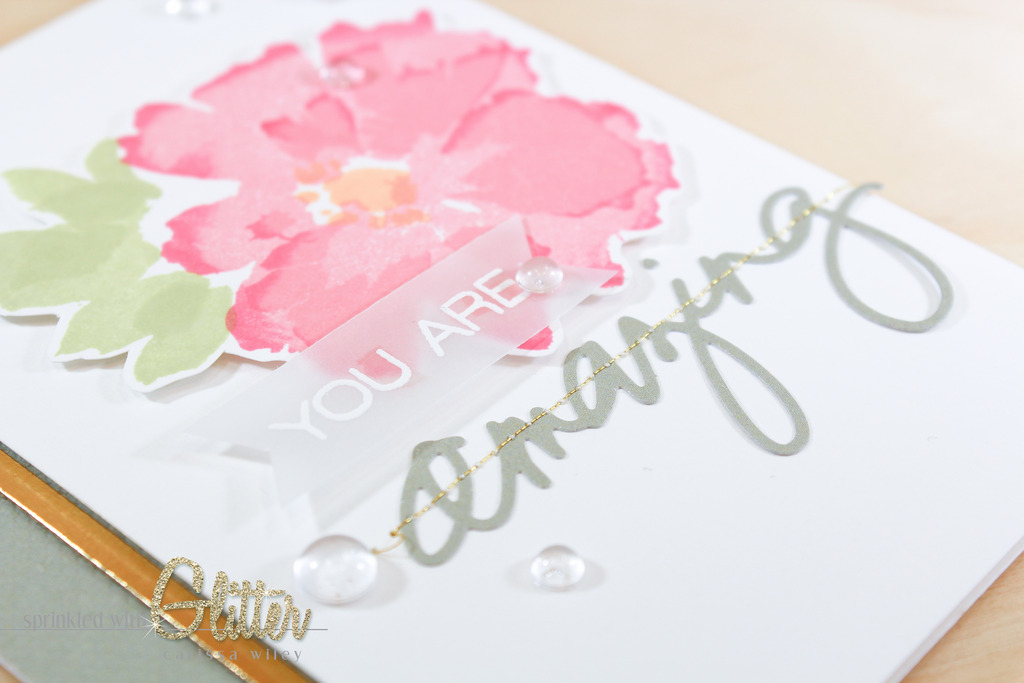
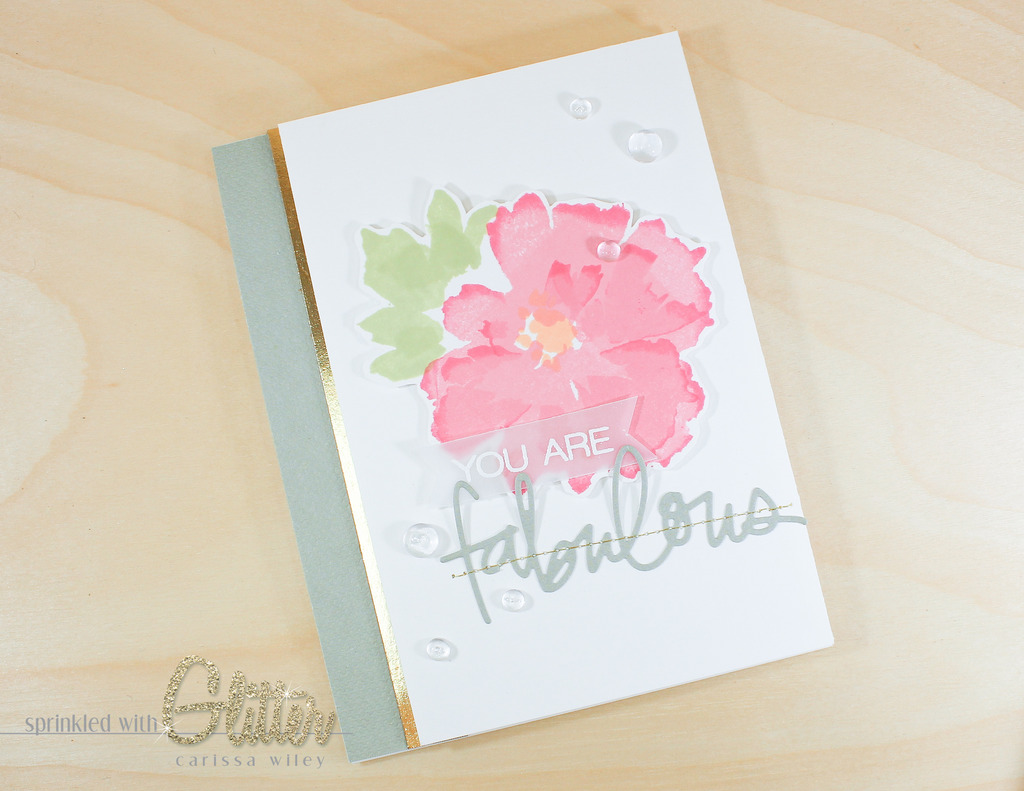
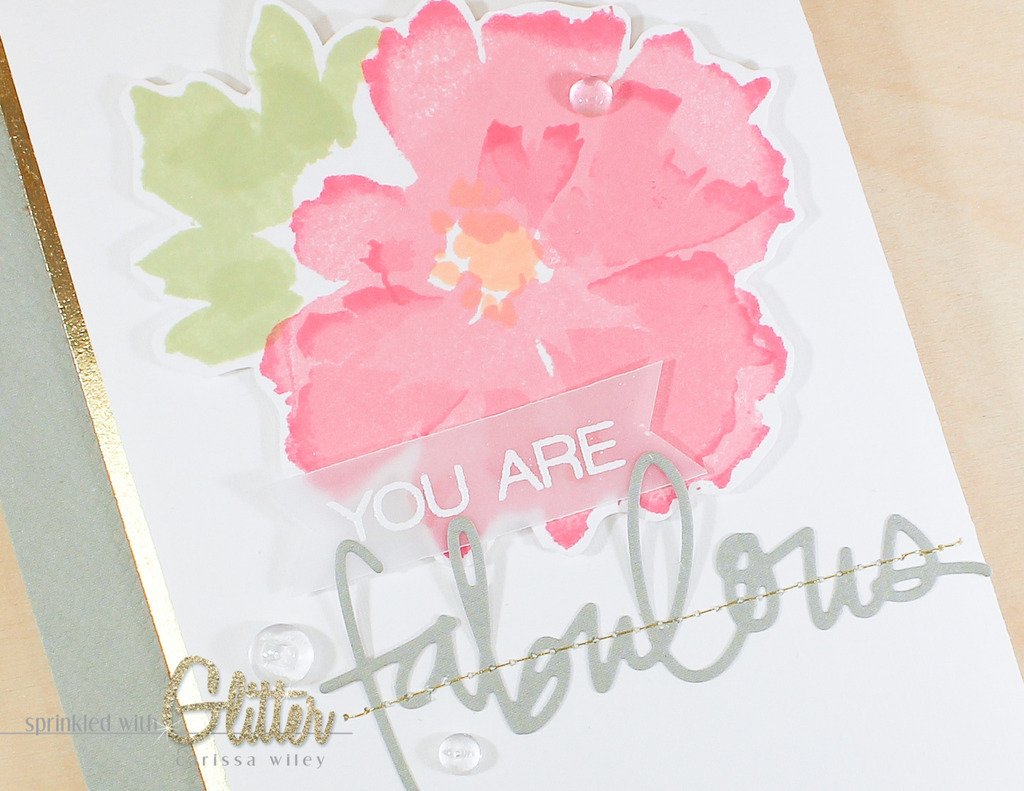
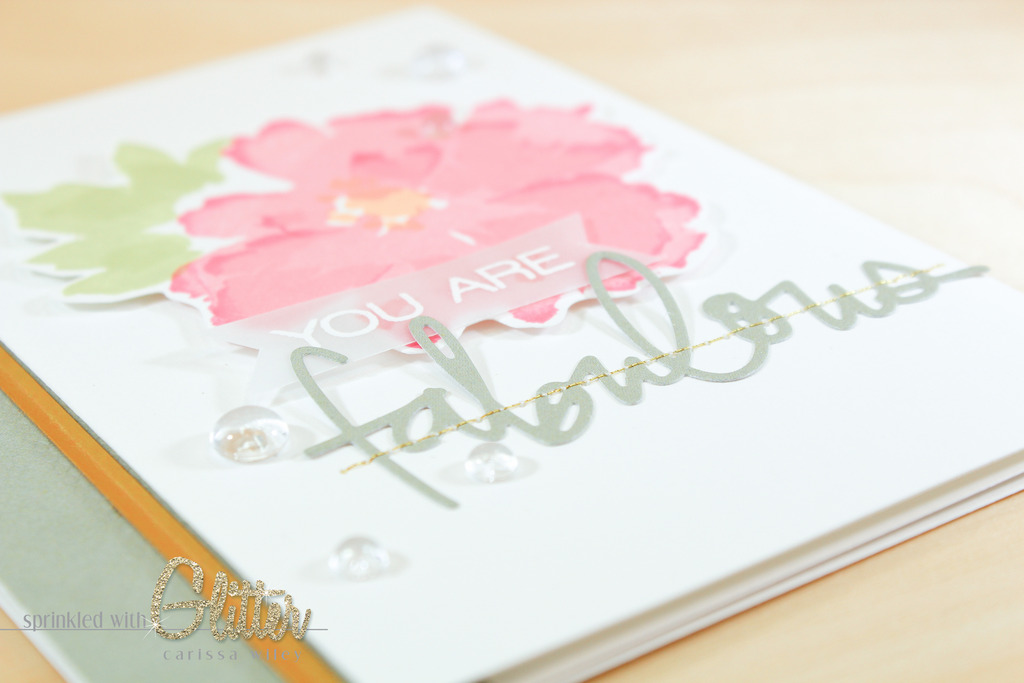
I chose to do some of the flowers in a darker color scheme and some in a lighter color scheme. Both of them only use two colors of ink for each flower. For the darker flowers, I used Cotton Candy as the base color and Coral Berry for the shading. For the lighter flowers, I used Frosty Pink for the base and Cotton Candy for the shading. The pinks from Altenew are beautiful. Such a wonderful range.
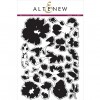
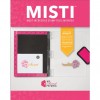
I knew I would be making several of these cards once the juices got flowing, so I decided to use my MISTI to make the process even faster. This allows me to line up my stamp layers just once, and then stamp several floral images. Because I'm not great at figuring out how pieces fit together (maybe I didn't do enough puzzles as a child), using my MISTI took the guess work out of stamping this image over and over again. I used the guide on the back of the Watercolor Wonders stamp set to help me line up each layer of the stamp.
With a layering stamp set like the Watercolor Wonders stamp set, you can use several different tones of the same color, a light, a medium and a dark. I chose to use the same ink colors for each layer and let the color build on itself. You can see that the ink builds up to create more tones. This also keeps the flower a little softer than using darker tones each time. If you only have a few colors of ink, you can still use a layering set by building the color on itself. You can also try stamping off or double stamping to get more shades of the same color.
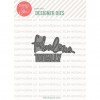
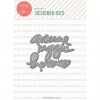
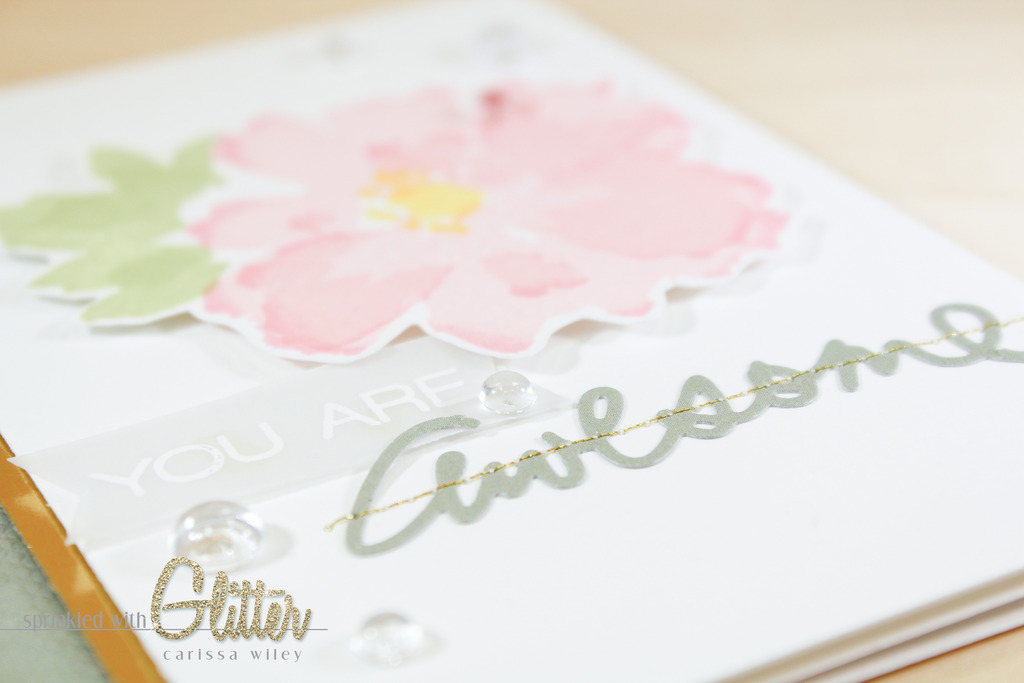
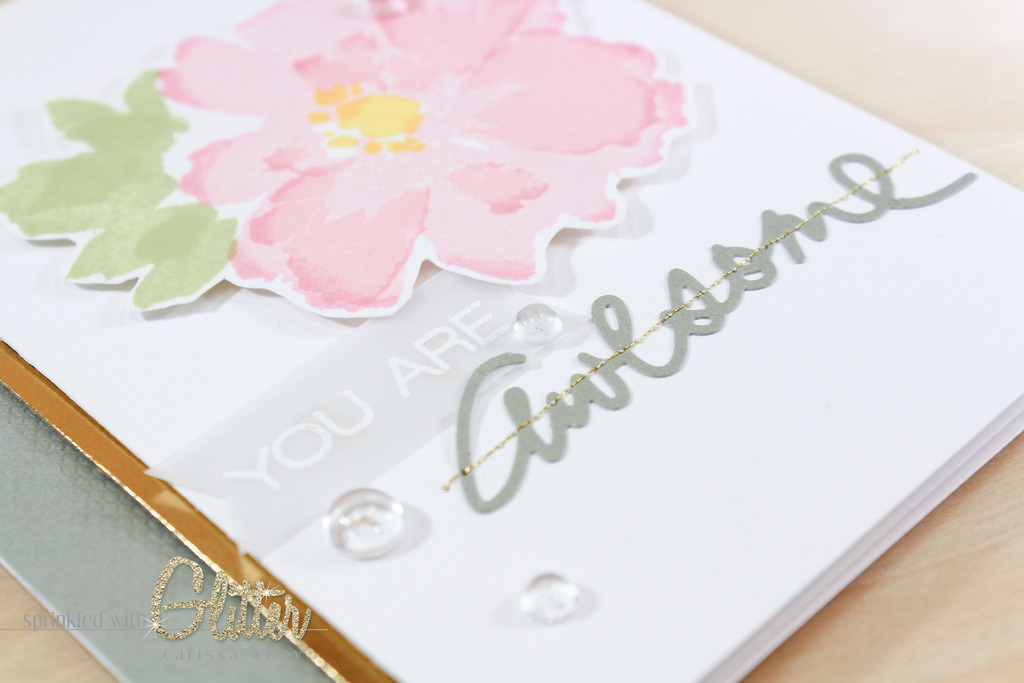
My sentiments are from the new Essentials By Ellen Winter 2016 release. I love Julie's handwriting, so these die cuts were calling my name. I love the Totally Fabulous die set and was thrilled to see Ellen Hutson offering it for sale. It was originally a gift with purchase in celebration of their anniversary. Now everyone can own this FAB die. And the Positive Word die set has the same beautiful handwritten look. It pairs beautifully with the Totally Awesome stamp set. It's like they planned that or something. ;)
The die cut sentiments are very delicate. They can often be difficult to stick down on your project. I decided to stitch my die cuts on to the front of my card. It's quick and easy and adds some nice detail and just a touch of gold to my cards. Another option would be to use some Stick It adhesive on the back of your card stock prior to die cutting.
GIVEAWAY ALERT
So guess what. I have a couple extra of those FABULOUS dies laying around. So I thought I would give them away here. You must use the Rafflecopter widget below to enter. I have two to give away. And I'll leave the giveaway open for a week. Be sure to tell a crafty friend!
Thanks for stopping by today. I really hope you've enjoyed this fun take on Rock & Roll. Be sure to check out the video tutorial below. I've also linked the supplies used in these projects below. Until next time (very very soon), I hope you have a fabulous day!
Supplies
*affiliate links used*

