Shaker Window Frames - Pretty Pink Posh November Release Blog Hop
Hi everyone! I'm so excited to be here today as a part of the Pretty Pink Posh November Release Blog Hop. This hop is so big and full of inspiration that we had to spread it out over two days! This is day two of the hop. To make sure you don't miss any of the goodness, make sure you head to the Pretty Pink Posh blog to start each day from the beginning. If you're coming to me from Heather Hoffman, you're hopping along just fine. There are lots of fun new products to check out, including 3 new stamp sets with coordinating dies, 2 new die sets and a bunch of new sequins and beads for your embellishing pleasure. (I've linked all of these awesome new products below.)
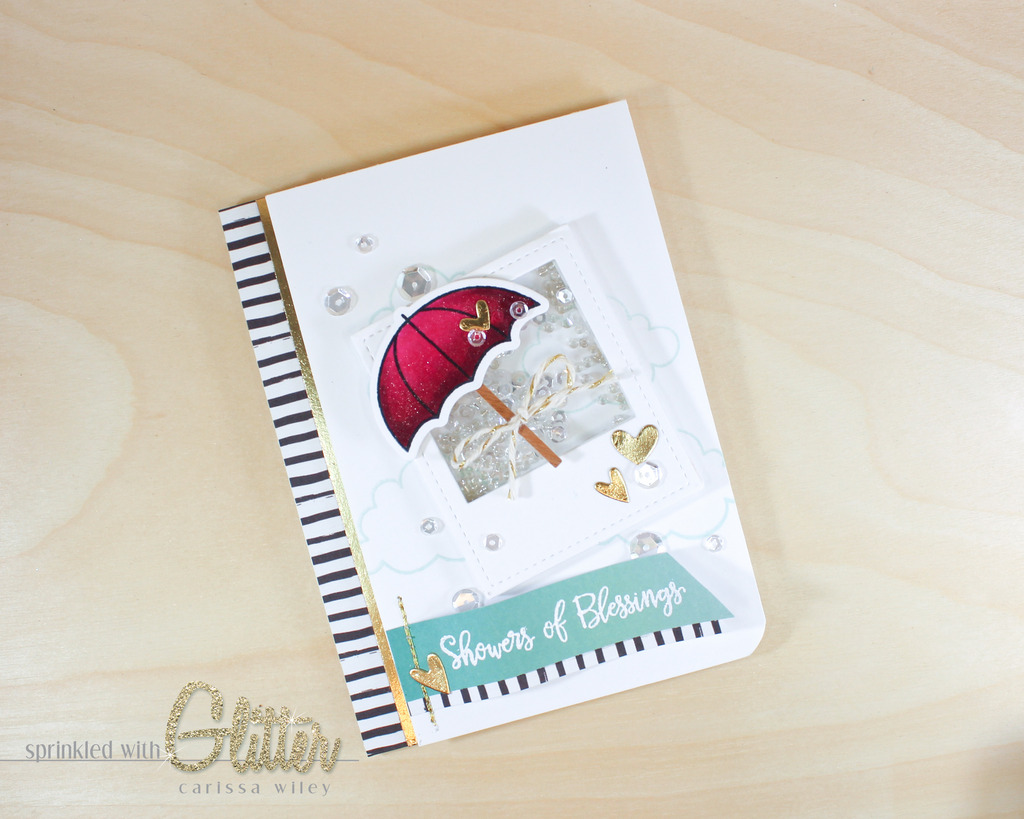
I've created two projects for today's hop, using the Stitched Photo Frames dies along with the Holiday Friends stamp set and the Rainy Days stamp set. I thought it would be fun to create some shaker frames and since I've been doing a whole lot of Christmas projects lately, I really wanted to include a project that you can use all year round too!
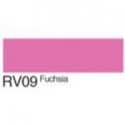
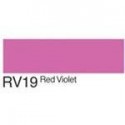
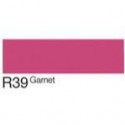
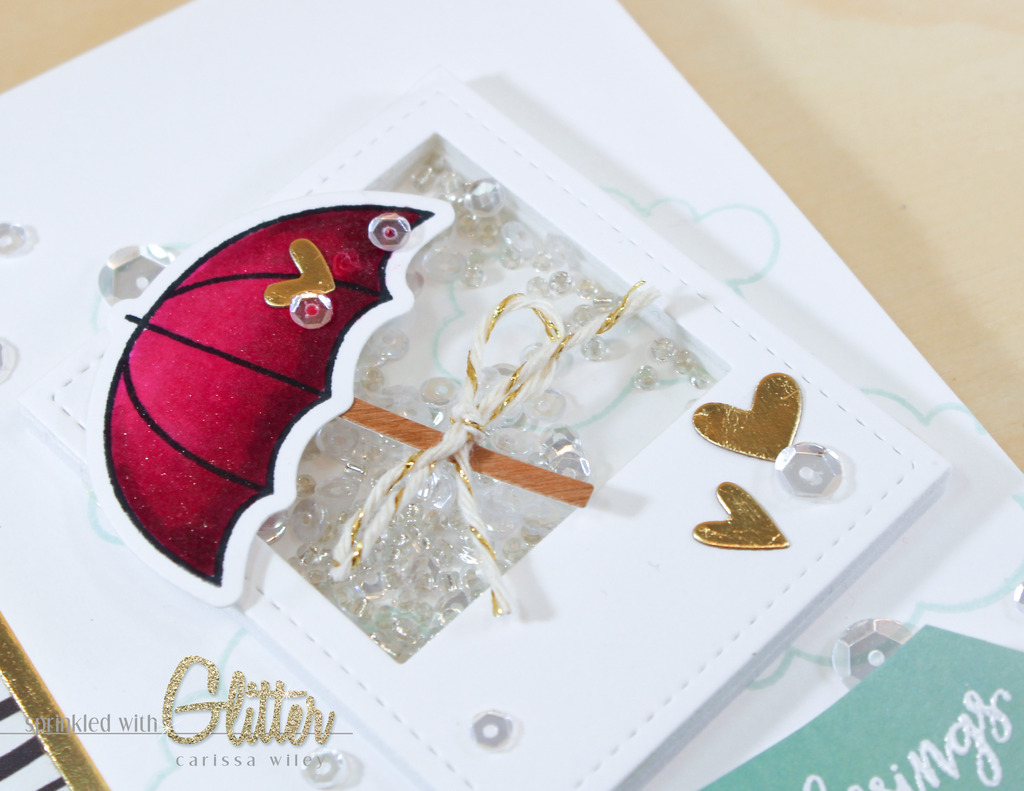
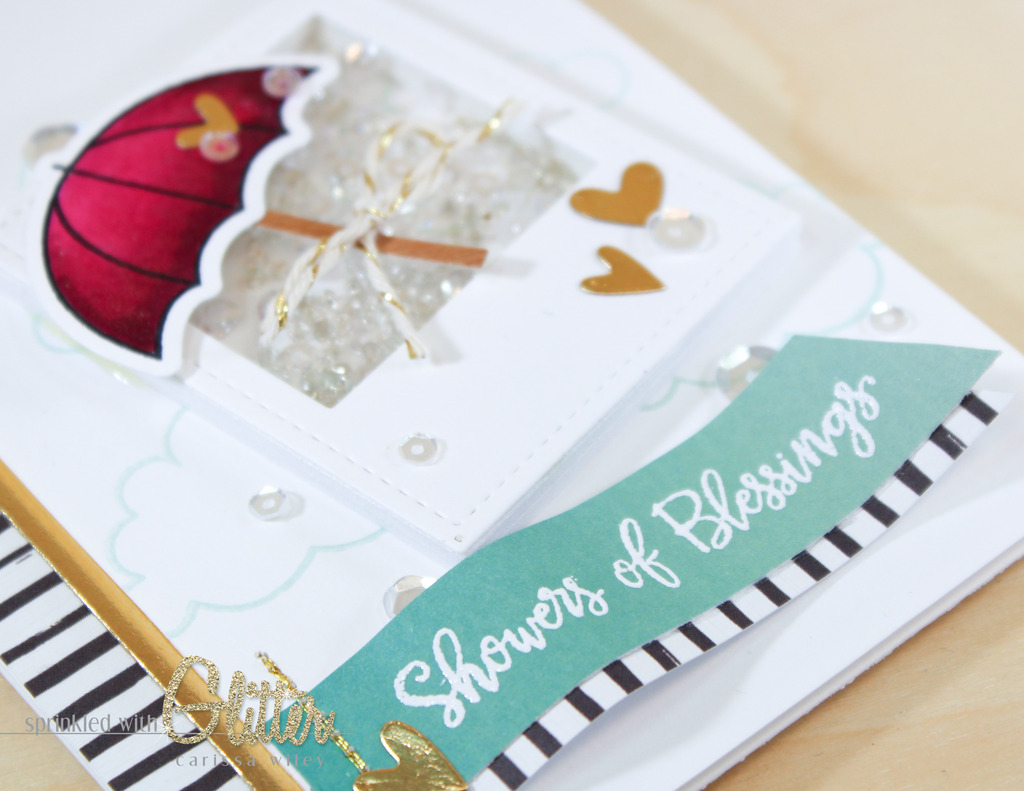
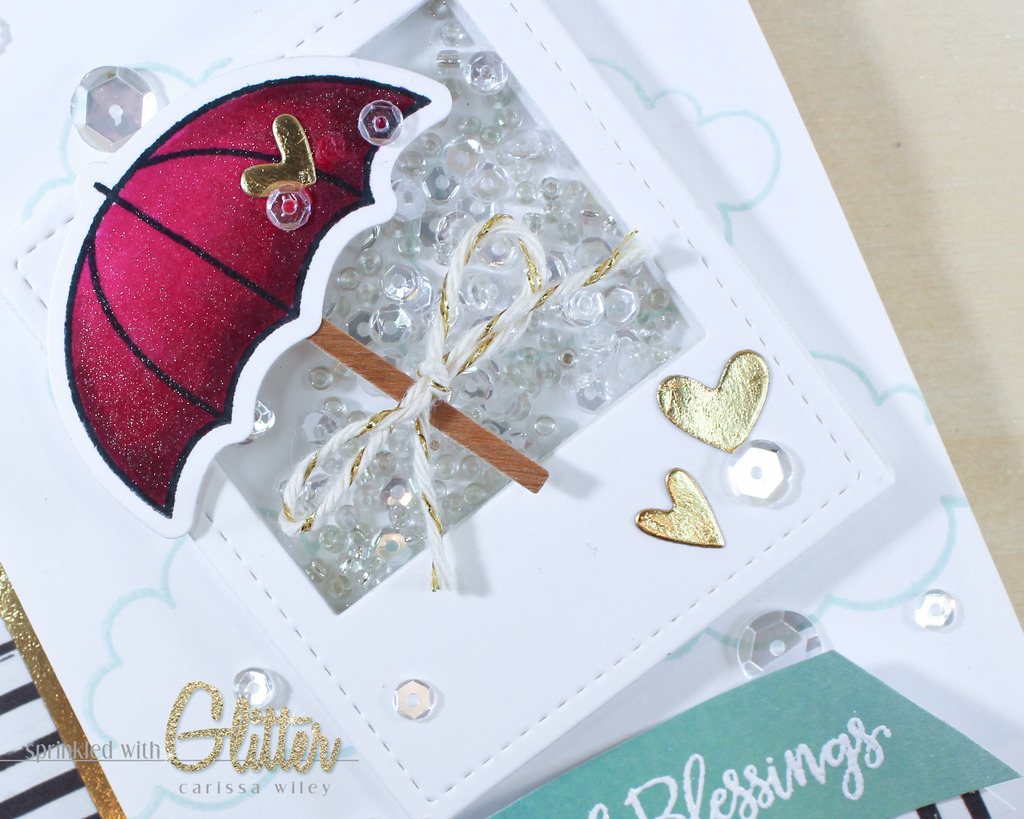
I started by stamping the umbrella image from the Rainy Days stamp set in Memento Tuxedo Black ink. I colored in my image with some red violet Copic markers. I've linked all the colors used below. I started with my medium shade. I really wanted to keep the light part as light as possible, so that's why I chose not to color the entire image with my lightest shade initially. I then blended that out with the lightest marker. I added the darkest shade along the bottom and then blended that out again with the lightest shade, being careful not to go over the area that I wanted to remain the lightest. This creates contrast between the shades. I'll walk you quickly through the Copic coloring in the video tutorial below.
Once the image was colored, I used the coordinating dies to cut the image out. I love it when stamp sets have coordinating dies. You can always fussy cut your images with scissors, but you just can't beat the nice clean line you get with a die. Plus, you can use the dies for other techniques as well.
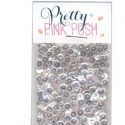
To create my shaker frame, I cut the Stitched Photo Frame from Neenah Solar White card stock and two layers of fun foam. The foam allows me to build a solid base for the shaker window. I layered the fun foam pieces on the card front, one on top of the other, using some liquid glue. I then filled the window portion of the foam die cuts with some Silver Shimmer seed beads and Sparkling Clear sequins. To seal it up, I attached a piece of acetate over the window and then topped it off with the die cut from white card stock. This makes for a quick and easy shaker window. If you don't have fun foam, you can always use foam adhesive to build up your shaker window.
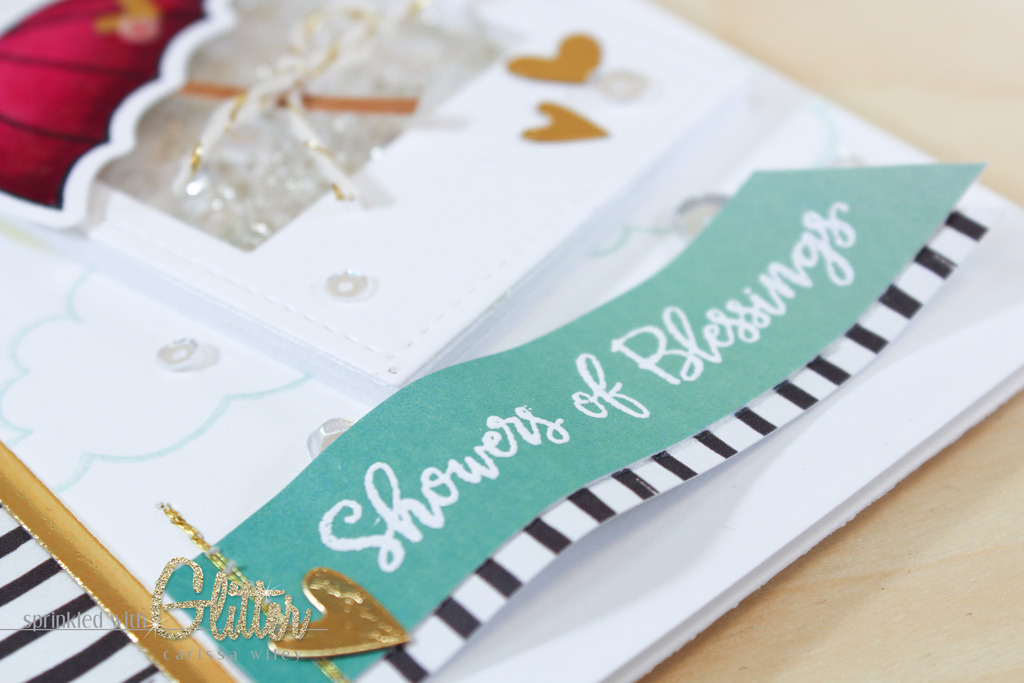
I added a heat embossed sentiment to the front of my card as well. I decided to stitch it on to add a little gold in to the design of the card. I also added some mini hearts cut from metallic gold card stock to repeat the gold elements. Wouldn't this make an adorable baby shower card? Or wedding shower card? I happen to have used it for a housewarming card.
I finished off the card by adding some patterned paper along the card edge and some Sparkling Clear sequins on the front of the card. I love the fluid movement of the shaker guts when you add the seed beads. It makes the sequins move so freely and adds a nice element of added noise.
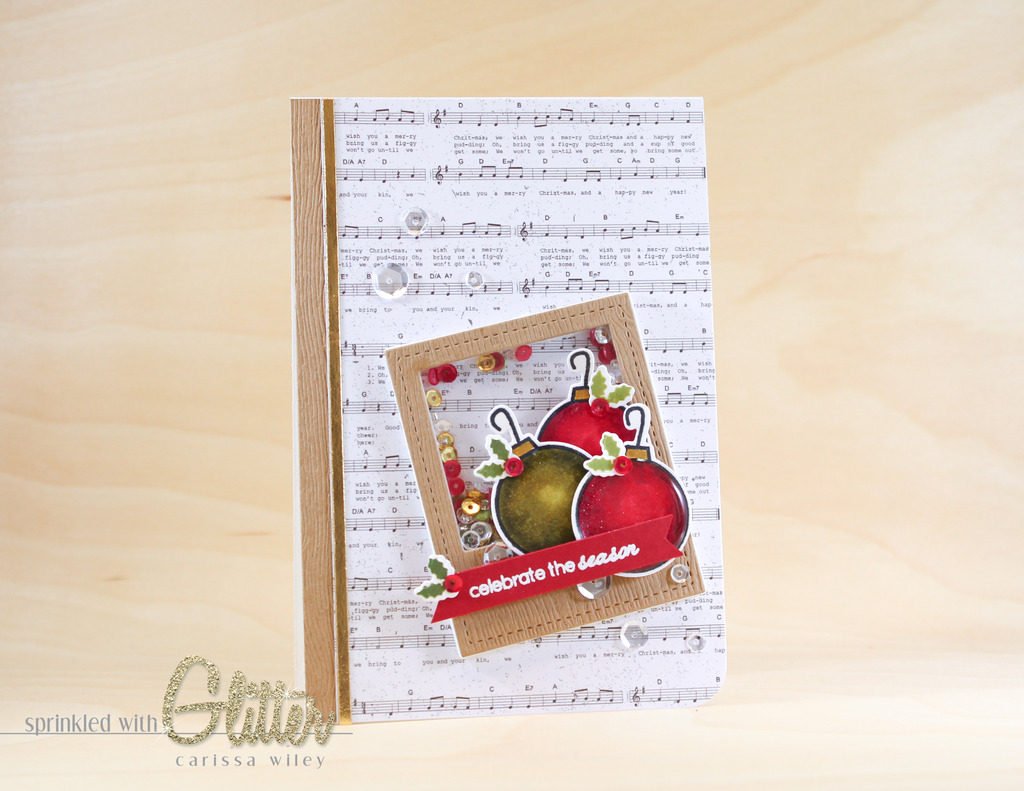
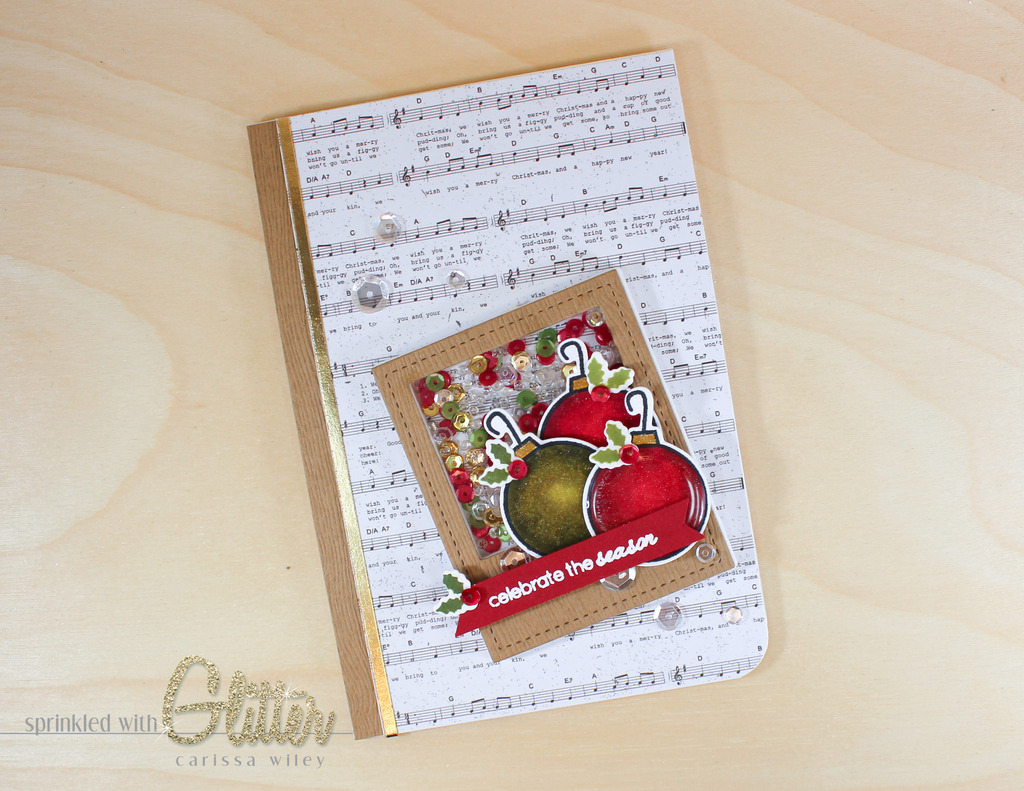
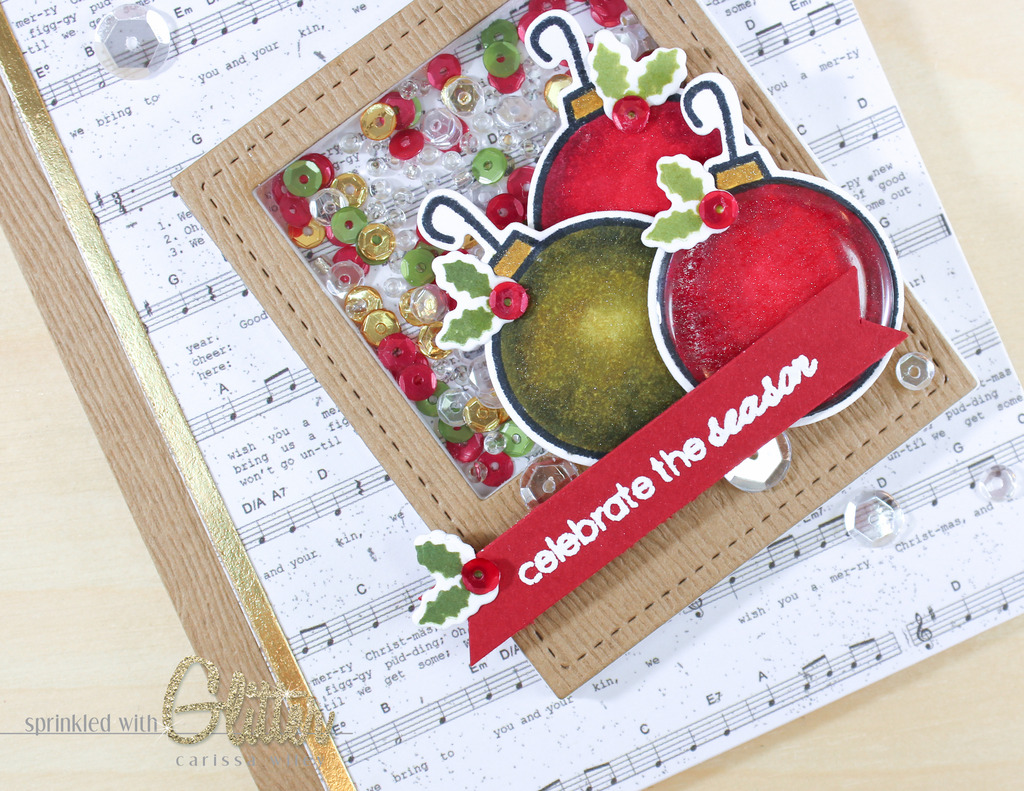
For the second project, I used the Winter Friends stamp set. This stamp set has some fun images and critters that can be tucked inside the stocking, mug or ornament. They would also be adorable combined with the Pretty Pink Posh Darling Friends stamp set (a Simon Says Stamp Stamptember exclusive).
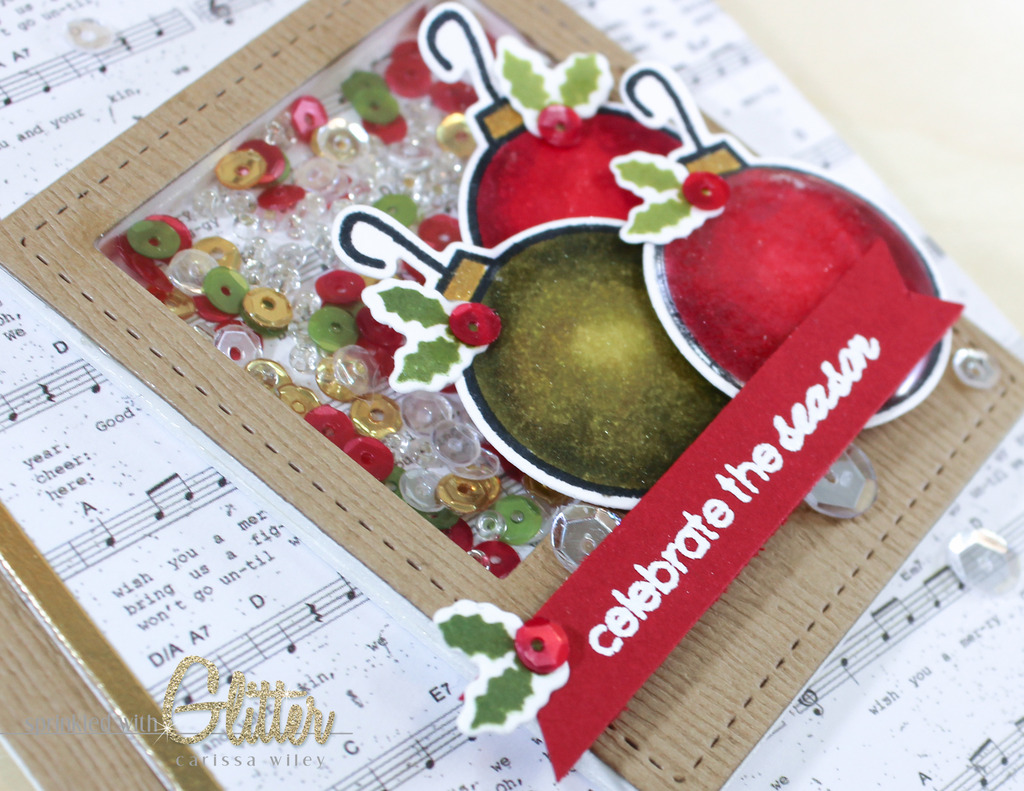
Once again, I did a little Copic coloring to color my images. I chose some traditional Christmas colors for this card, but these would be so fun colored in some bright turquoise and pink tones. Once colored and die cut, I added some clear Wink Of Stella to add shimmer to the ornaments.
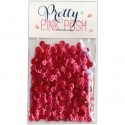
I stamped the holly image from the Winter Friends stamp set using a Hero Arts Ombre Green ink pad. Honestly, it was the best green I had in my stash for the tones I needed. I stamped a few in the mid tone green ink, and a few in the darkest tone. I die cut them and added them to the tops of the ornaments for an extra special touch. Because I didn't stamp in multiple colors, I used the 4mm Raspberry sequins as my berry on each of these images. I simply attached them using the Ranger Multi Medium Matte.
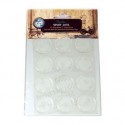
To add some dimension to the foremost ornament, I used an Epoxy dot. These 1 inch dots fit the ornaments perfectly. It adds shine and dimension. You could also add a layer of Glossy Accents and achieve a similar look. This is just a quick and easy way to accomplish the dimension and shine without having to wait for dry time (or risk putting your hand in it...like I always seem to do).
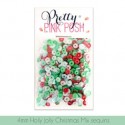
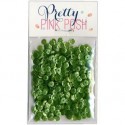
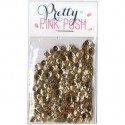
For this shaker mix, I created my own custom Christmas mix. I combined Sparkling Clear, Metallic Gold, Raspberry and Mossy Green sequins. I love this traditional Christmas color scheme. And I love mixing my own sequin mixes.
So there you have it! Two fun shaker window frame cards...one for the holidays and one for all year round.
Let's talk PRIZES! For each day of the hop there will be 2 $25 gift certificates up for grabs. Simply leave a comment at each stop along the hop by 11:59 PM PST on November 16th, 2015 to be entered to win. The winners will be announce on the Pretty Pink Posh blog on November 18th, 2015.
Now your job is to continue to hop along so you don't miss any of the fabulous projects created by the Pretty Pink Posh design team and guest designers. Your next stop is Julia Altermann. I'm sure she has something fabulous to share with you. And if you ever get lost along the way, you can head back to the Pretty Pink Posh blog for guidance.
Thanks for stopping by today! I hope you've enjoyed these projects. I'd love to hear which one you could see yourself making. I'll be back tomorrow with more card making goodness...so be sure to check in with me again! Until then, I hope you have a fabulous day!

Supplies
*affiliate links used*


