Reverse Masked Stamping - Adding Patterns To Stamped Images
Hello everyone! Thanks for stopping by today. I have a fun project idea I'd love to share with you.
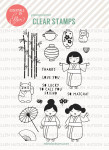
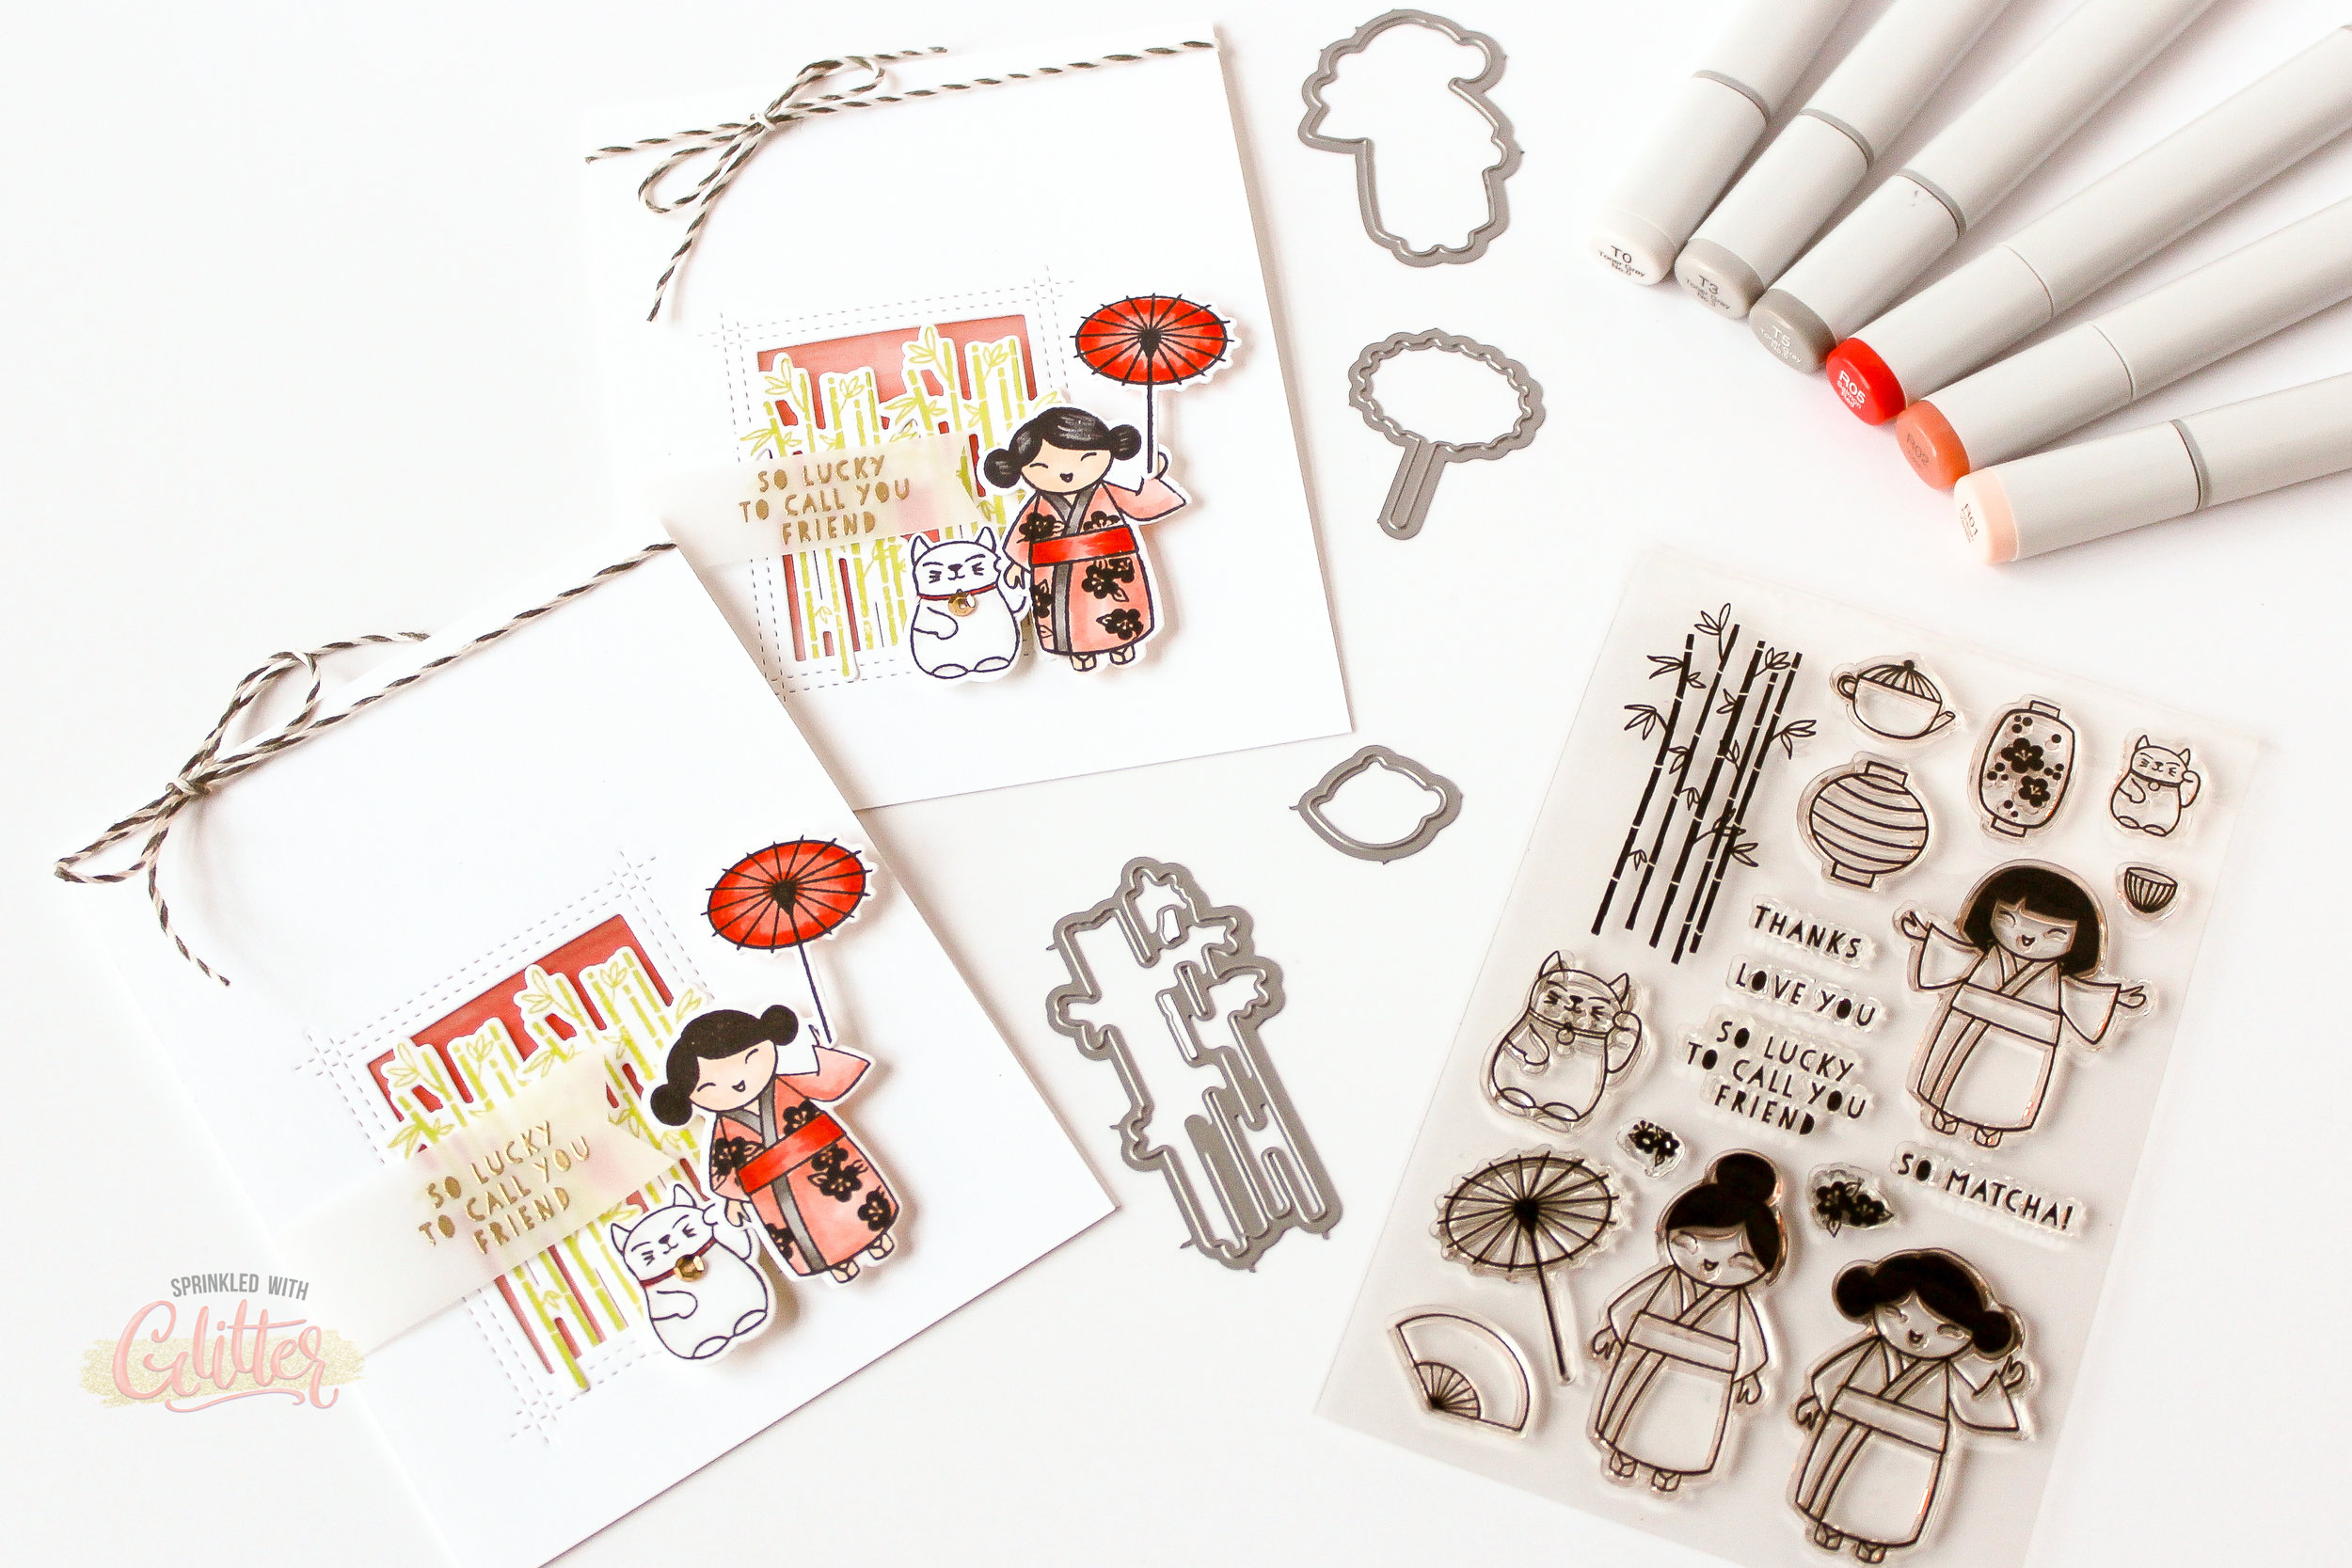
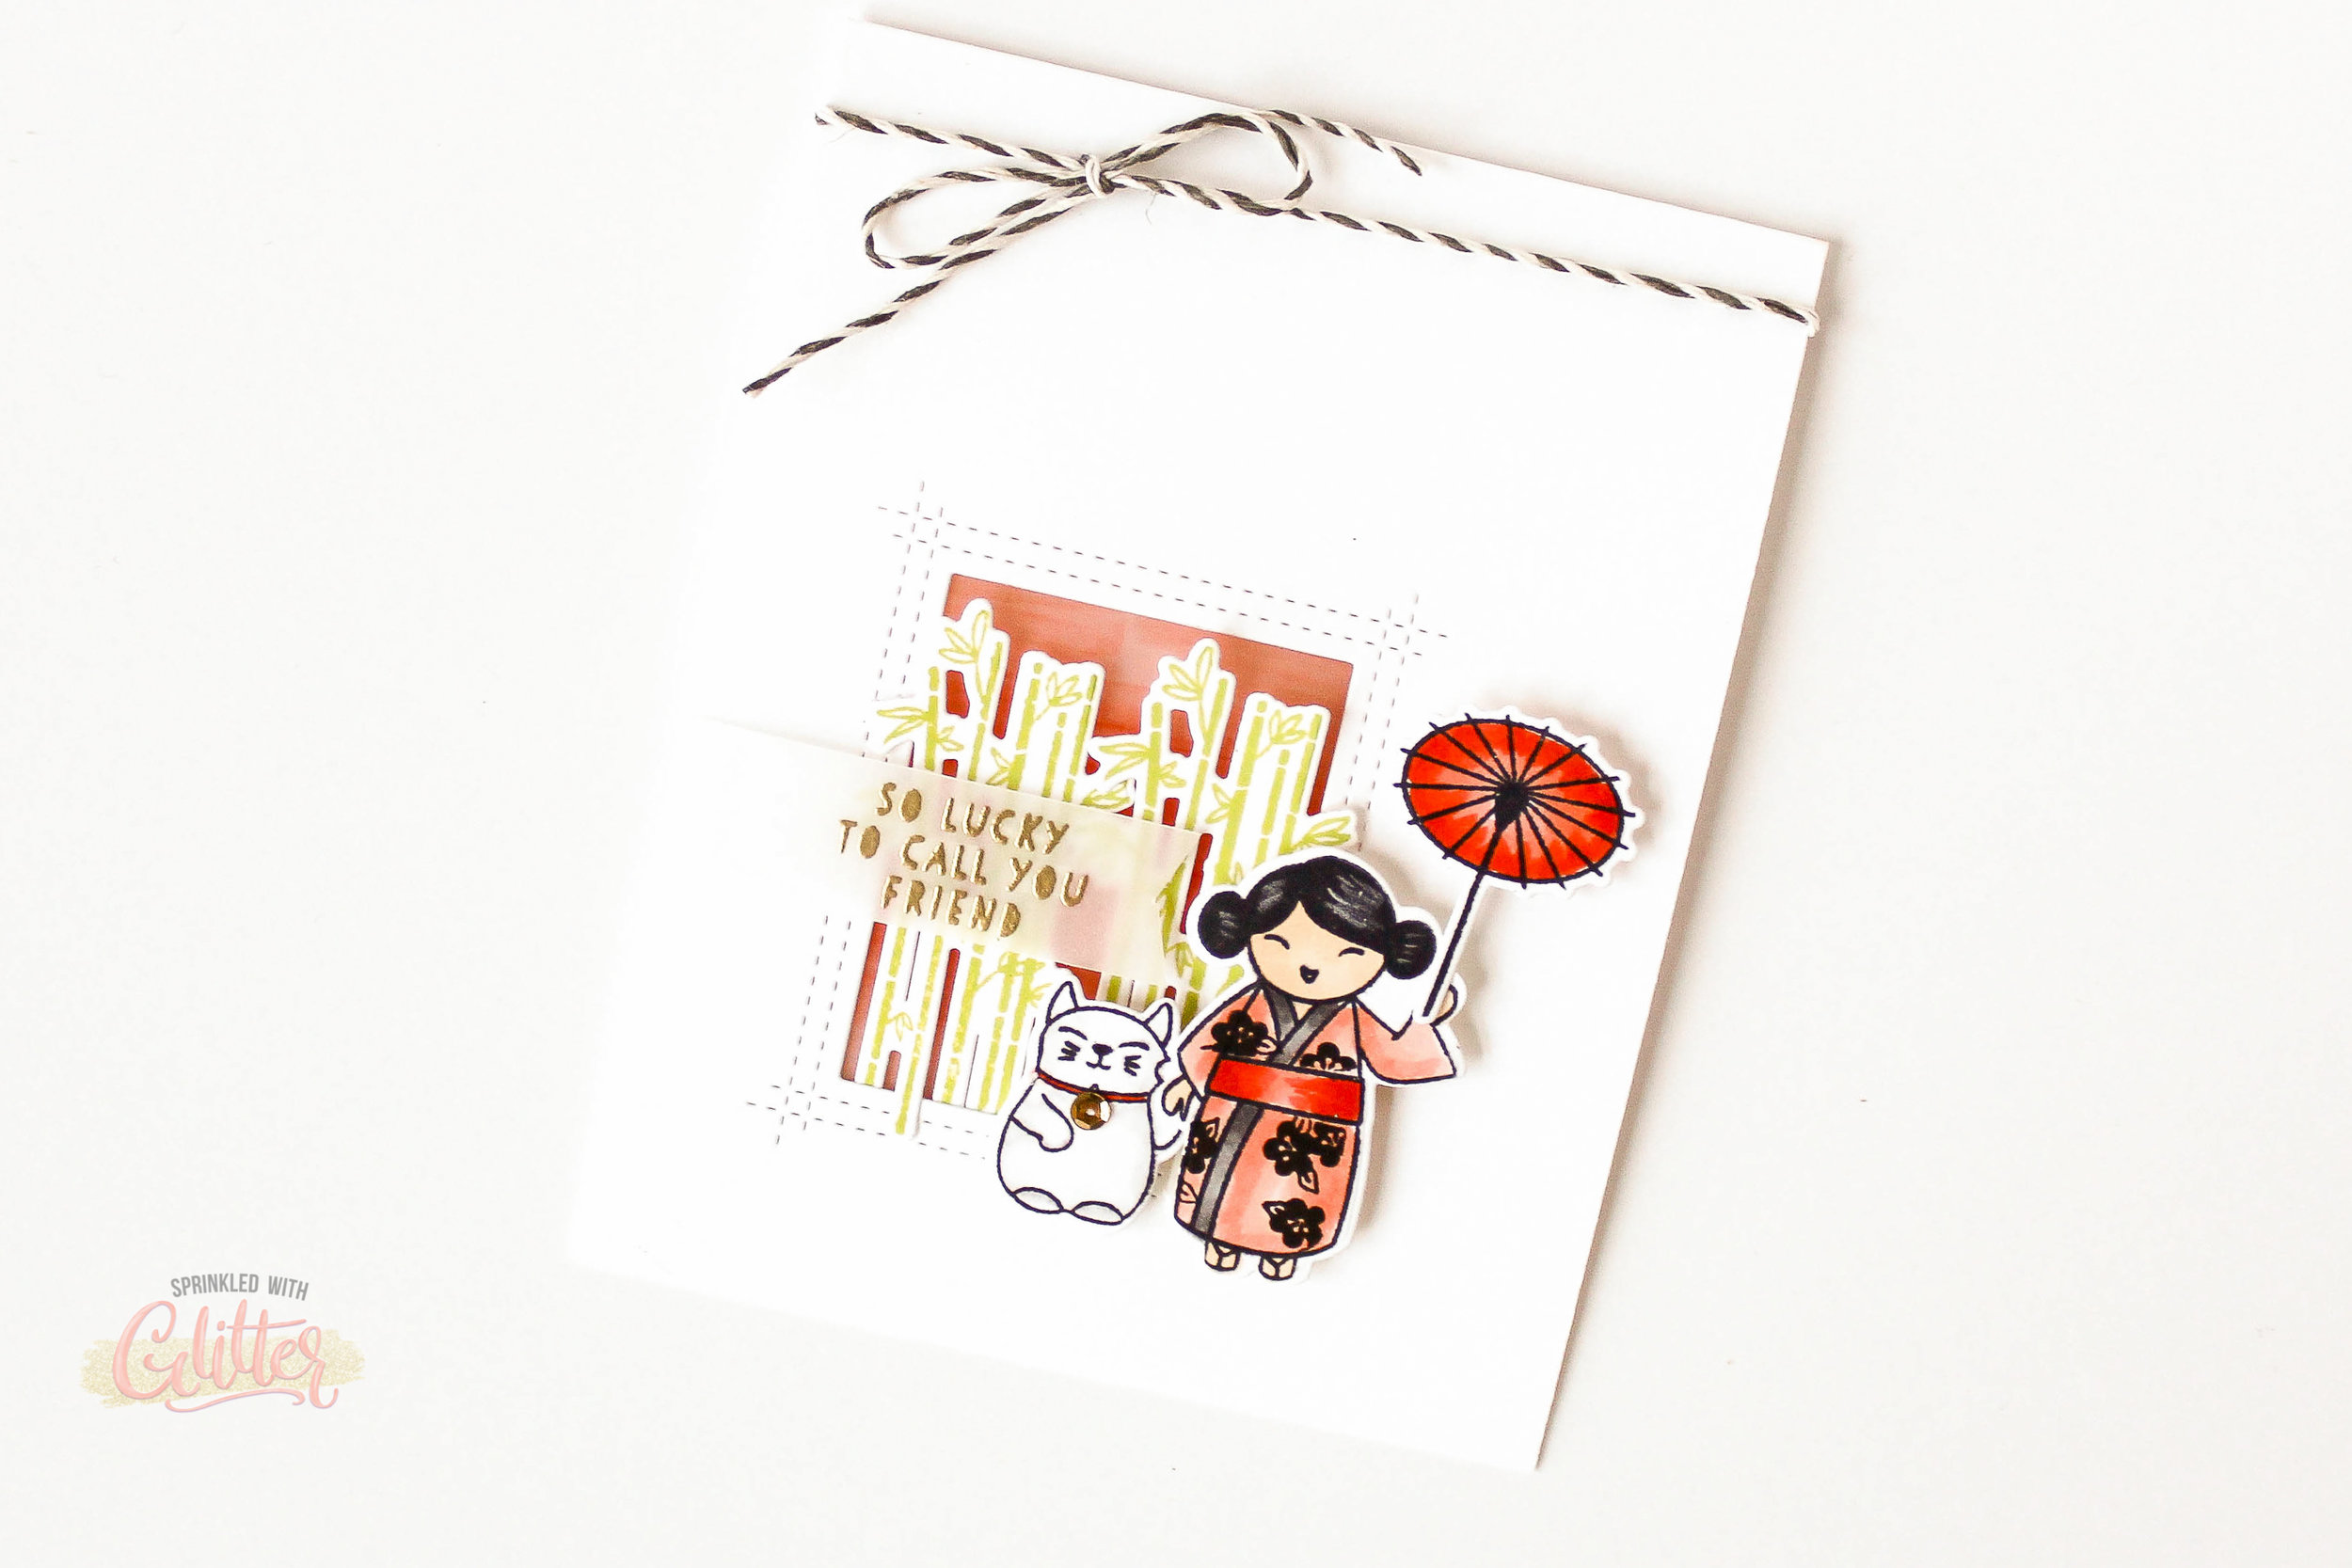
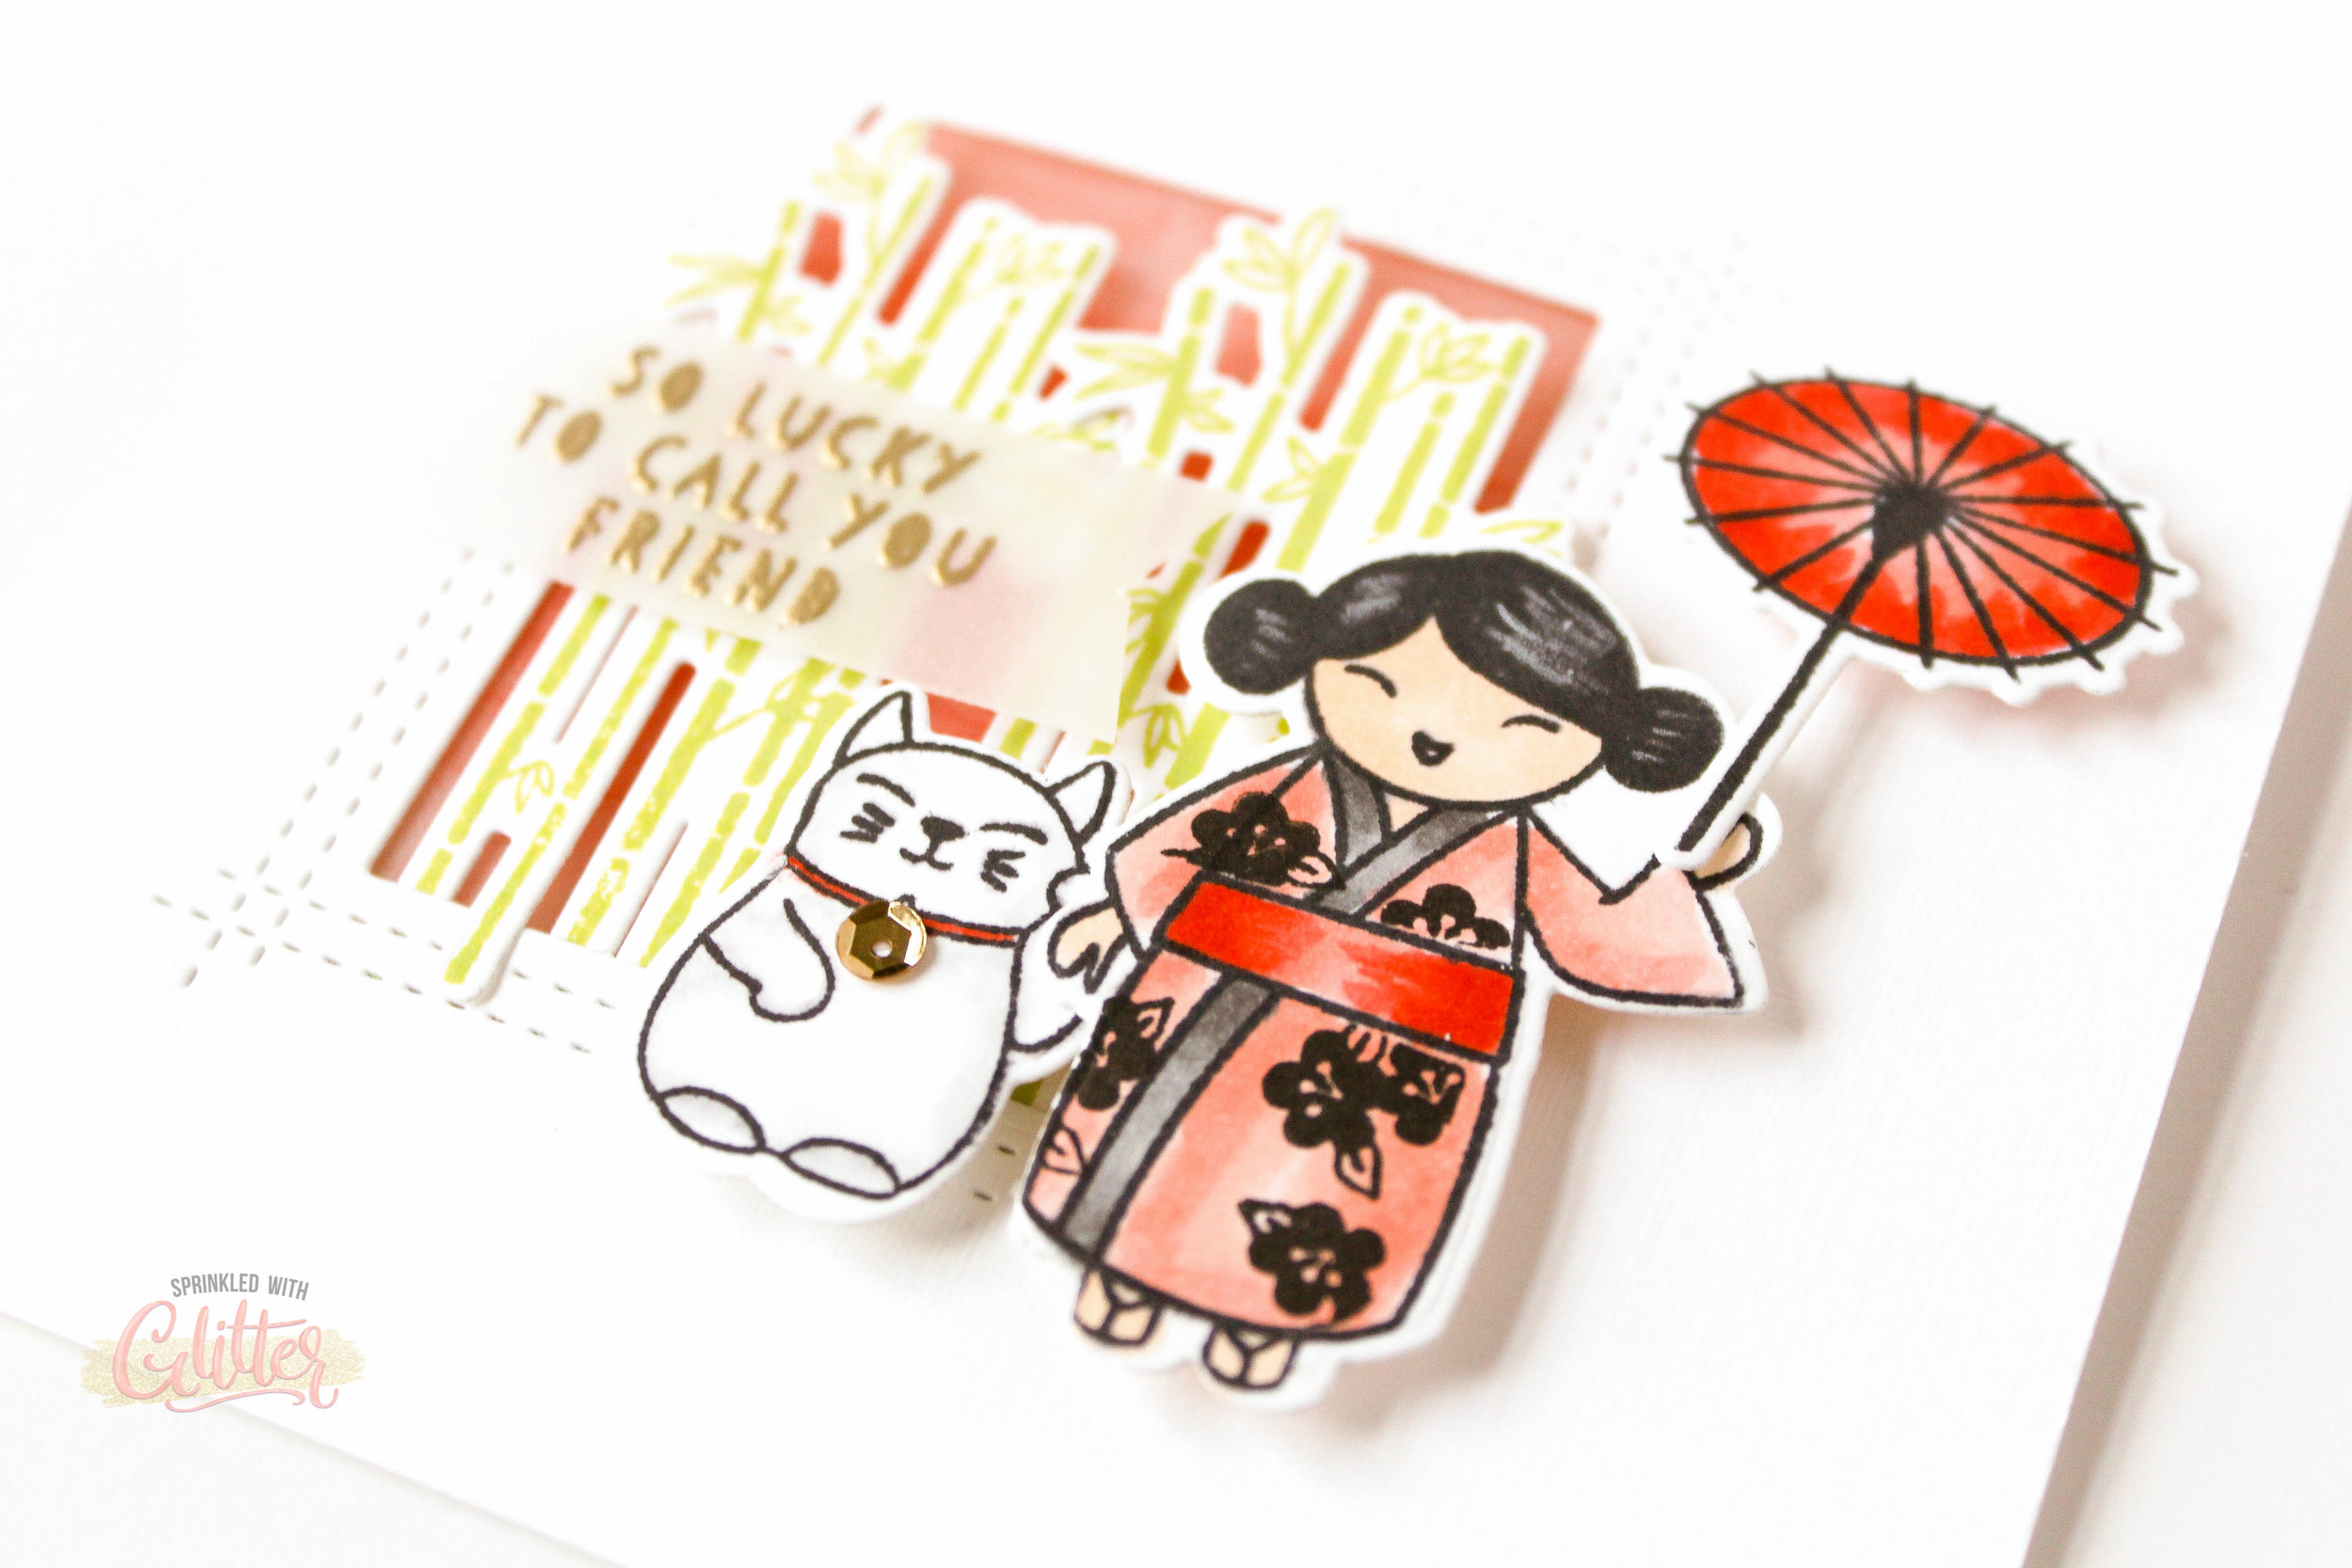
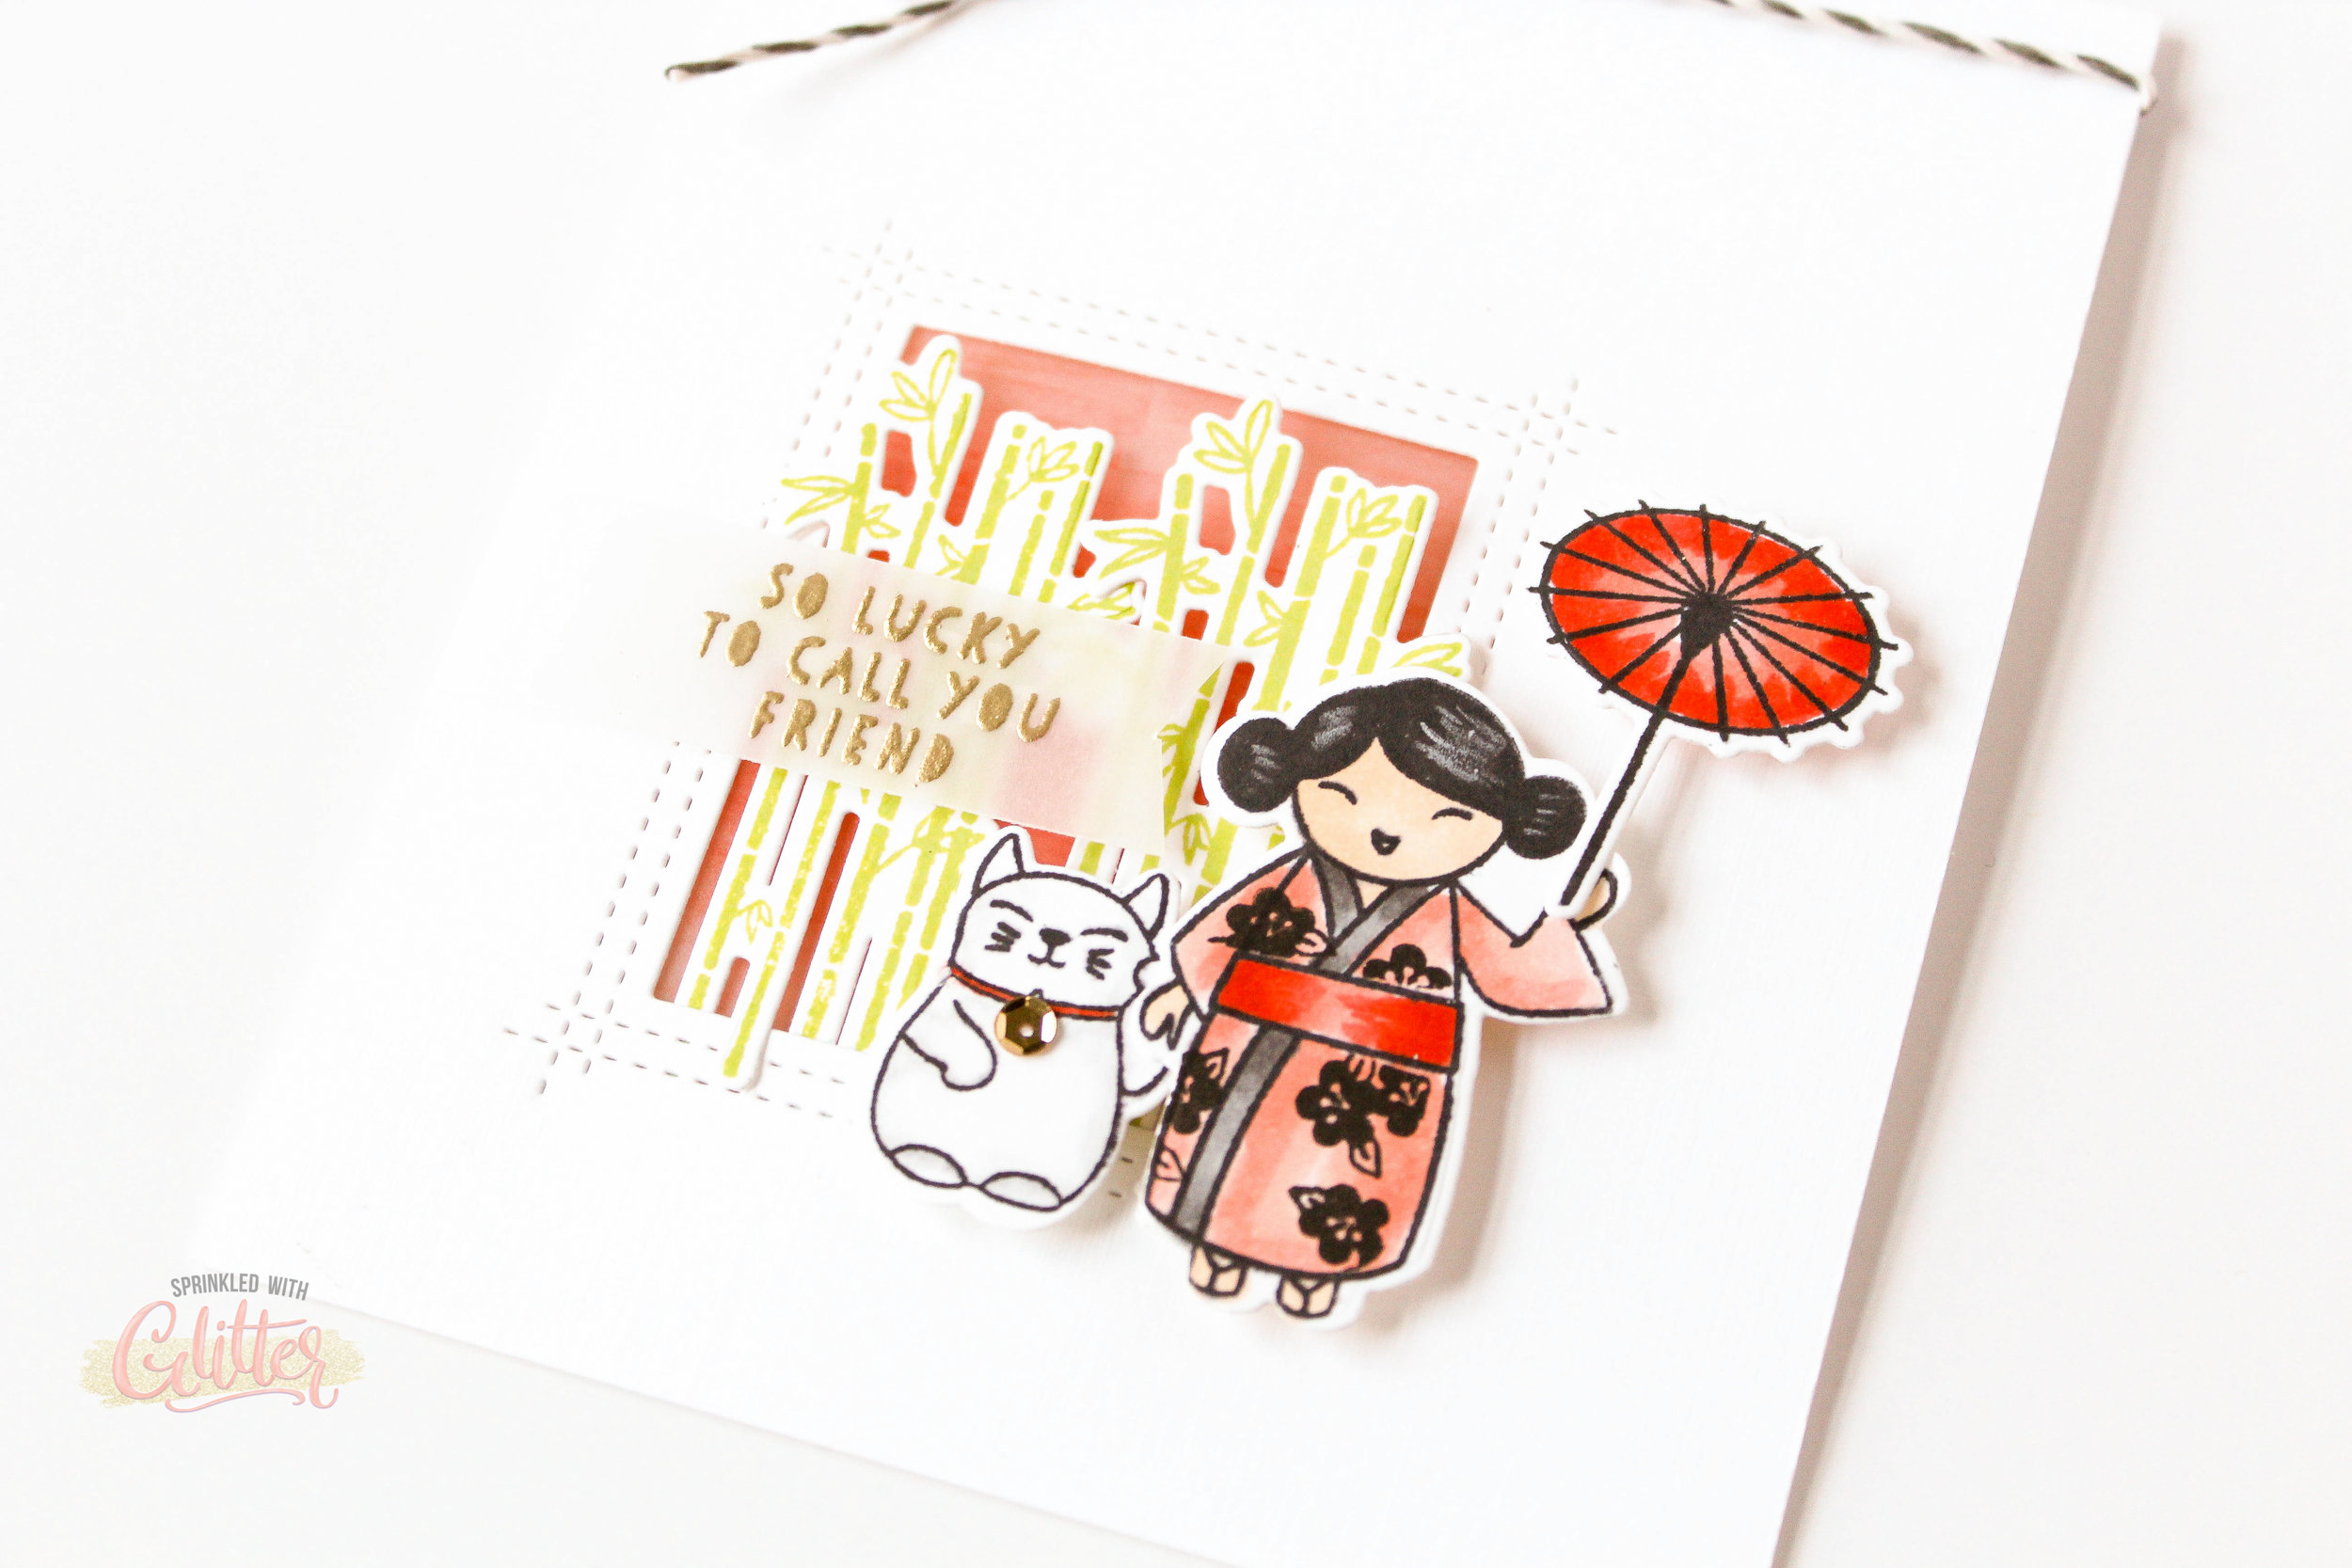
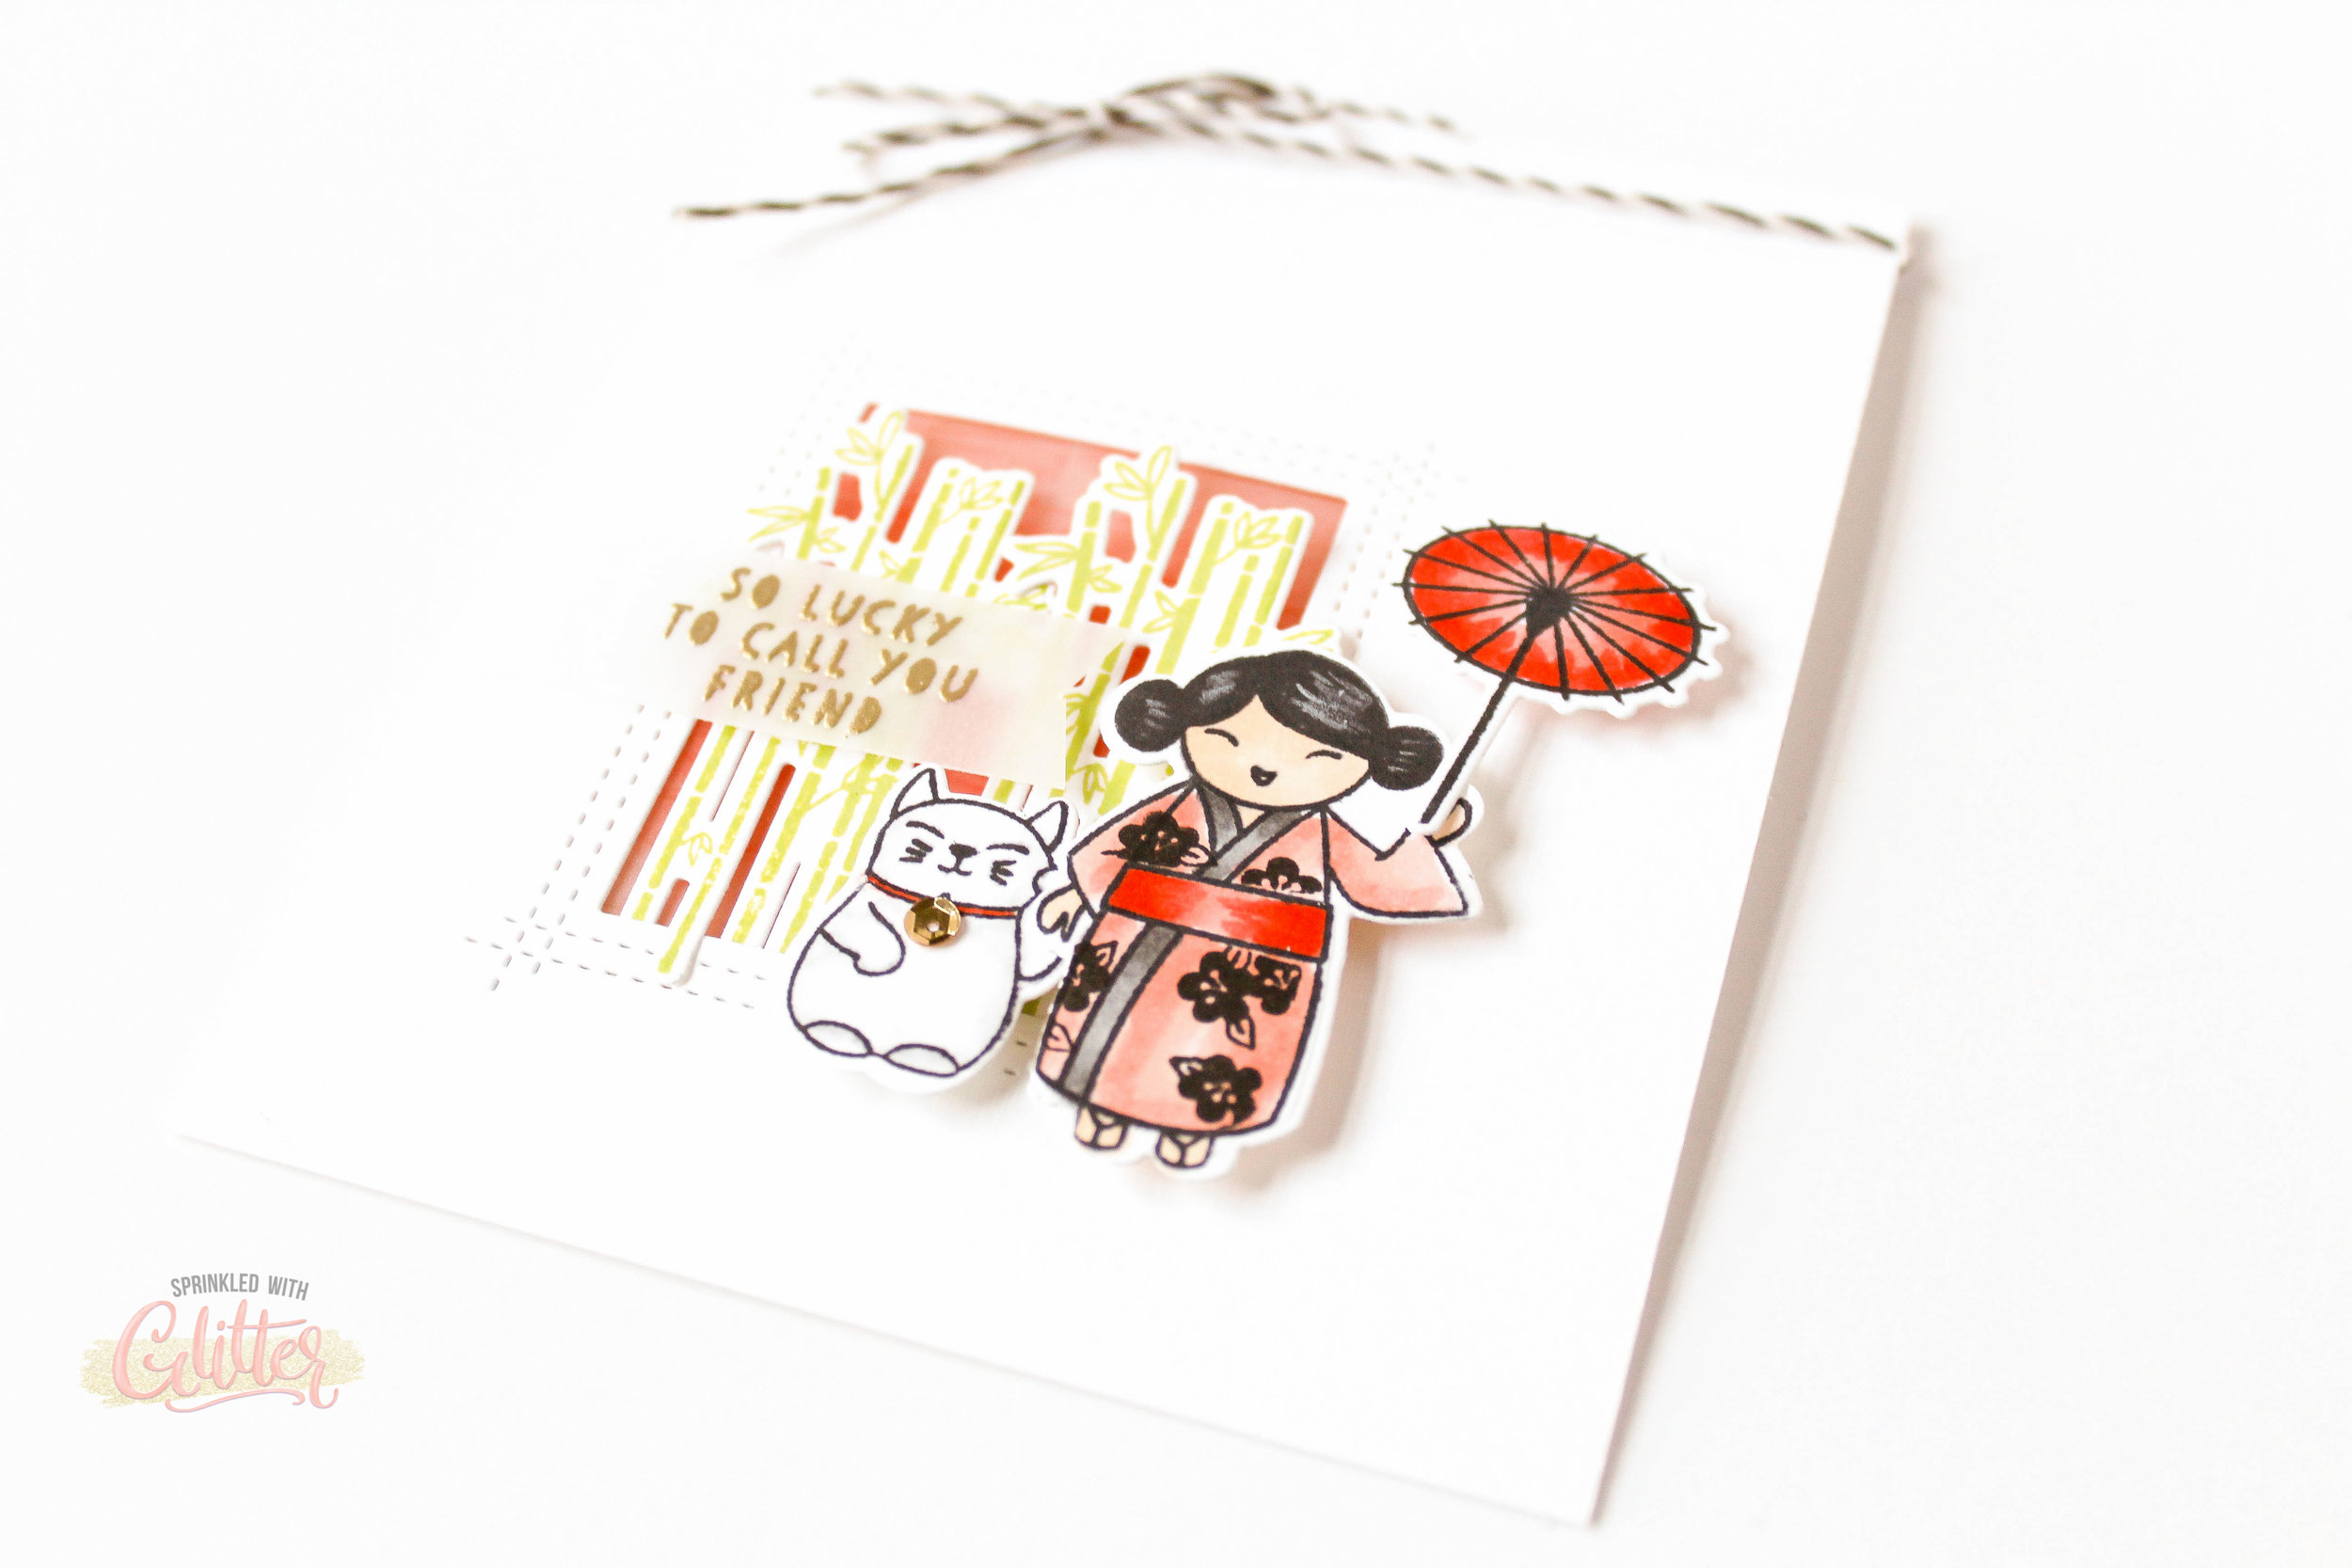
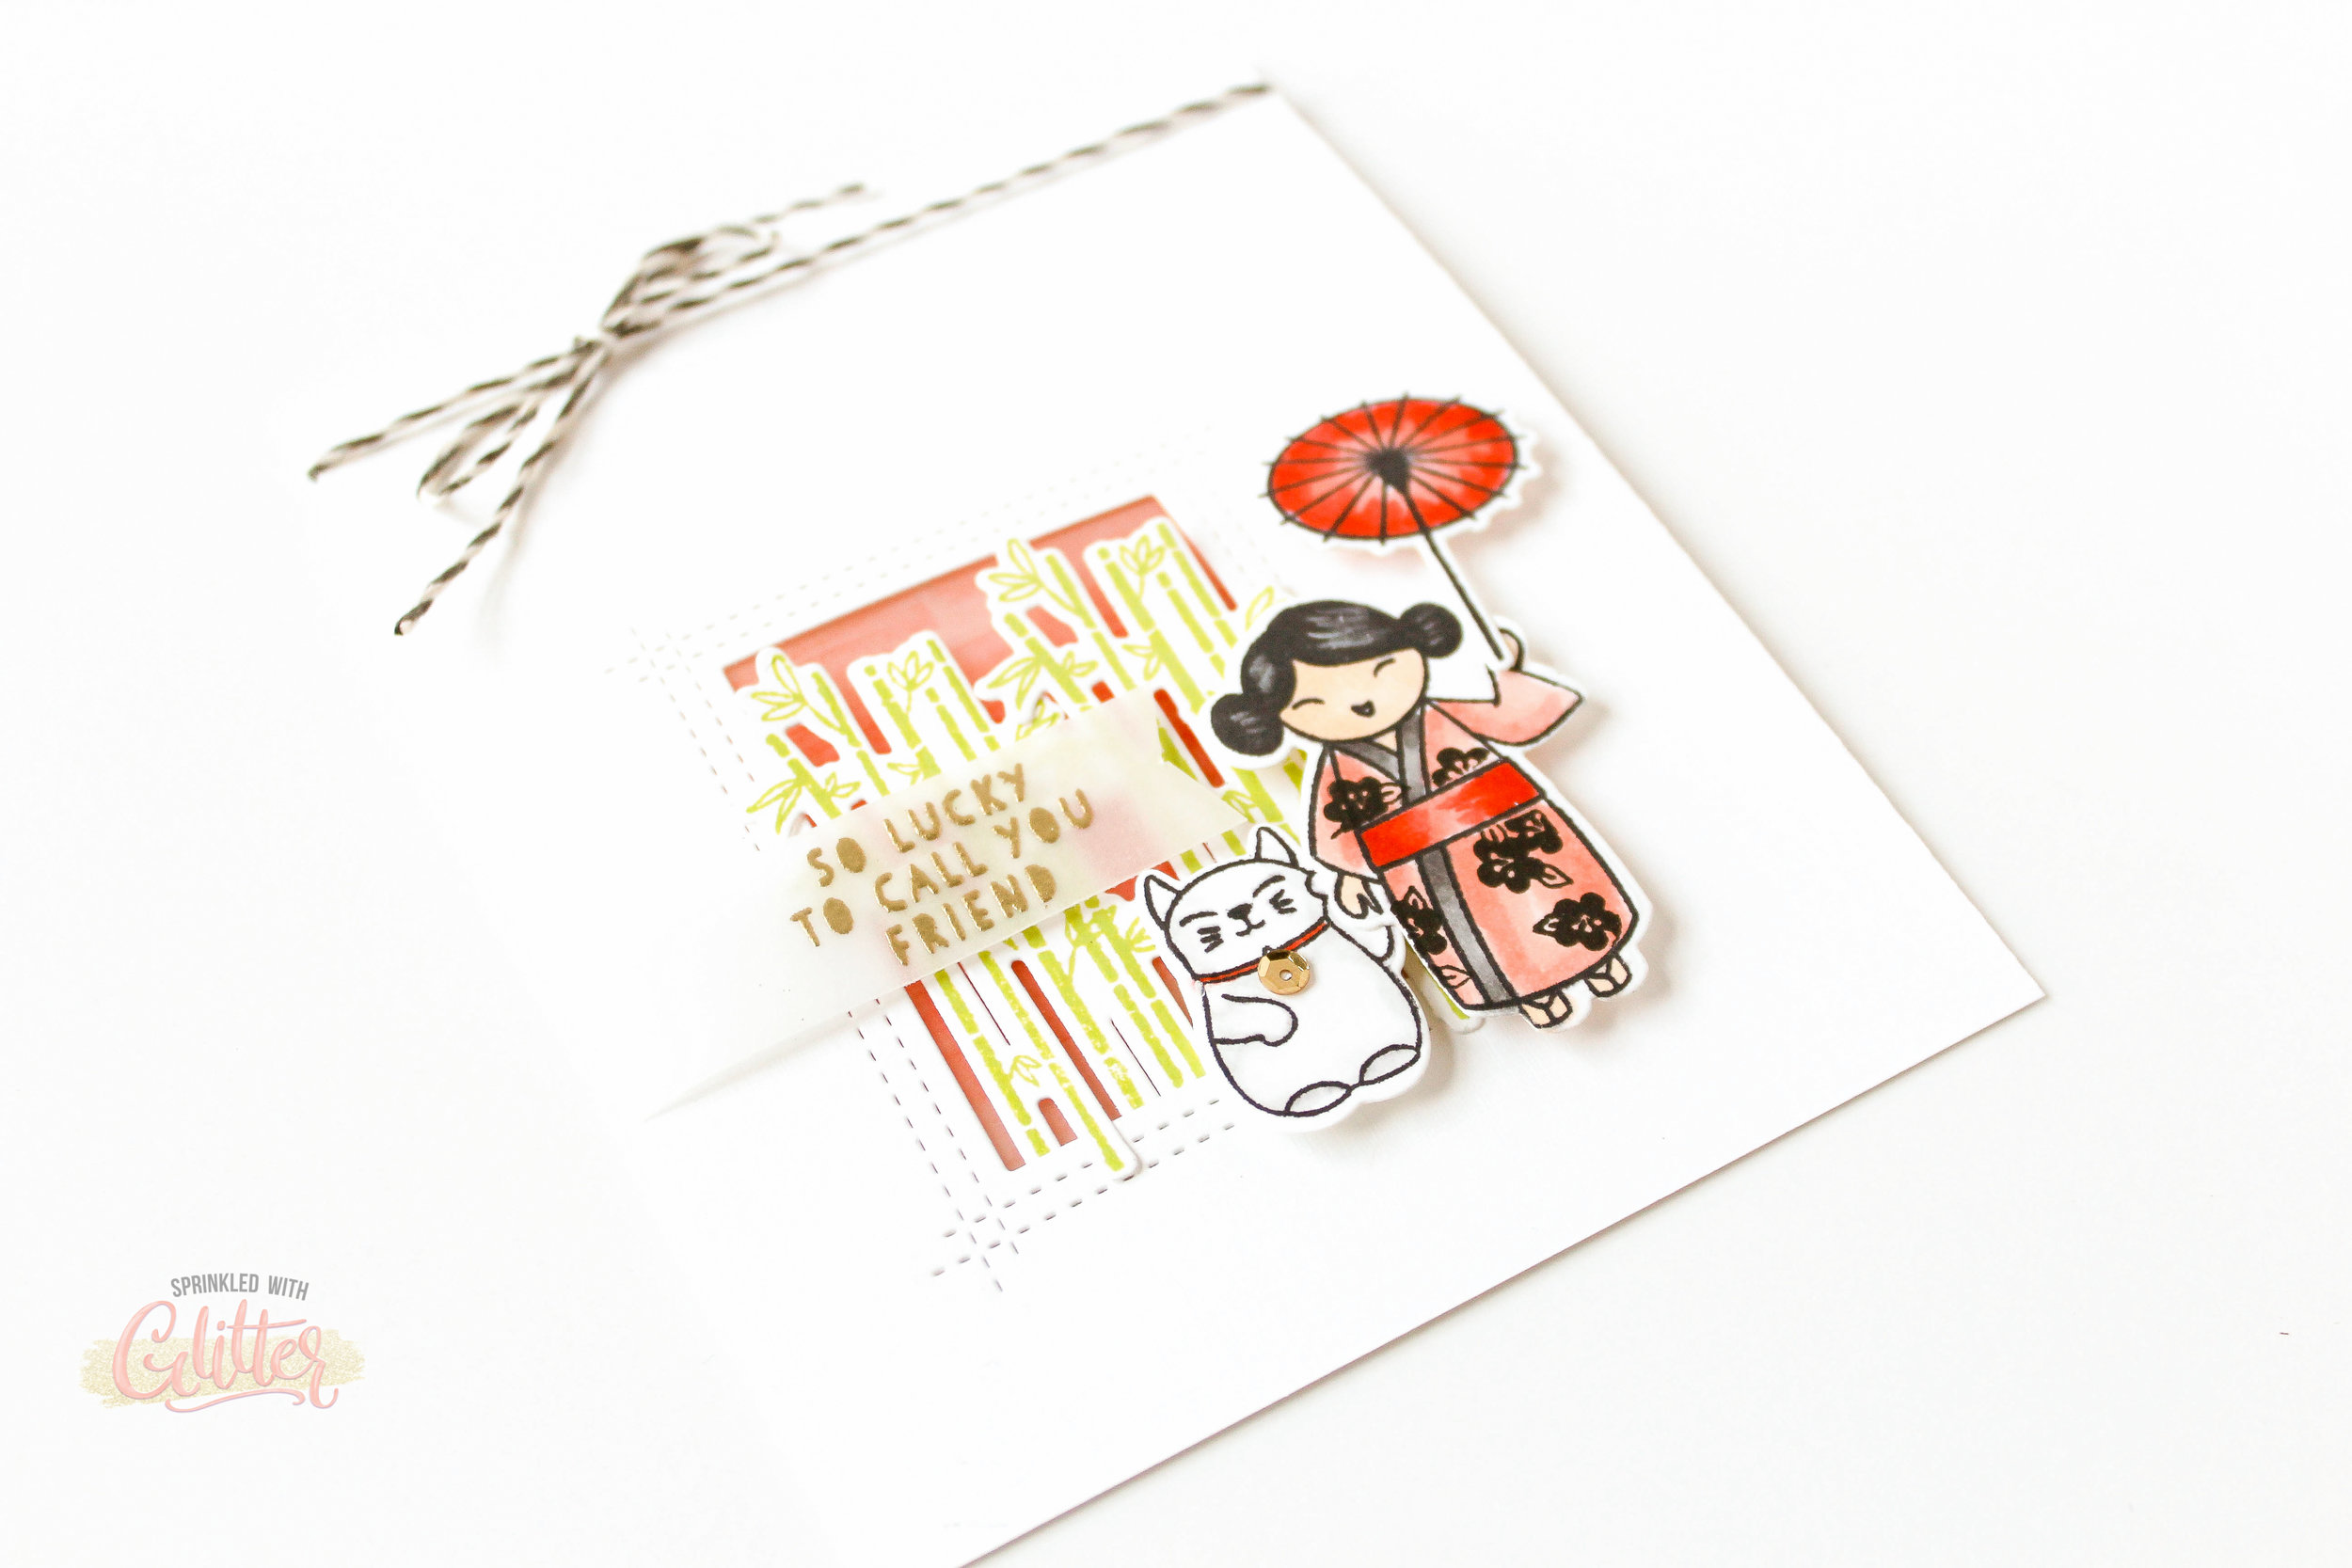
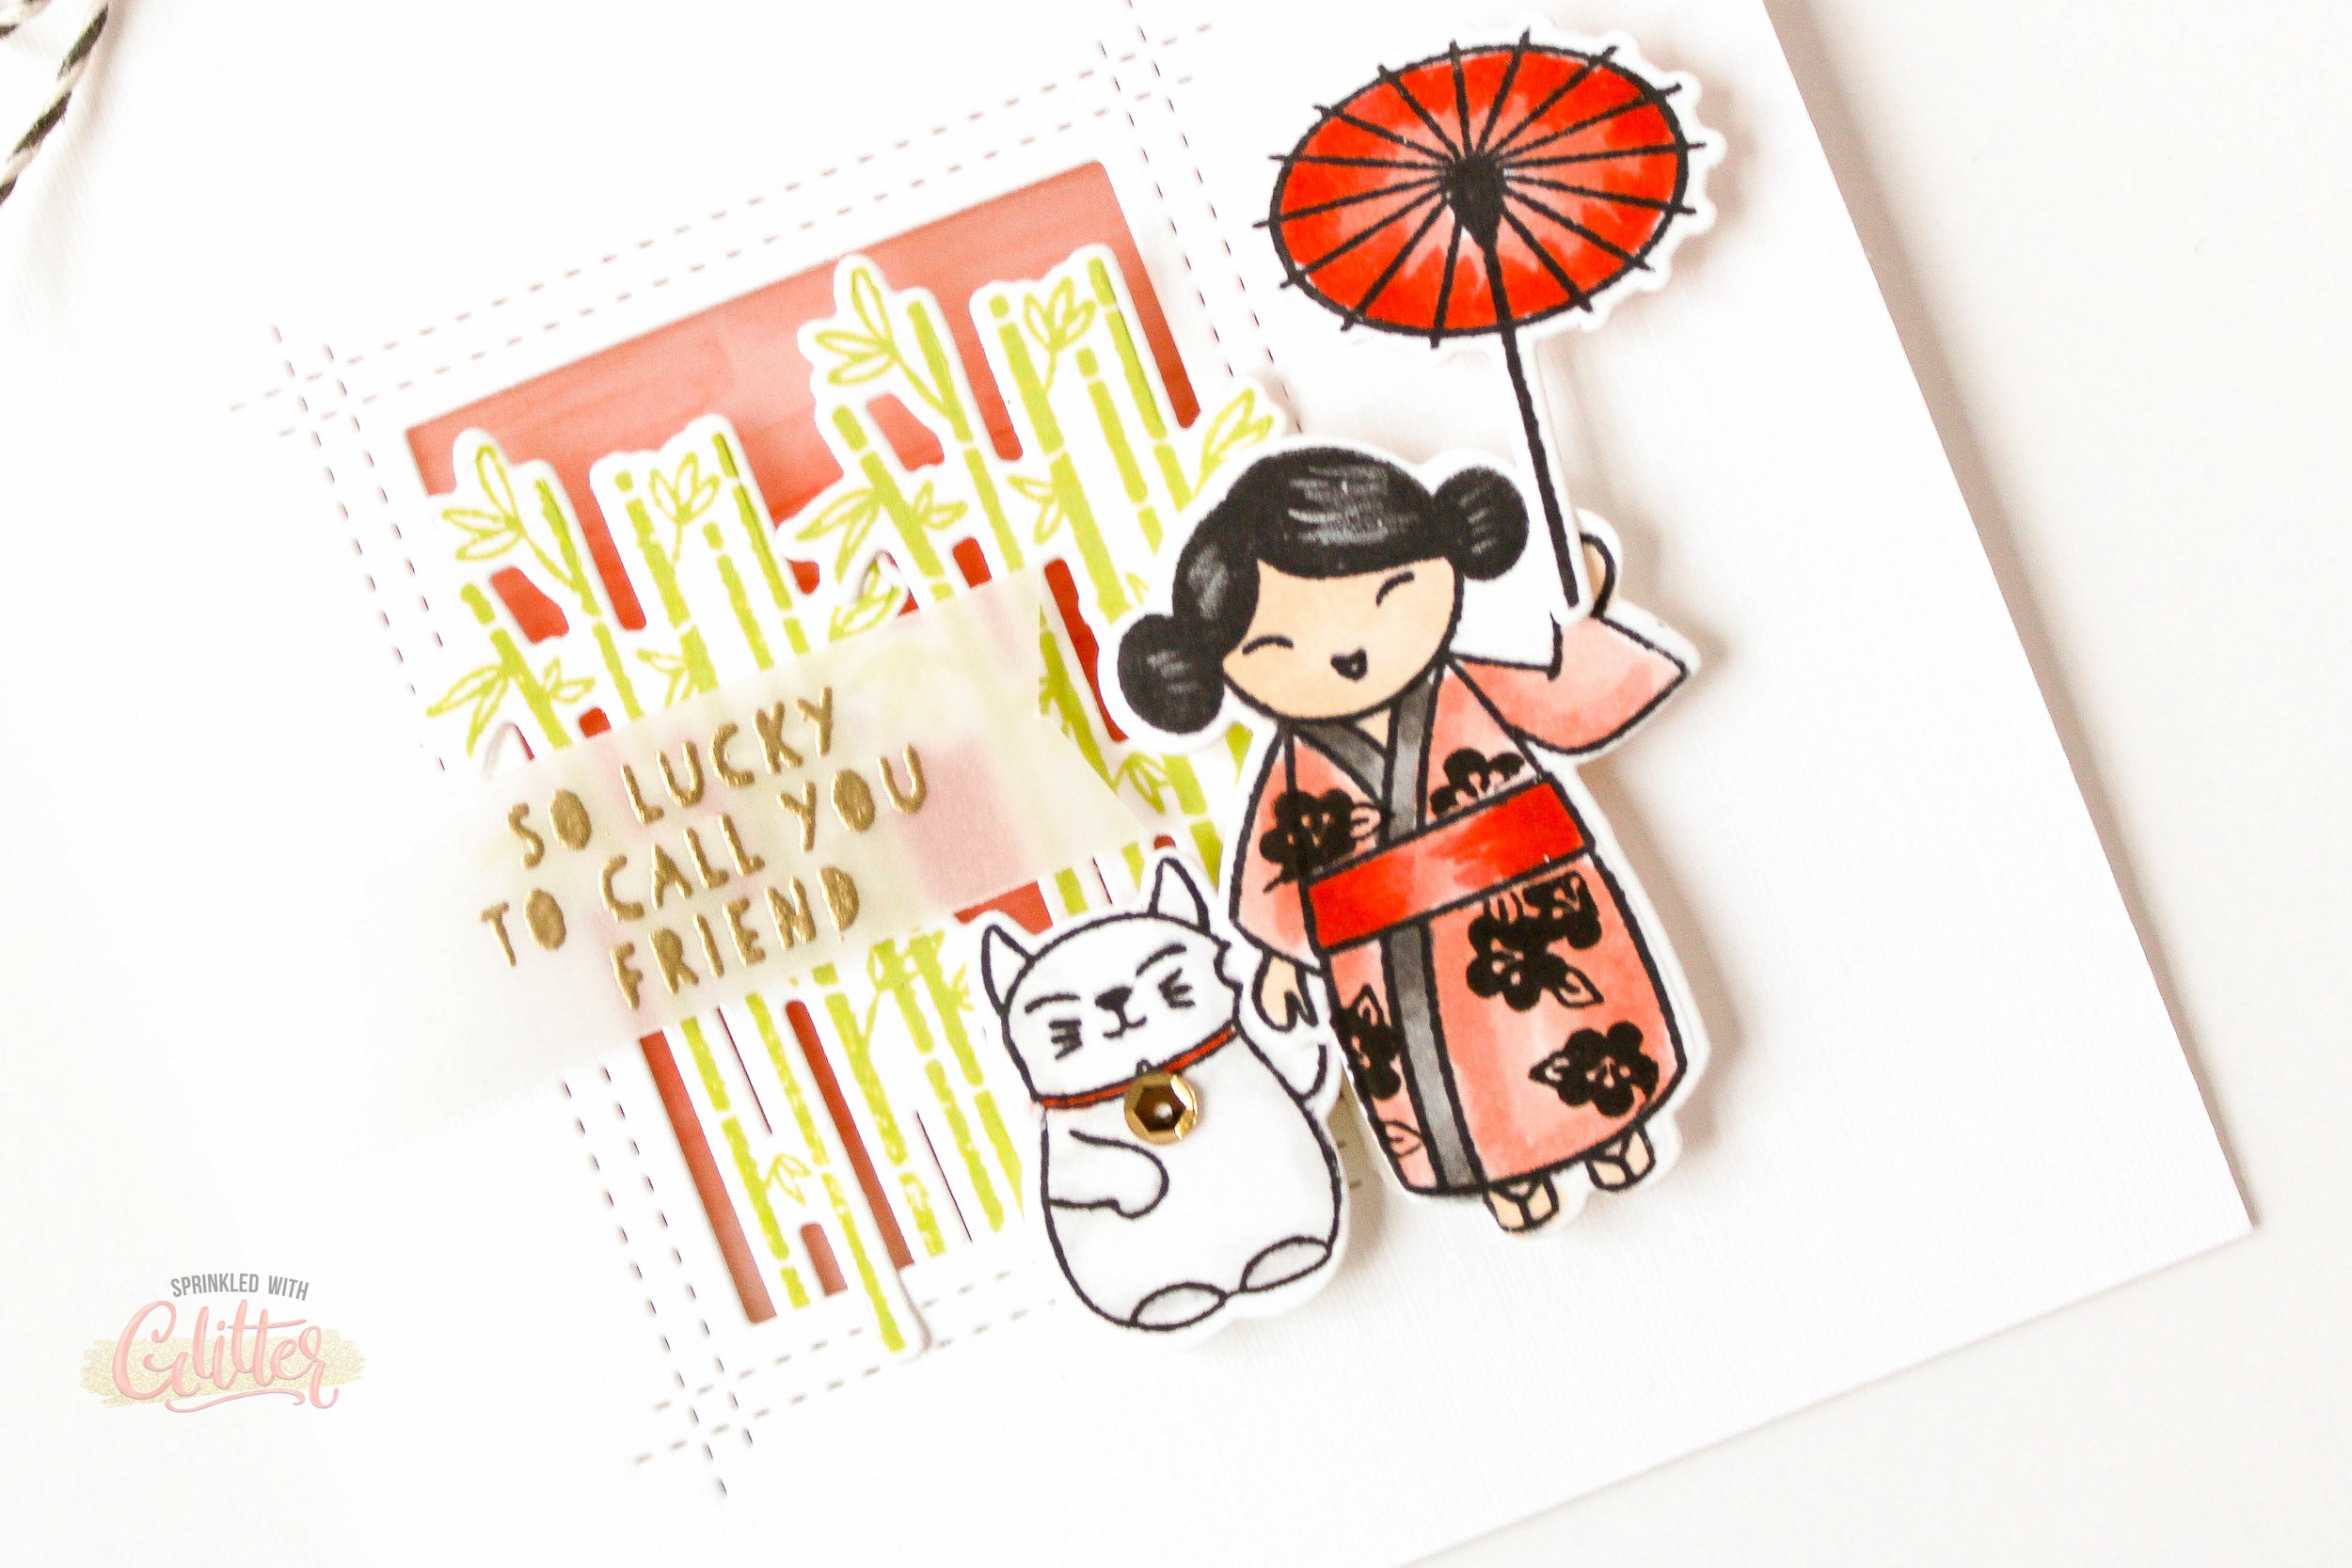
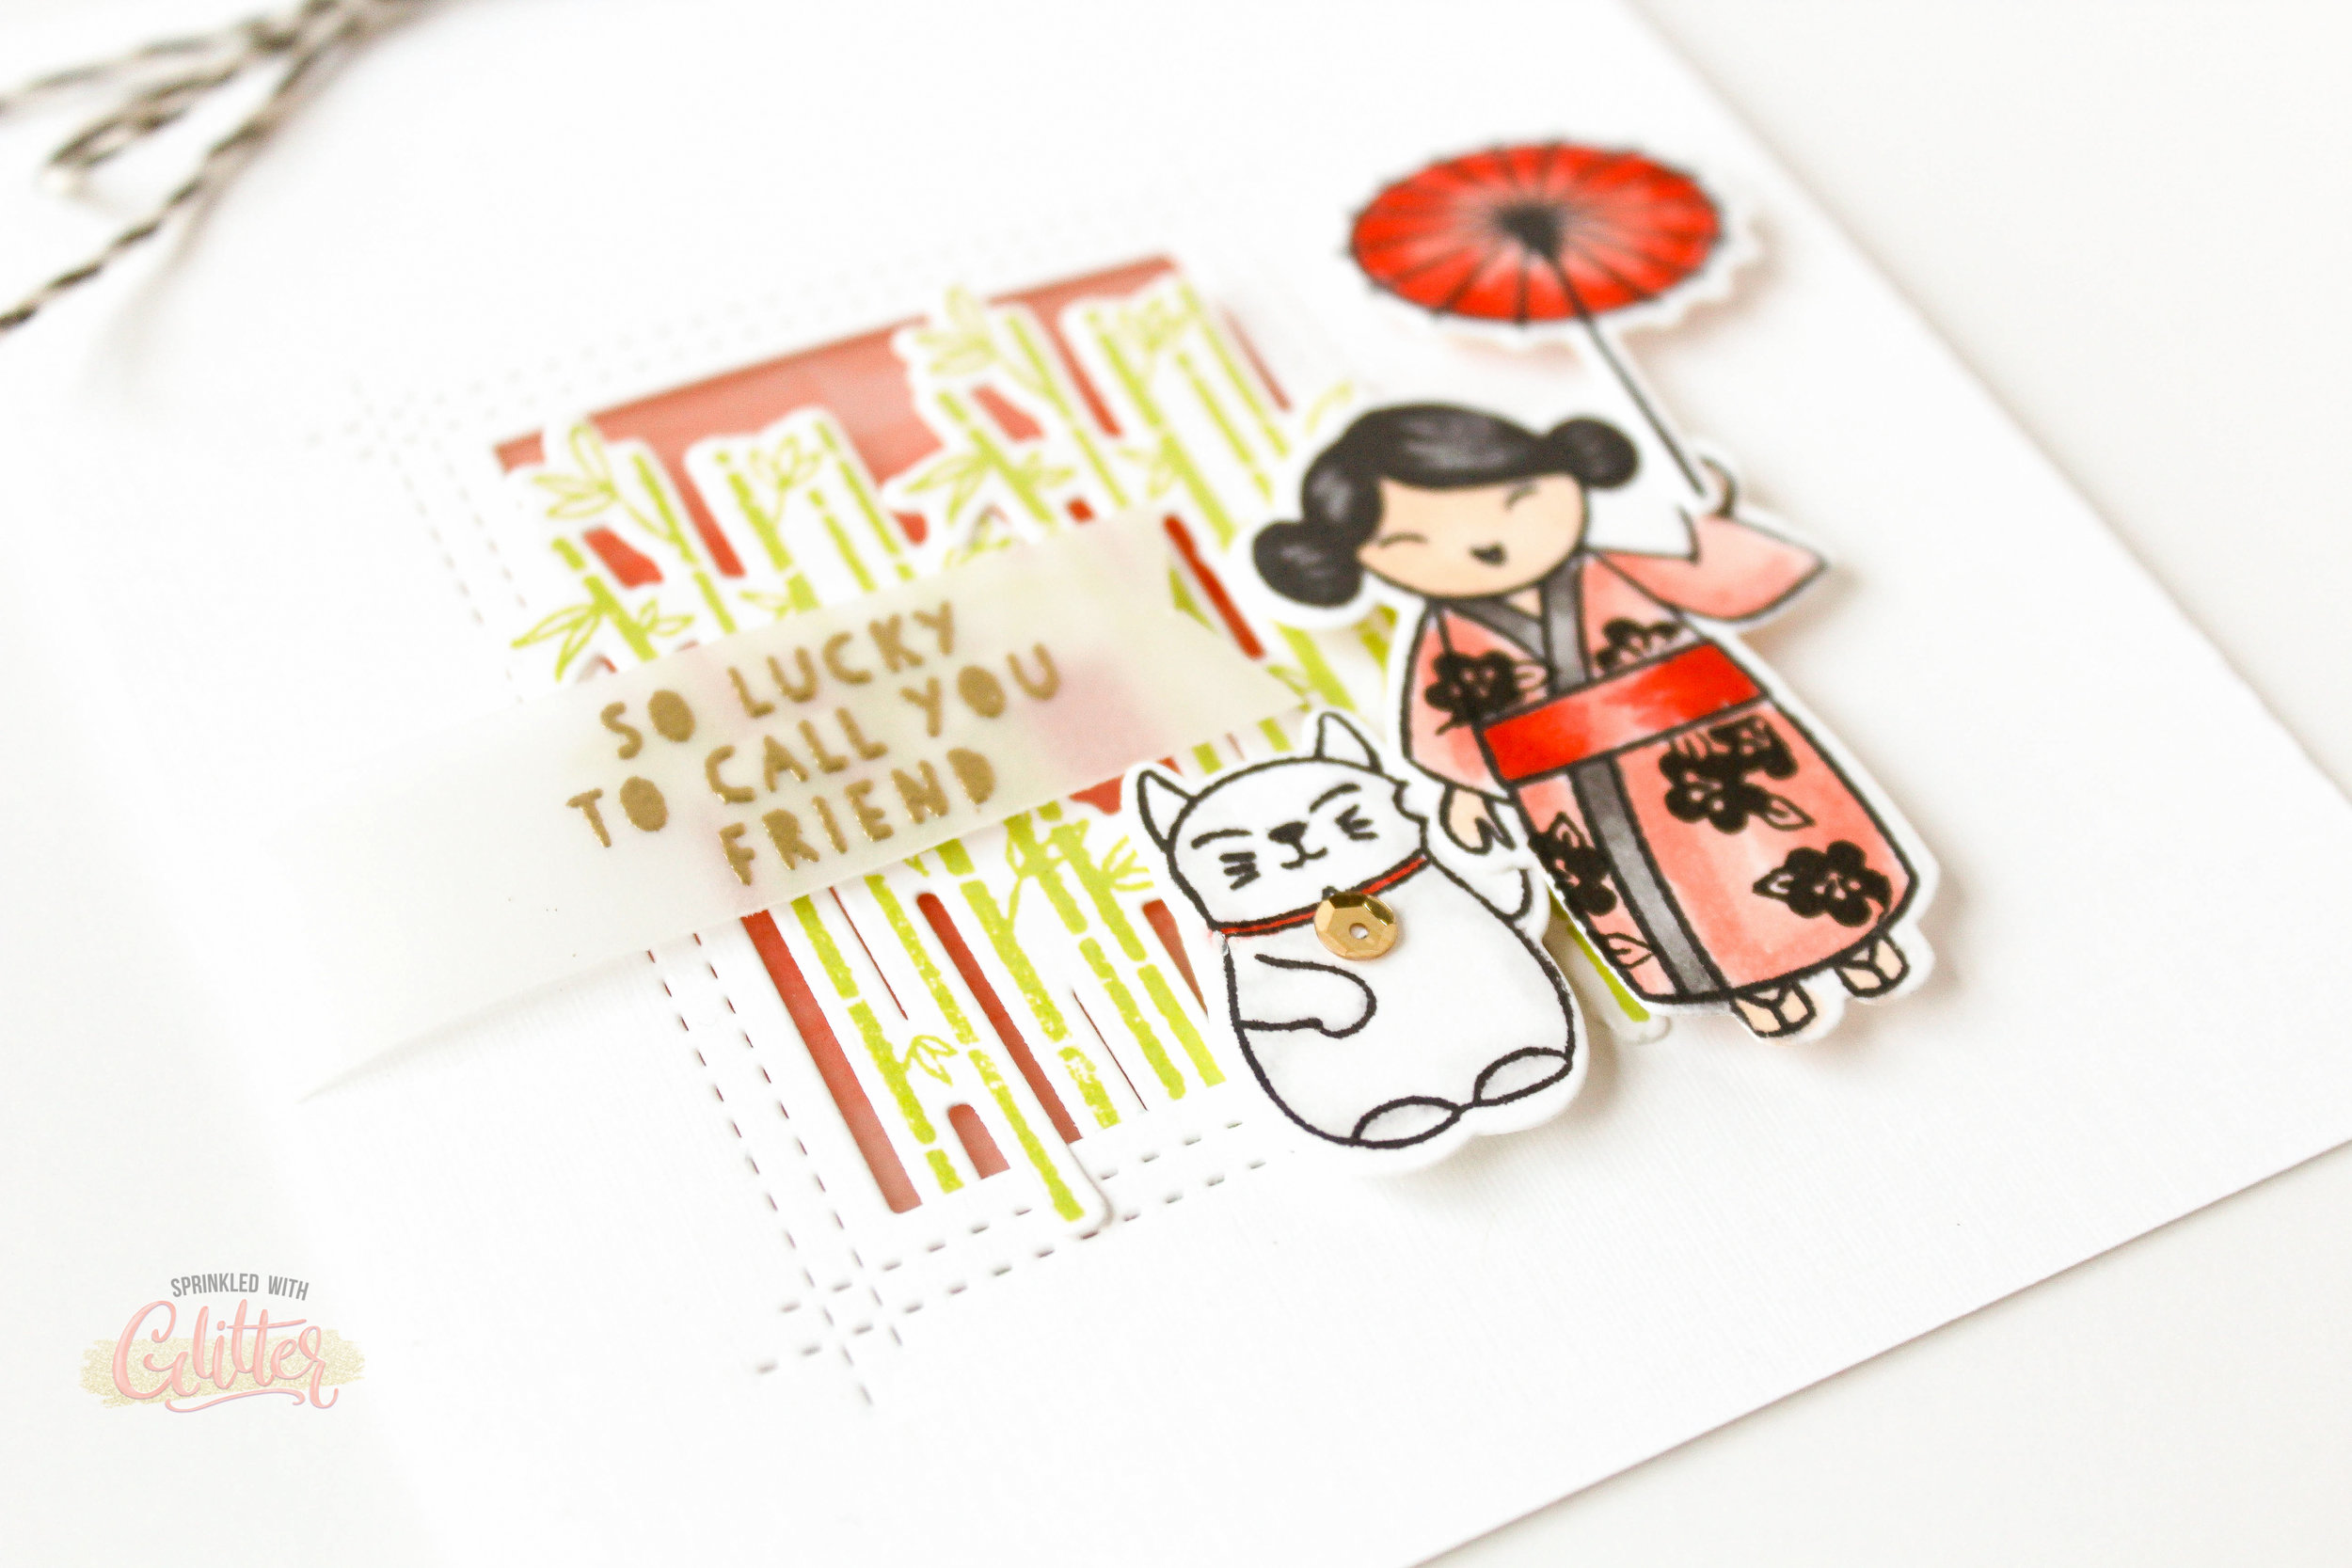
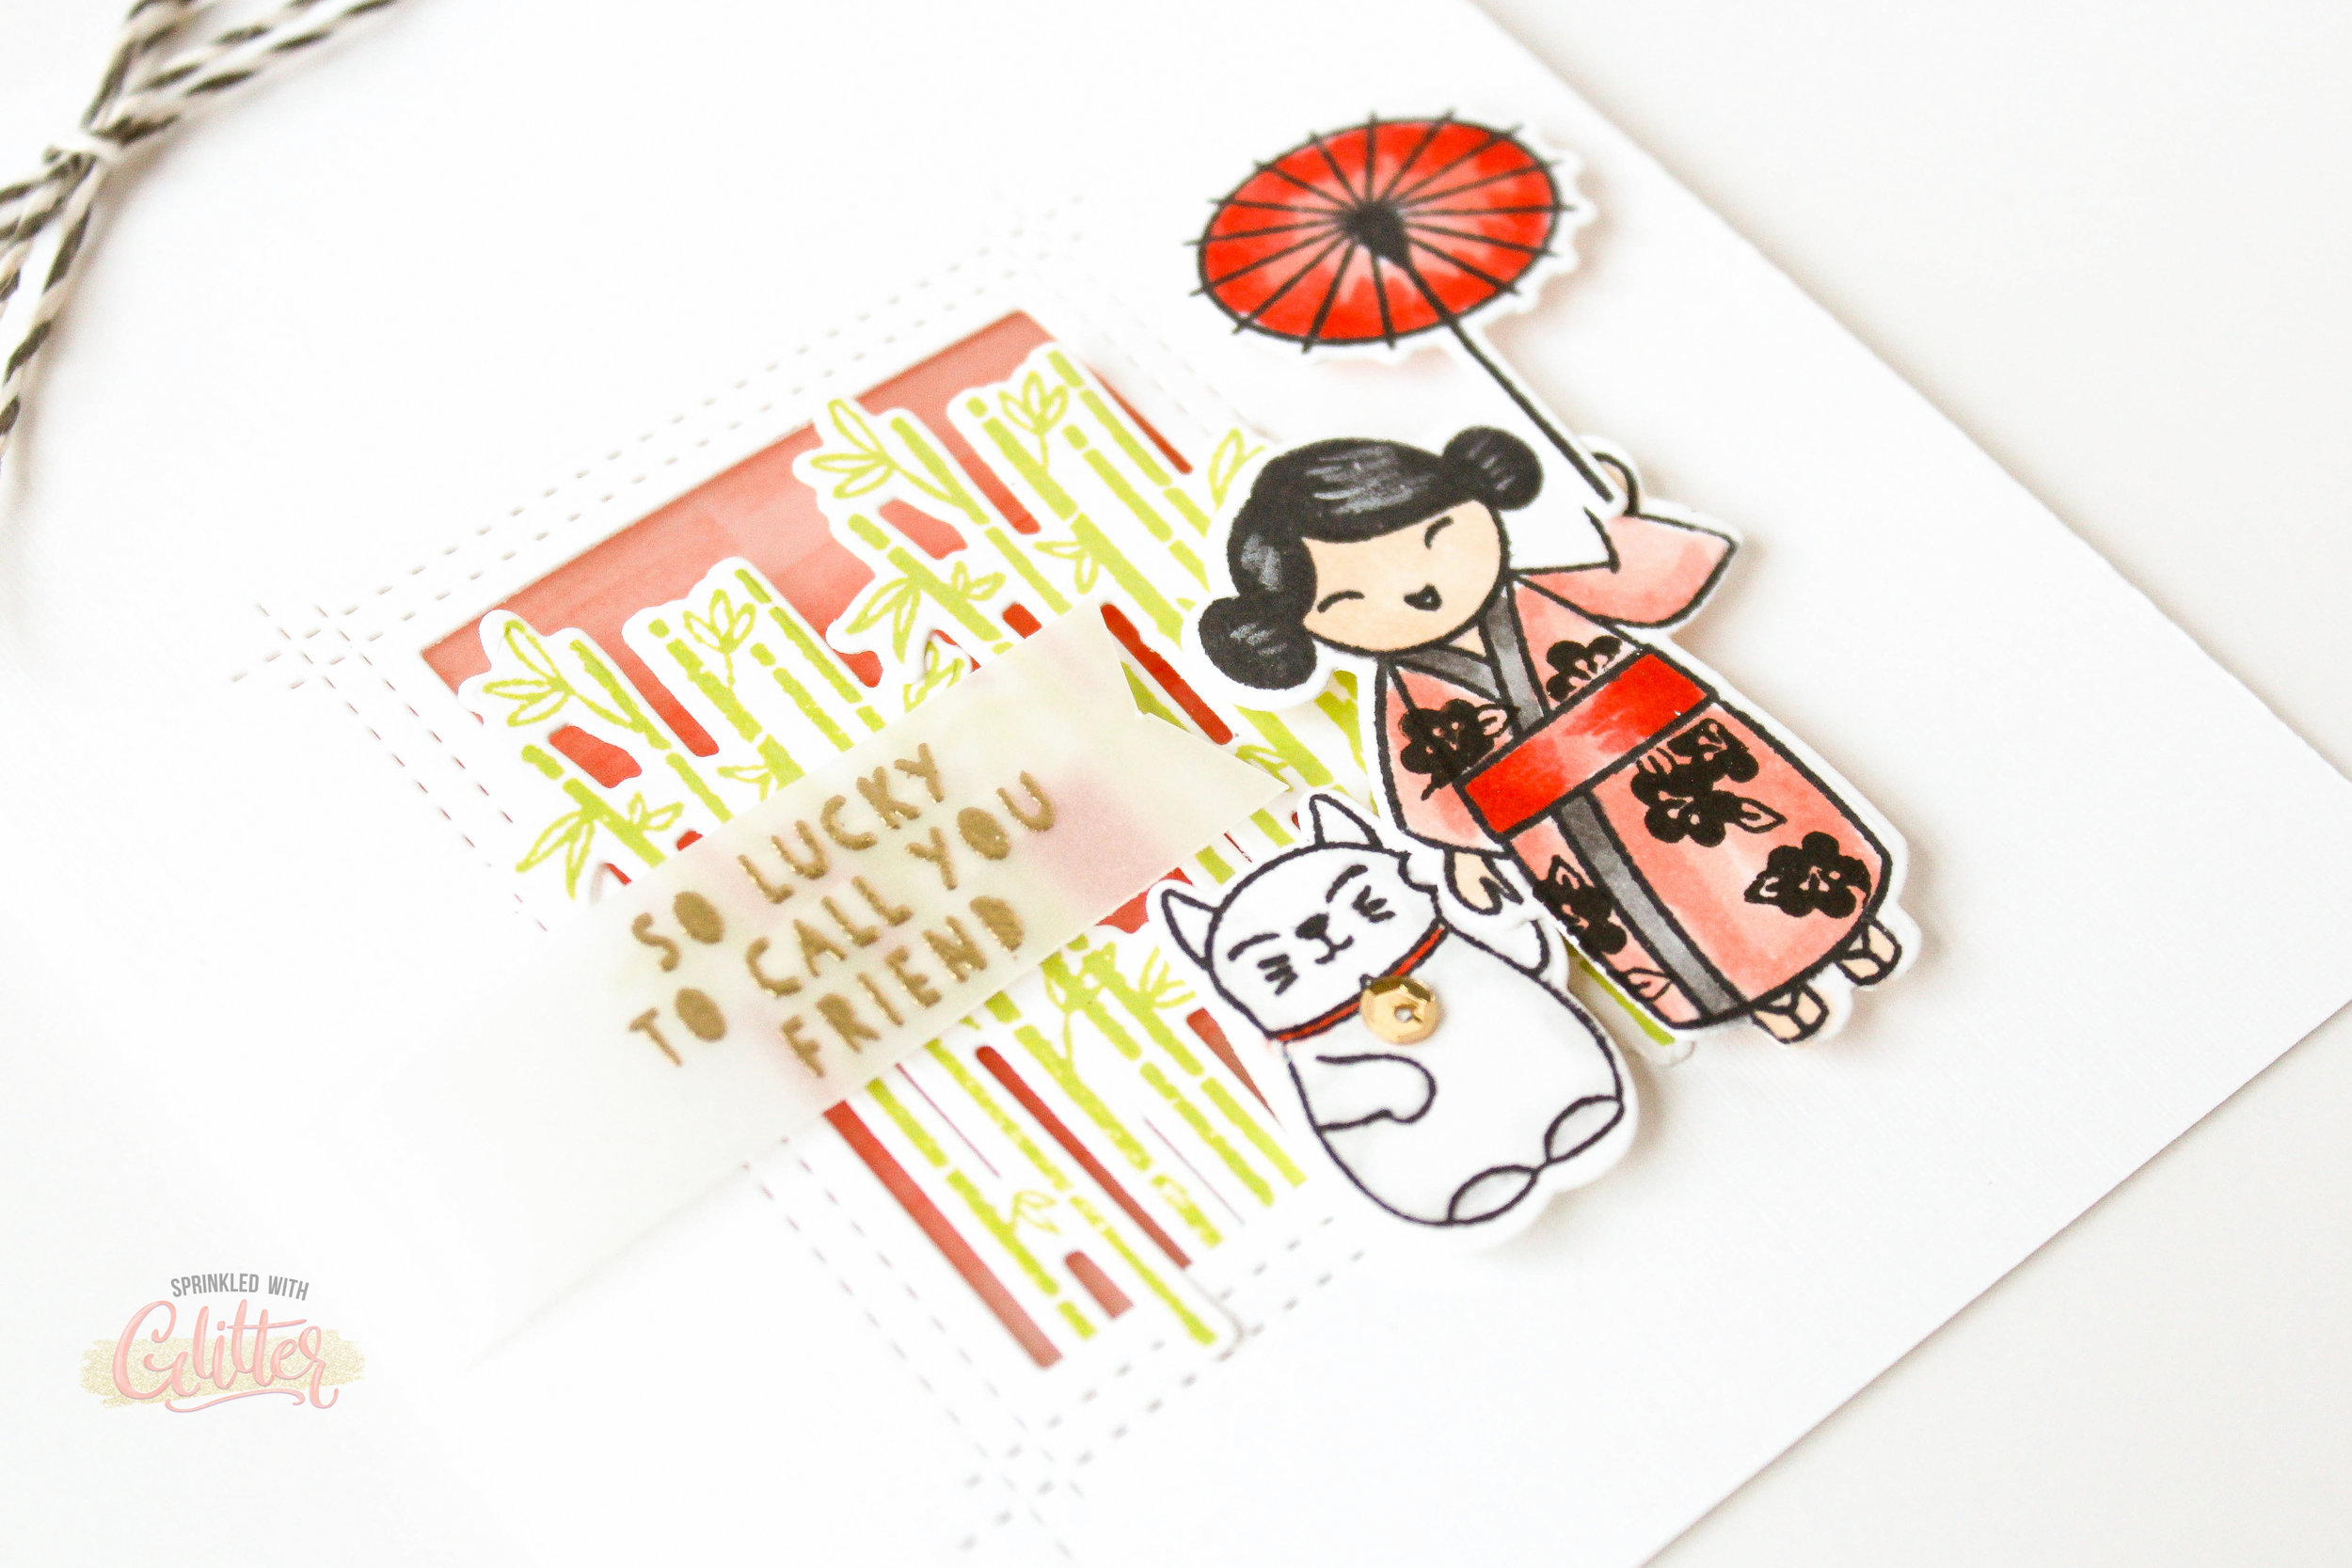
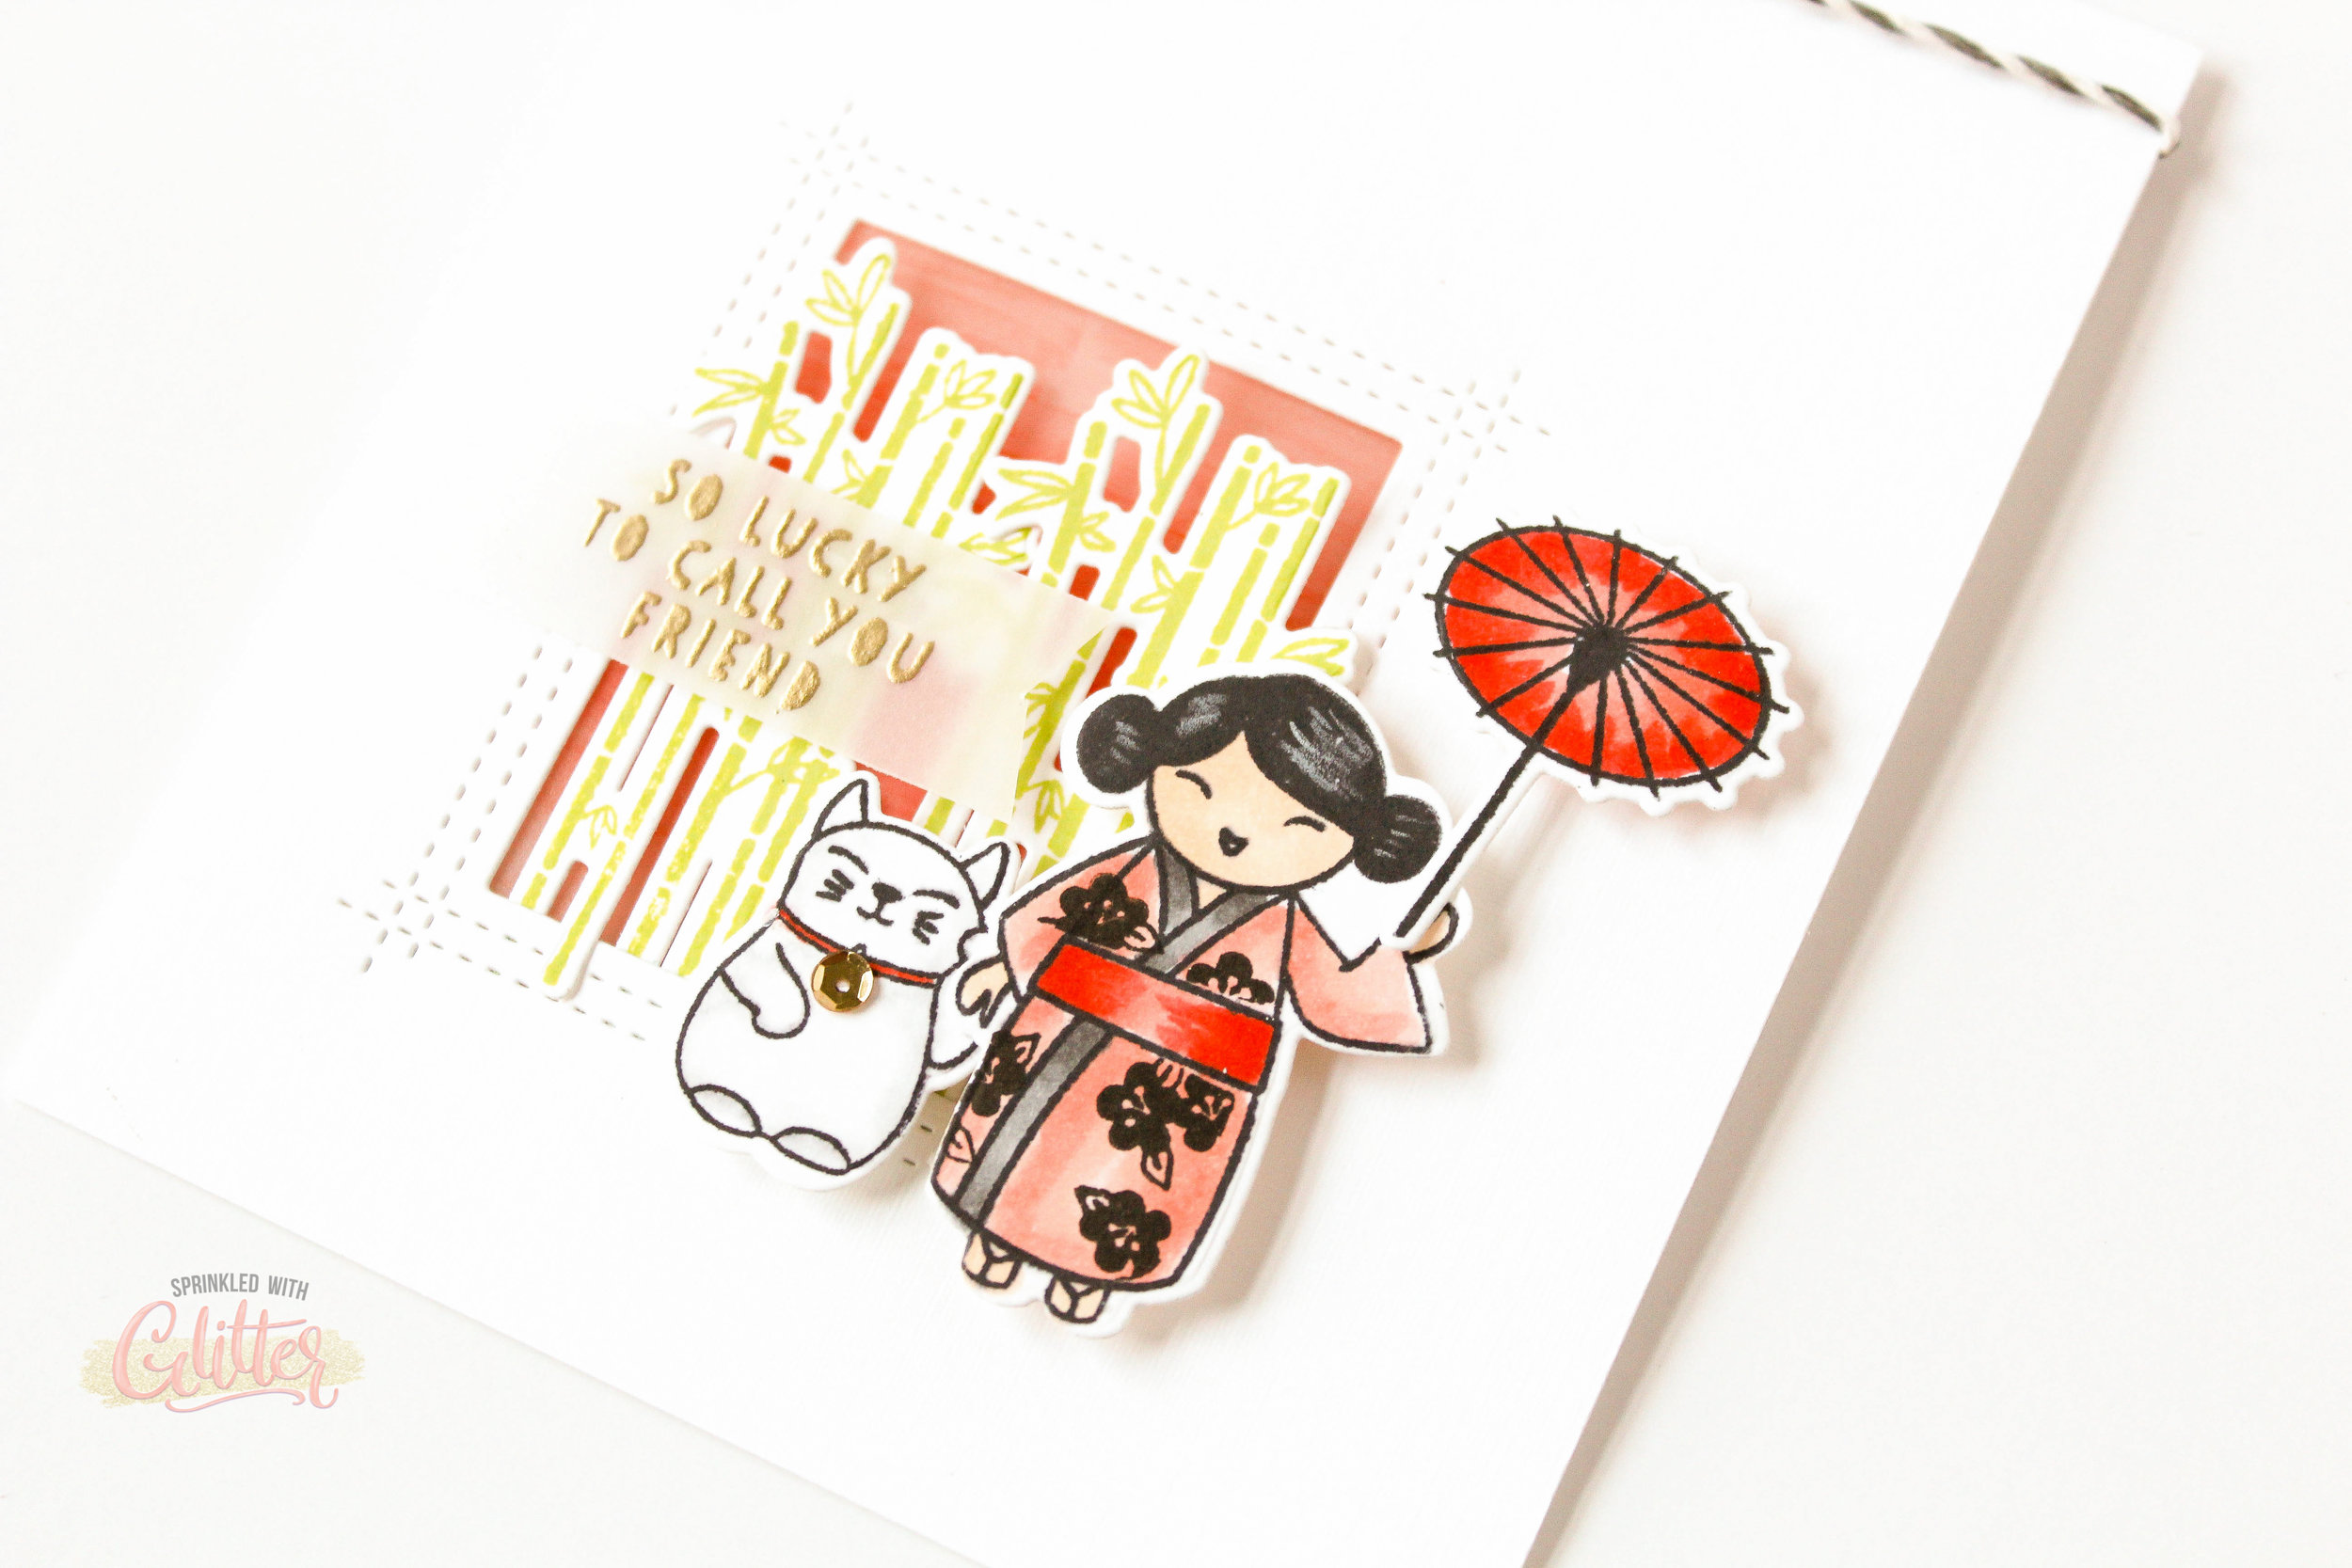
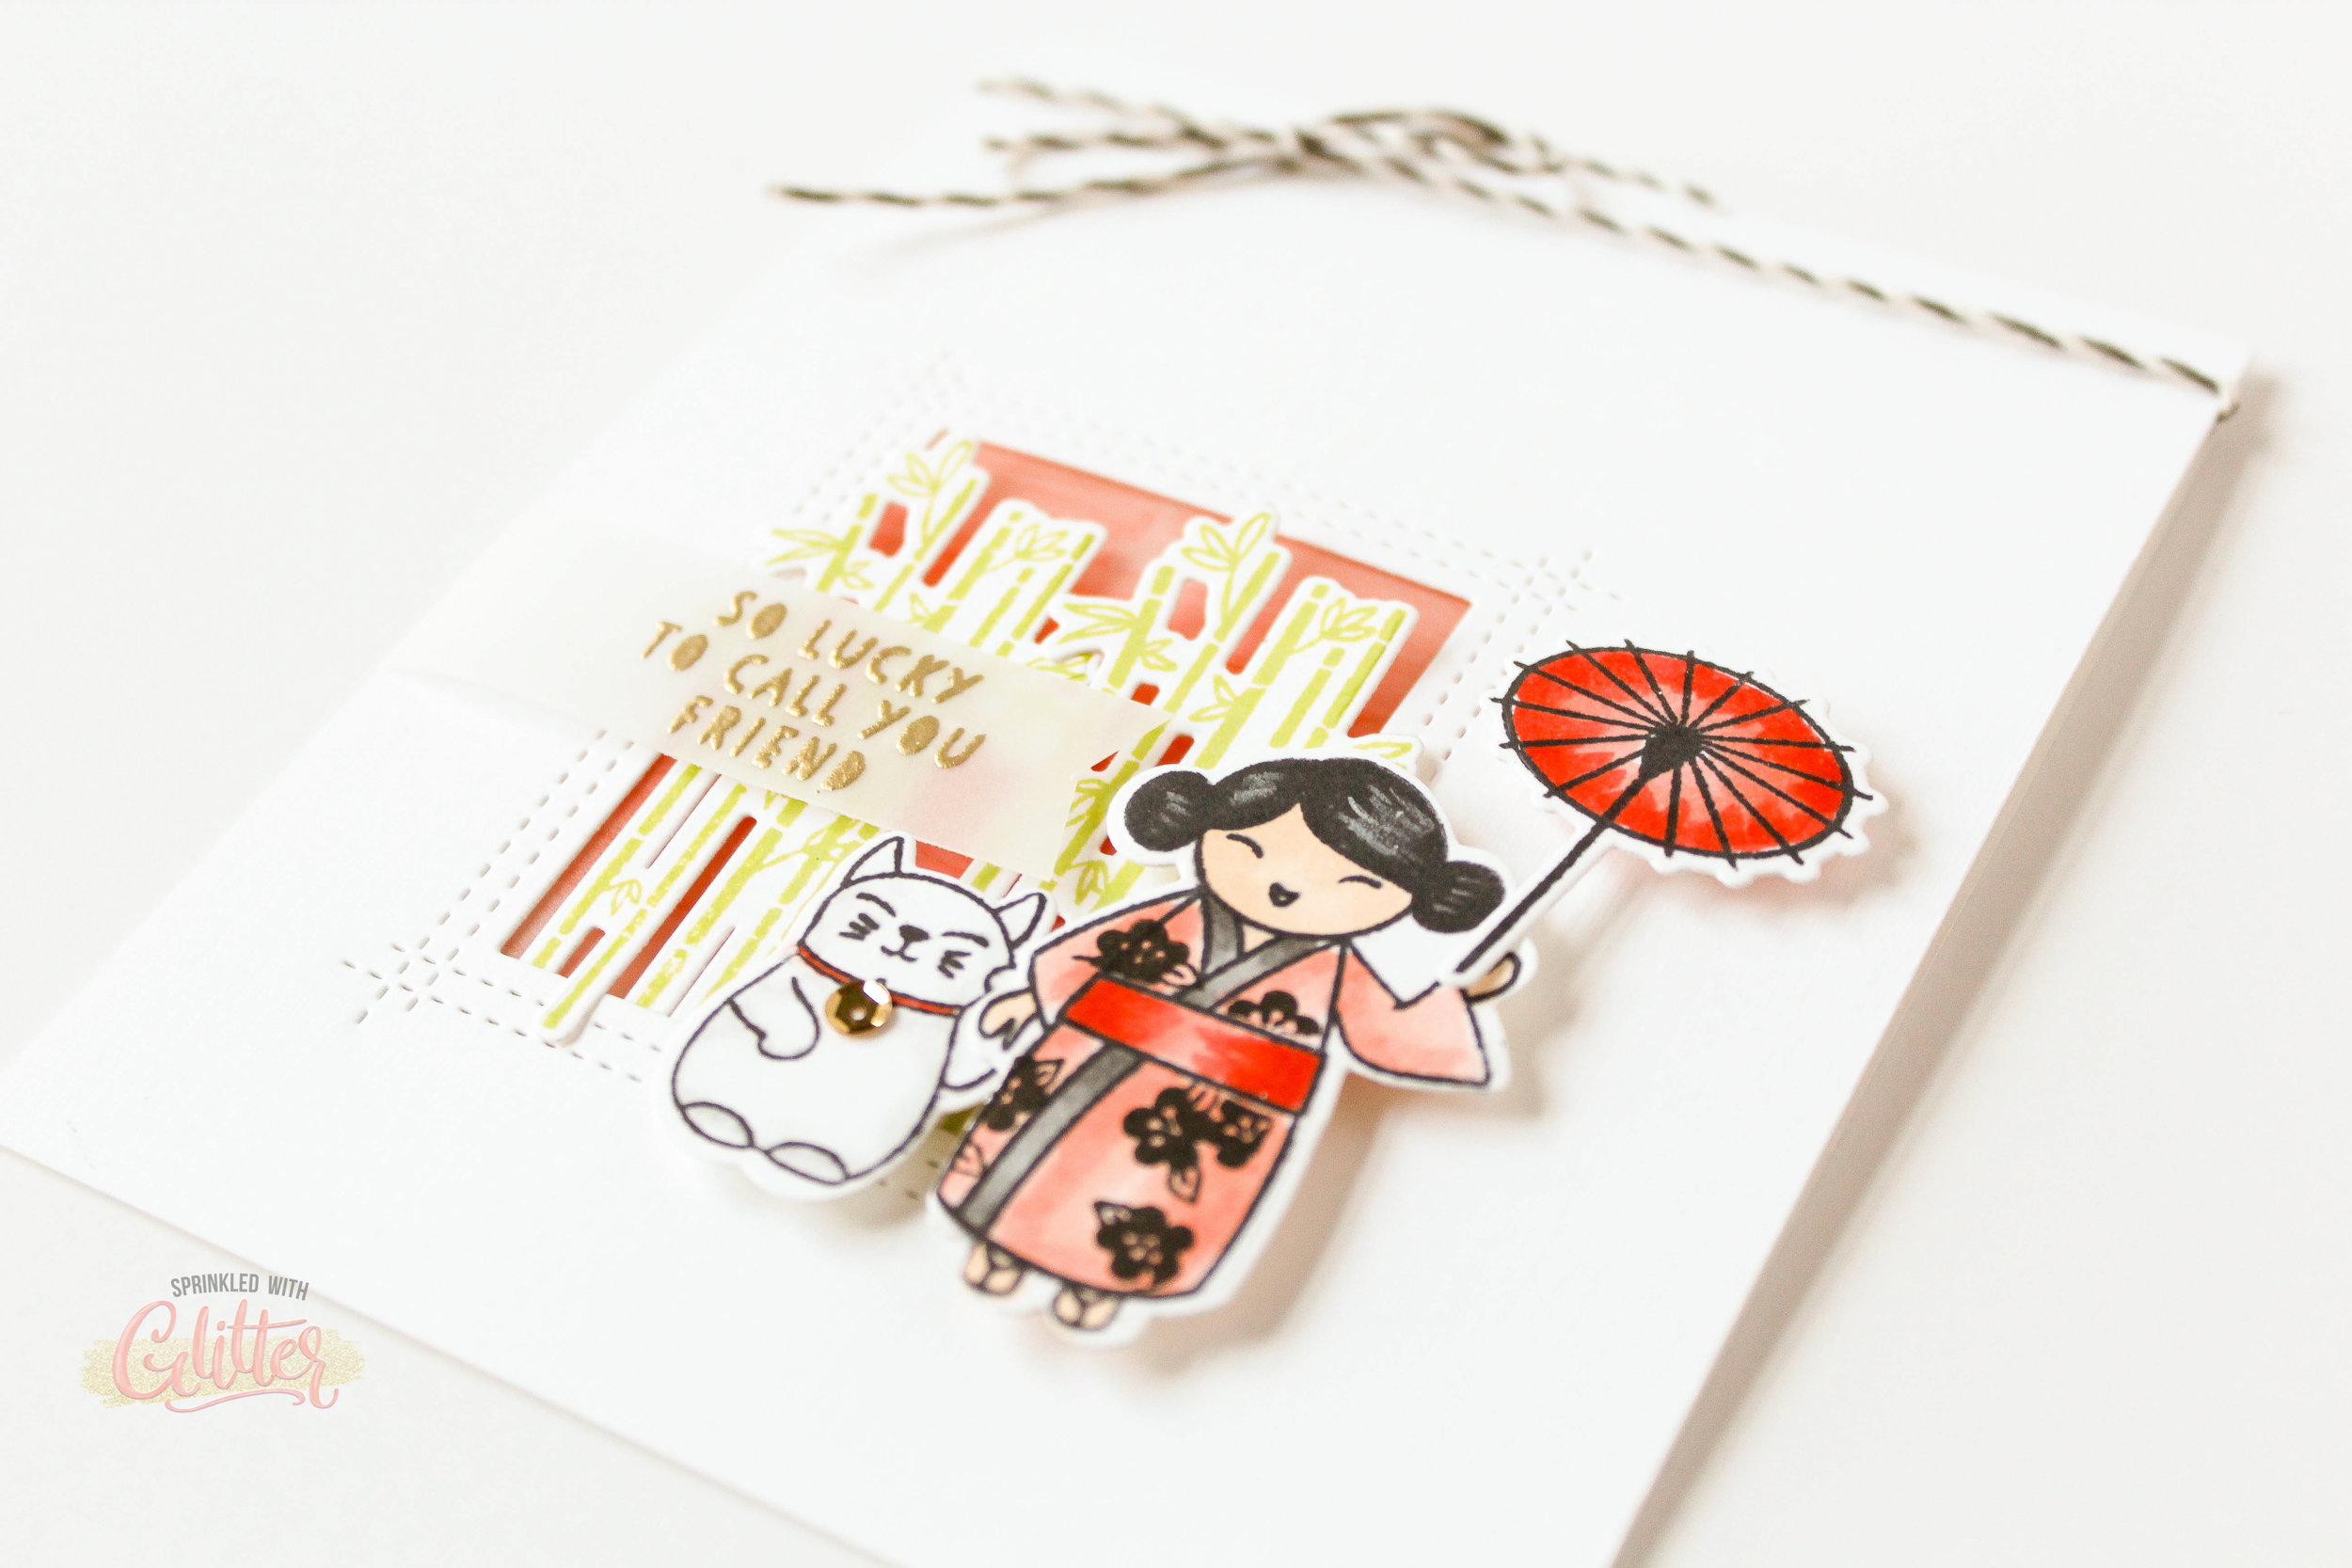
I shared a photo of this project a couple of weeks ago during the Essentials By Ellen March Release Blog Hop. I promised I would be back with a video tutorial featuring this So Matcha stamp set....and here I am! I love the little images in this stamp set so much (matcha)!
I'll be doing a little reverse masked stamping on my project today. Reverse masking allows me to add stamped images within a previously stamped image, and preserve the clean look around the image. Instead of masking the actual stamped image and allowing a stamp to overlap on the background, I'll mask the background and allow the stamped images to overlap on to the image itself. It's a fun way to customize stamped images.
I'll show you exactly how I created this project and share some other tips and tricks (and laughs) in the video tutorial. Be sure to check it out! And if you want to watch the video in HD on my YouTube channel, just click HERE. Don't forget to subscribe while you're there so you won't miss any of my video tutorials!
I did want to mention that in my original project, I used a white colored pencil to add some highlights to my little girl's hair. I forgot that step today as I was recreating this card. It's an easy way to add a little dimension to her solid stamped hair.
Thanks for stopping by today. I hope you've enjoyed this project. If you have any questions, or you just want to say hi, leave it in the comments below. I love to hear from all of you!
Until next time, I hope you have a fabulous day!
XOXO
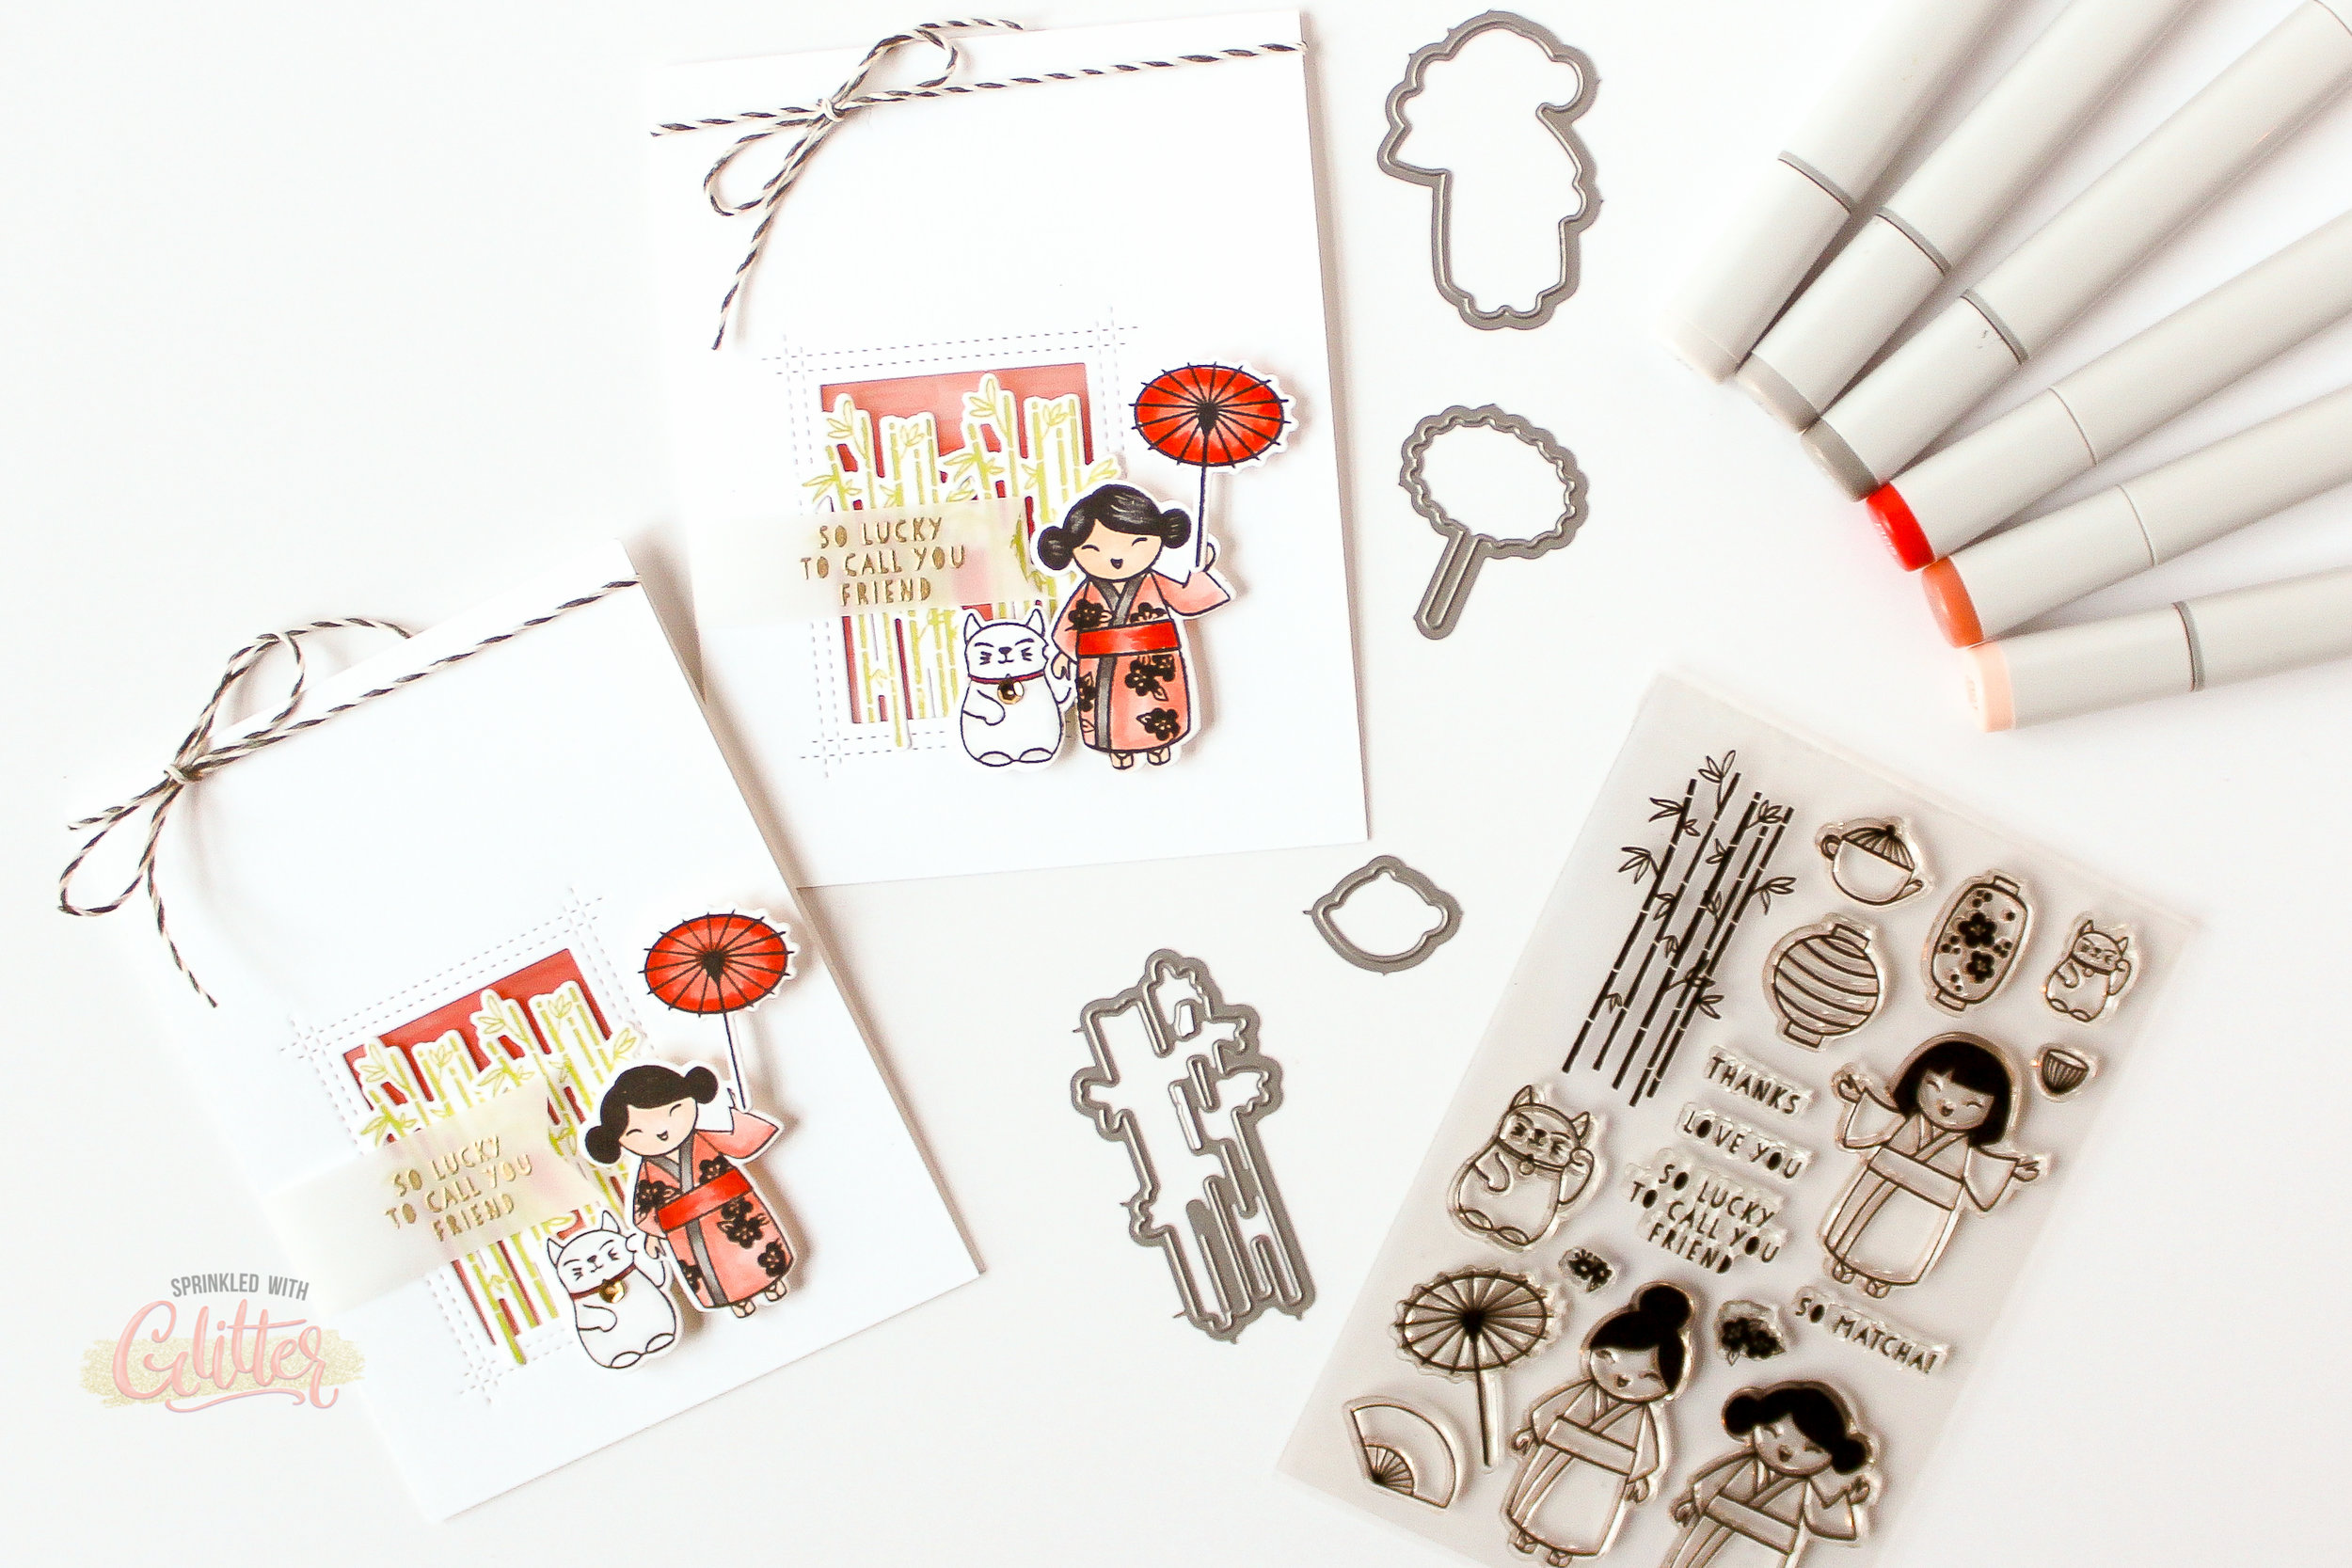
SUPPLIES
*affiliate links used*
|

