Masking Two Ways Featuring Pinkfresh Studio Let's Flamingle
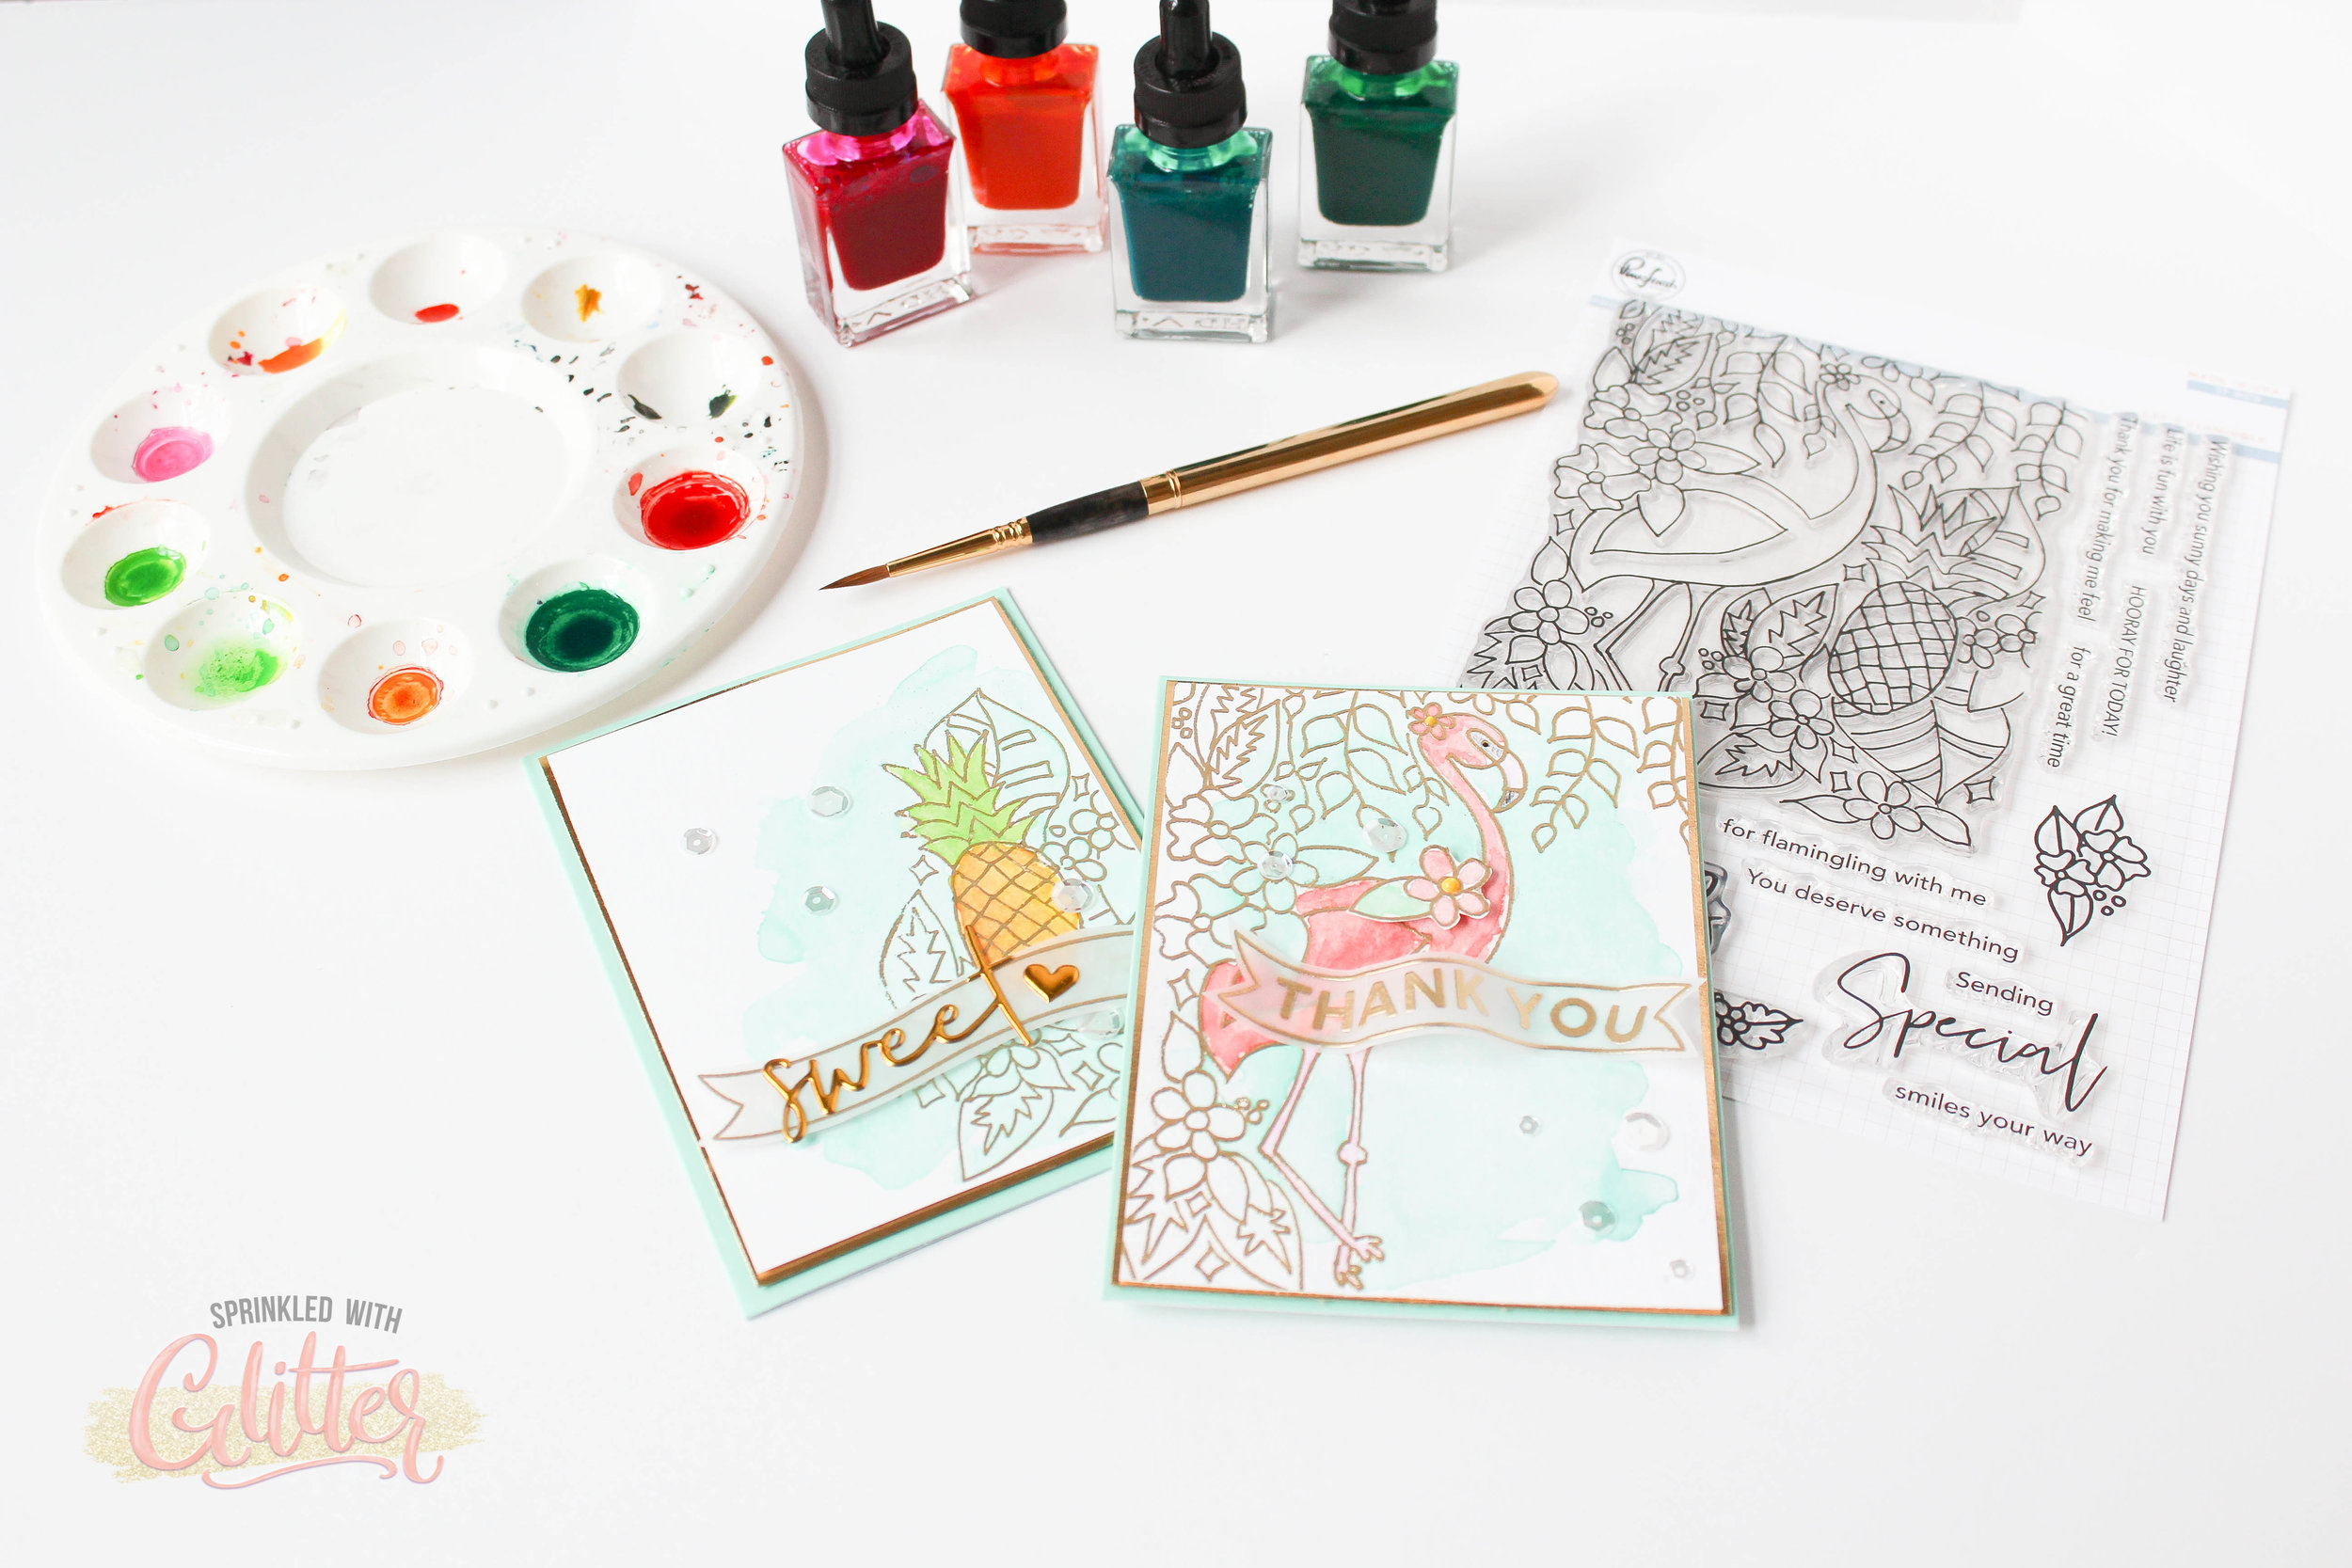
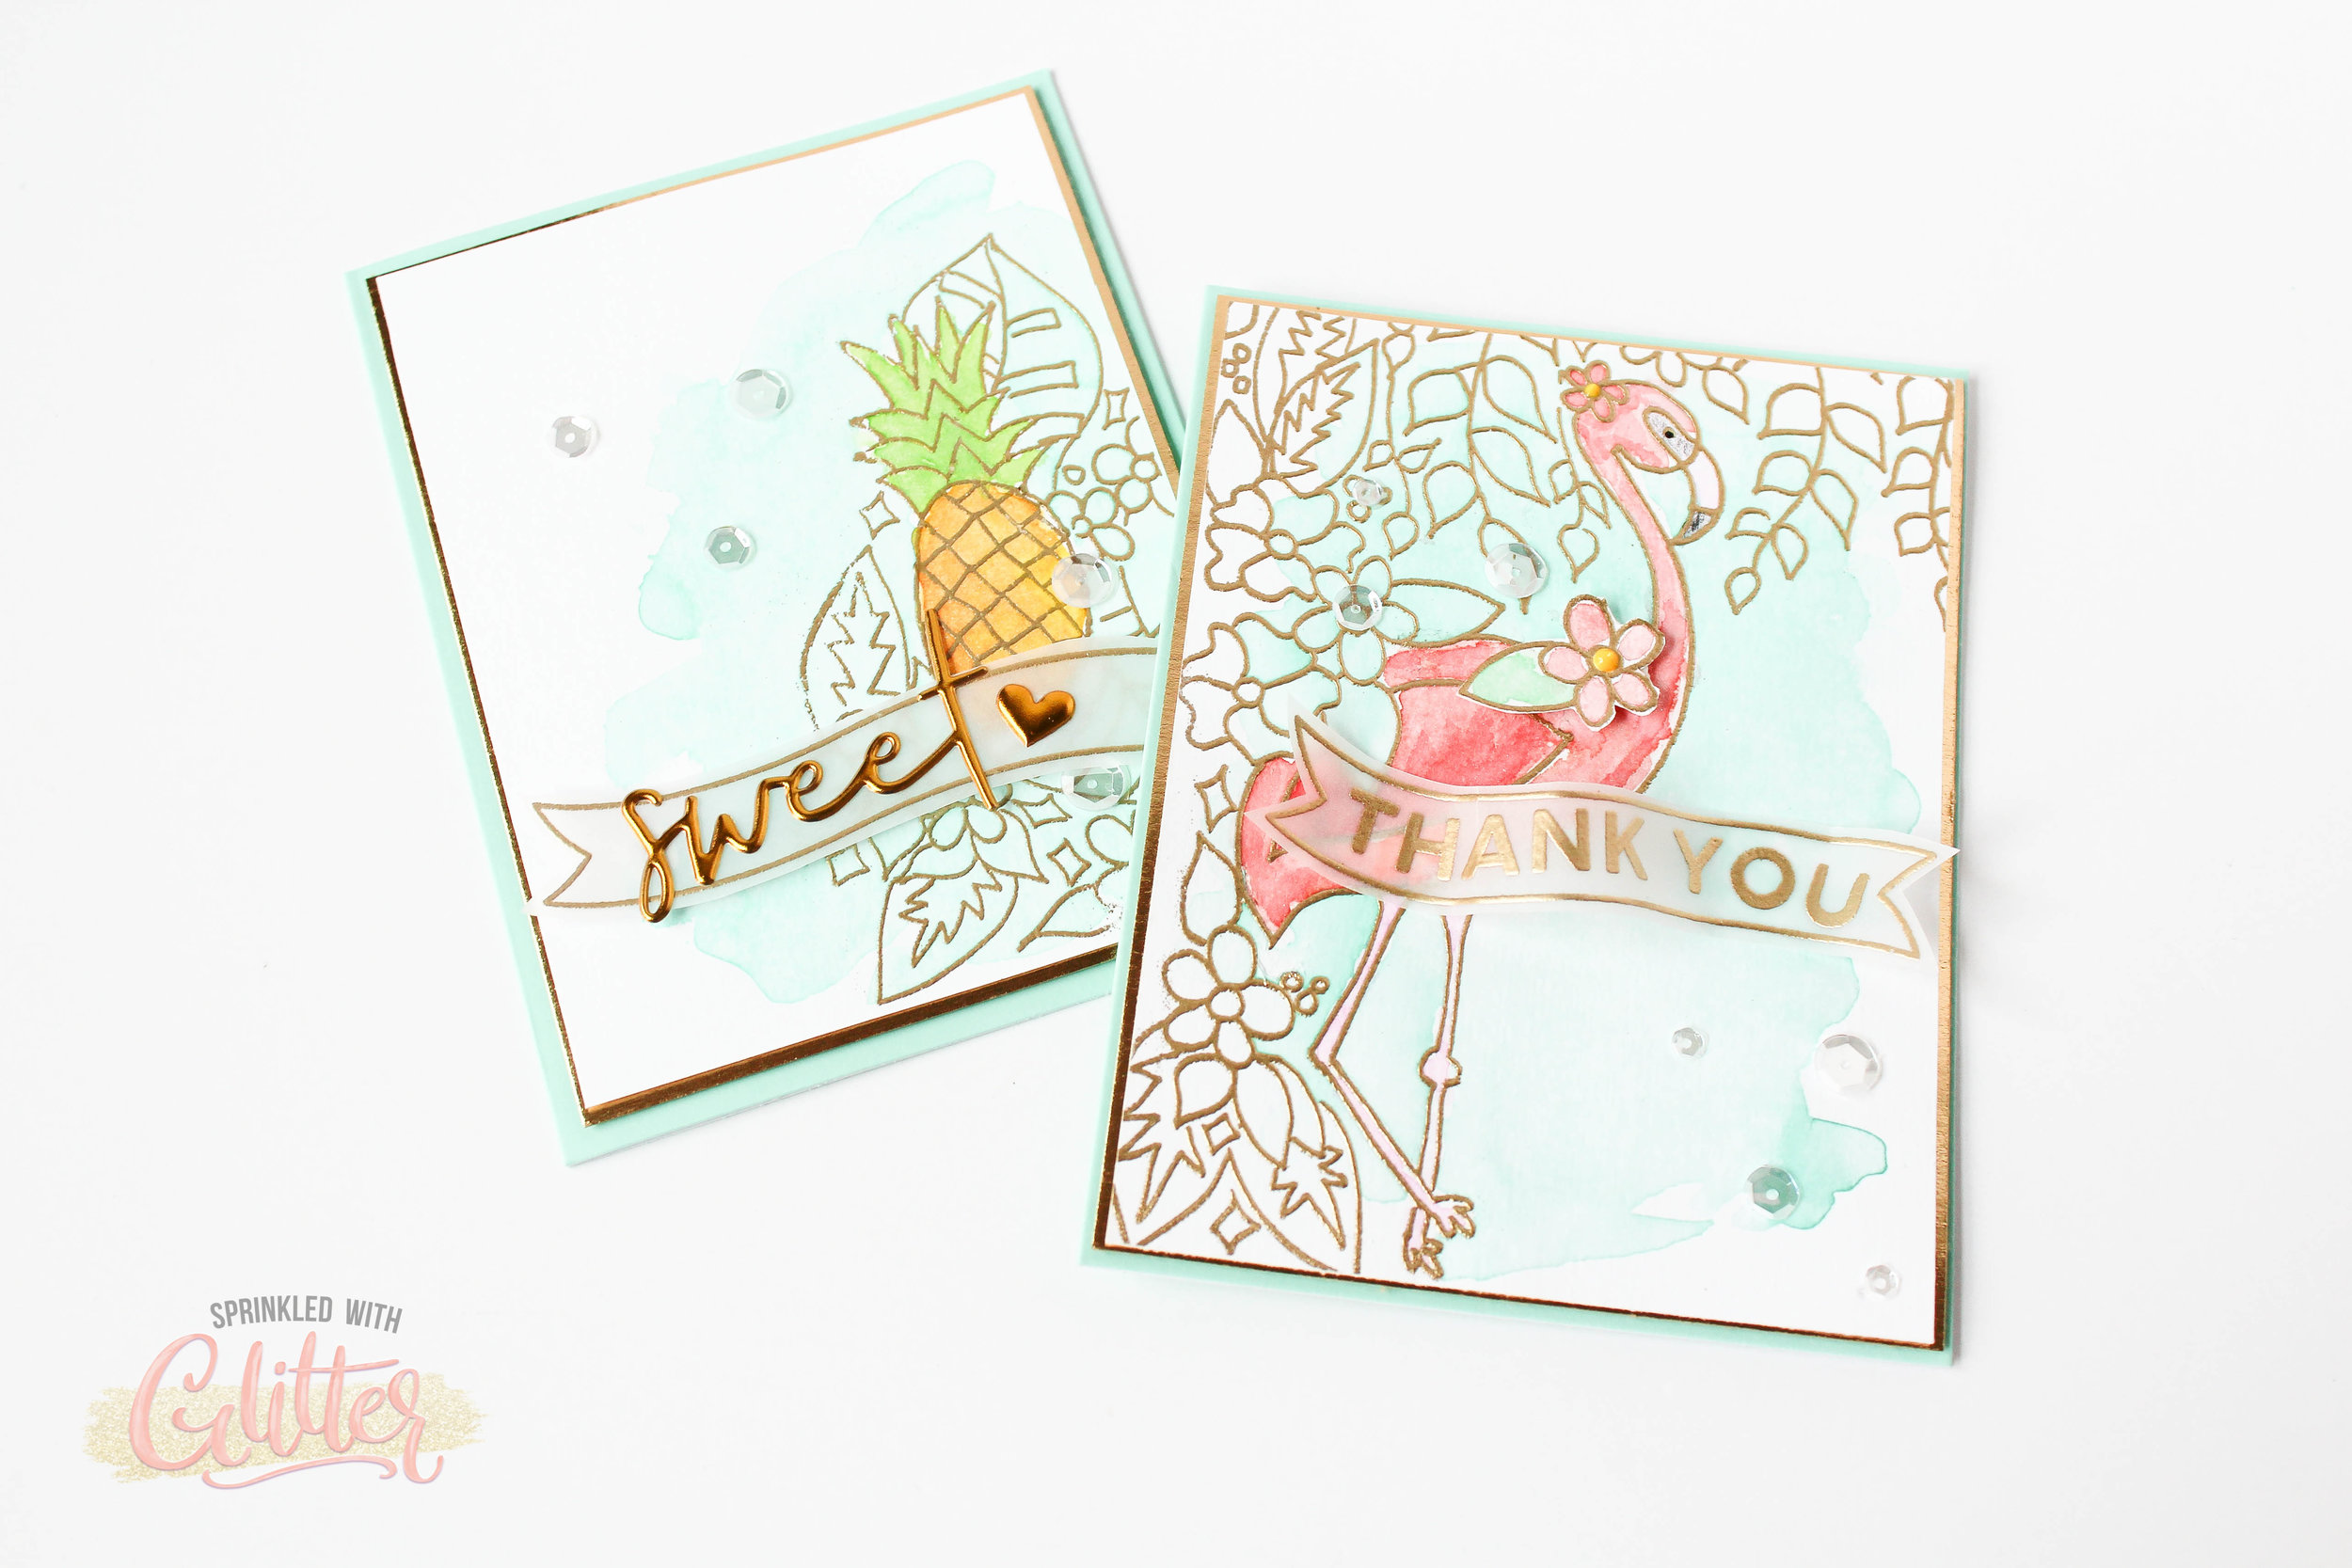
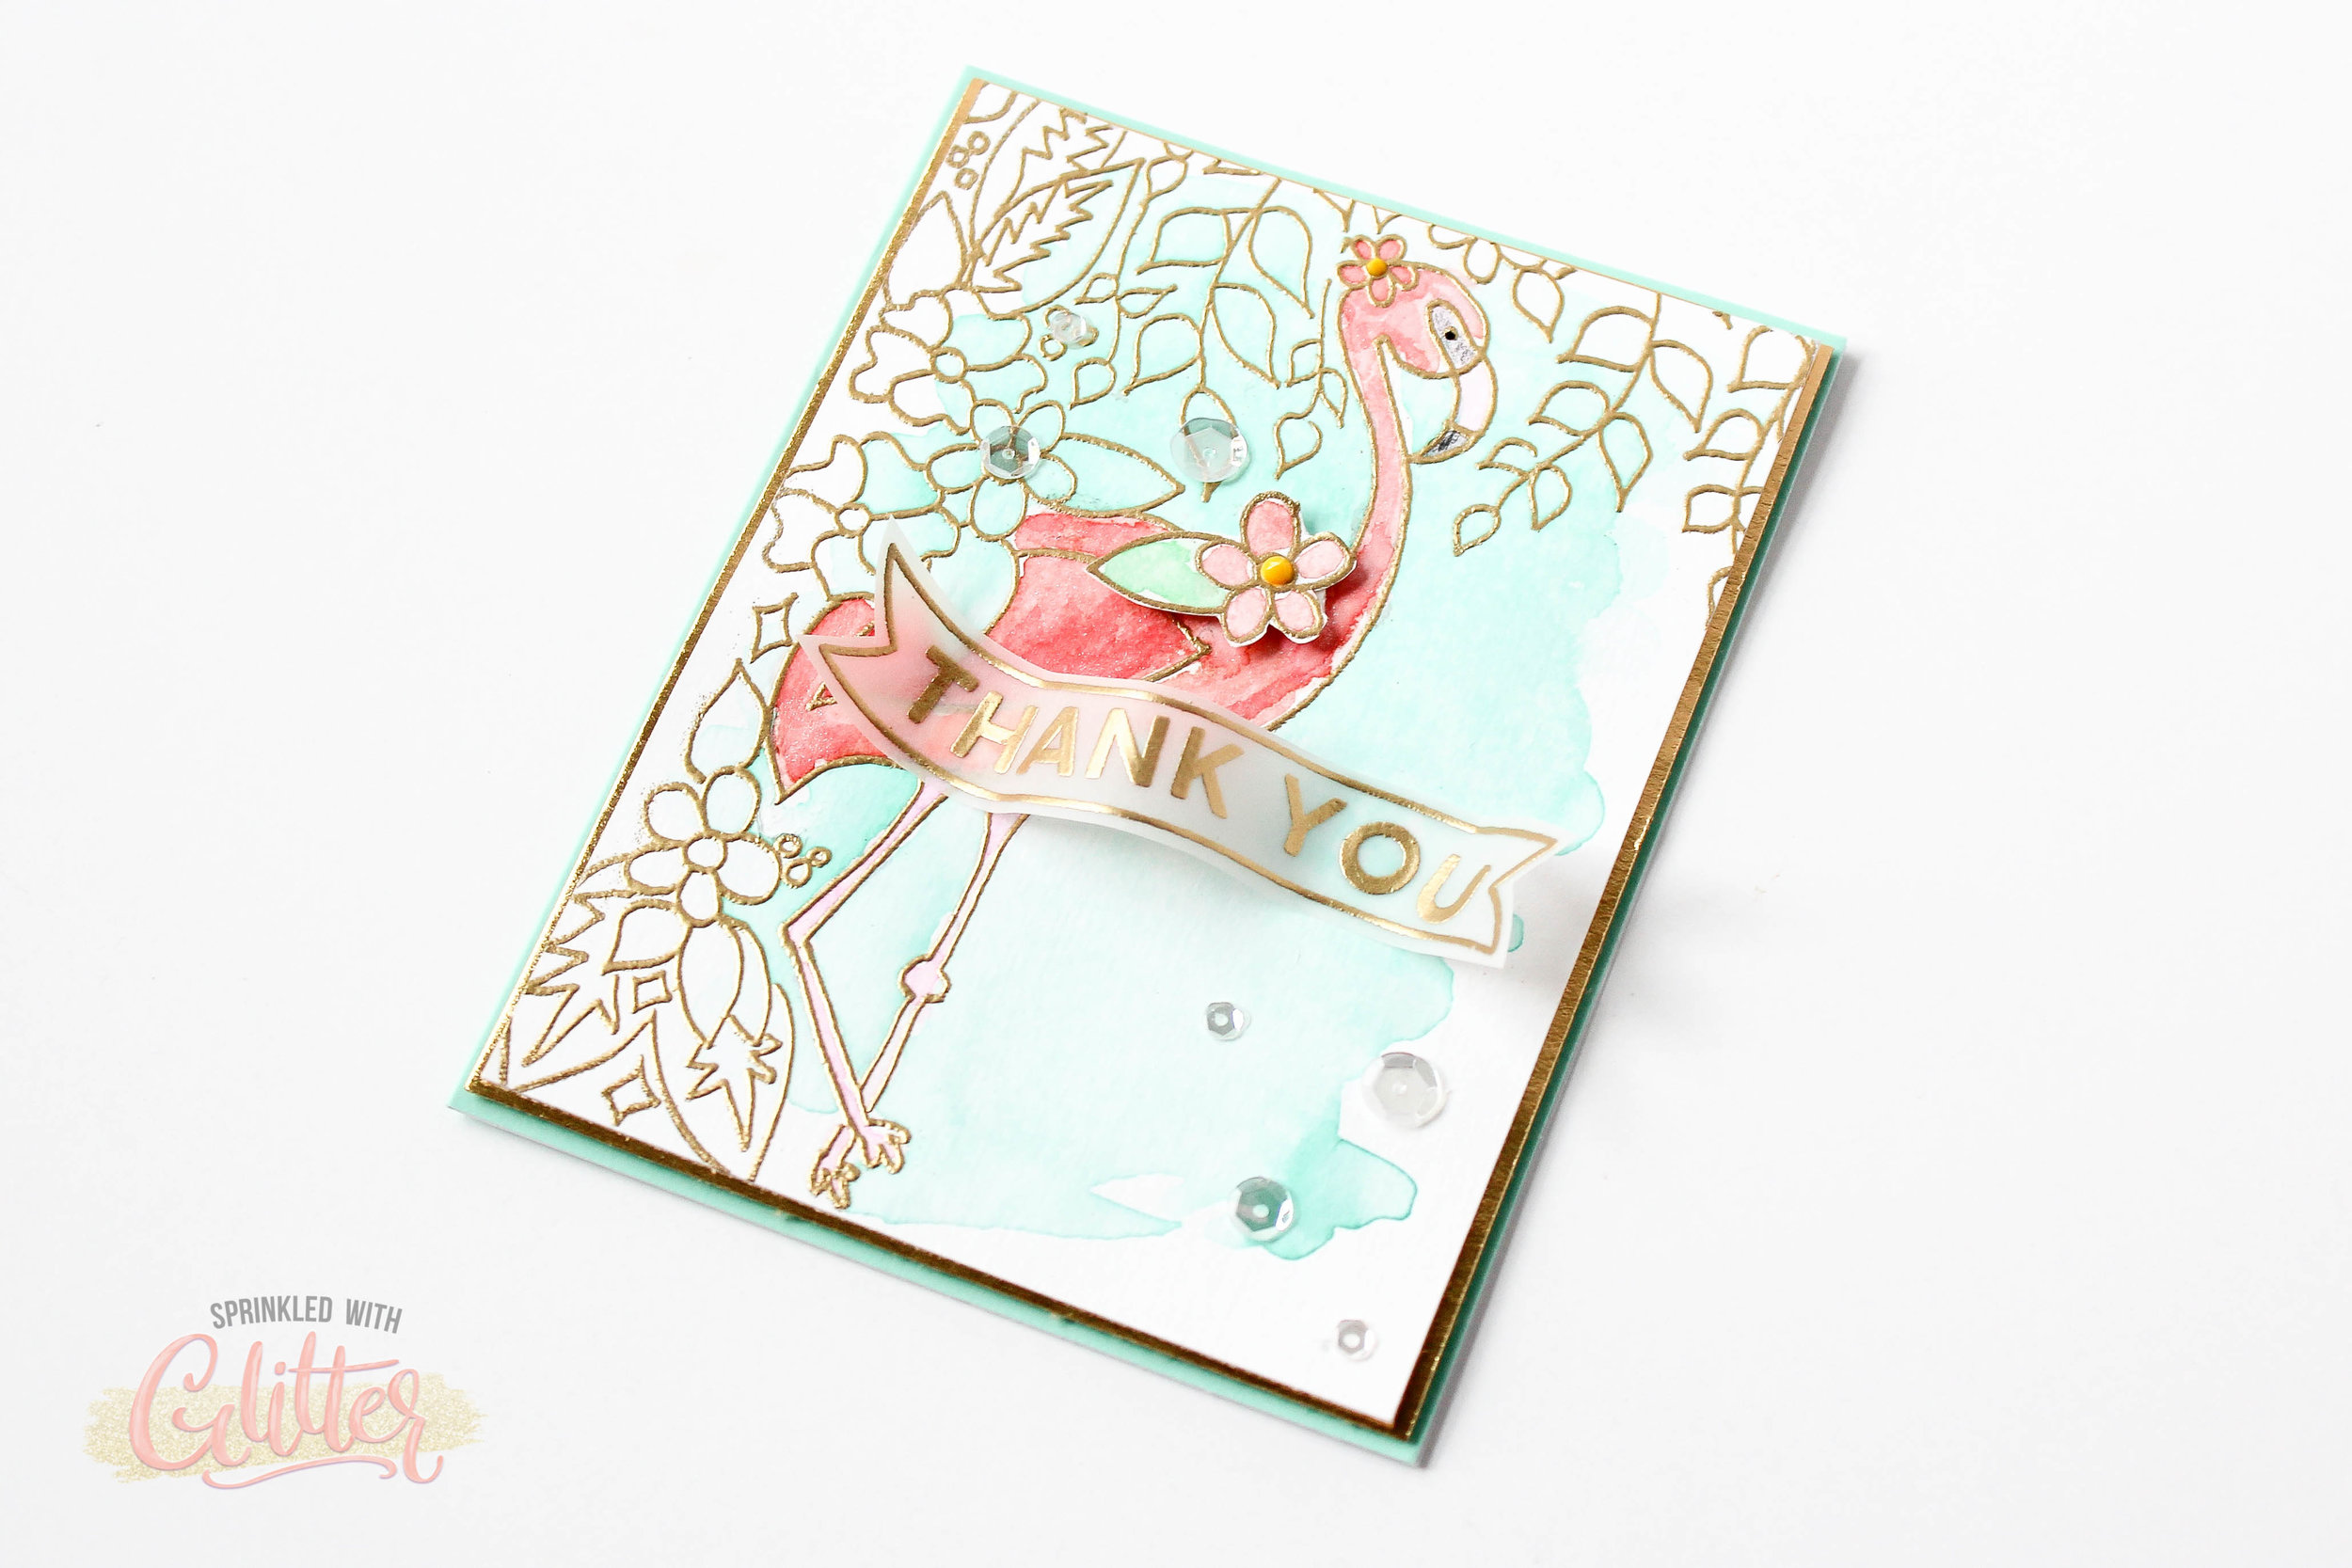
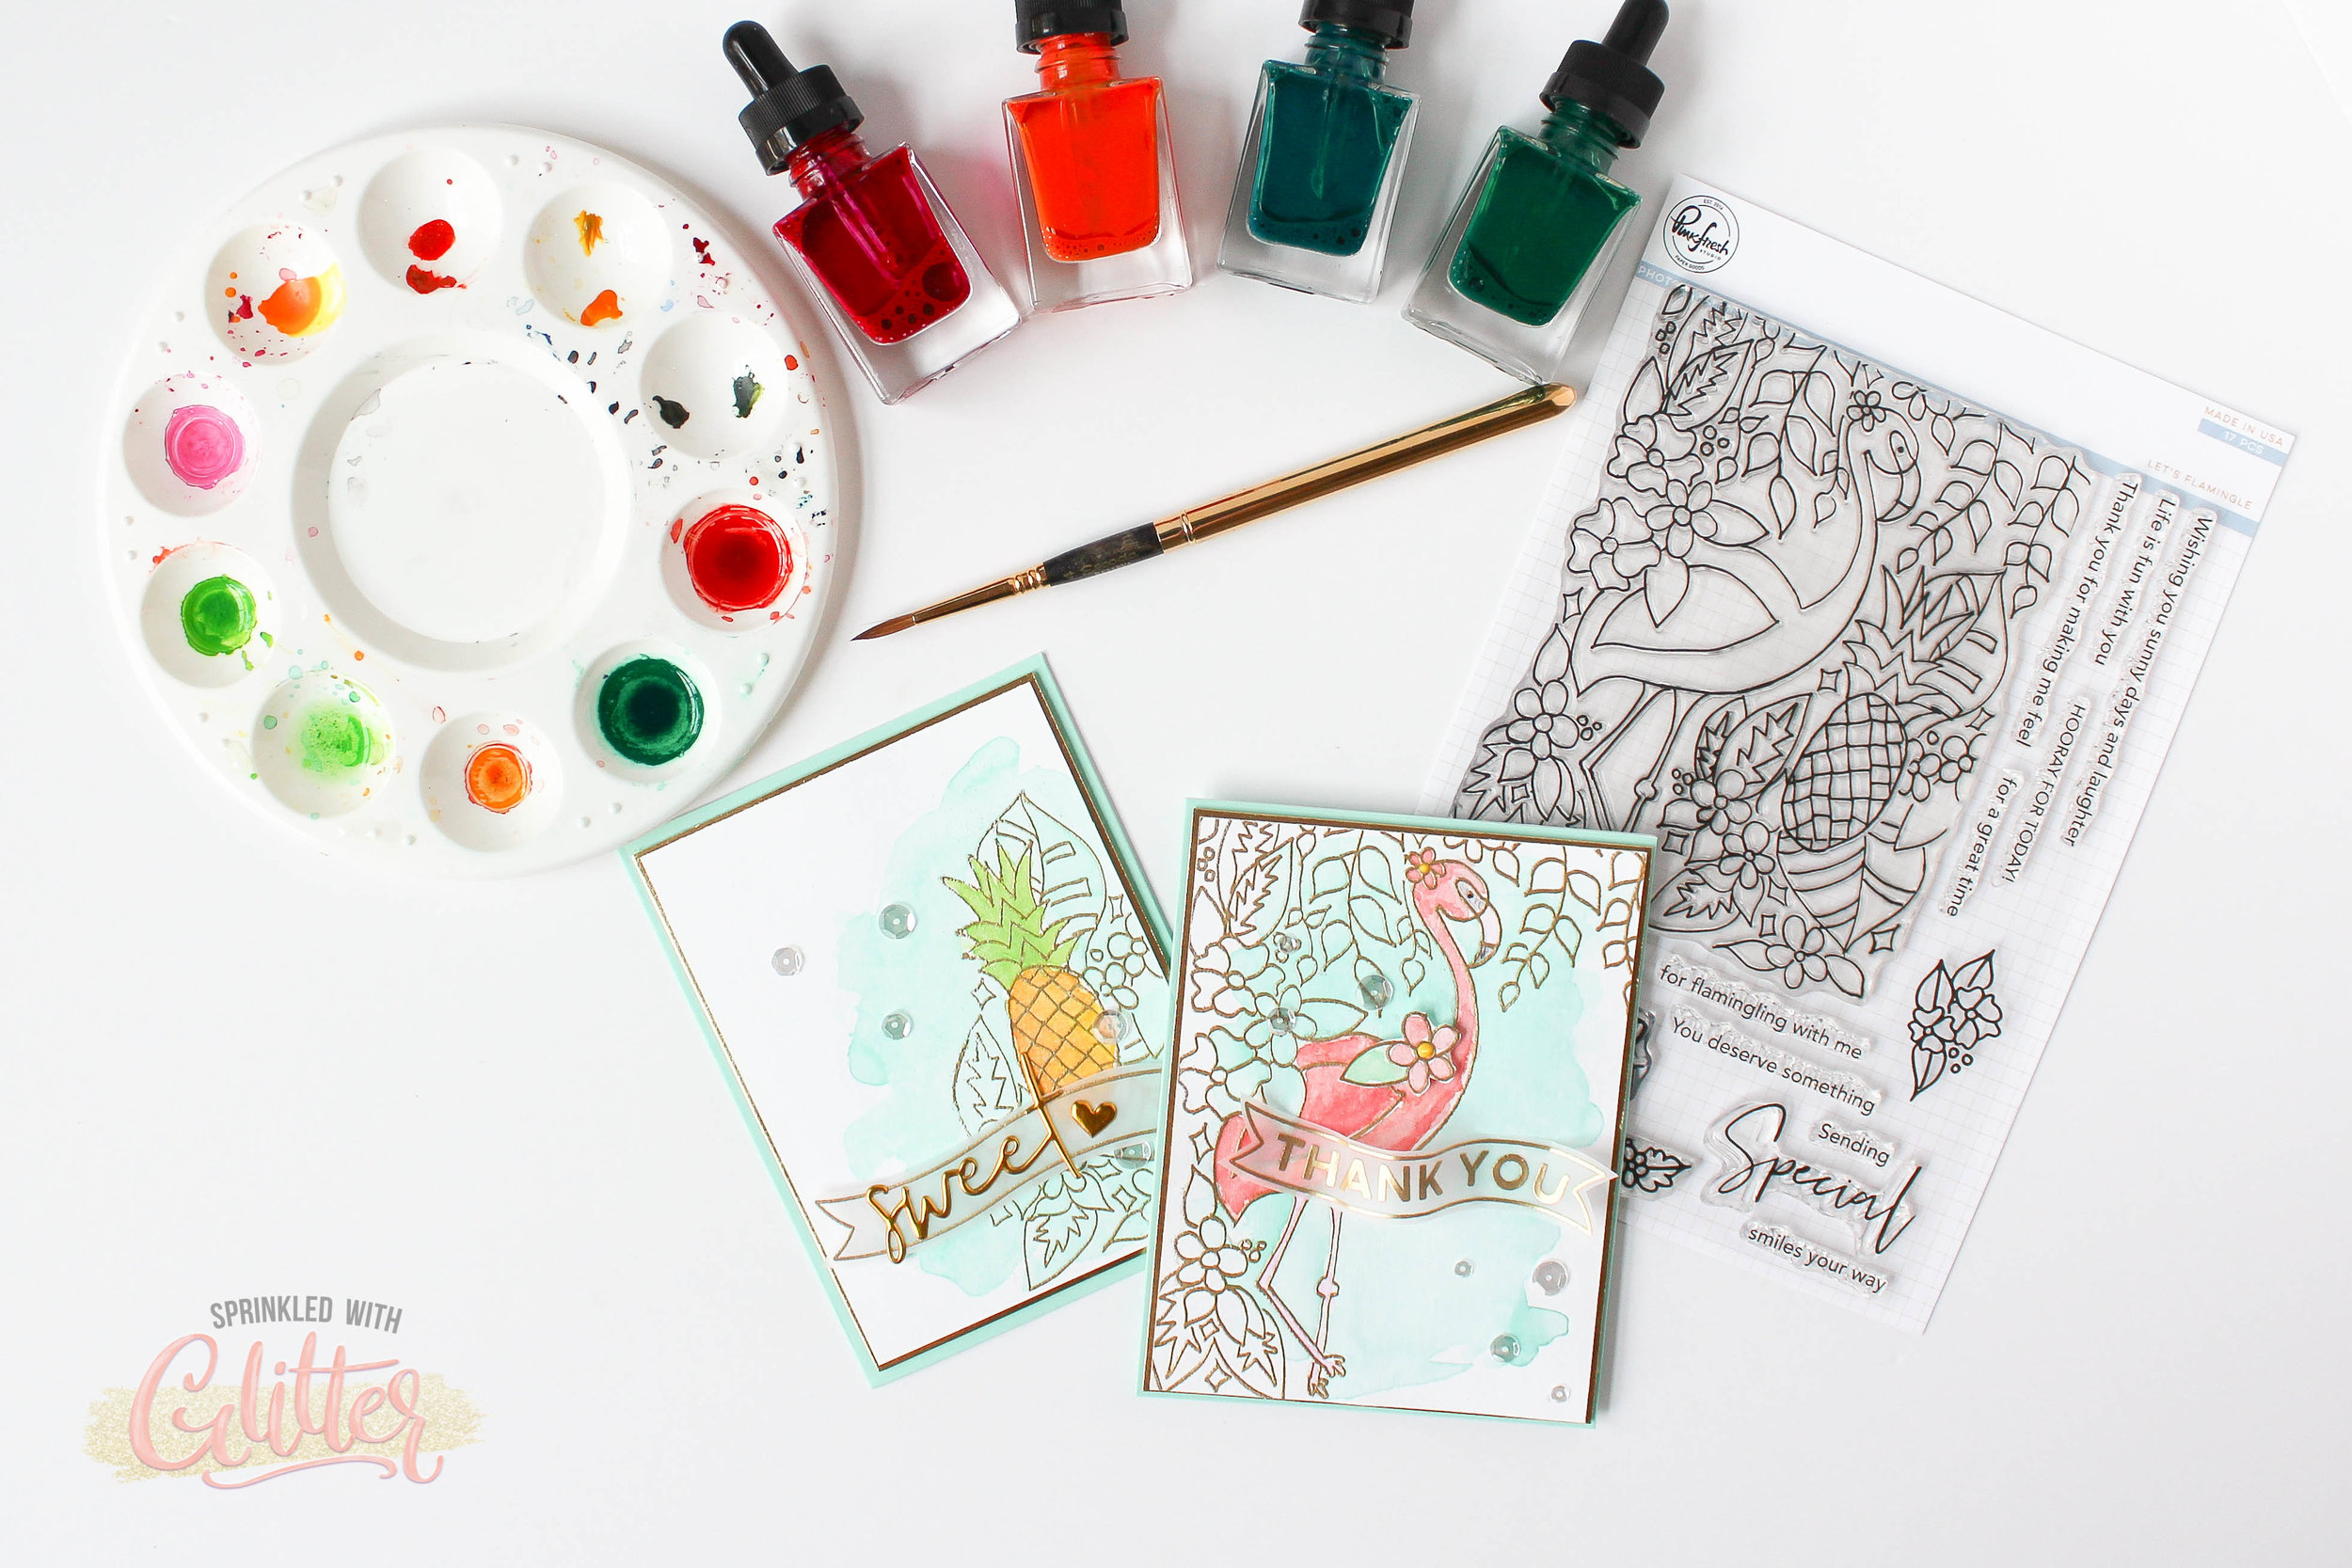
Hi everyone! I’m so glad you’ve stopped by. I have some fun cards to share featuring the Let’s Flamingle stamp set from Pinkfresh Studio and two different kinds of masking.
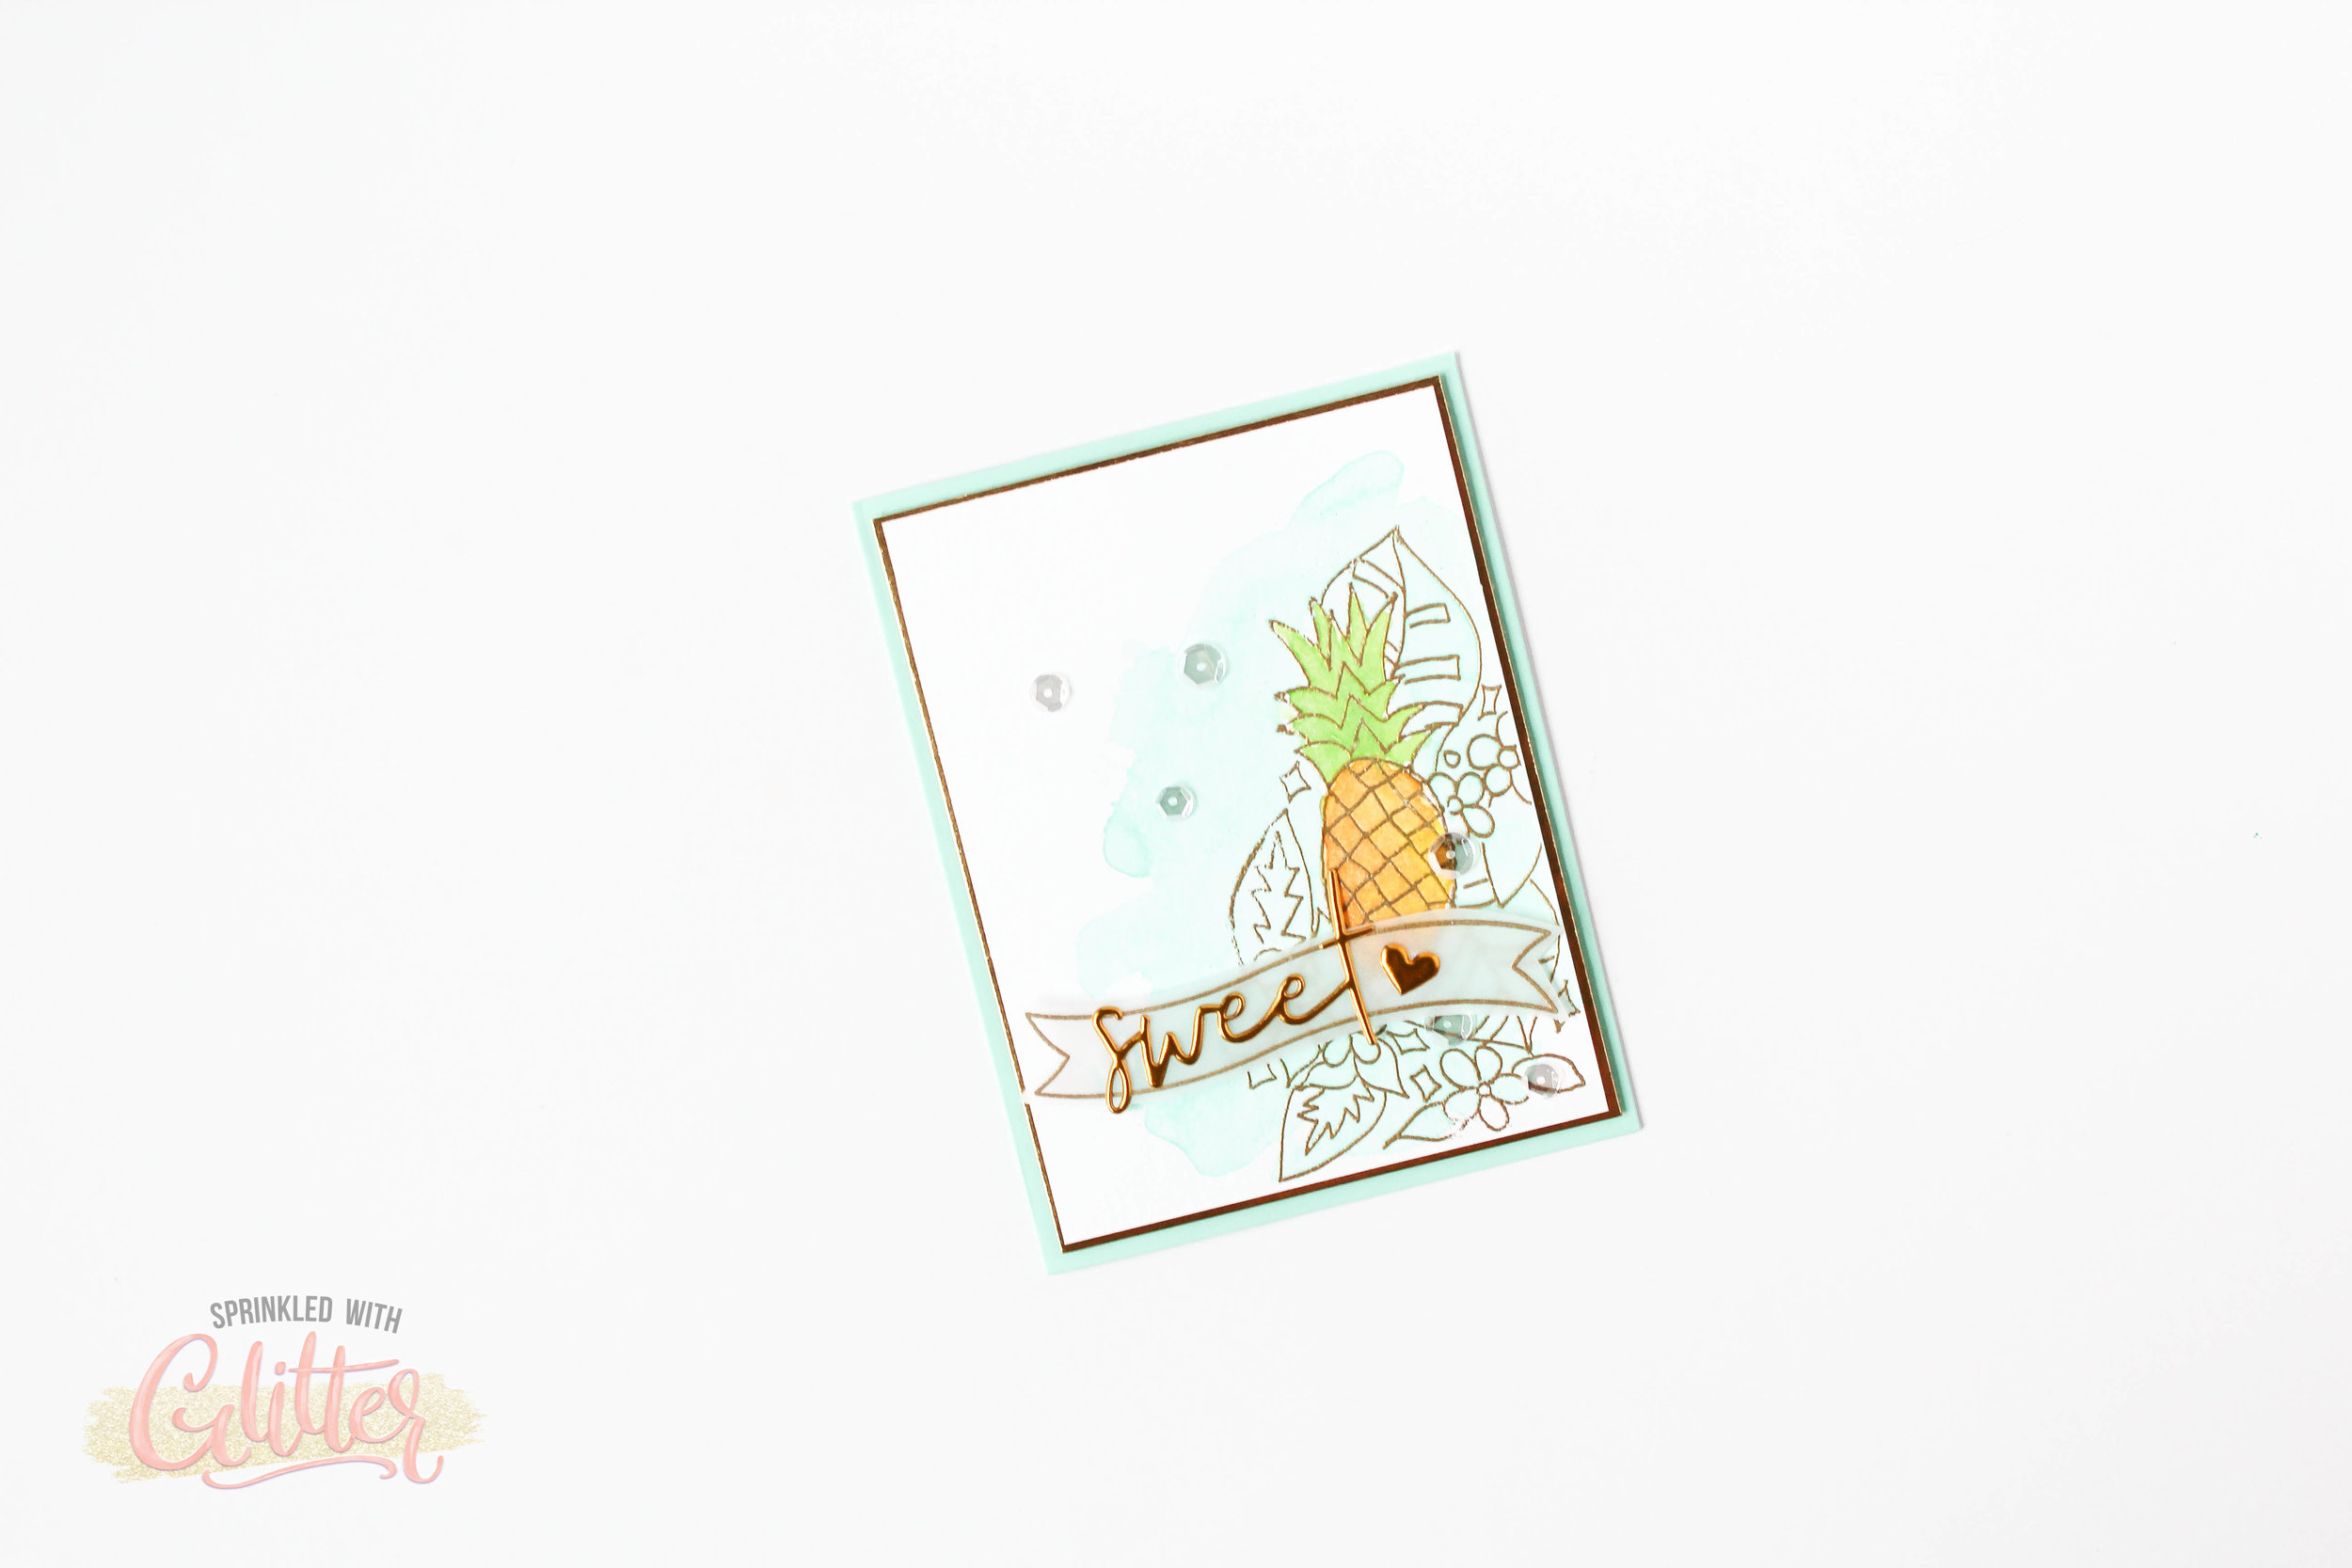
I starting with traditional masking. I made a quick mask with some masking paper. If you don’t have masking paper, you can use some think printer paper and removable adhesive to create a mask.
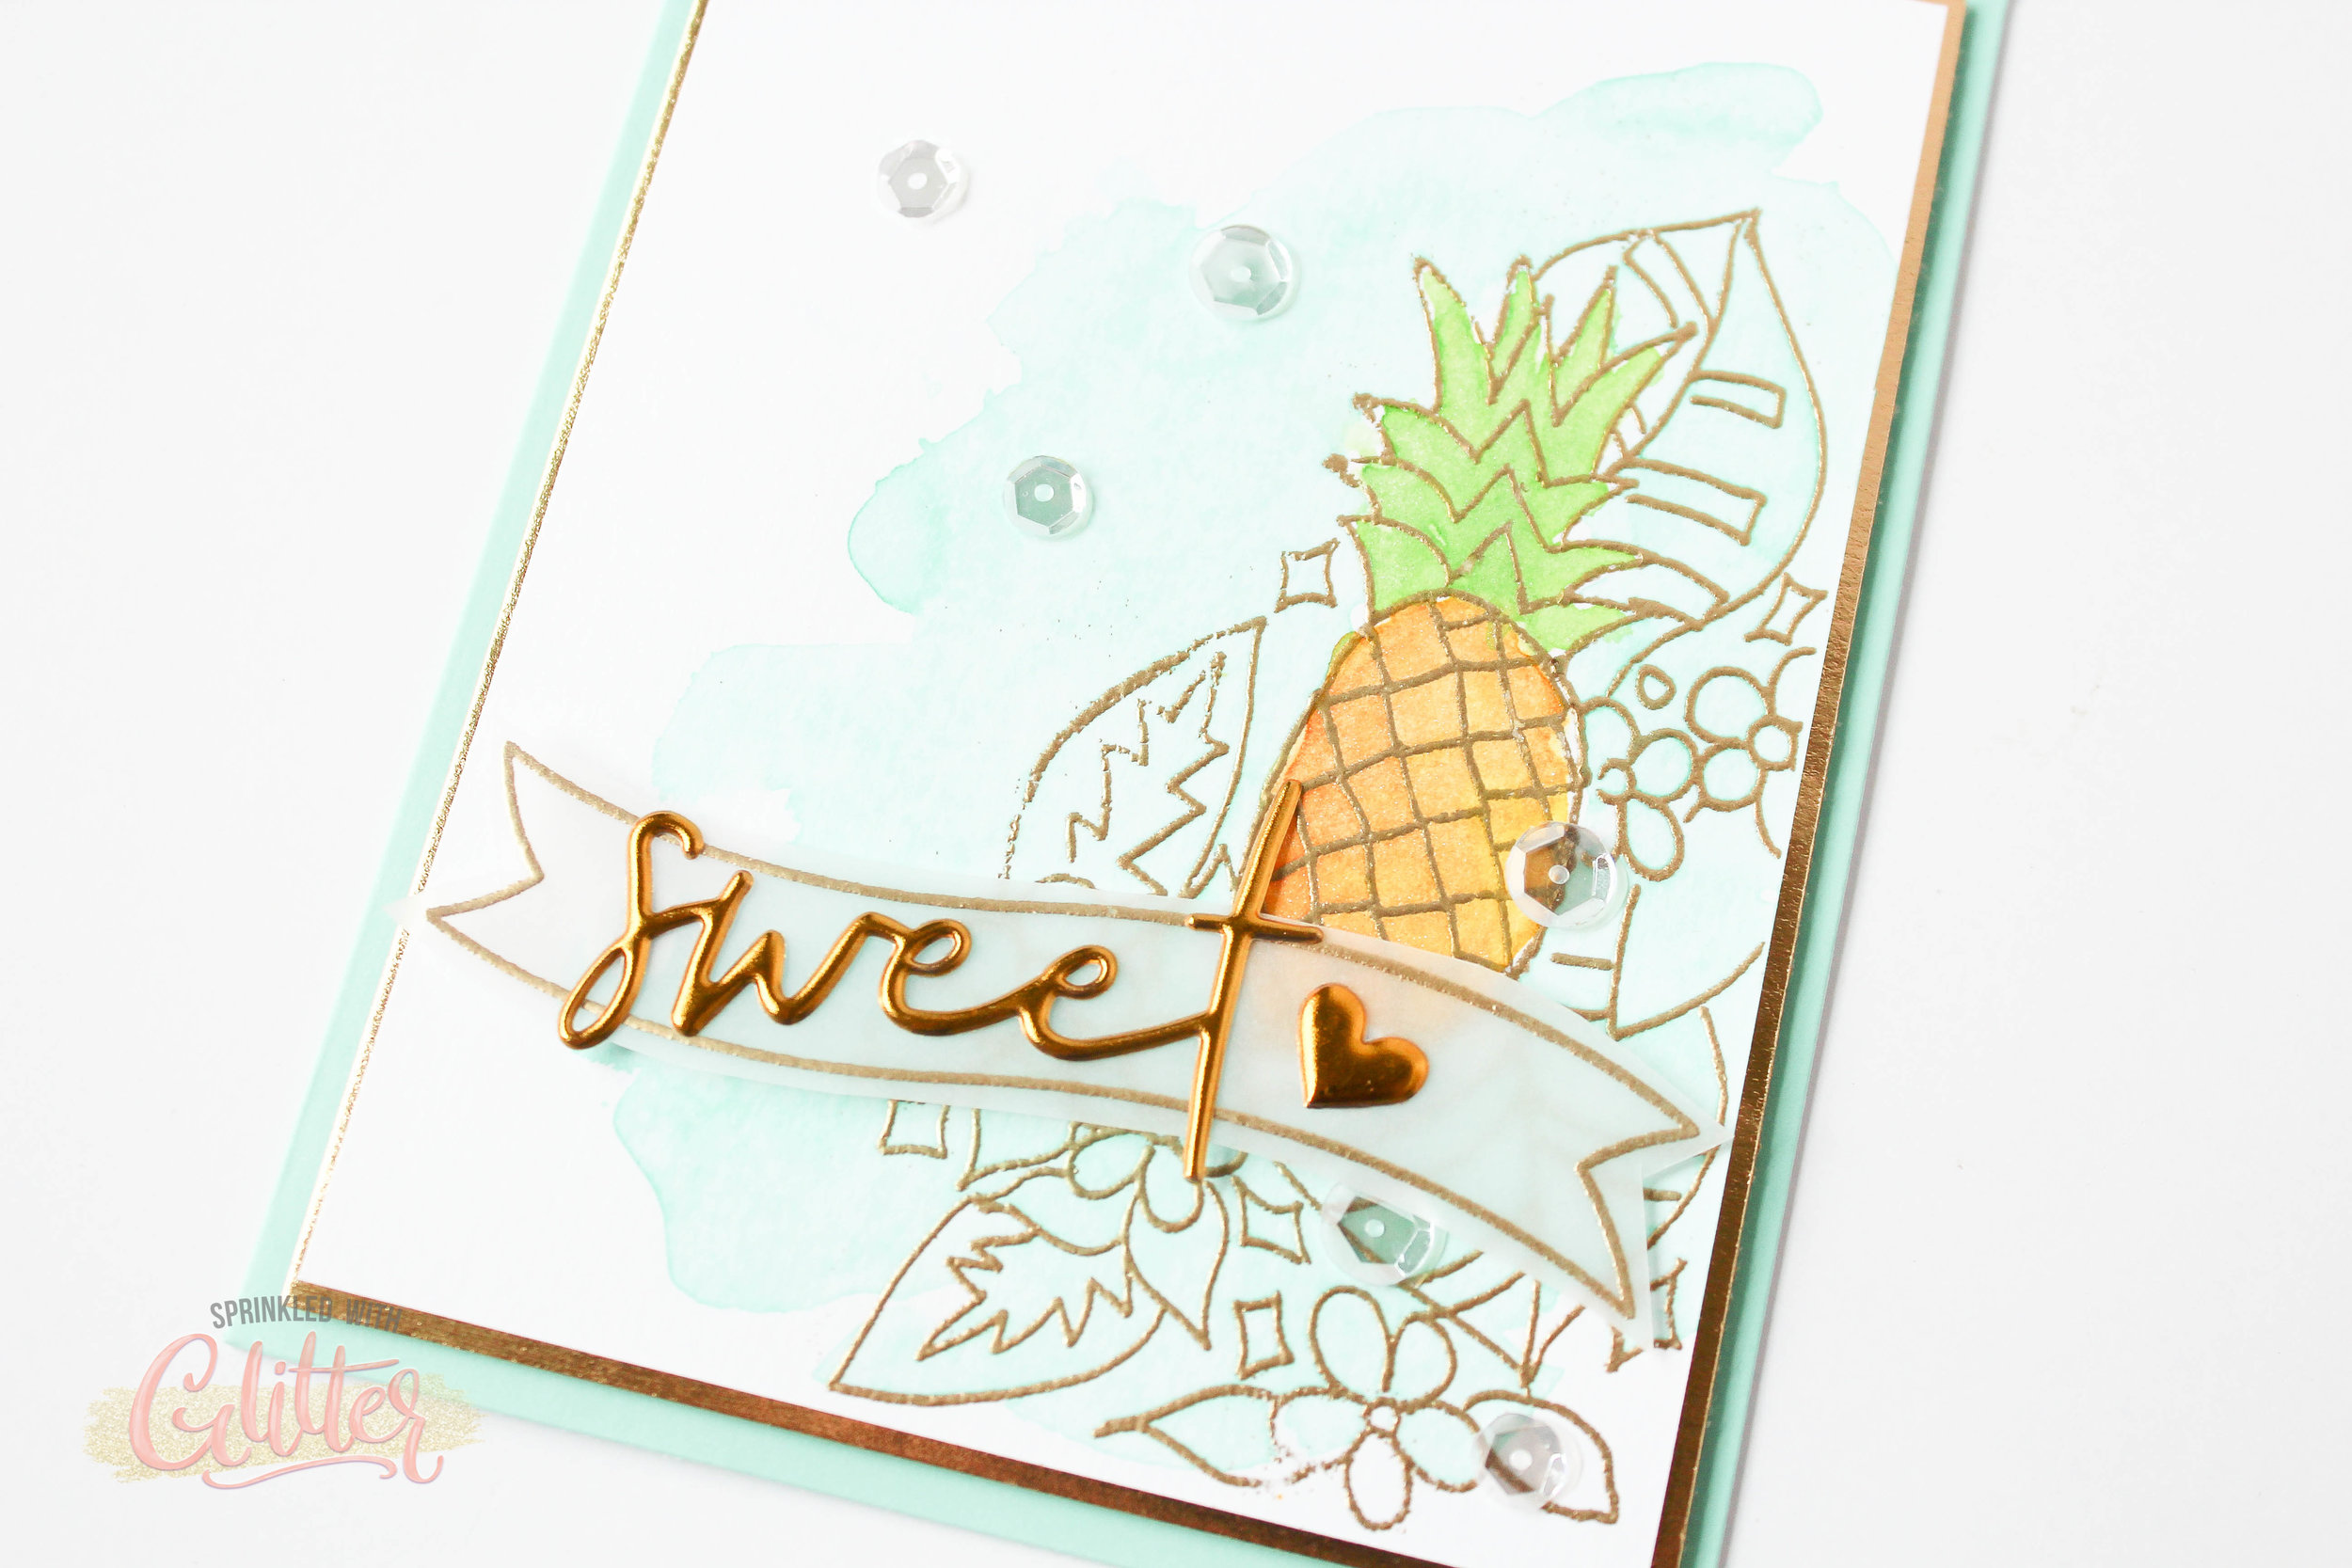
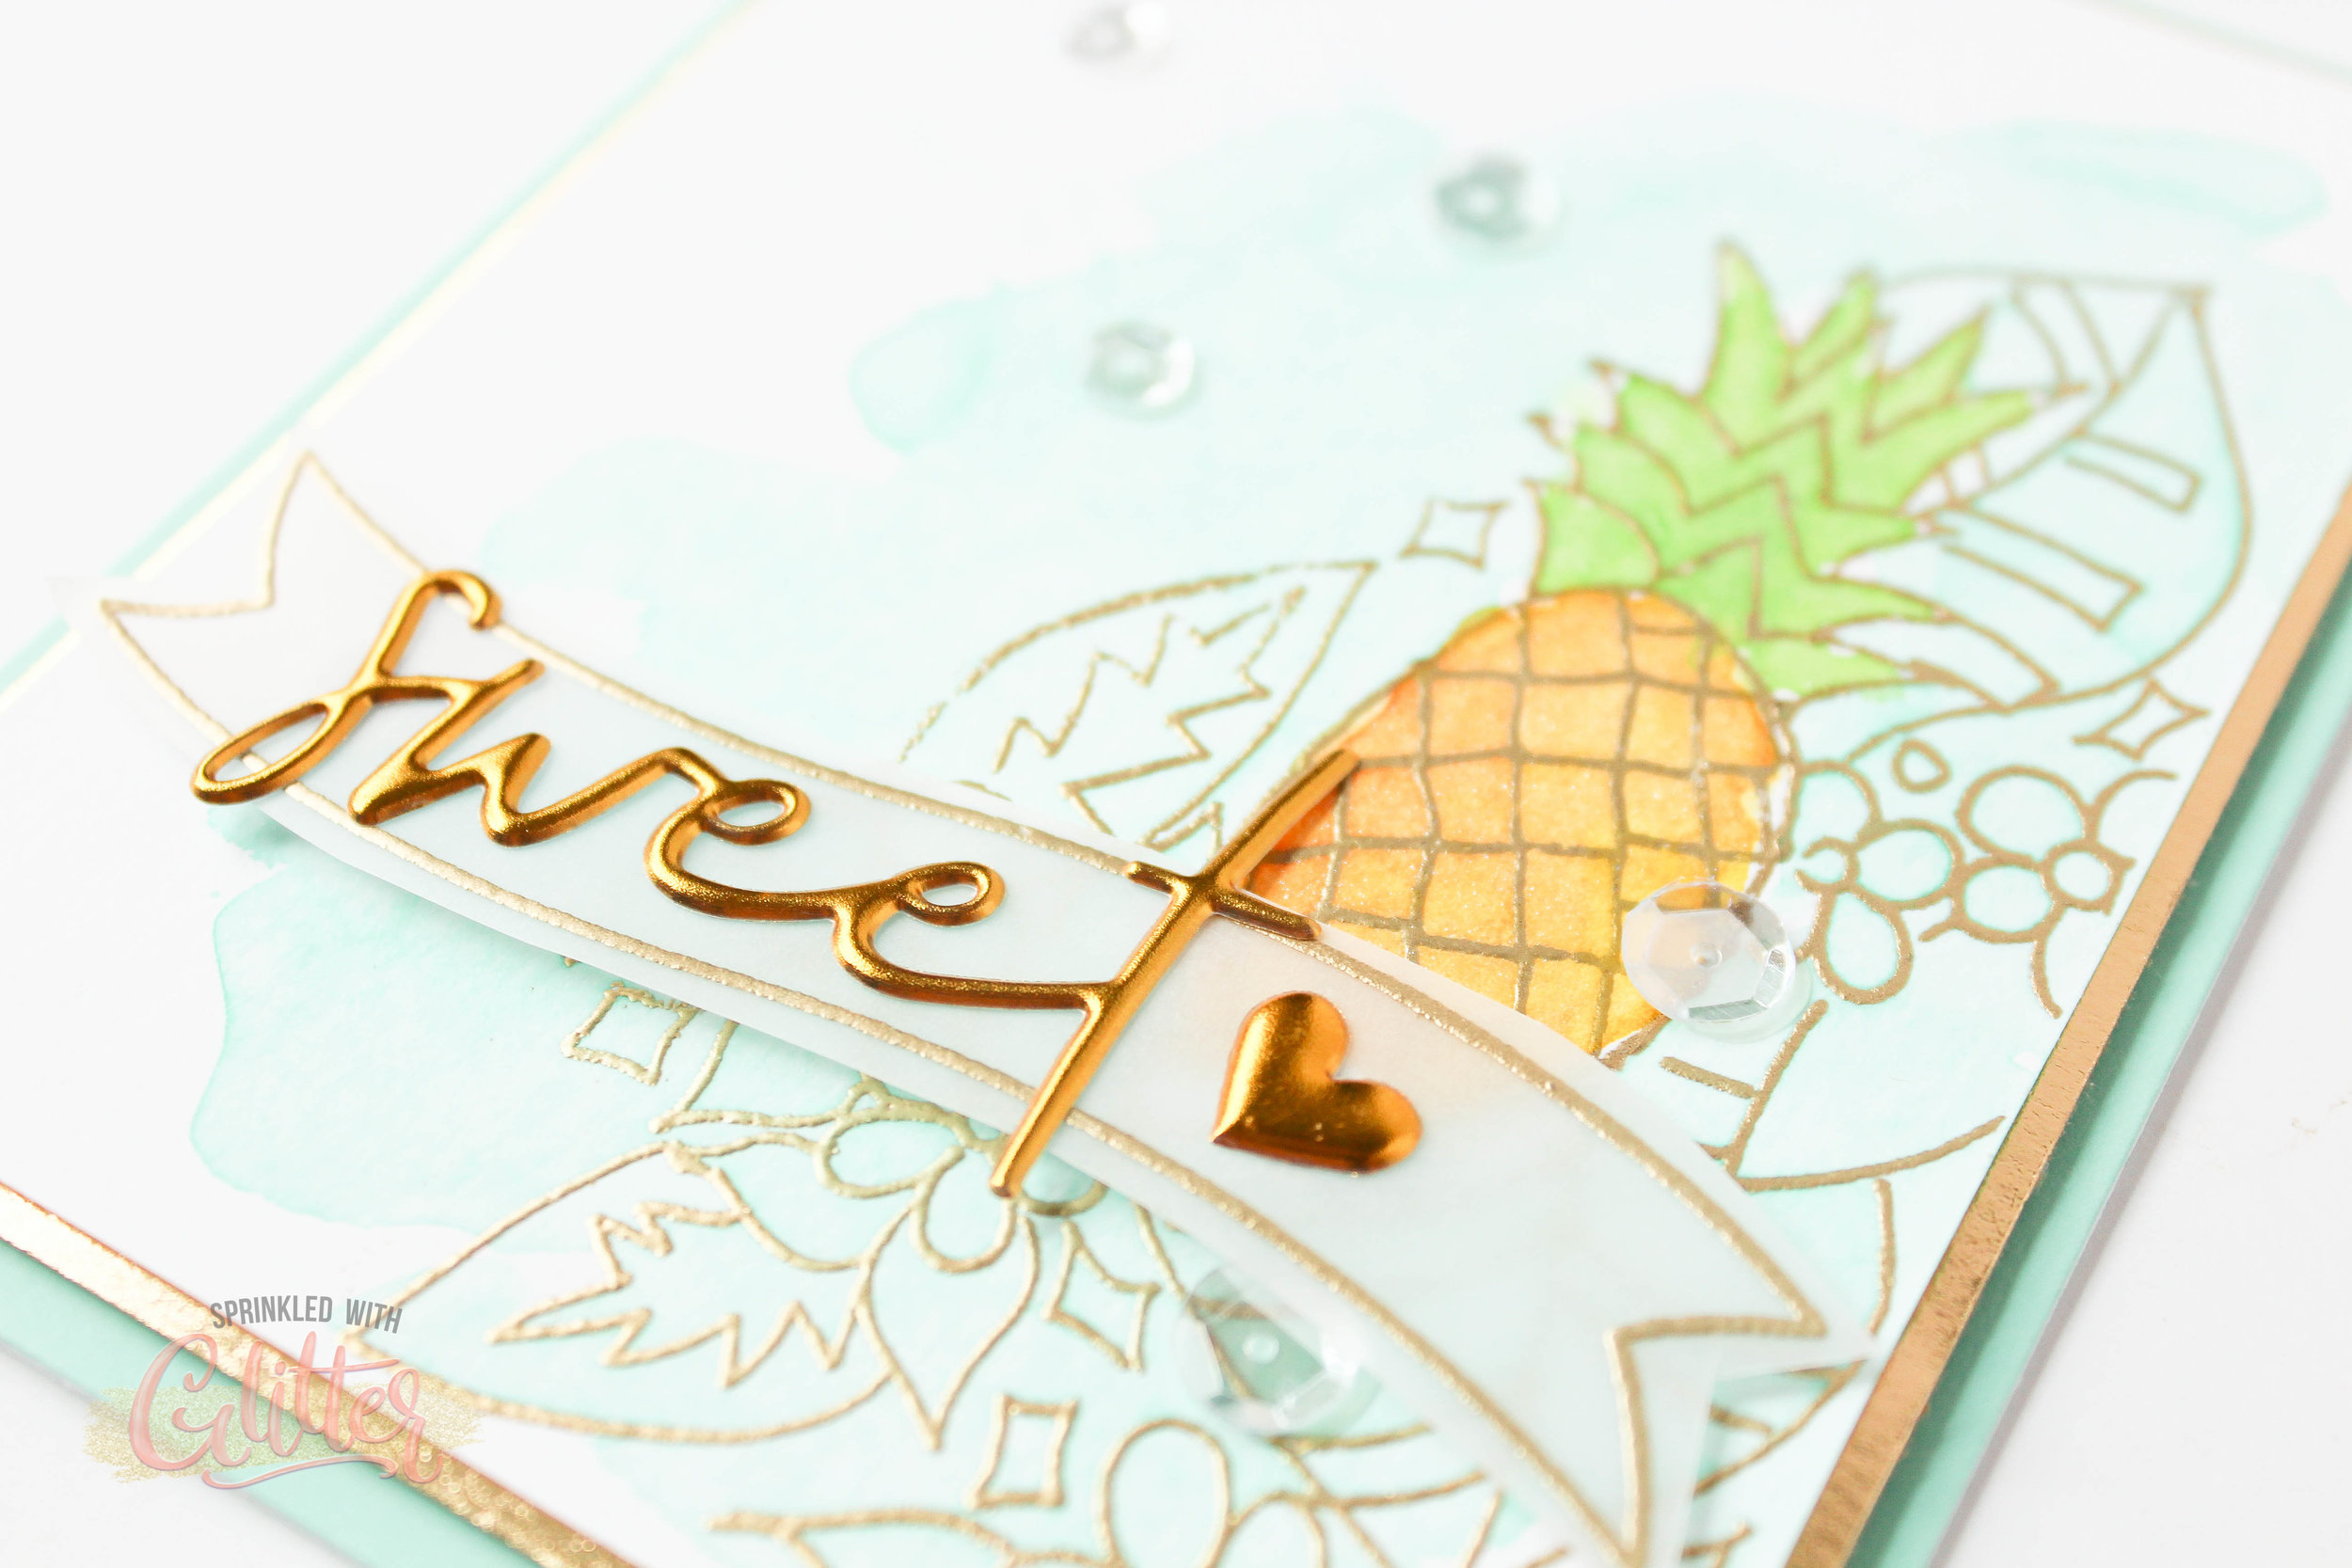
The paper mask allowed me to stamp just a portion of the Let’s Flamingle image on my card front. Masking a large image like this is a great way to create different looks with the same stamp.
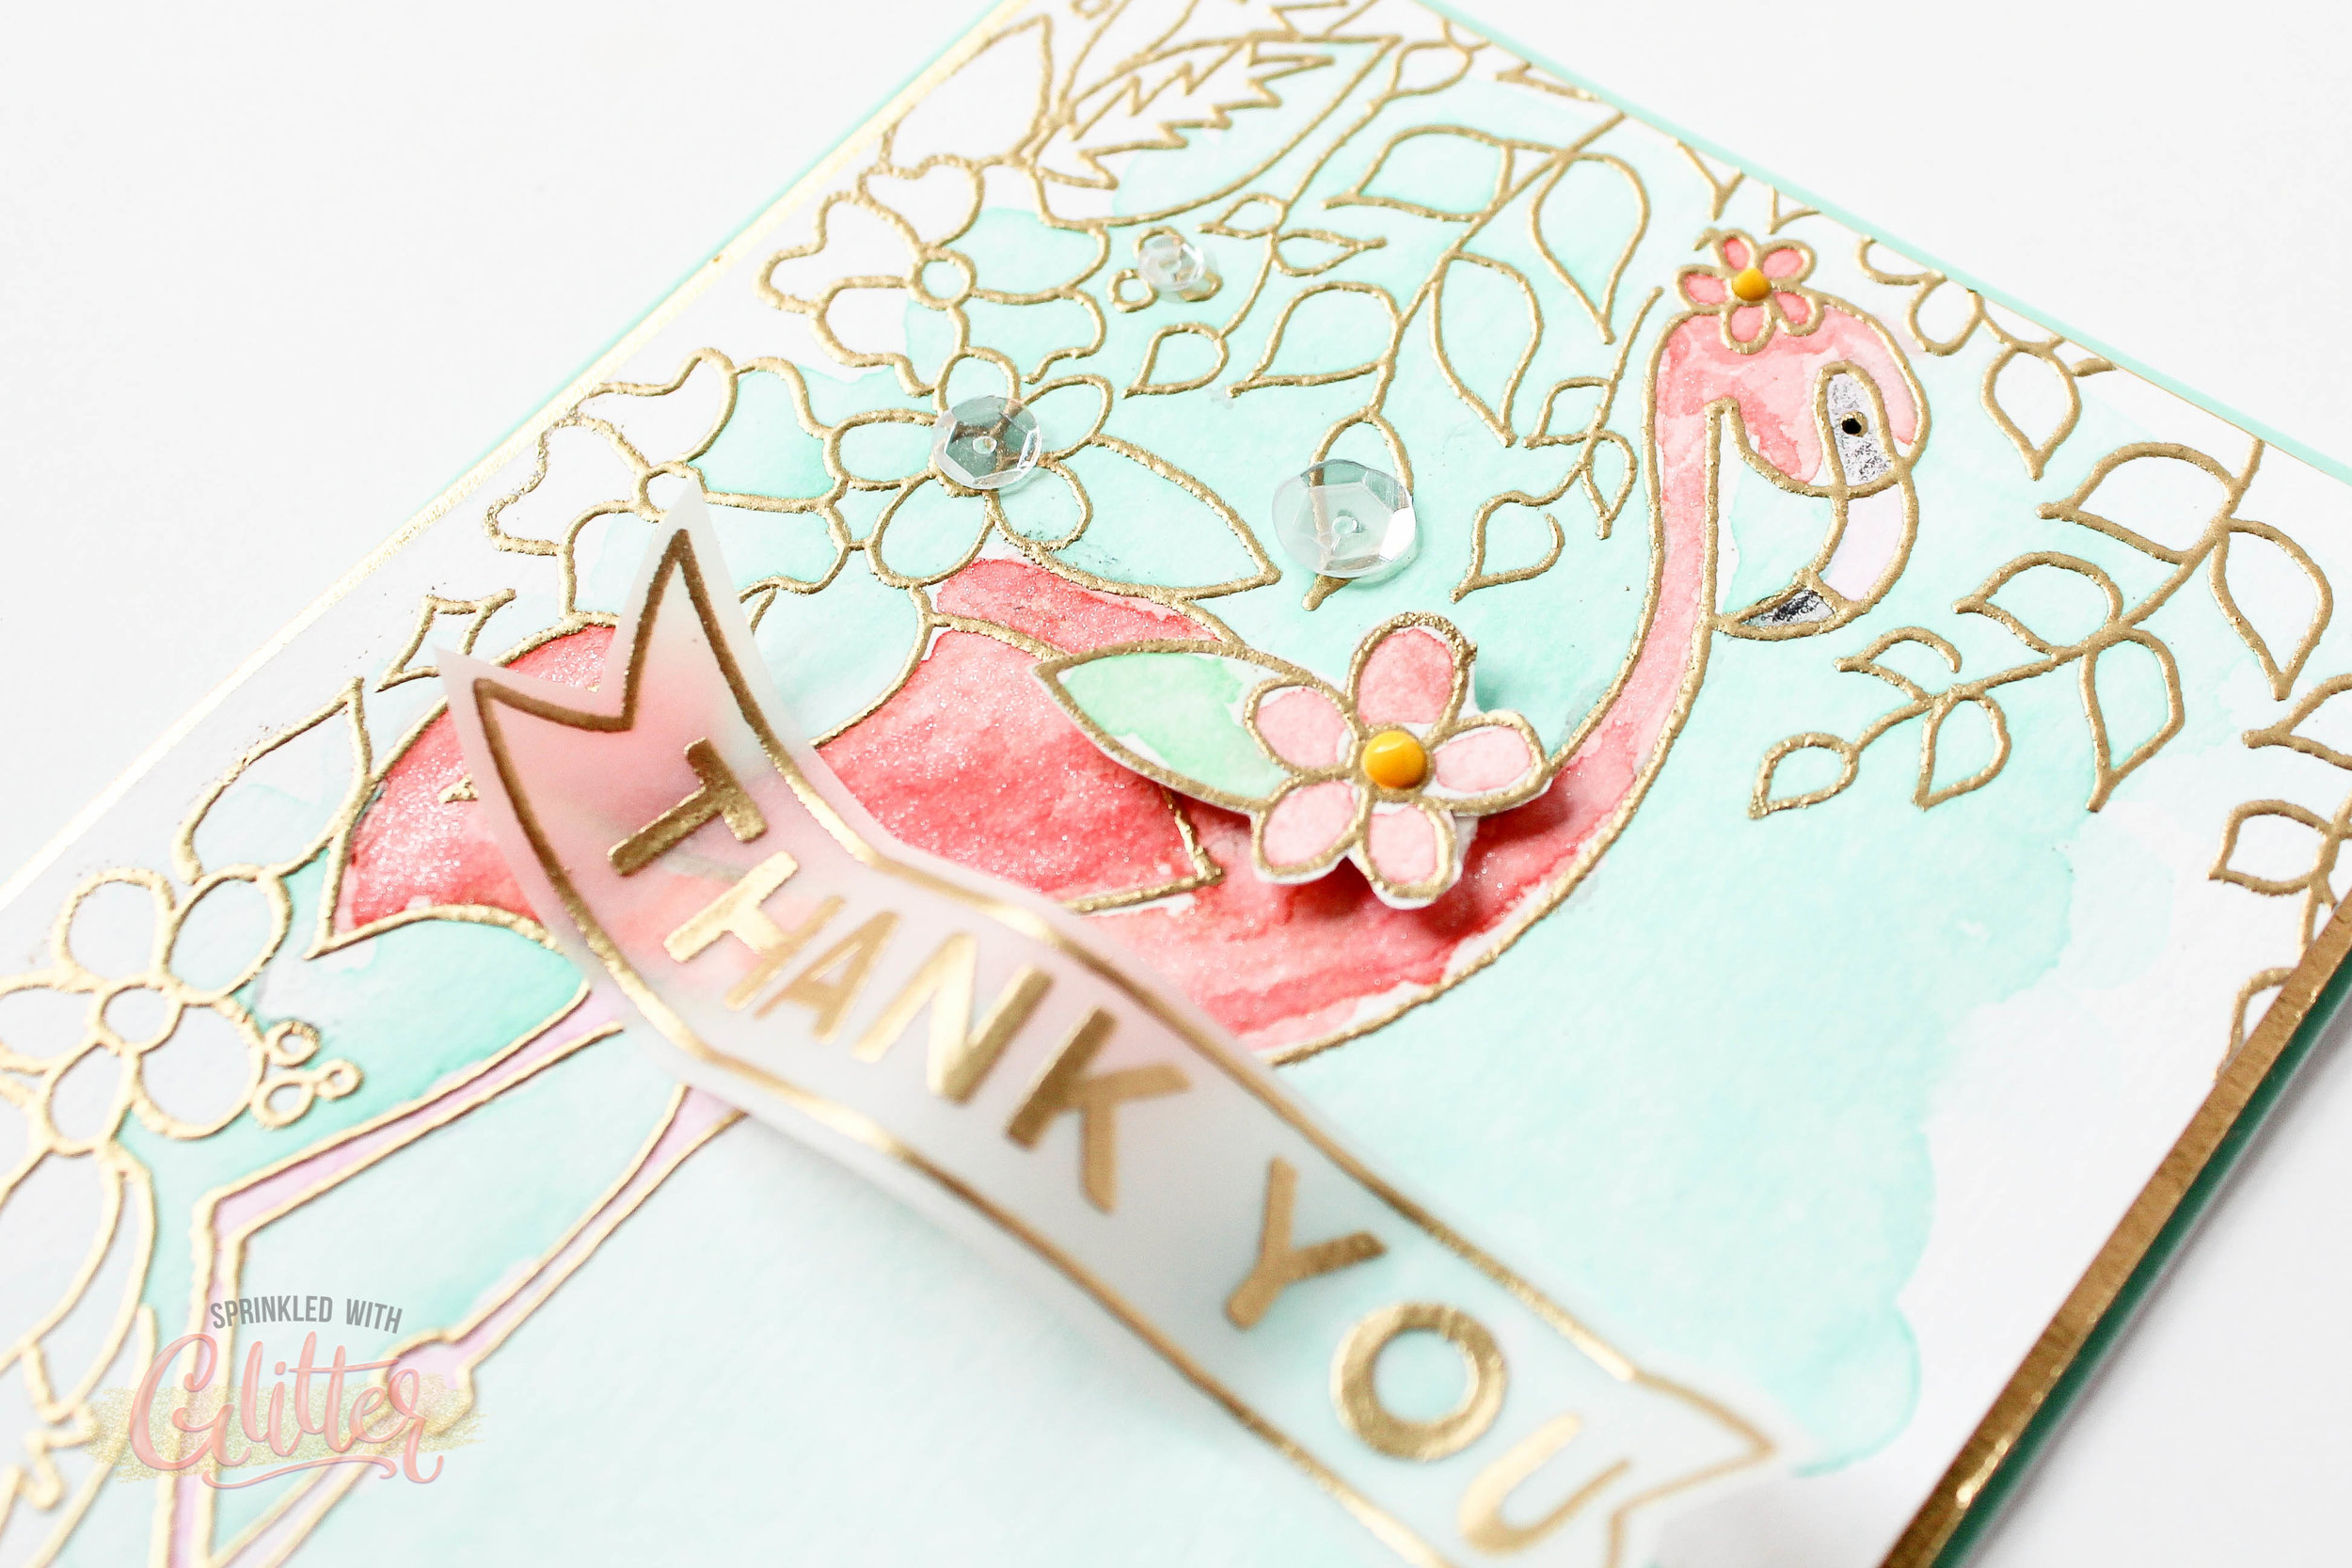
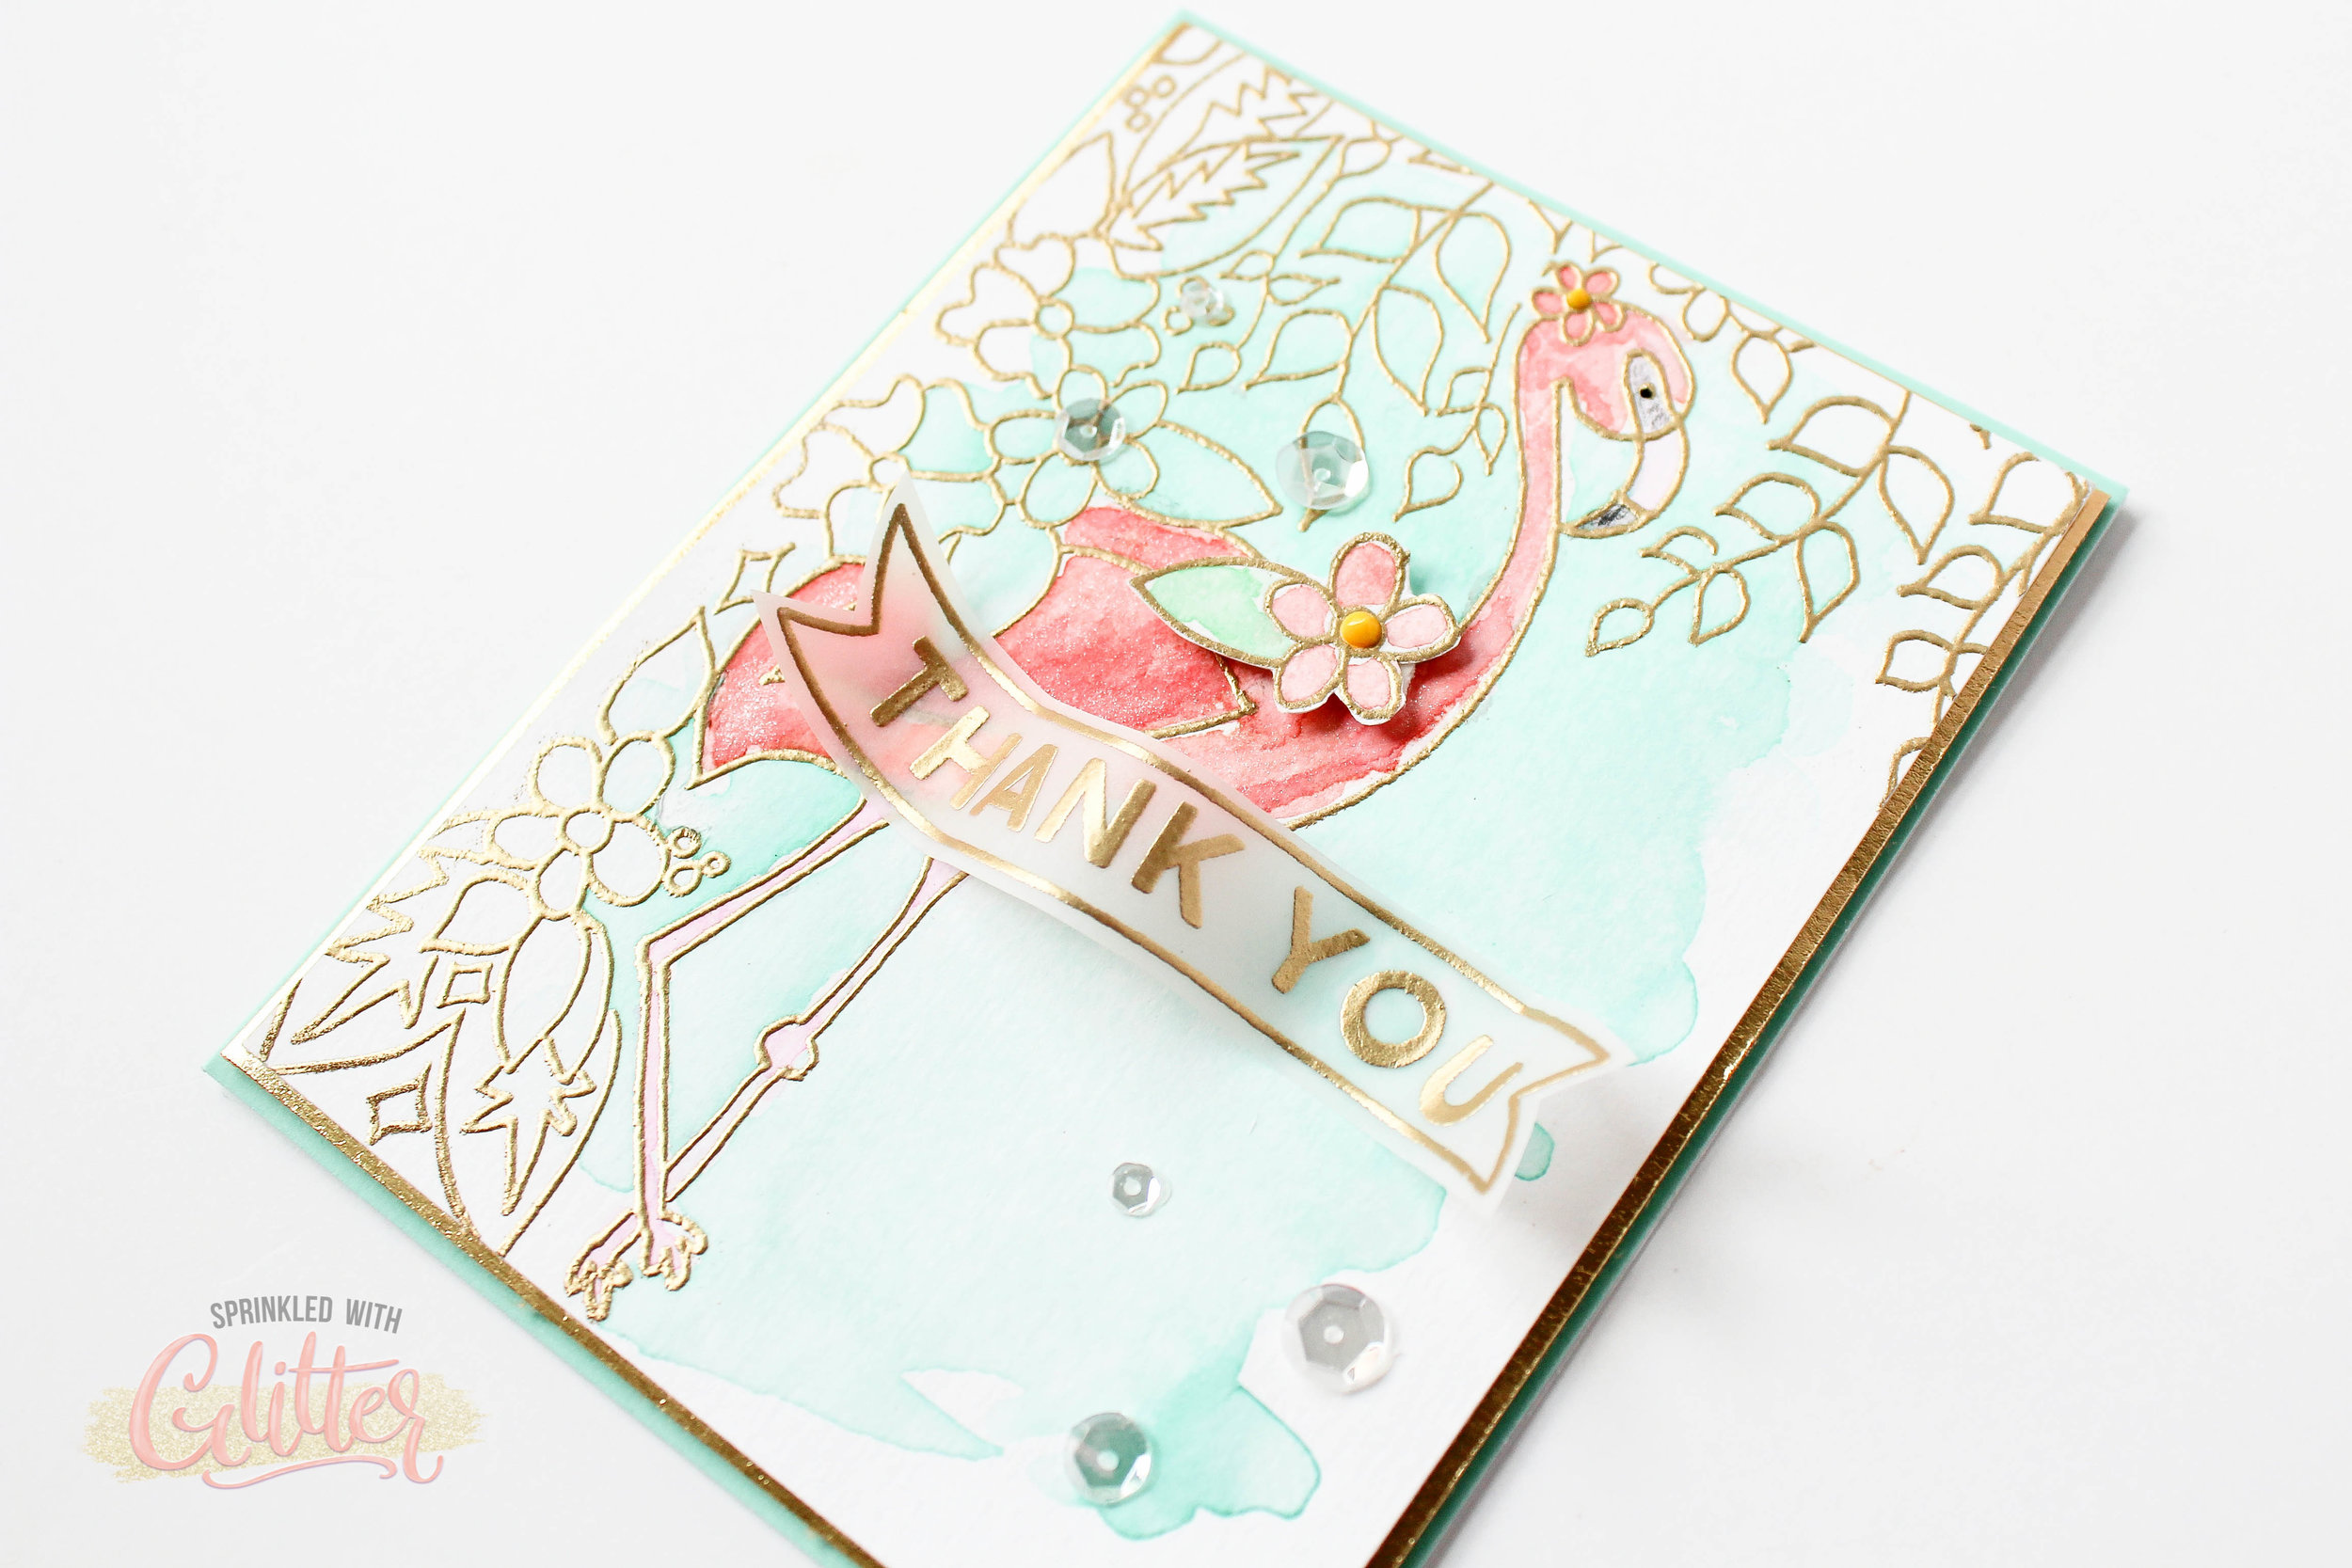
Paper masks are great for stamping, but won’t work with wet mediums, like watercolor. The mask would just become a wet mess when all the water is added over the top. And since I knew I wanted to add a wash of color to the background, while keeping the flamingo clean, I knew I would have to use a masking fluid.
I used Tonic Masking Fluid, but there are many brands available on the market and they all work very similarly. The key, as I learned while creating this card, is to put down an even layer, making sure all the nooks and crannies are covered, and allowing the masking fluid to dry completely before removing it.
I used the Pinkfresh Liquid Watercolors in Aquamarine, Sky Blue, Clementine and Bubblegum. I mixed the colors to create my own custom colors. The Pinkfresh Liquid Watercolors come in beautiful colors, and mixing them allows you to create even more beautiful colors…like the coral-y pink for the flamingo and the minty green for the background.
I’ve created a video tutorial walking you through both cards that I created with the Let’s Flamingle stamp set. I’ll give you some tips on masking, and show you my blunders too. Let’s face it….we all make mistakes. Be sure to check out the video!
Thanks for stopping by today. I hope you enjoyed these projects. Until next time, I hope you have a fabulous day.
XOXO
SUPPLIES
*affiliate links used*
|


