Love You - Pretty Pink Posh January Release Blog Hop
Hi everyone! Thanks for stopping by today for the Pretty Pink Posh January Release Blog Hop. There are some fun new products being released today over at Pretty Pink Posh. I have those products to show you...and a new project featuring two of the brand new dies. LOVE THEM! And since I love them so much...I decided to create a love themed card.
There is a lot of inspiration and eye candy for this blog hop today! And there will be two lucky people who will score a $25 gift certificate to Pretty Pink Posh. In order to enter, just leave comments at each blog along the way. Comments must be posted by January 10th, 2016 at 11:59 PM PST. Winners will be announced on the Pretty Pink Posh blog. If you get lost along the way, be sure to head over to the Pretty Pink Posh blog to get back on track. I've posted a complete list of blog hop participants below.
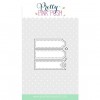
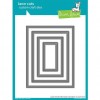
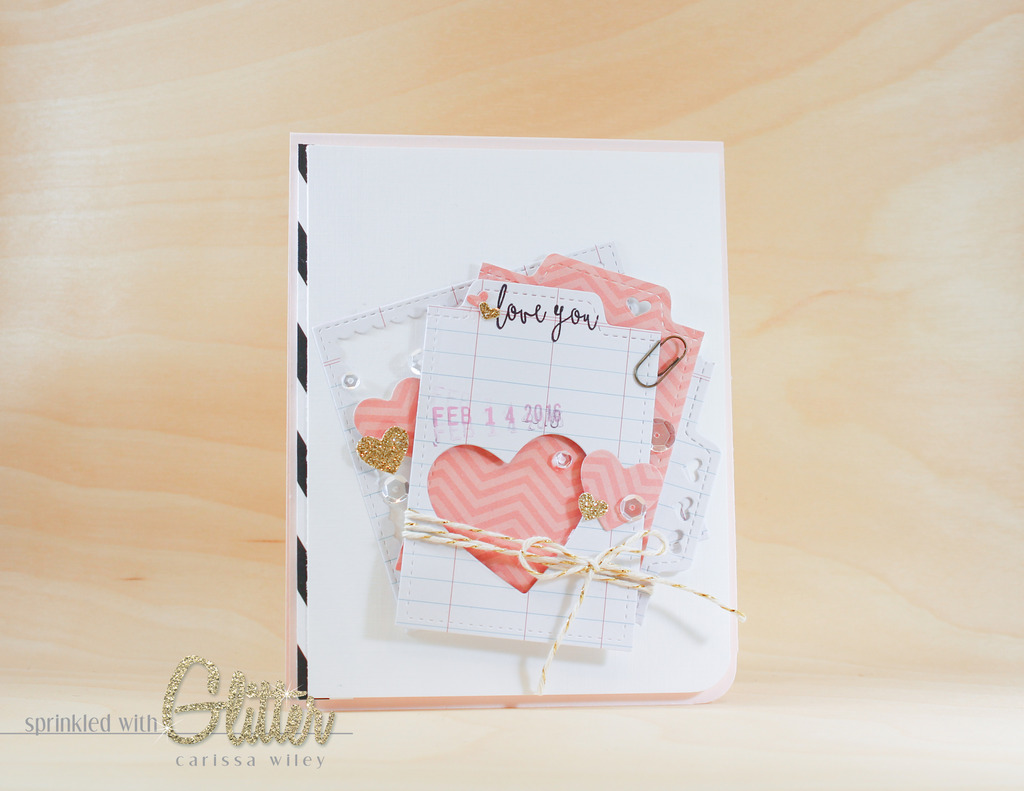
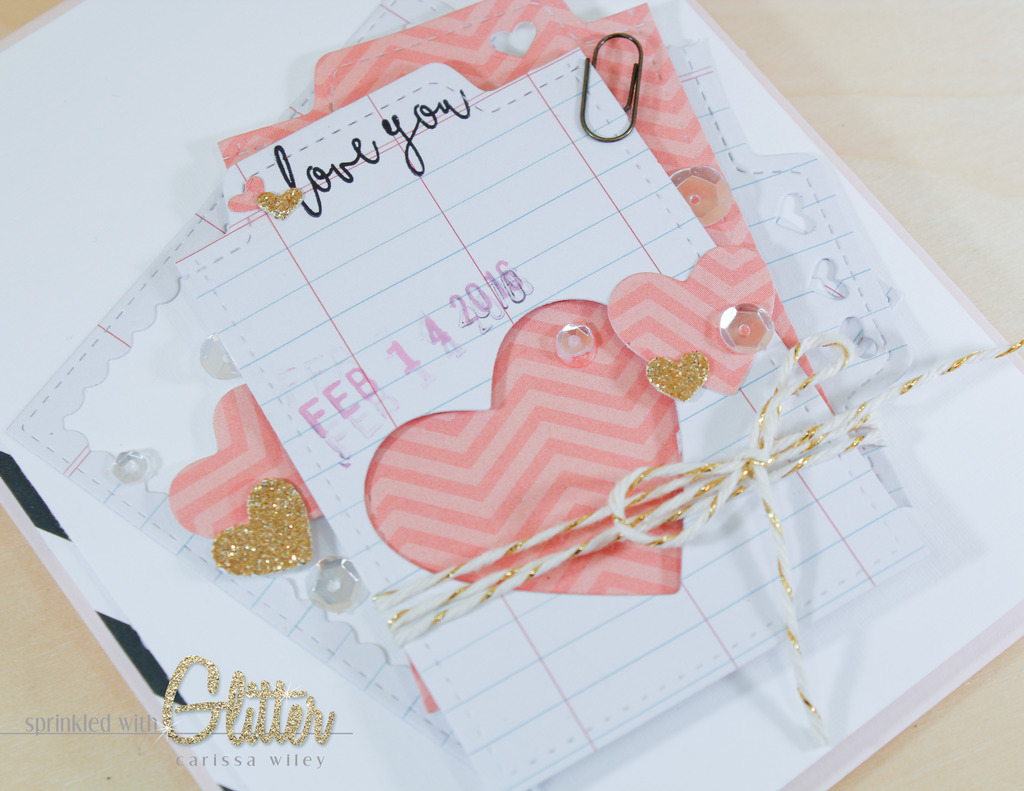
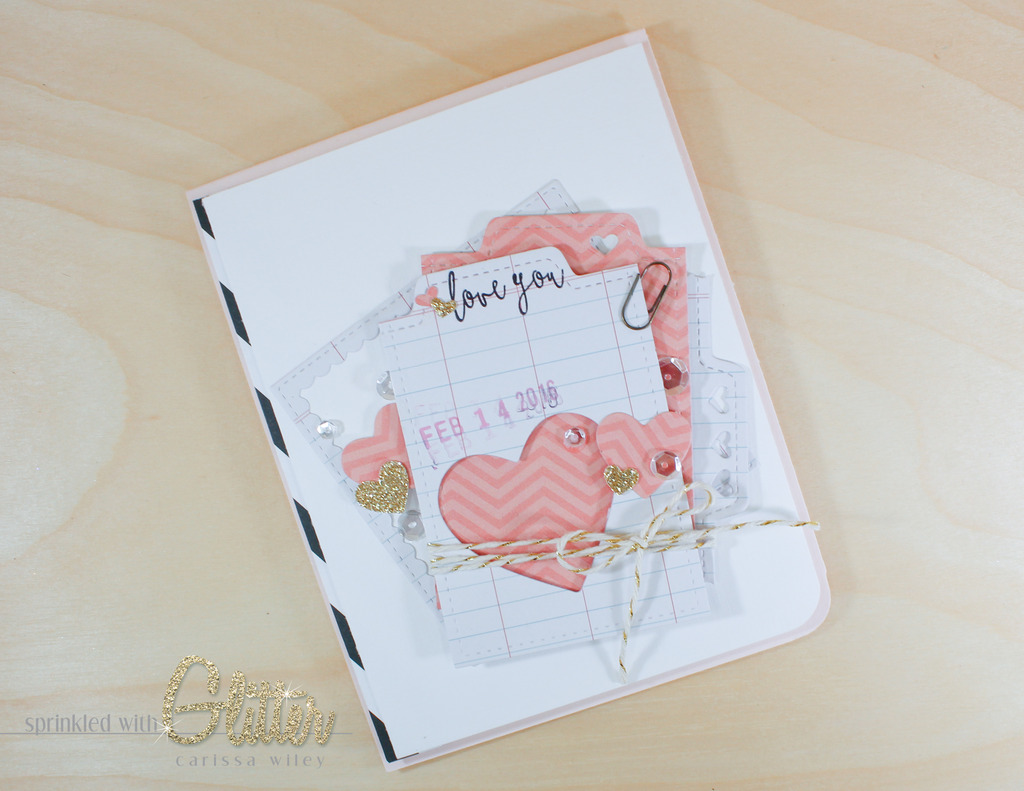
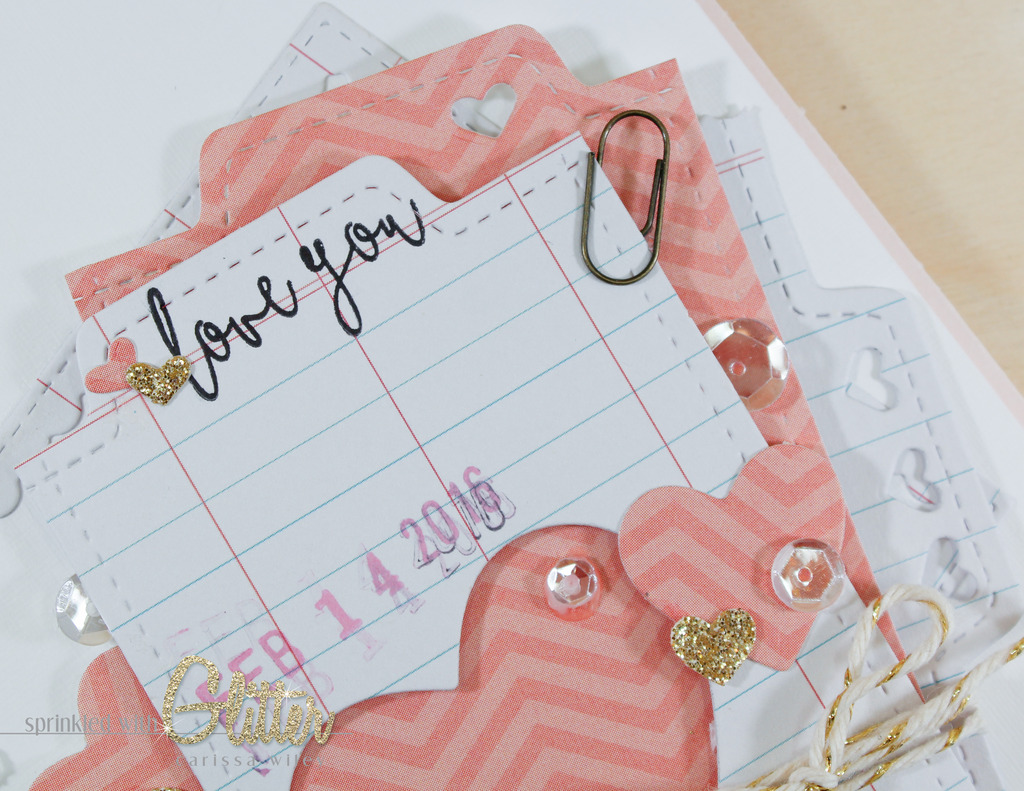
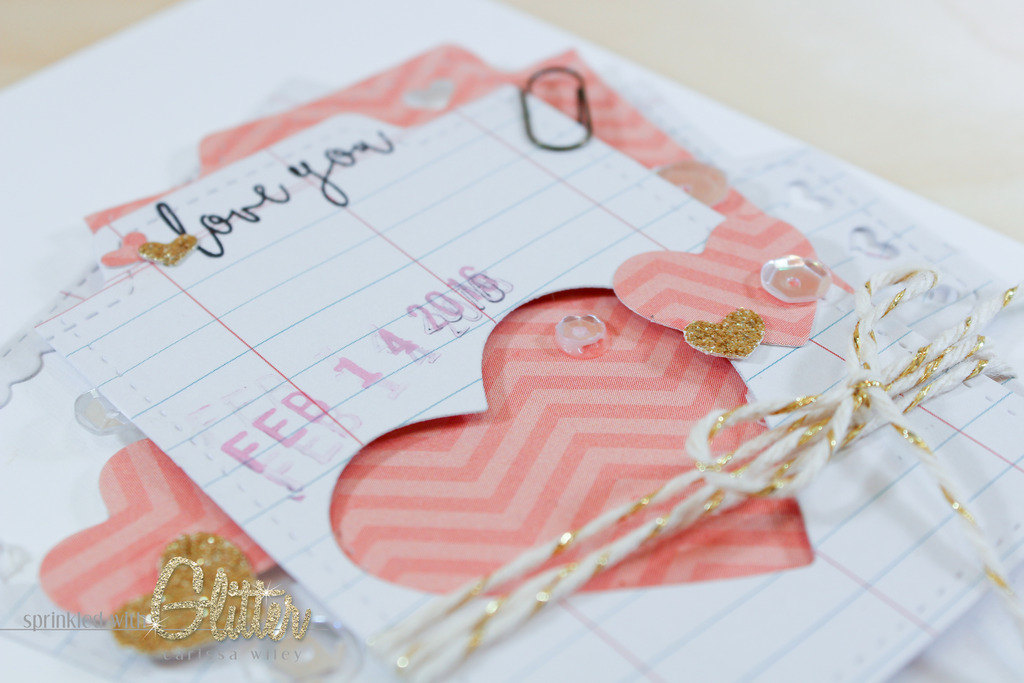
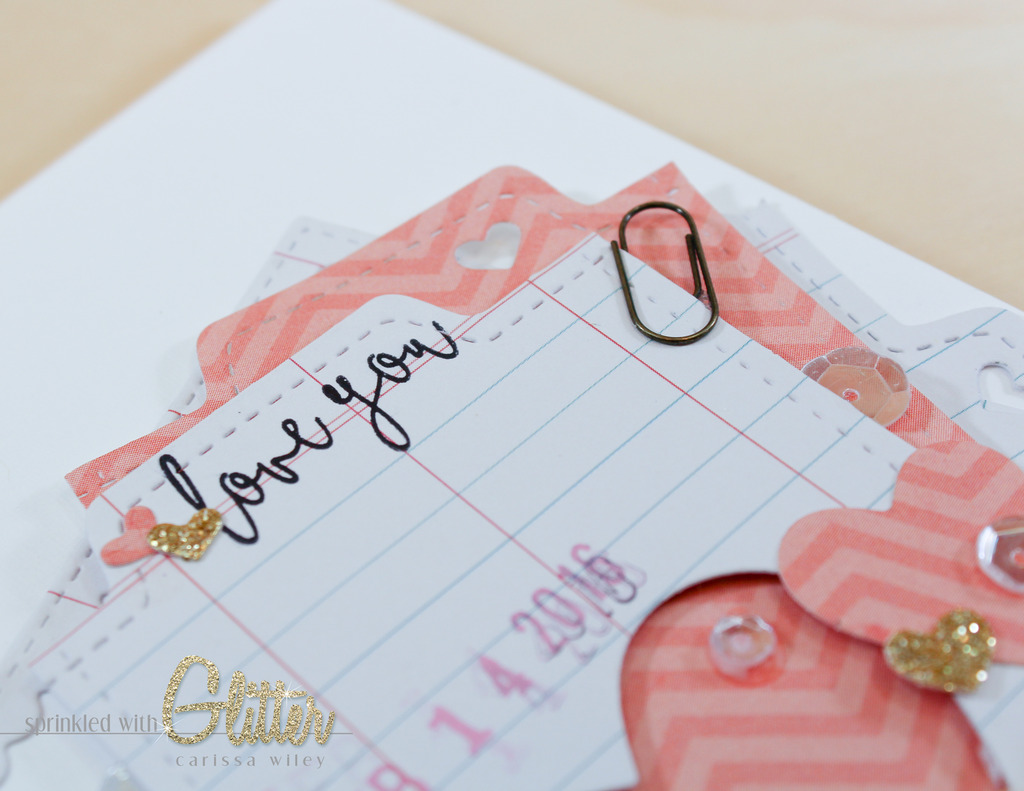
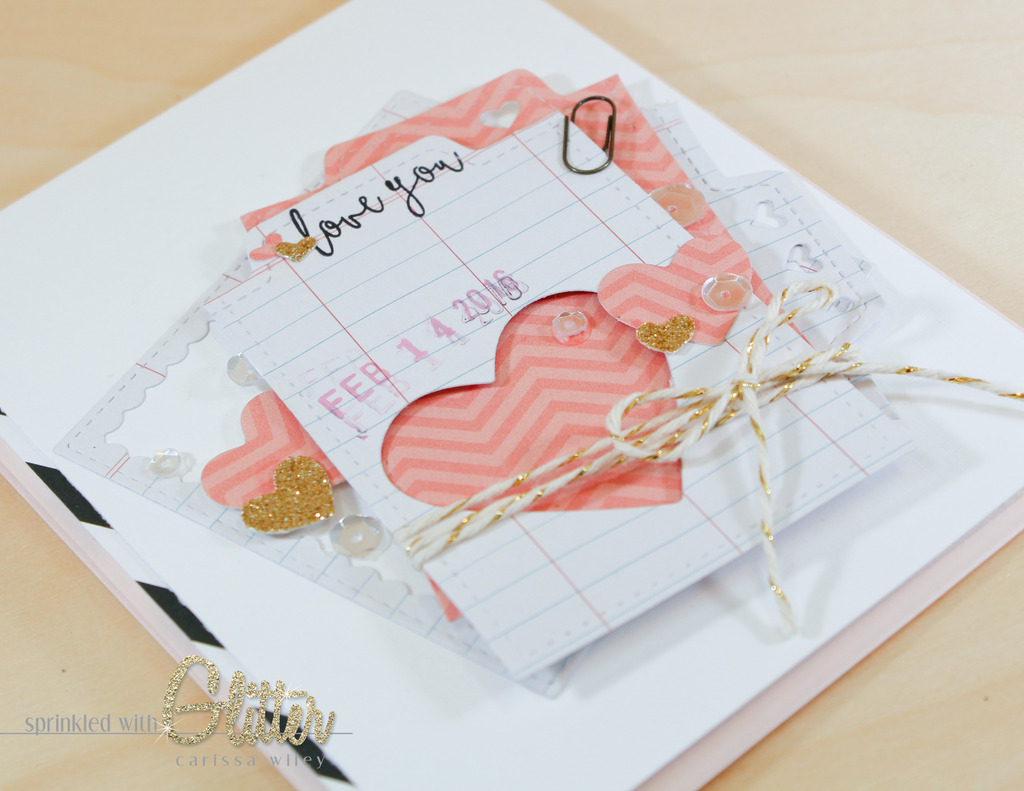
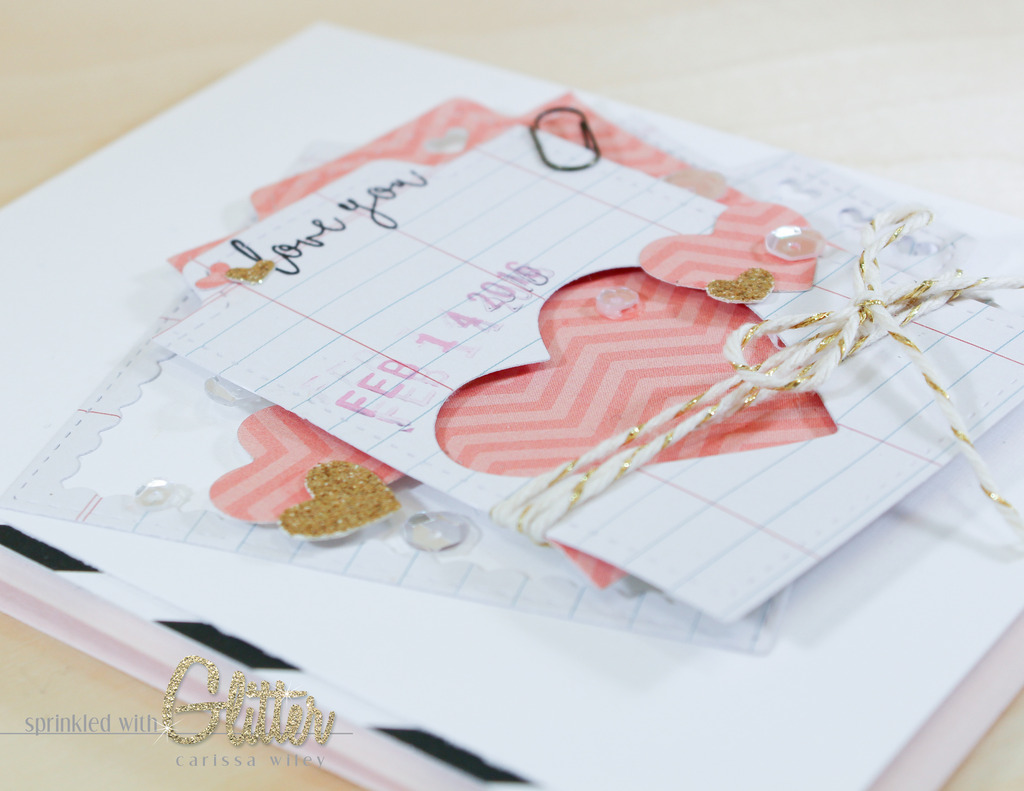
I knew when I saw the Stitched Tabs dies that I could find all kinds of uses for them. They'll be helpful in my planner...and make a fun addition to cards as well. I used them on this card to create a kind of scholastic feel. I started by cutting a stitched rectangle using some Lawn Fawn dies. By using a stitched shape as my base, I'll have the stitching all the way around the little file tab card when I'm done. Once I cut the rectangle, I positioned the Stitched Tab die along the top and ran it through my die cut machine. This creates a fun edge along the top of the rectangle...and creates a perfect place for a small sentiment.
Once I had my little file tab card created, I used some nesting heart dies to cut a heart in the top card. This allows more of the patterned paper below to show and makes a fun element on the card. I also used the same nesting dies to cut some other hearts to sprinkle around my project.
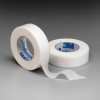
To mimic the feel of the hearts, I pulled out the teeny tiny heart die from the Pretty Pink Posh Stitched Labels 1 die set. This little heart made the perfect accent along the tabs. I cut some out of patterned paper to attach to the card. I also used it to cut tiny heart windows in the tabs. It's a fun accent. This die is very tiny. In order to make it a little easier to work with, I used some micropore tape to hold it in place. Be careful when you're cleaning up that you don't throw this little teeny tiny die in the trash....I speak from experience. ;)
To create a landing place for my stacked file tab cards, I cut a scalloped frame using the new Scalloped Squares die set. I used both the frame that it creates, as well as the inner portion. I cut a tab along the side edge of the inner portion, and layered that up with the file tab cards that I had already created. The scalloped square frame really made my grouping feel complete.
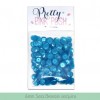
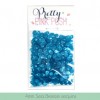
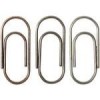
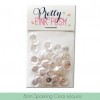
I used several little accents on my card front as well. In addition to the die cut hearts, I sprinkled some sparkling clear sequins around the card front as well. These sparkling clear sequins are always my favorite and go with anything. I also added some metallic gold twine and a mini paper clip. All of these little elements together really add to the scholastic feel of the card. Wouldn't this be the cutest little valentine to give a teacher?
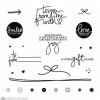
I also added a sentiment to the inside of my card. It's not something that I often do...and maybe my blunder was a sign that I shouldn't do it...but nevertheless, I thought the sentiment from the Mama Elephant Confetti stamp set would be a perfect addition to this card. I'll show you my little blunder in the video below...and how I saved the card. In the end, it turned out to be a happy accident because I ended up adding the card front to a Pale Rose card base. I love that little change.
So there you have it....a fun love themed card featuring some of the fabulous new products from Pretty Pink Posh. I've created a video tutorial below walking you through the entire creation of this card...blunders and all. Be sure to check it out below. I've also linked the products used in this project below.
Thanks for stopping by today. I hope you've enjoyed this project. Be sure to check out all of the fabulous projects along the blog hop. Until next time, I hope you have a fabulous day!
Blog Hop Stops
Supplies
*affiliate links used*


