Lots Of Layers - WPlus 9 Guest Designer Post
Hi everyone! Thanks for stopping by today. I am so excited to be a guest designer here on the WPlus9 blog today. I’m going to be sharing a few projects with you that combine several of my favorite WPlus9 products. It’s all about layering and combining to create beautiful cards for the holidays (or year round).
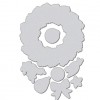
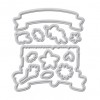
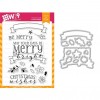
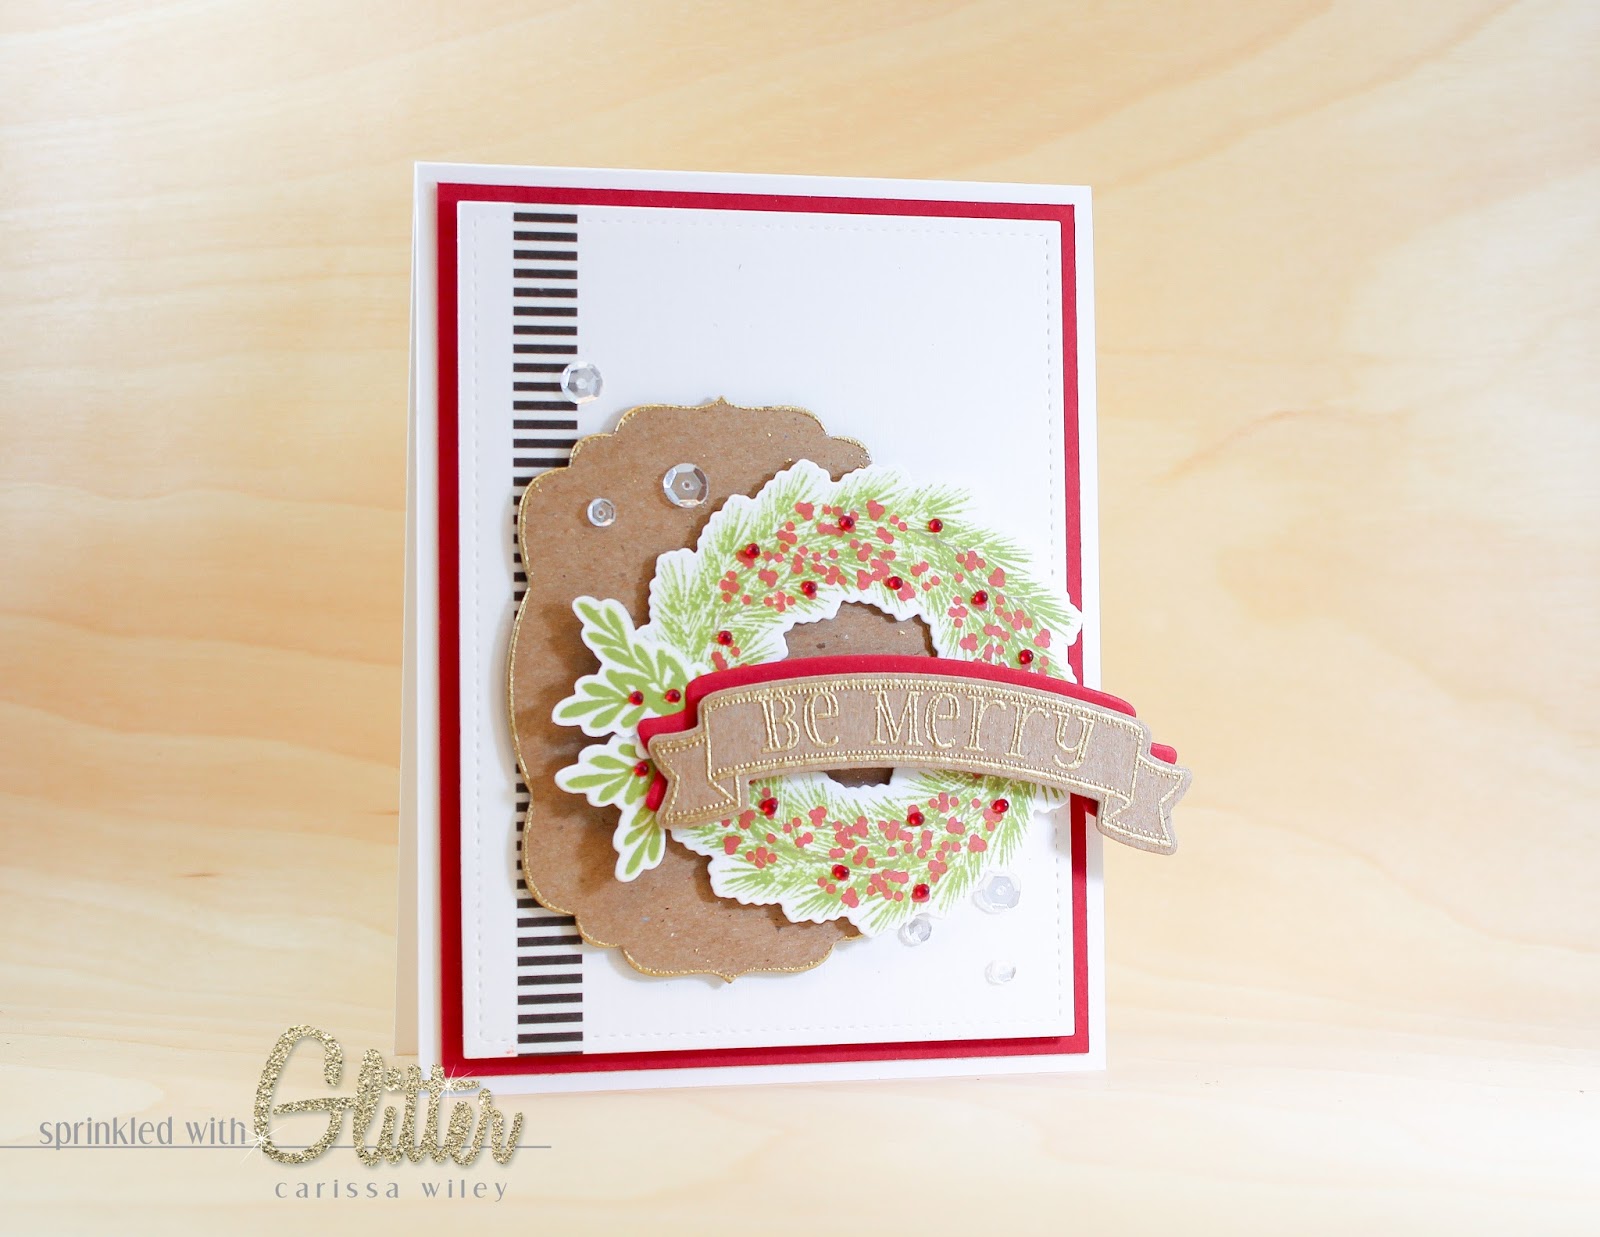
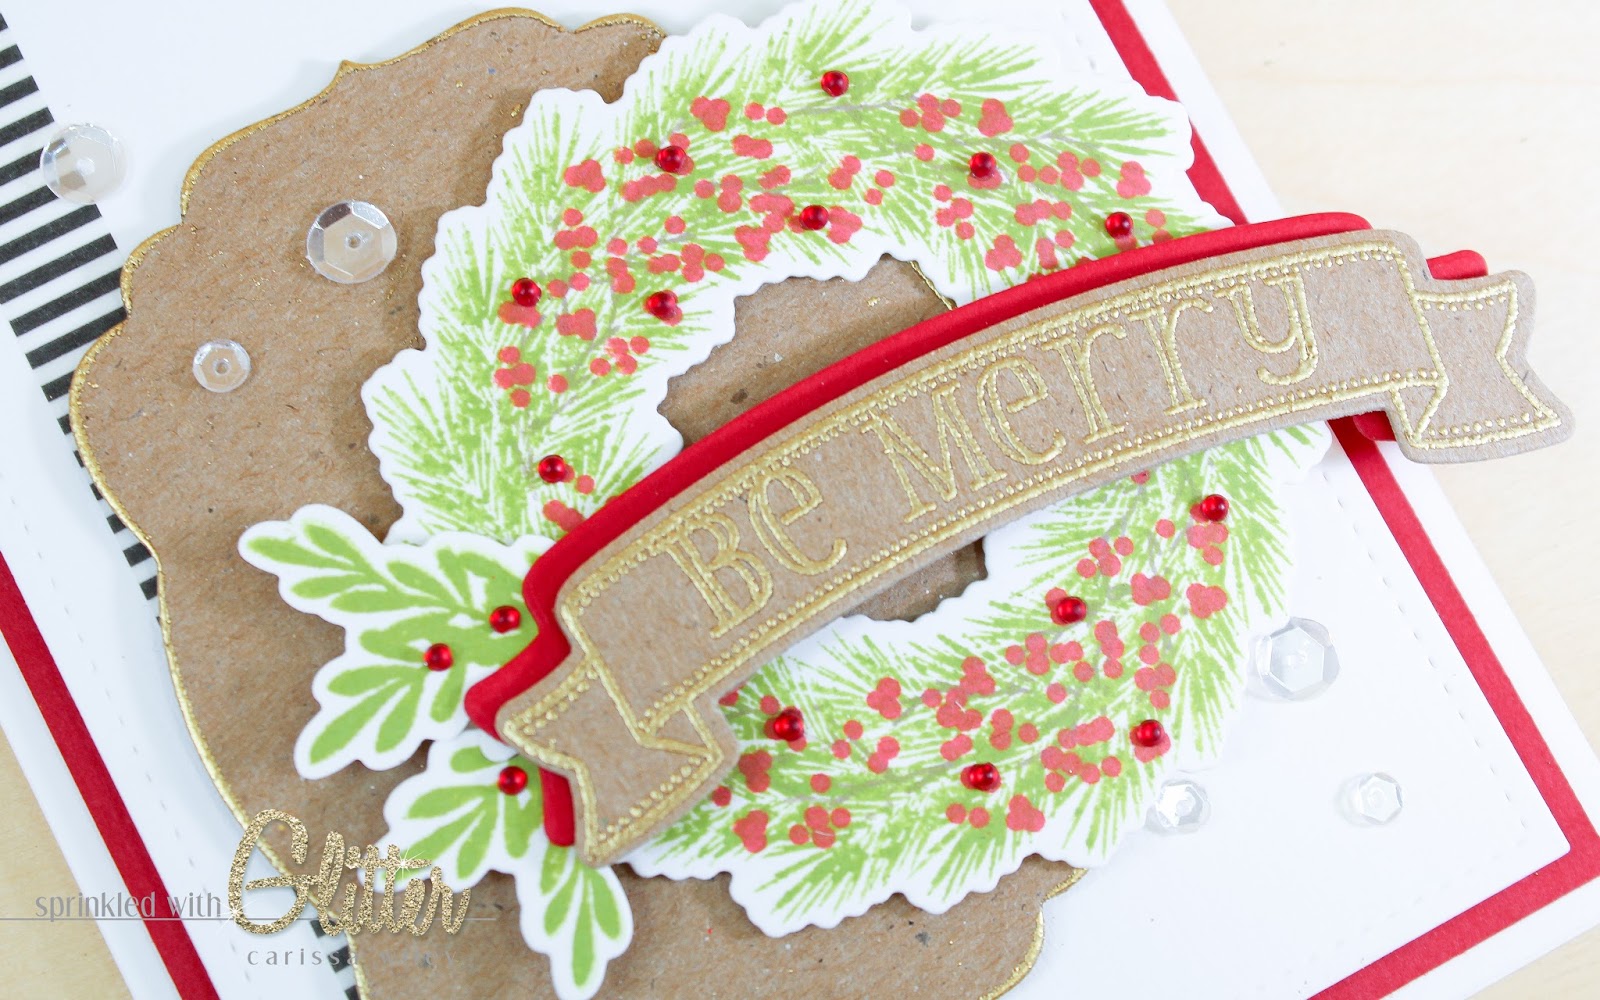
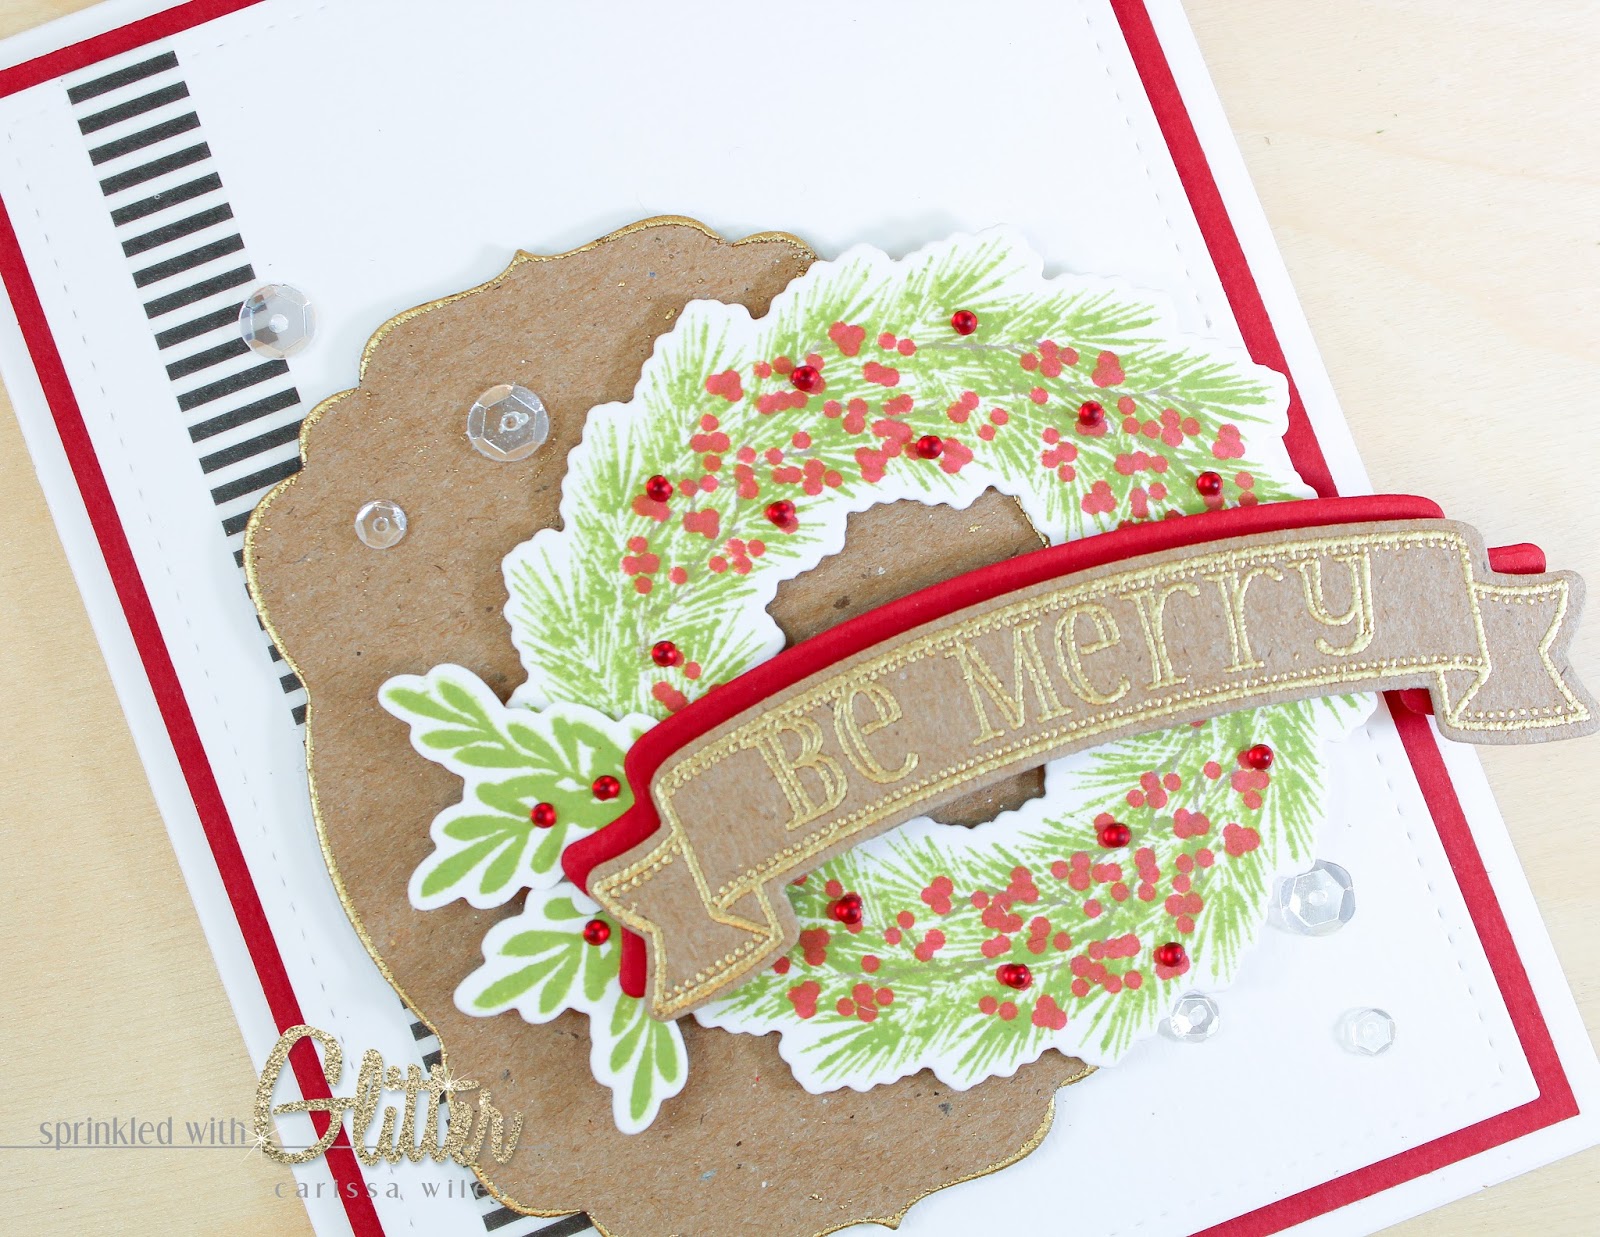
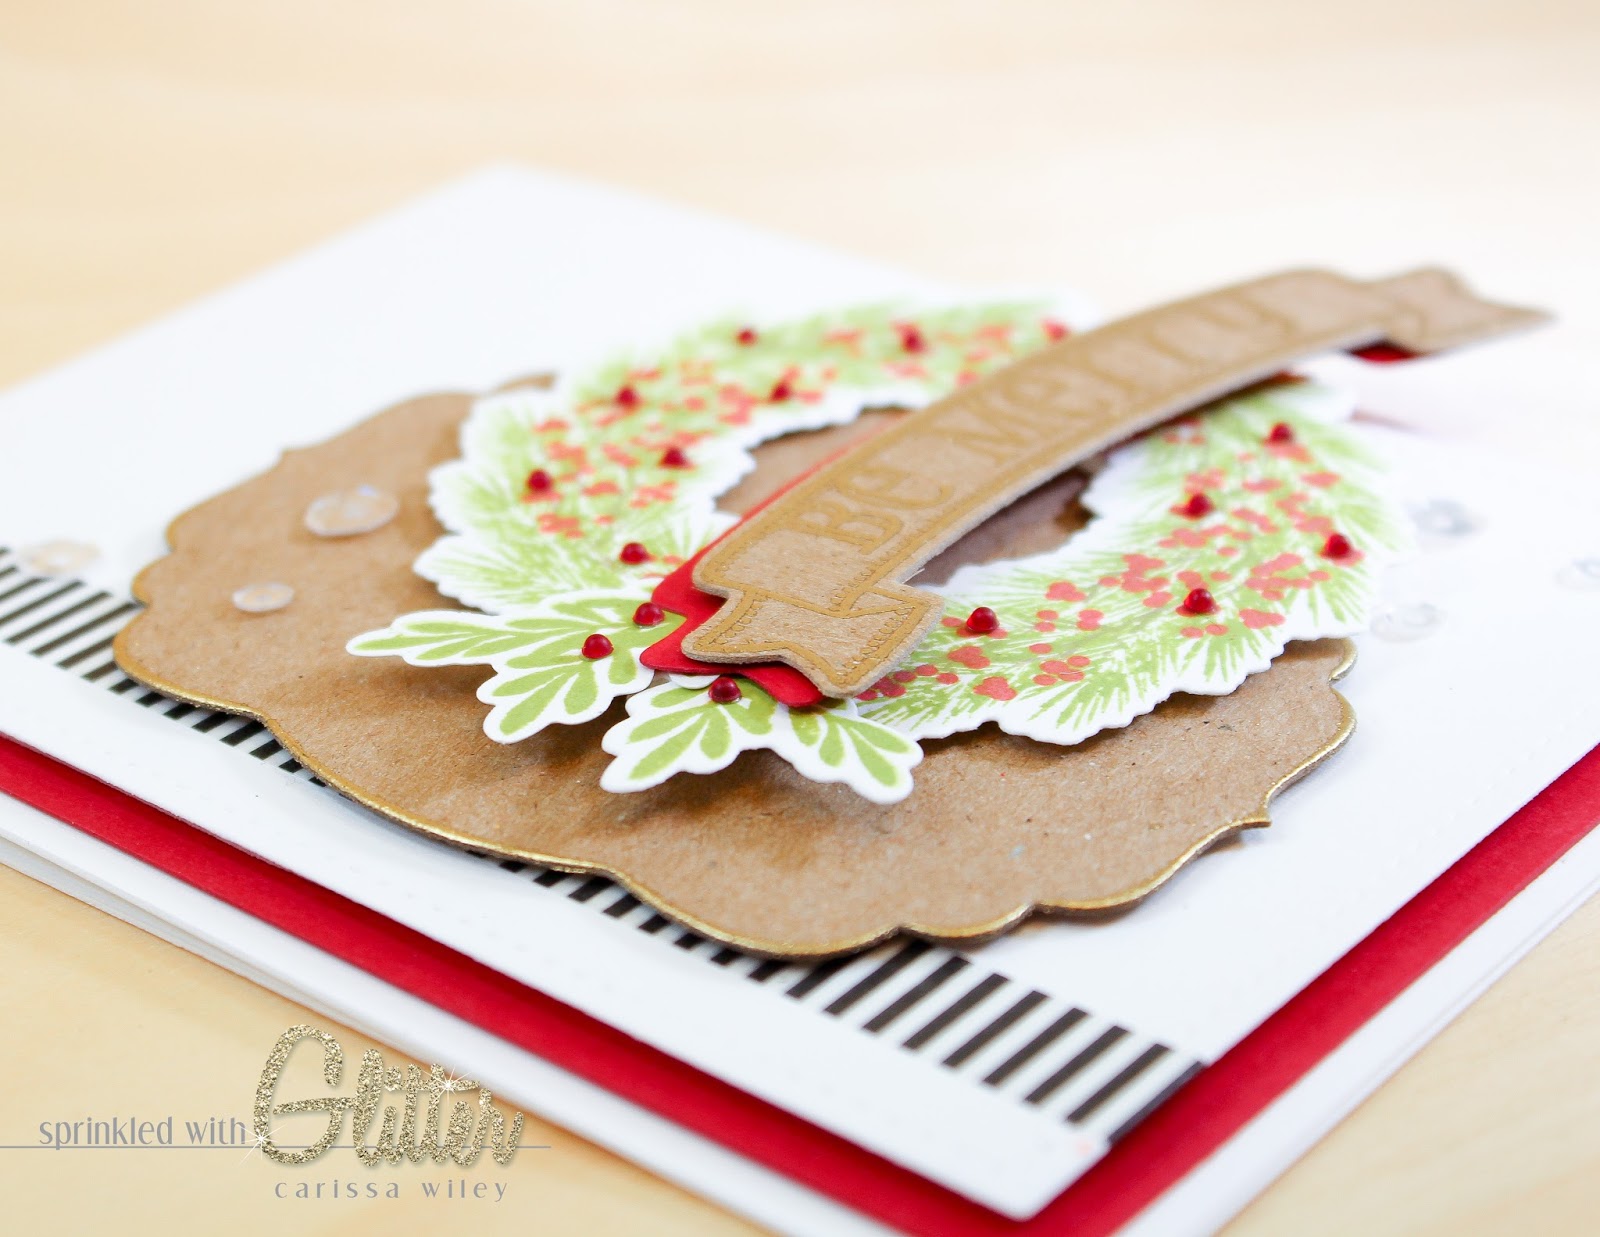
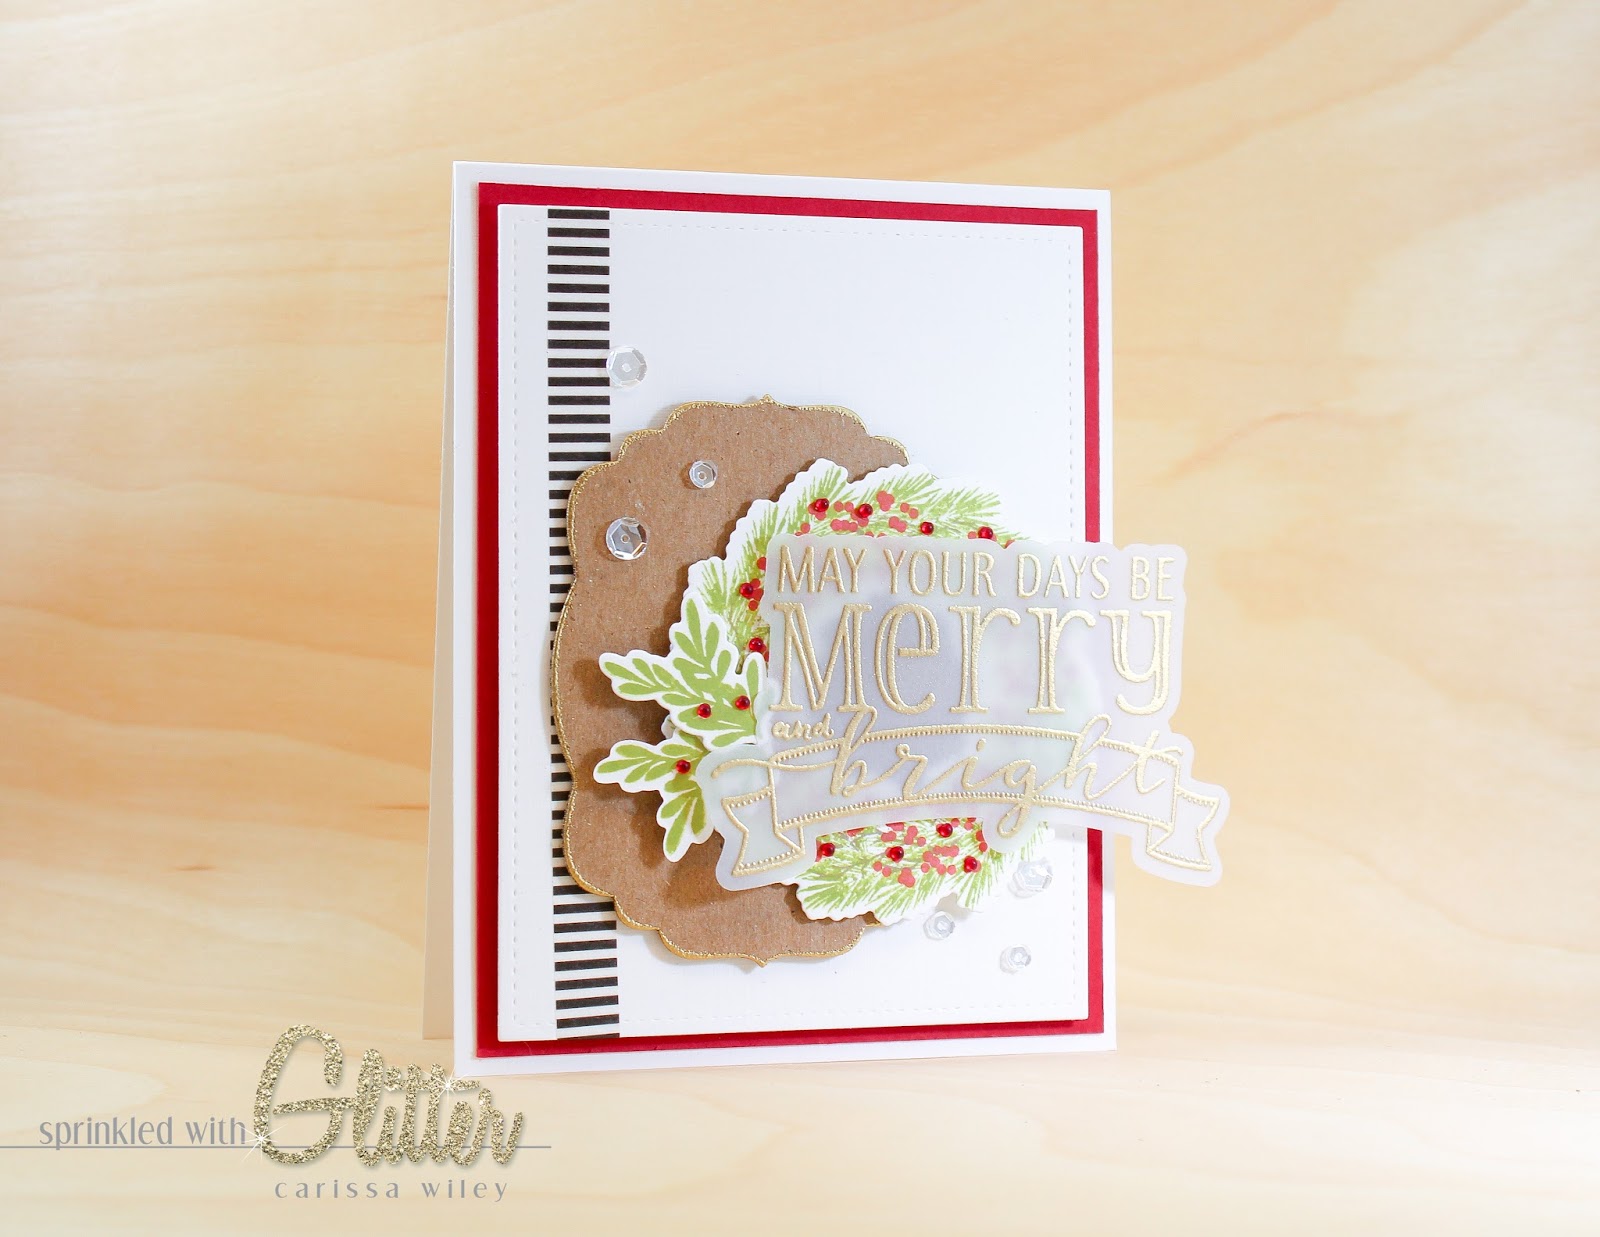
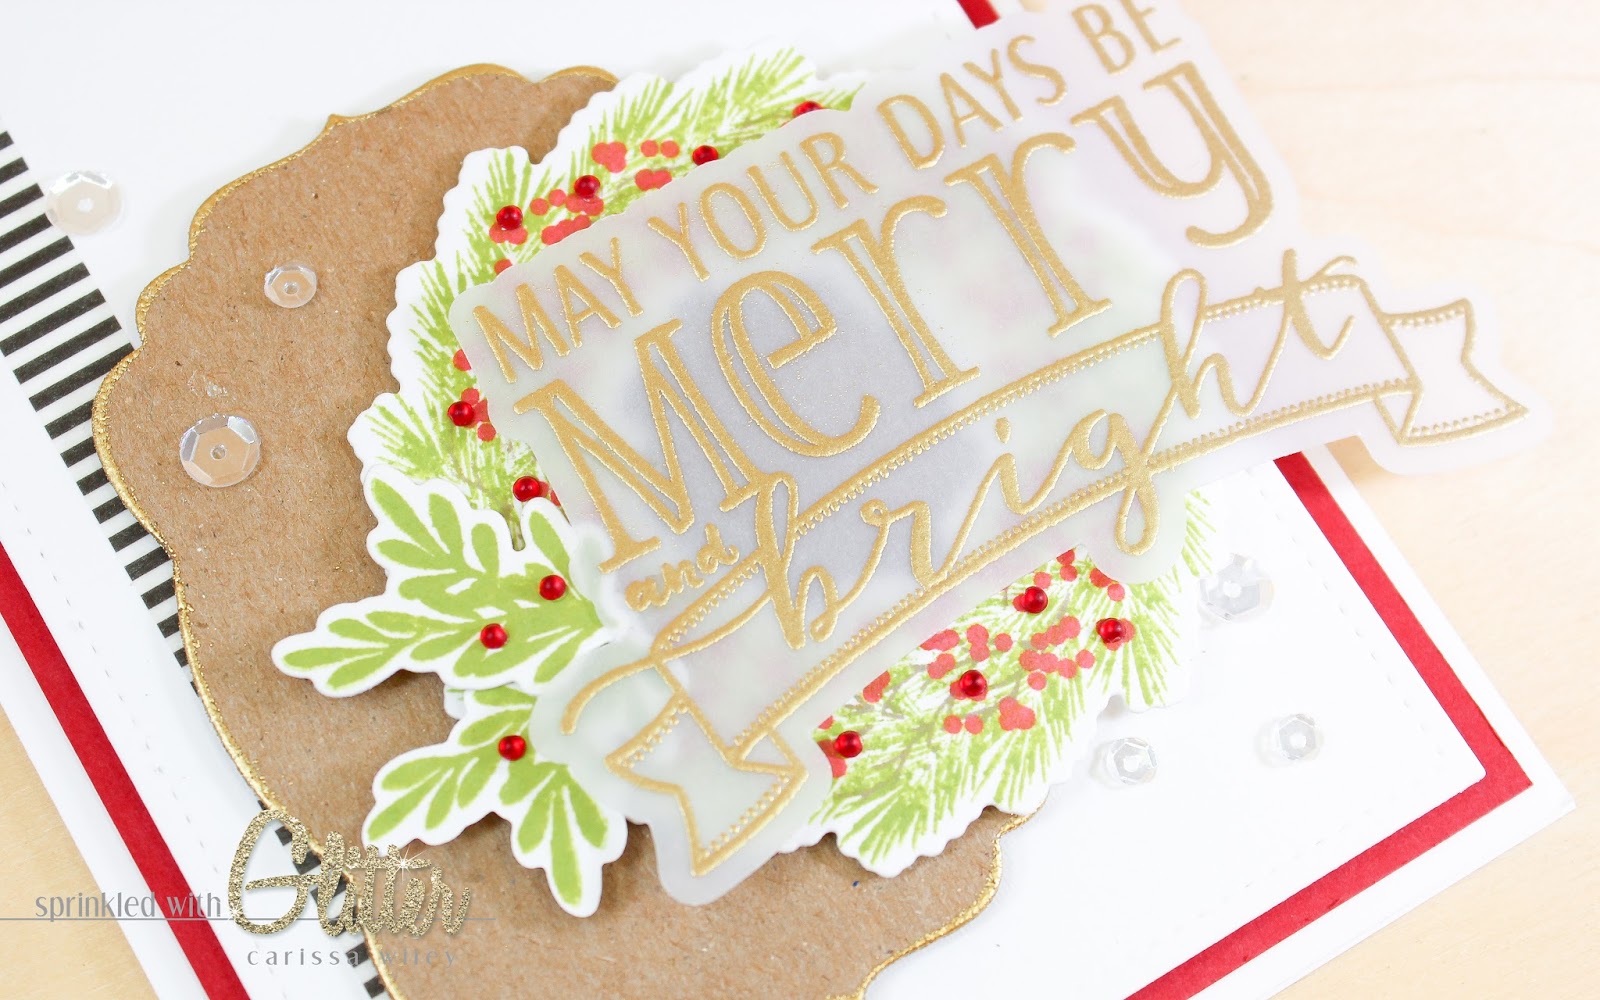
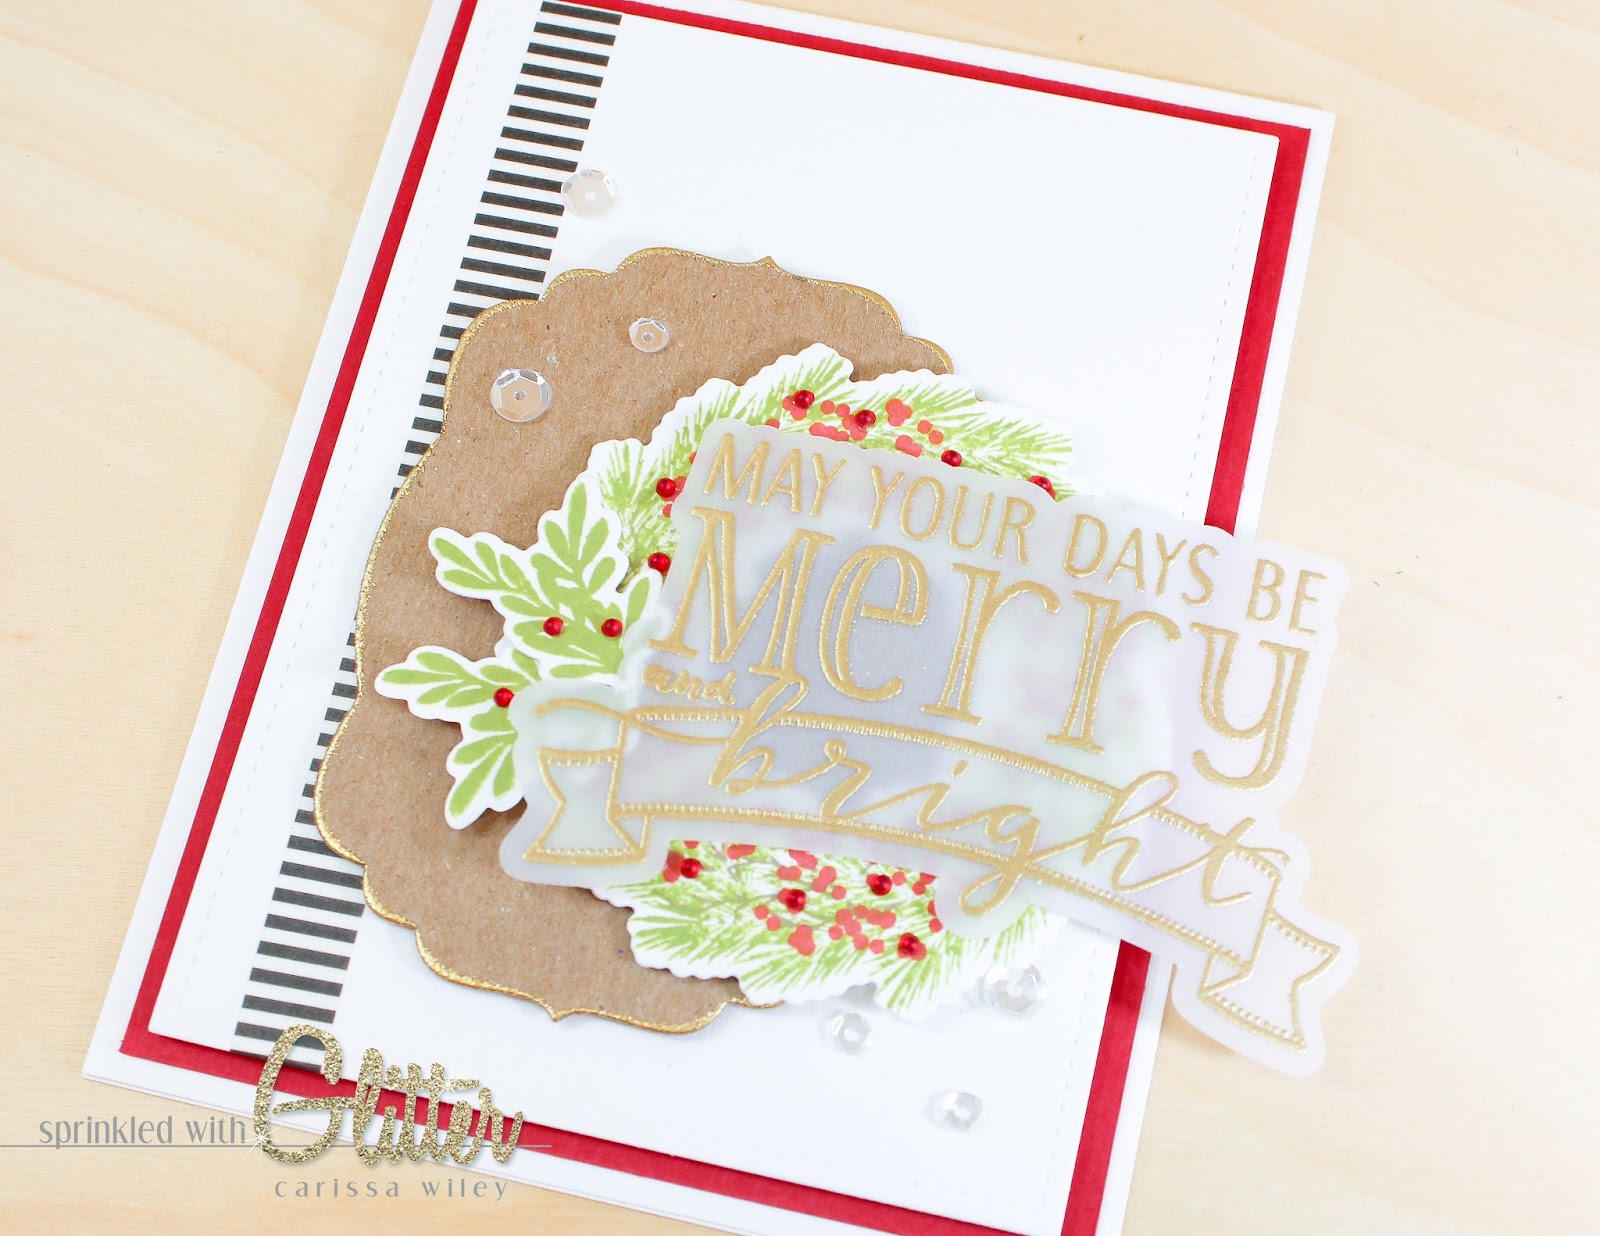
The focal area of my holiday cards combine the Woodland Wreaths stamp set, Be Merry stamp set and the Label Layers 2 die. I’ve used a lot of these same elements in my floral card as well....just to show you that once you have a layout that works, you can change up the elements to create a card with a completely different theme. In fact, a lot of my cards have the same basic layout. Changing the stamps, colors and elements gives them a completely different feel.
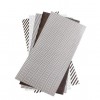
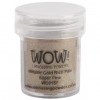
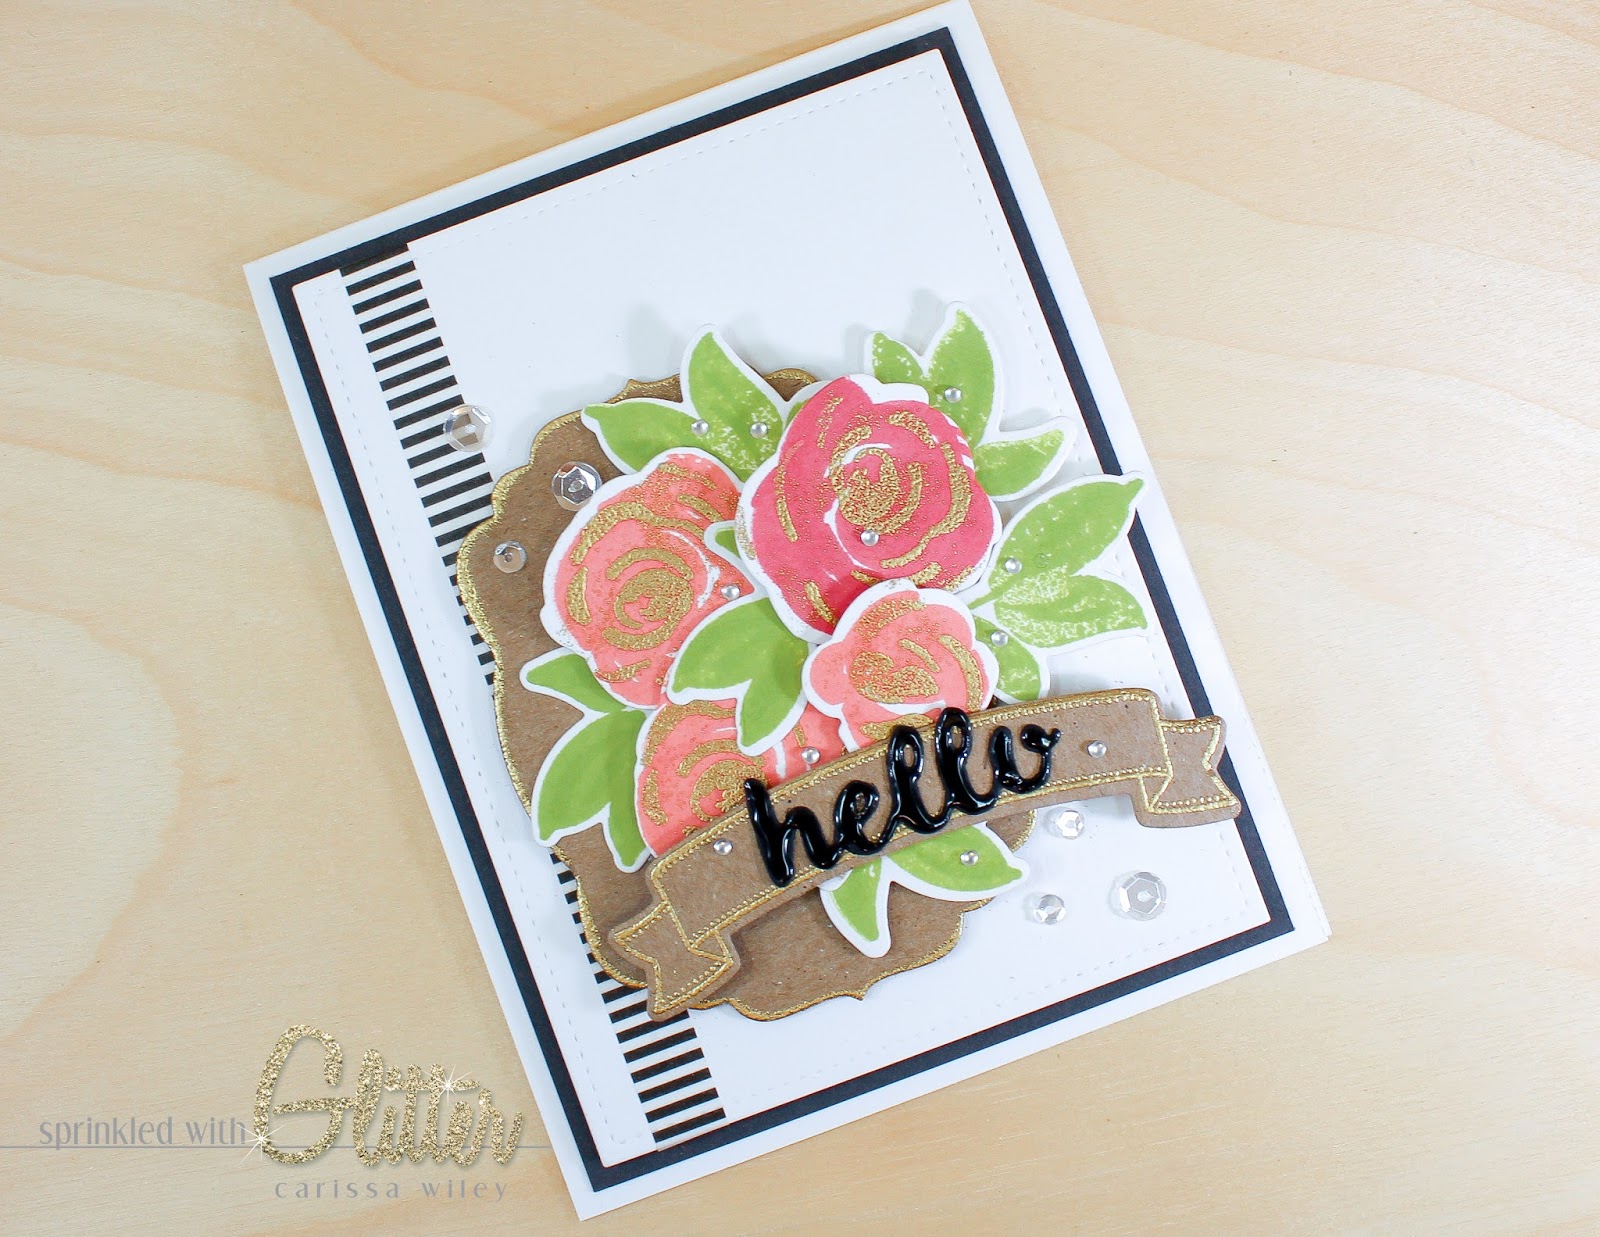
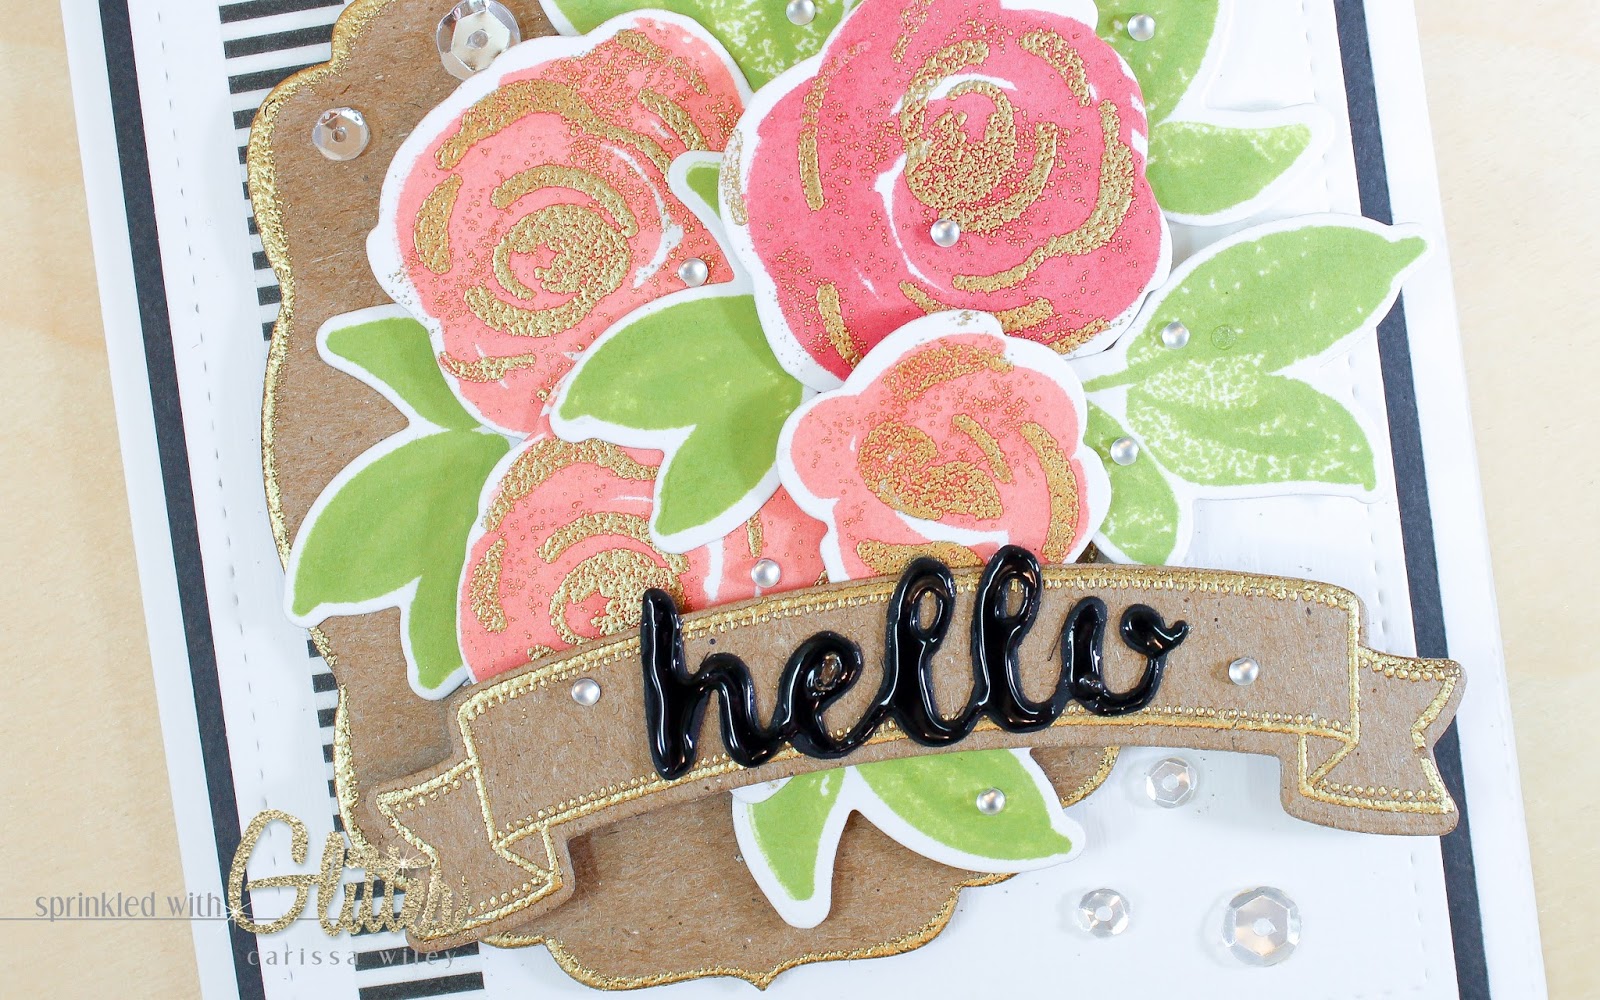
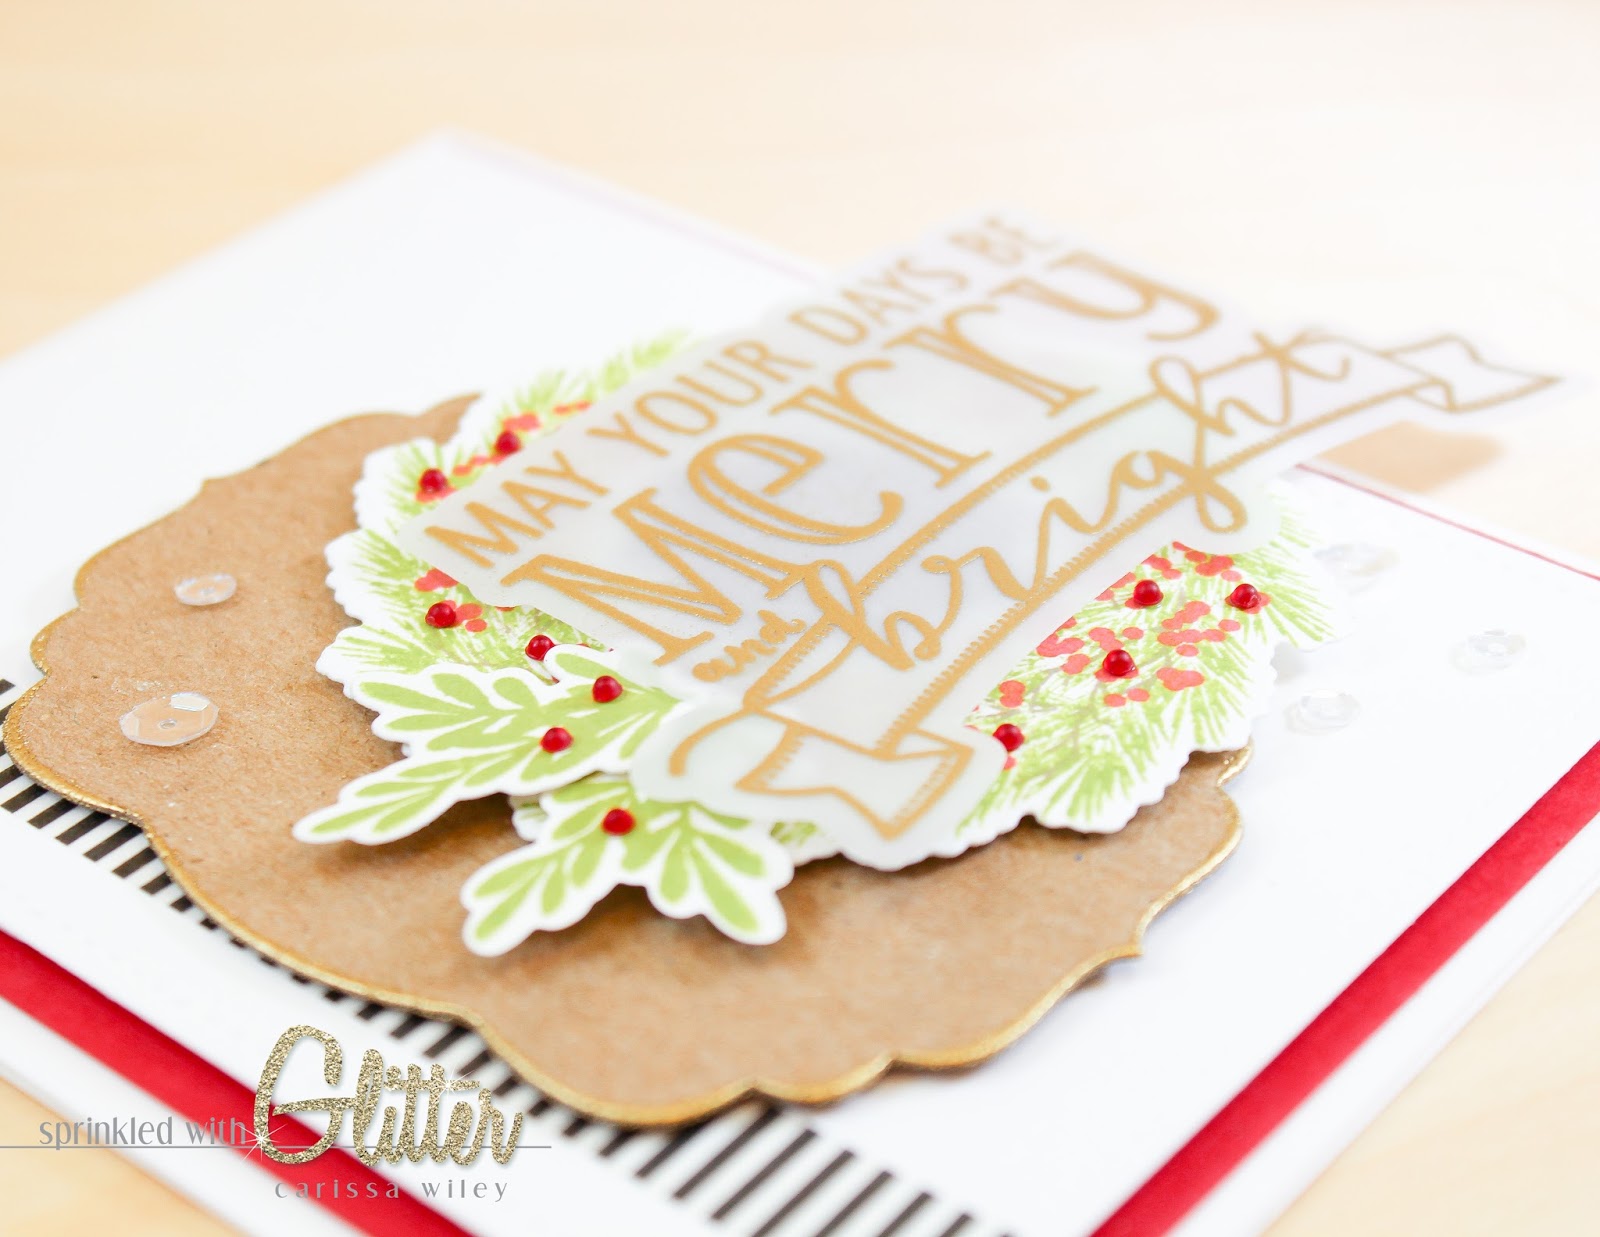
I chose to use the Natural Wafer Board to die cut my Label Layers 2 die. This gives the die cut more weight and presence on the front of the card. It serves as a nice grounding place for my grouping of elements. I added just a touch of gold around the edges with some Rich Pale Gold embossing powder.
These cards have lots of dimension. You wouldn’t have to add this much dimension when creating this card…but I always think it’s fun to have elements that just pop off the page.
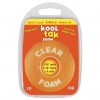
In order to adhere the vellum sentiment from the Be Merry Stamp set, I used some Kool Tak Clear Foam adhesive. This isn’t completely invisible, but since there is quite a bit of embossing, I was able to hide it pretty well.
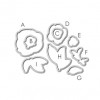
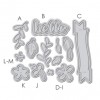
I wanted to take this same basic principle and make it in to a year round card. I substituted my wreath for a grouping of stamped images from the Freehand Florals stamp set. I added a touch of gold to the flowers by stamping one of the layers in VersaMark ink and adding more of that Rich Pale Gold embossing powder. I also used the hello sentiment from the Bountiful Blooms die set. I layered it right on top of the banner from the Be Merry stamp and die set. Then I topped off the sentiment with a layer of Glossy Accents to give it shine and dimension.
I’ll walk you through all of these cards in the video tutorial below. Be sure to check that out!
Thanks for stopping by today. I want to thank Dawn for inviting me to share with you today. I hope you’ve enjoyed these projects and I hope you have a fabulous day!
Supplies
*affiliate links used*


