How To Make Your Own Custom Foiled Planner Stickers
Hello everyone! I hope you had a wonderful holiday season and that 2018 is off to a great start for you! I've been taking a little time to myself to refocus and reorganize for the new year. I'm back and ready to share an awesome new tutorial with you today!
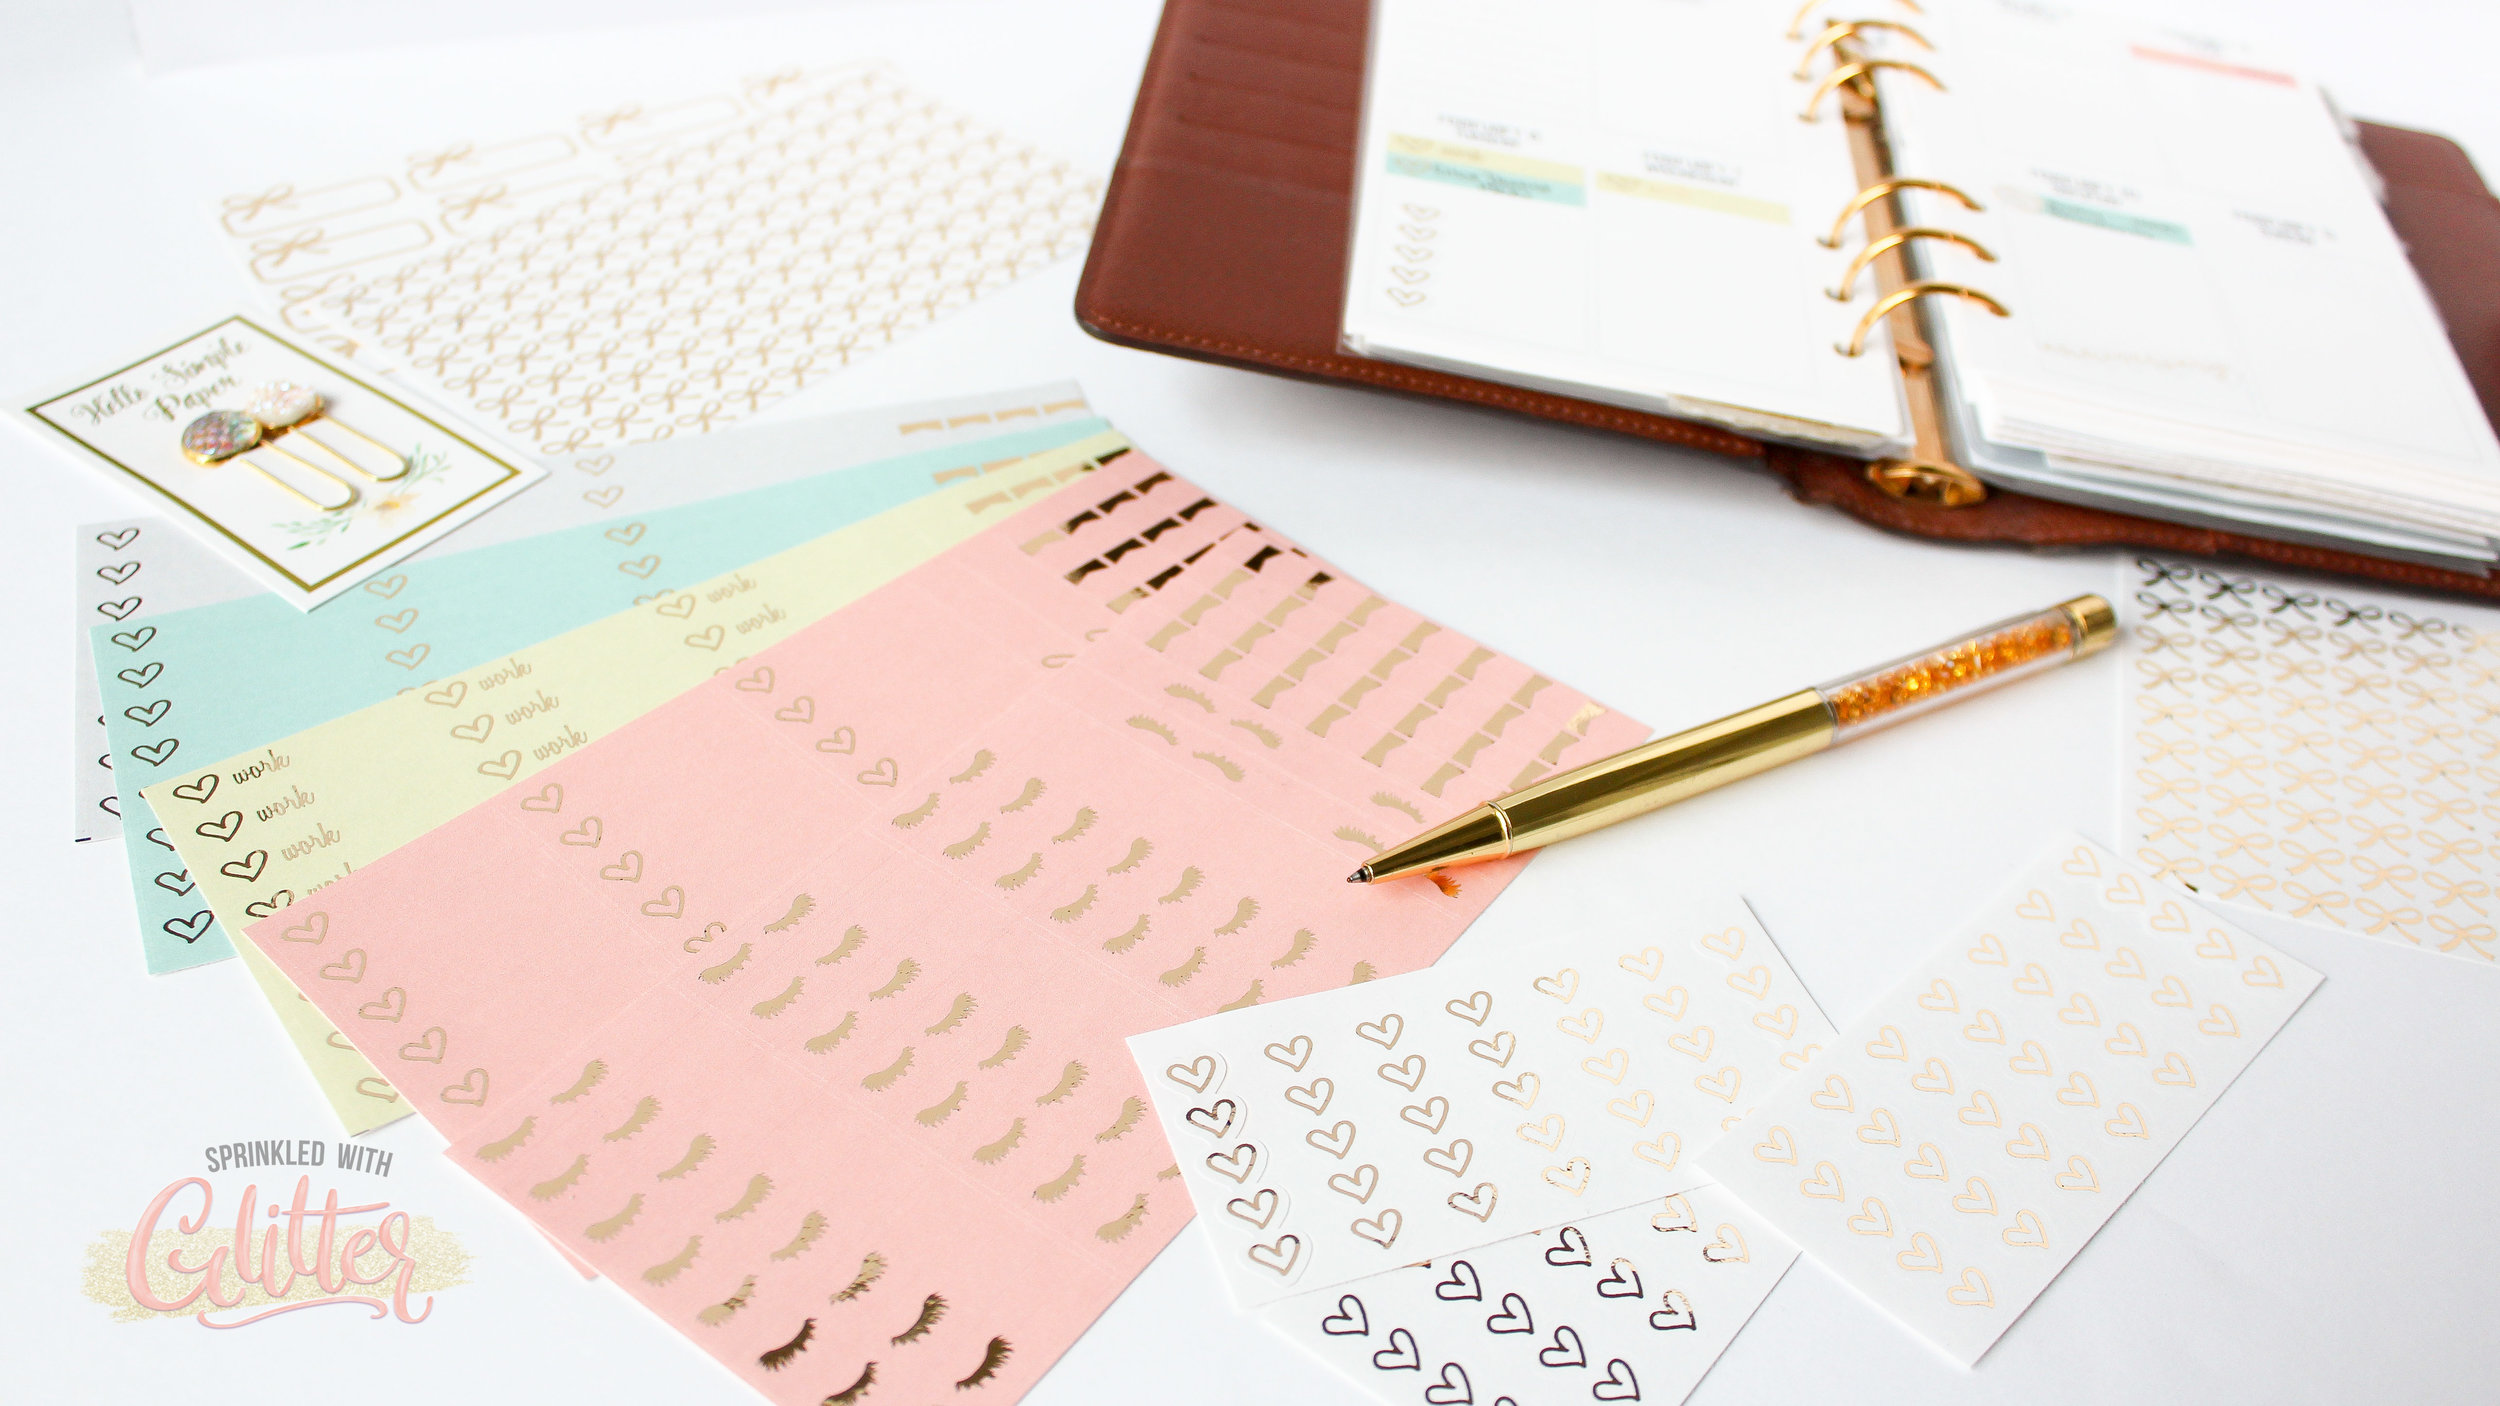
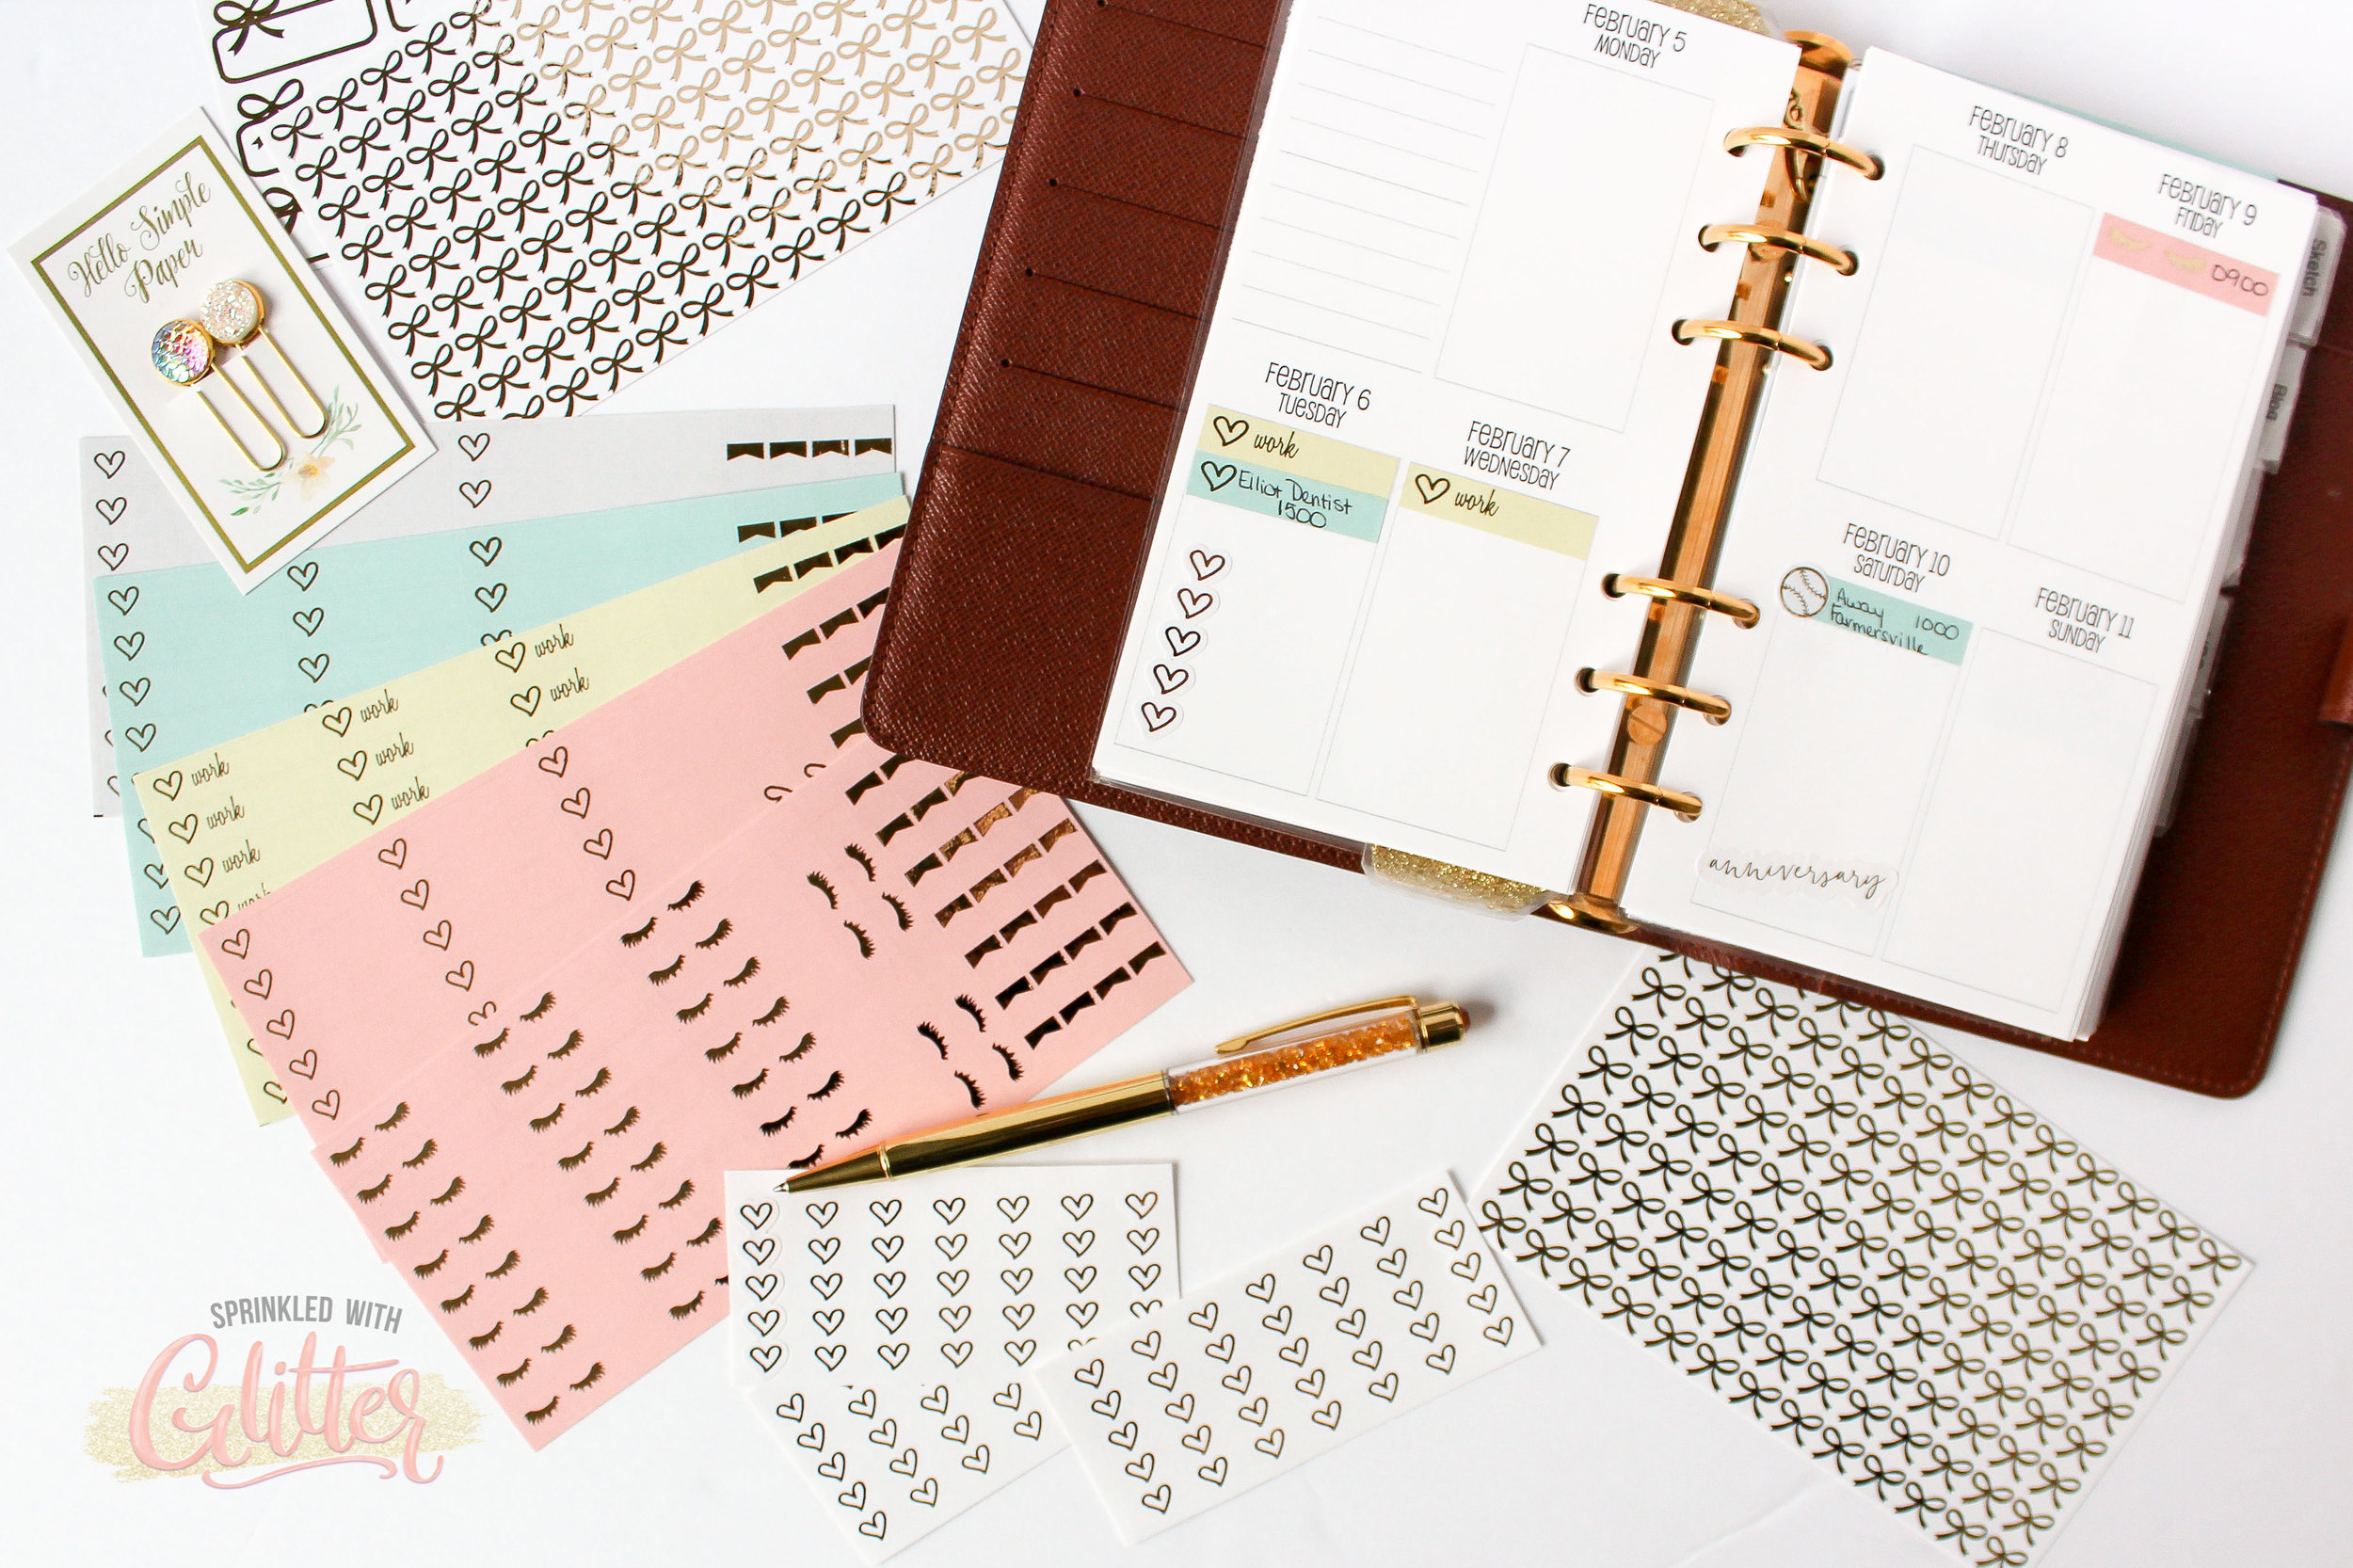
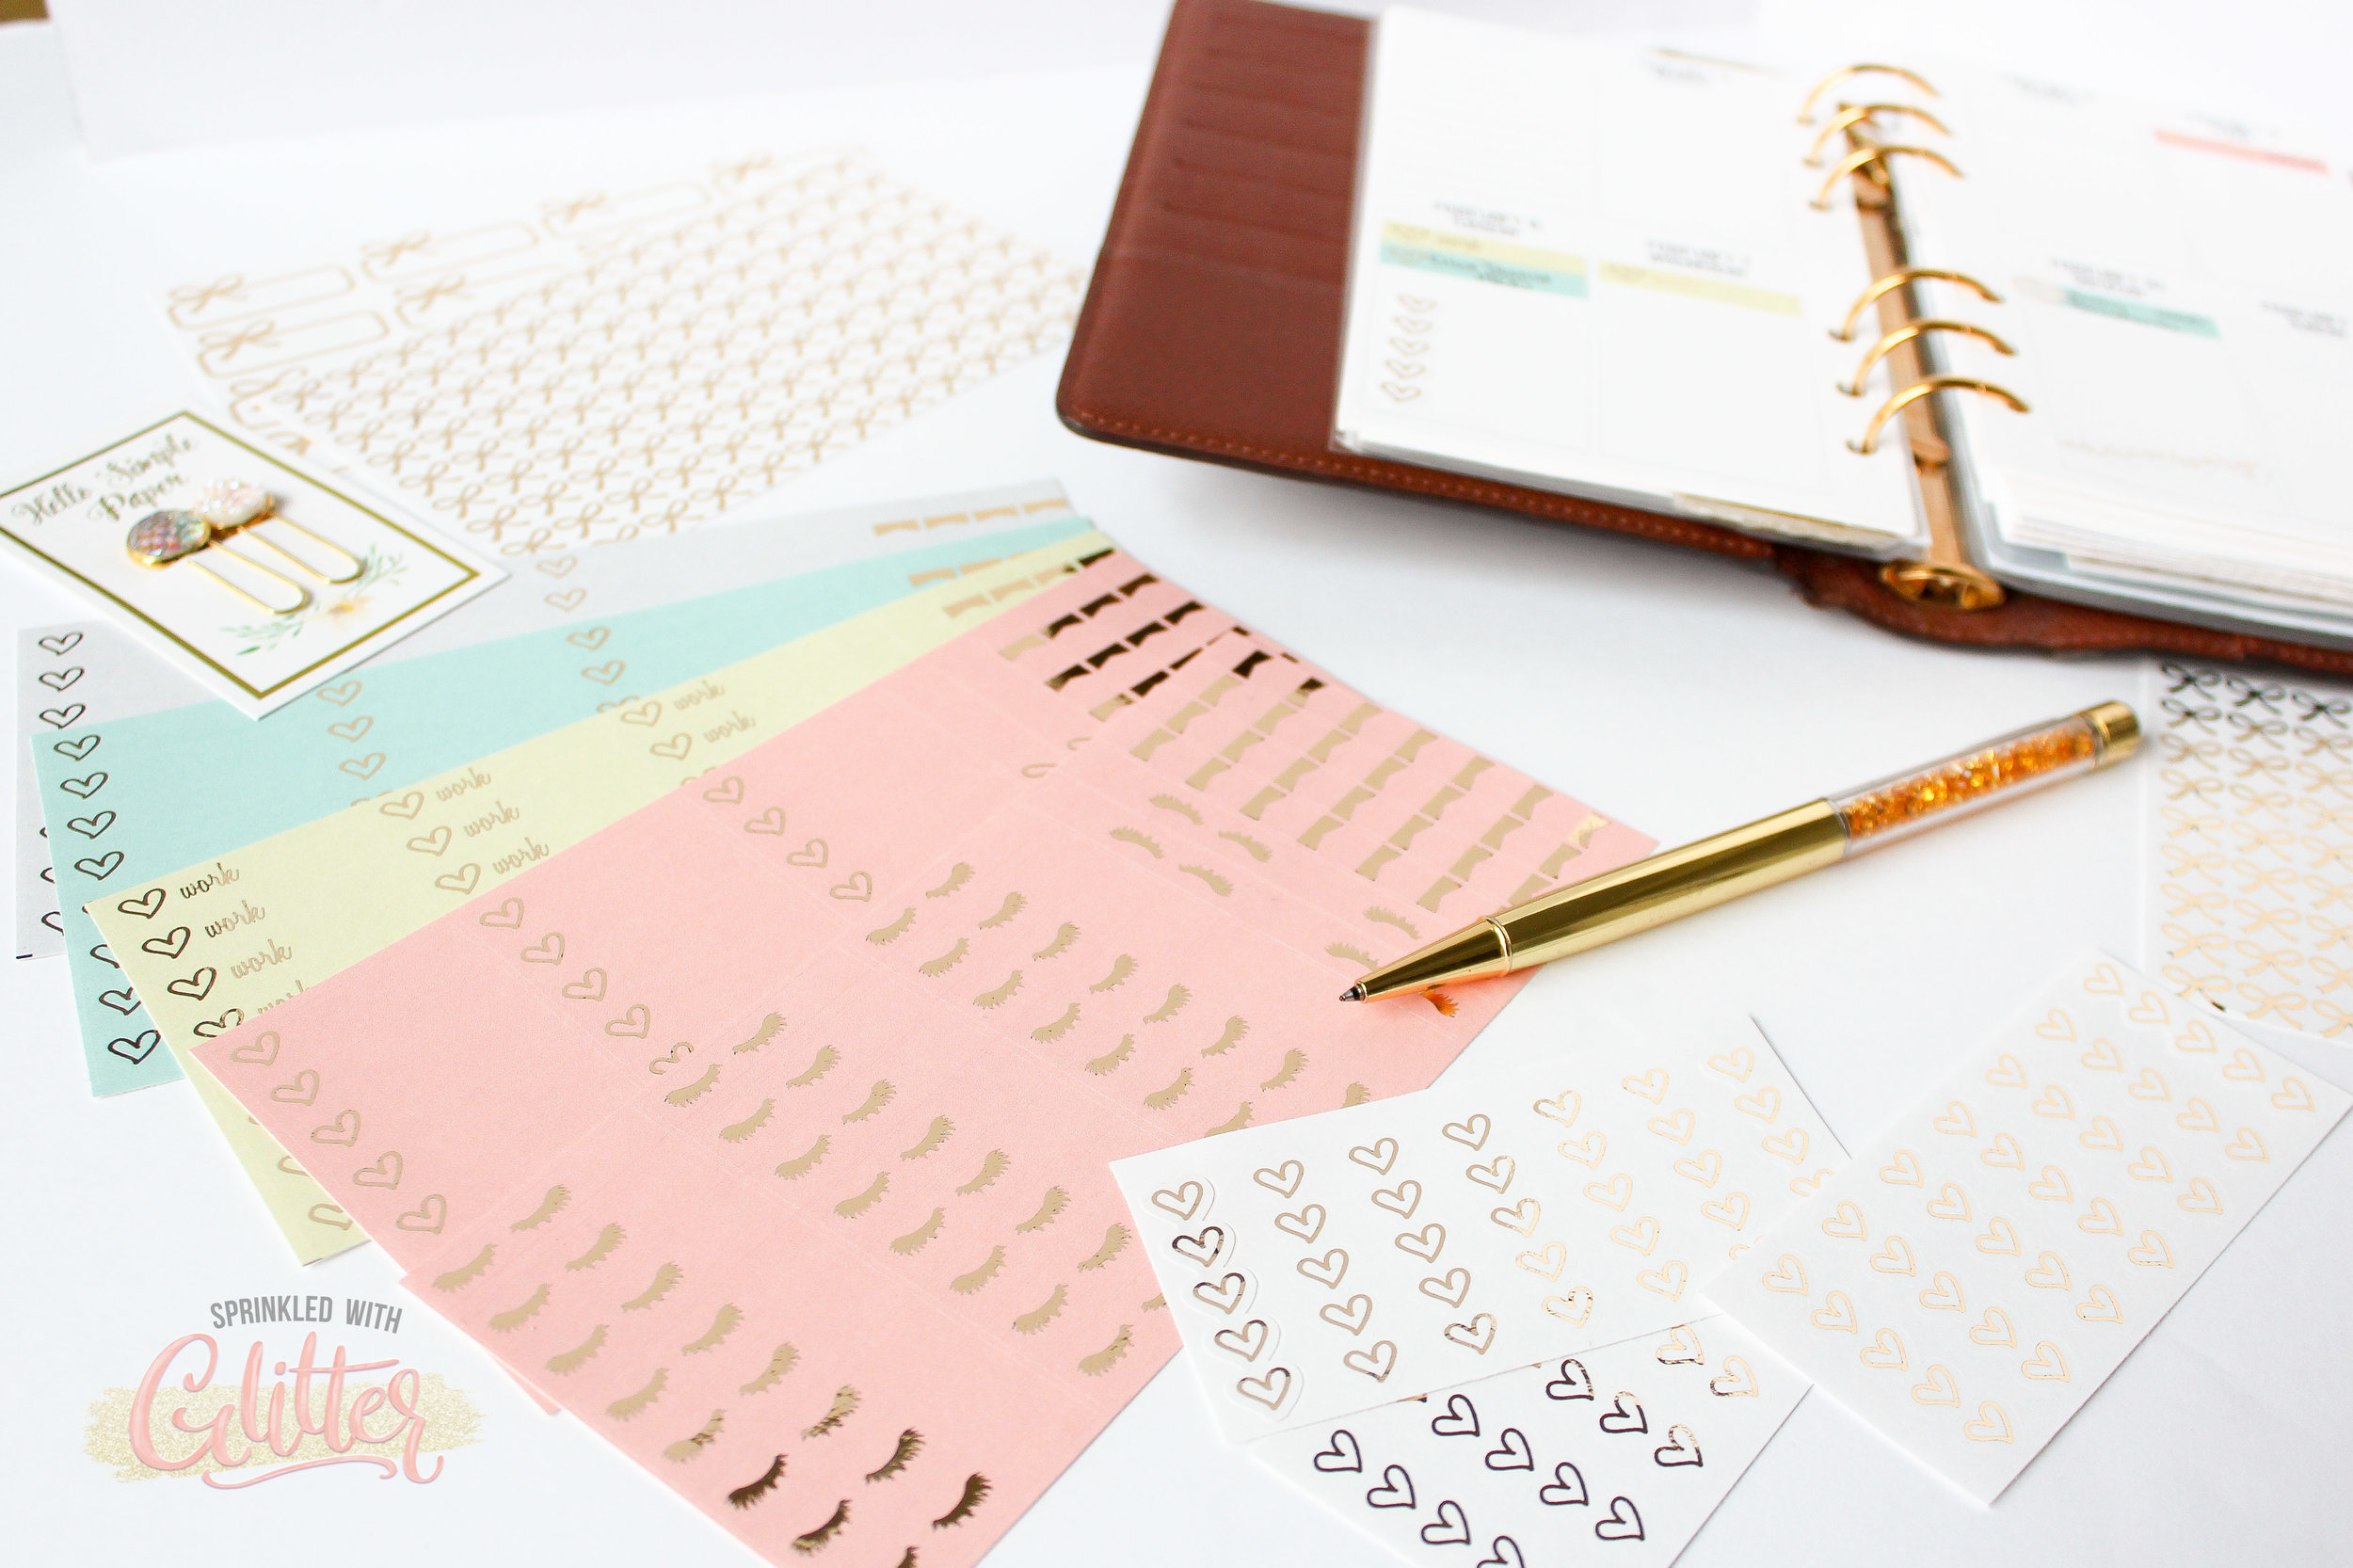
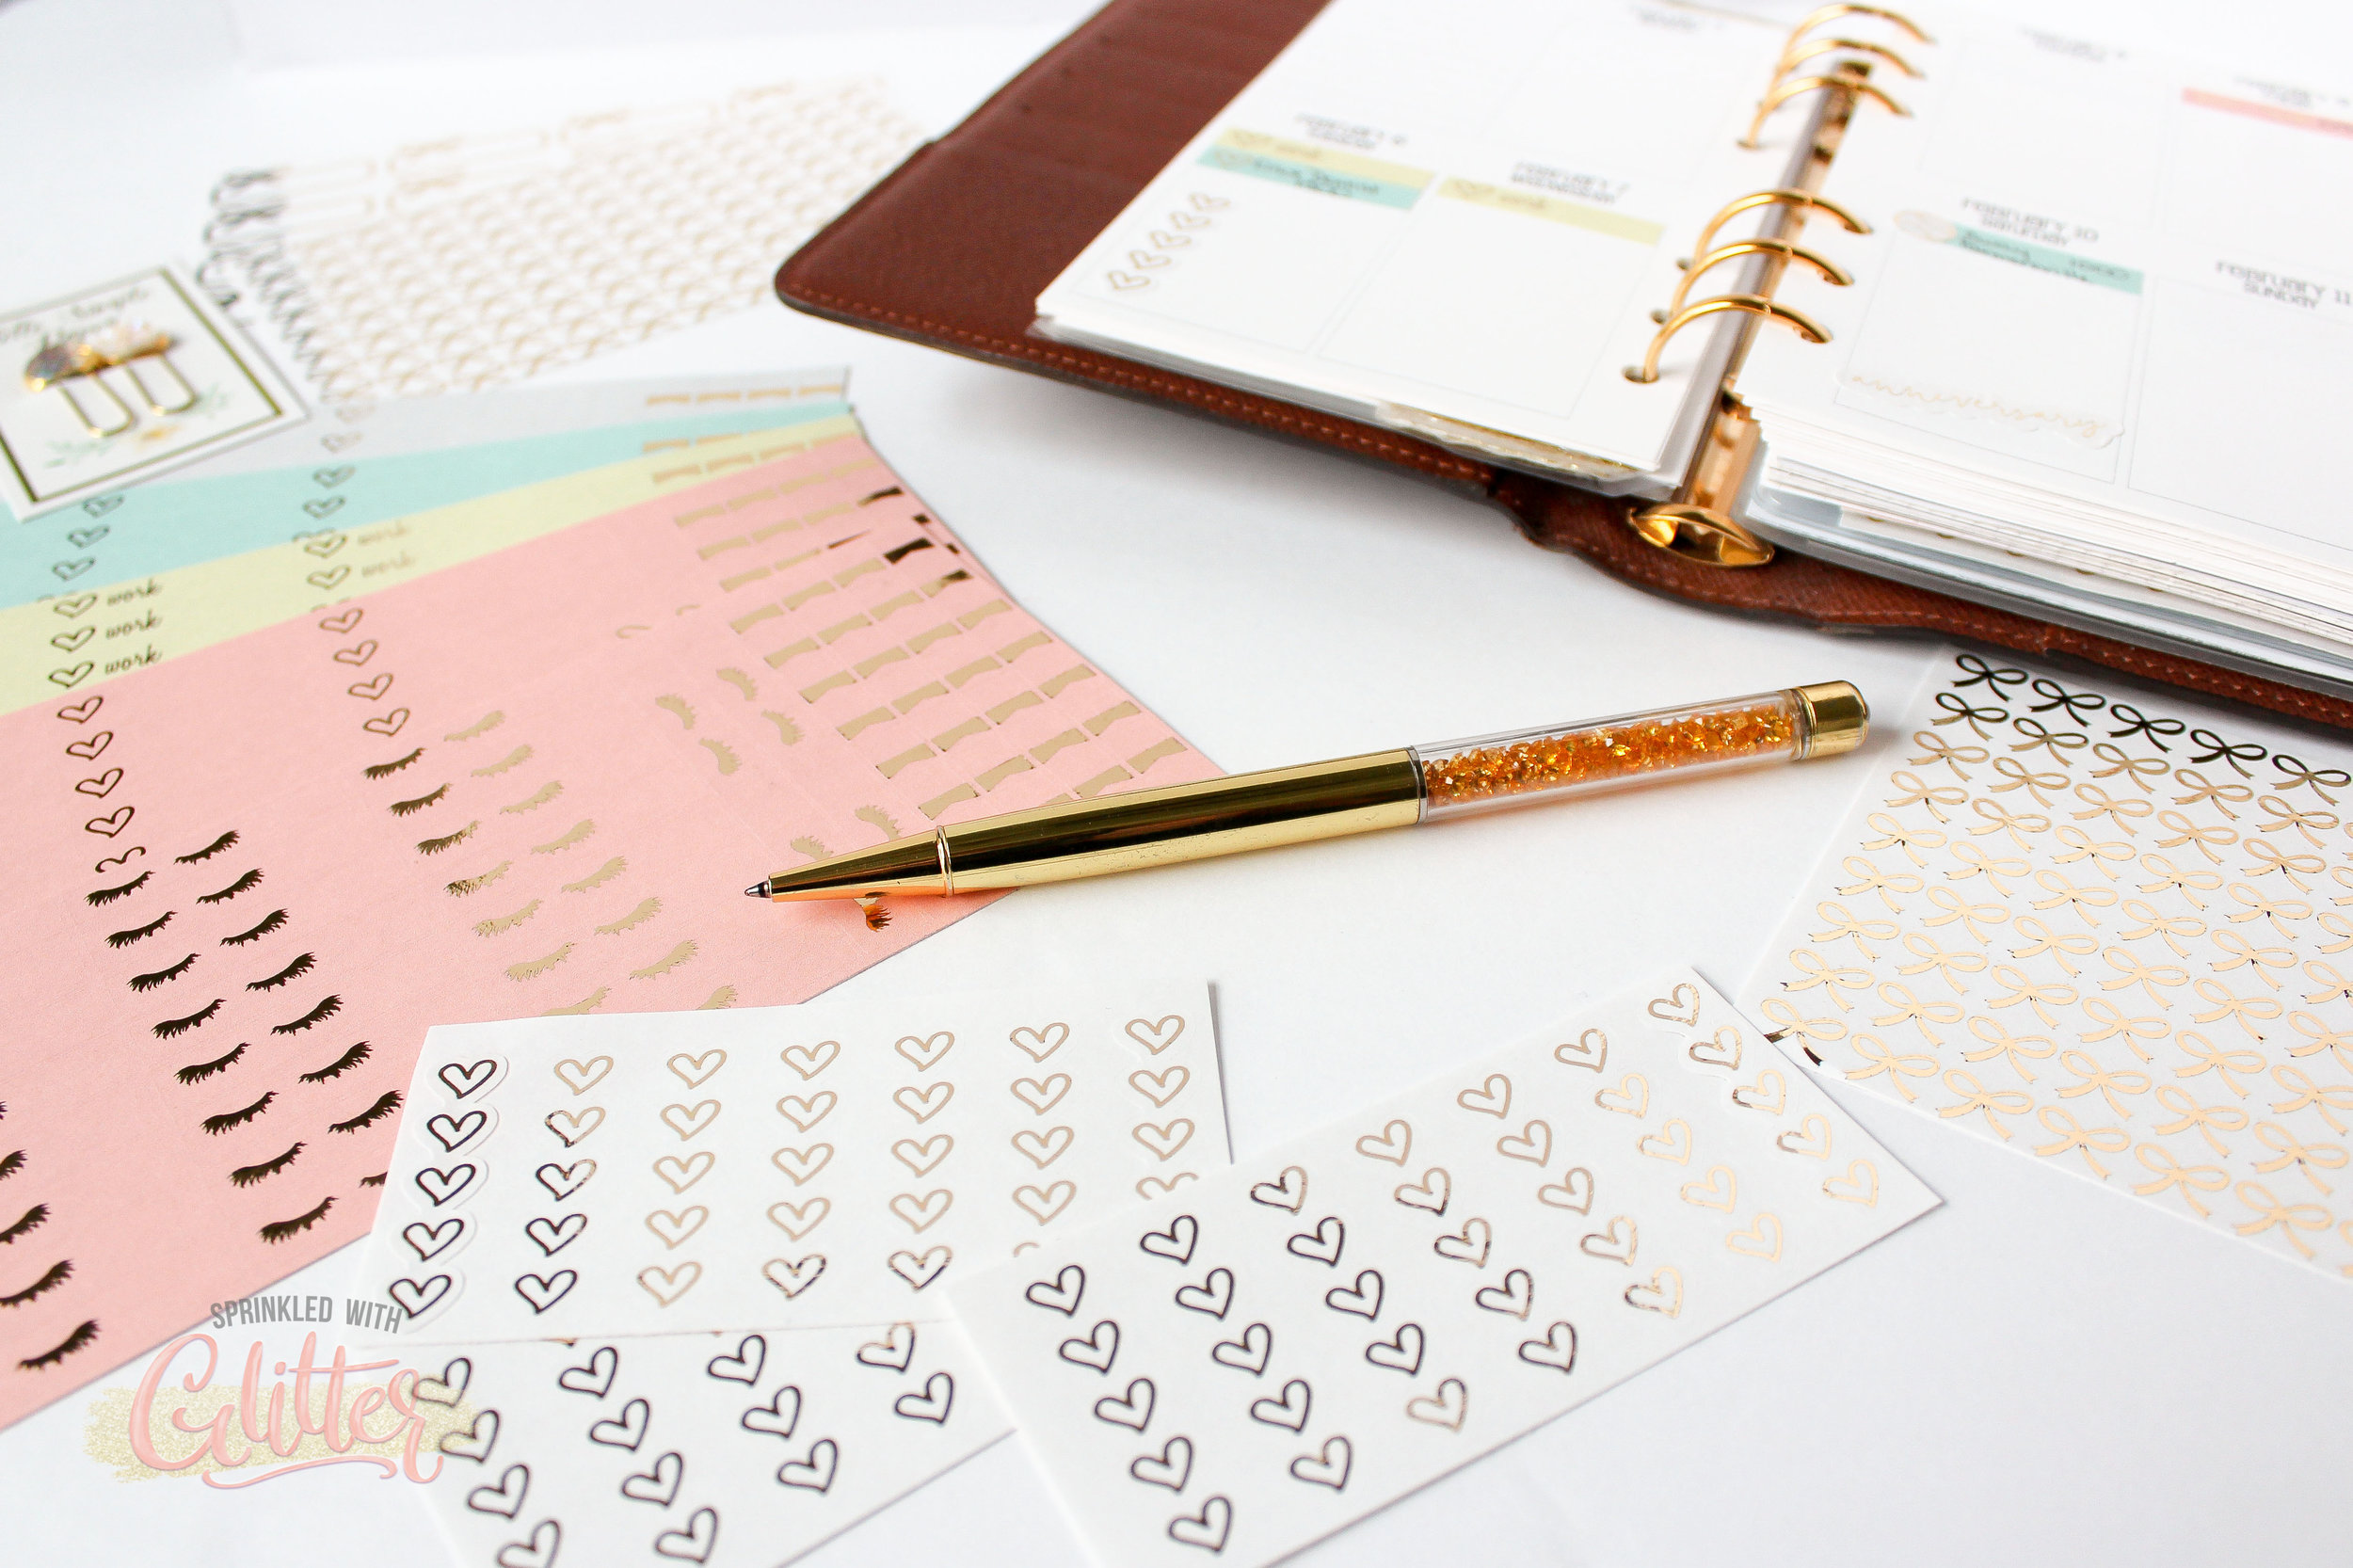
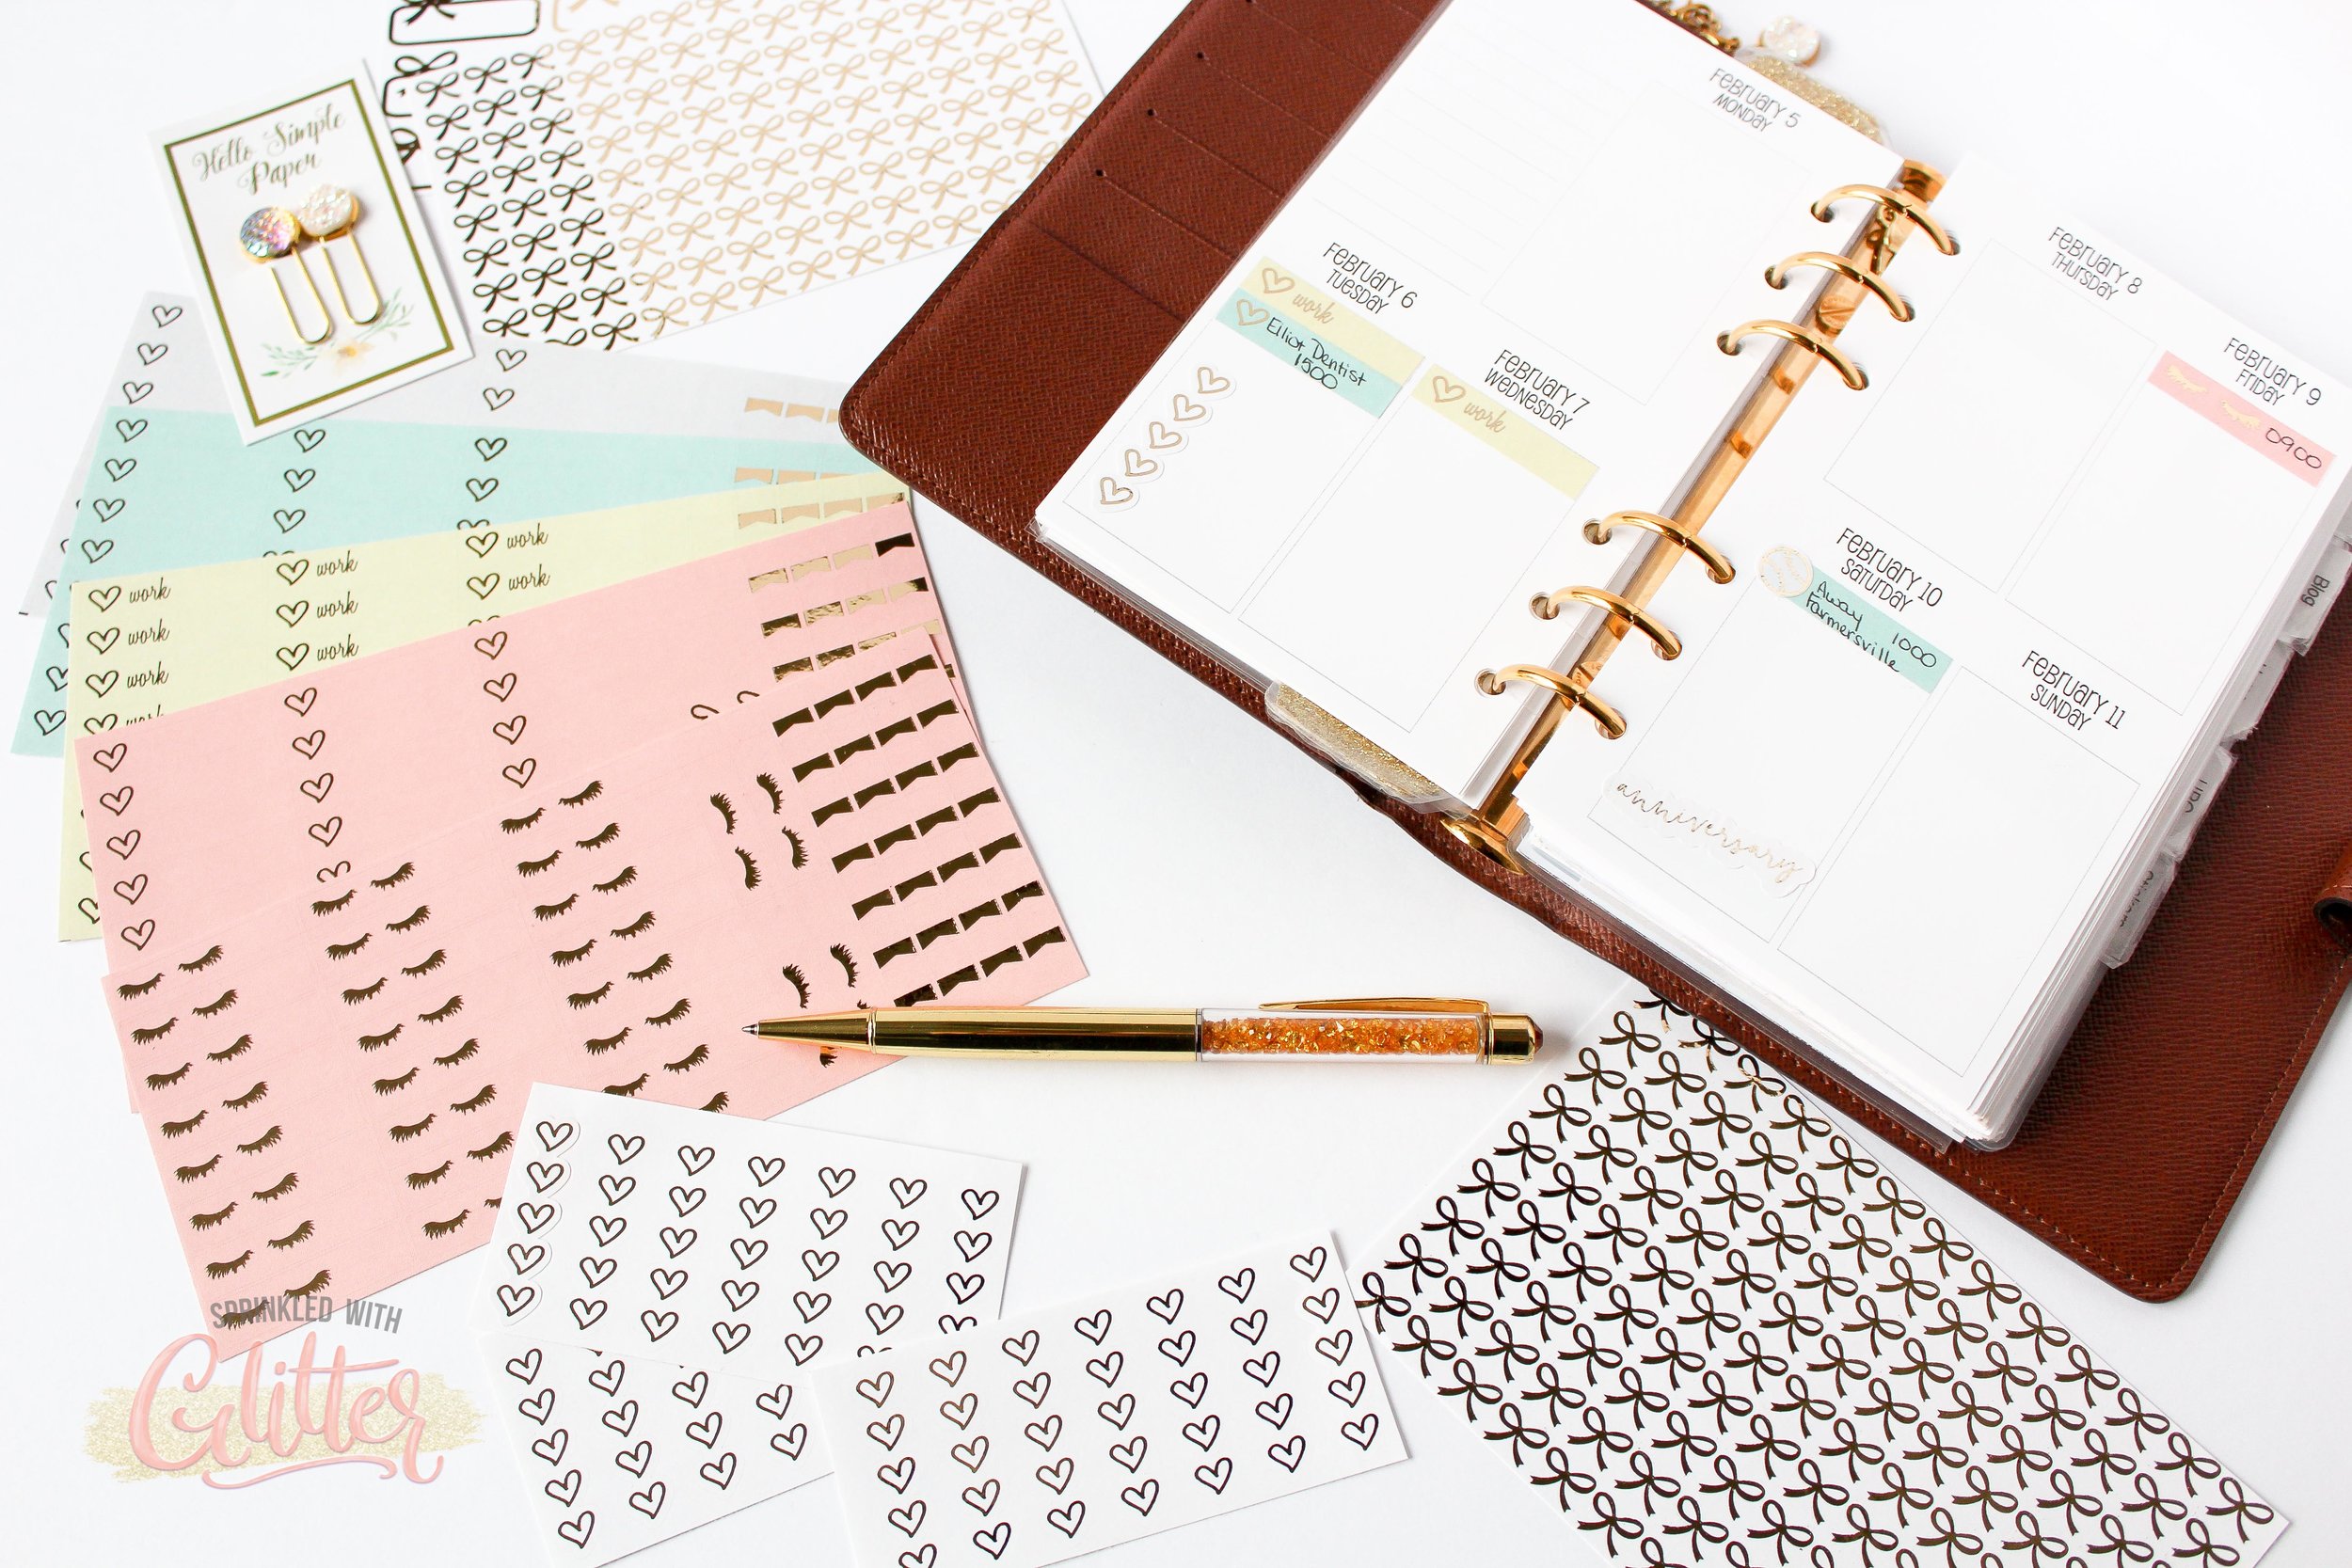
A couple weeks ago, I shared on Instagram that I was making my own custom foiled planner stickers....and everyone had a ton of questions! So I decided to film a tutorial showing exactly how I made them. I've shared my planner sticker creation in the past...the past version didn't include foiled icons...you can find that tutorial by clicking HERE.
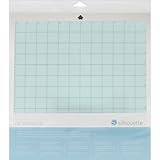
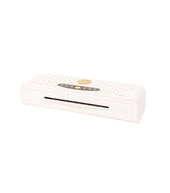
I'll be using the Silhouette Cameo to cut my planner stickers. And I'll show you how to use the Heidi Swapp Minc or a home laminator to add your foil to your stickers.
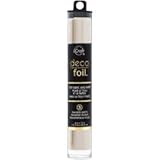
My favorite foil is the Therm O Web Deco Foil in champagne. All the ❤︎ eyes for that beautiful soft gold foil.
You can watch this video tutorial in HD on my YouTube channel by clicking HERE. Don't forget to like the video and subscribe while you're there!
I love having my own custom planner stickers. I can personalize them any way I want. I tend to make a ton all at once so I'm ready to go for the year. The color coding helps me quickly identify events. But if that's not how you roll, you can customize them for your planning style and needs!
Sure, you can buy foiled planner stickers on Etsy, but that can really add up. And creating your own takes a little time, but they're 100% customizable! ❤︎ that!
My planner and inserts have changed a bit since then. I've linked everything I'm currently using in the supply list below.
Thanks for stopping by today! I hope you've enjoyed this tutorial. Until next time, happy planning and I hope you have a FABULOUS day!
XOXO
SUPPLIES
*affiliate links used*
|


