For You Ashtyn - Dolled Up Die Cuts
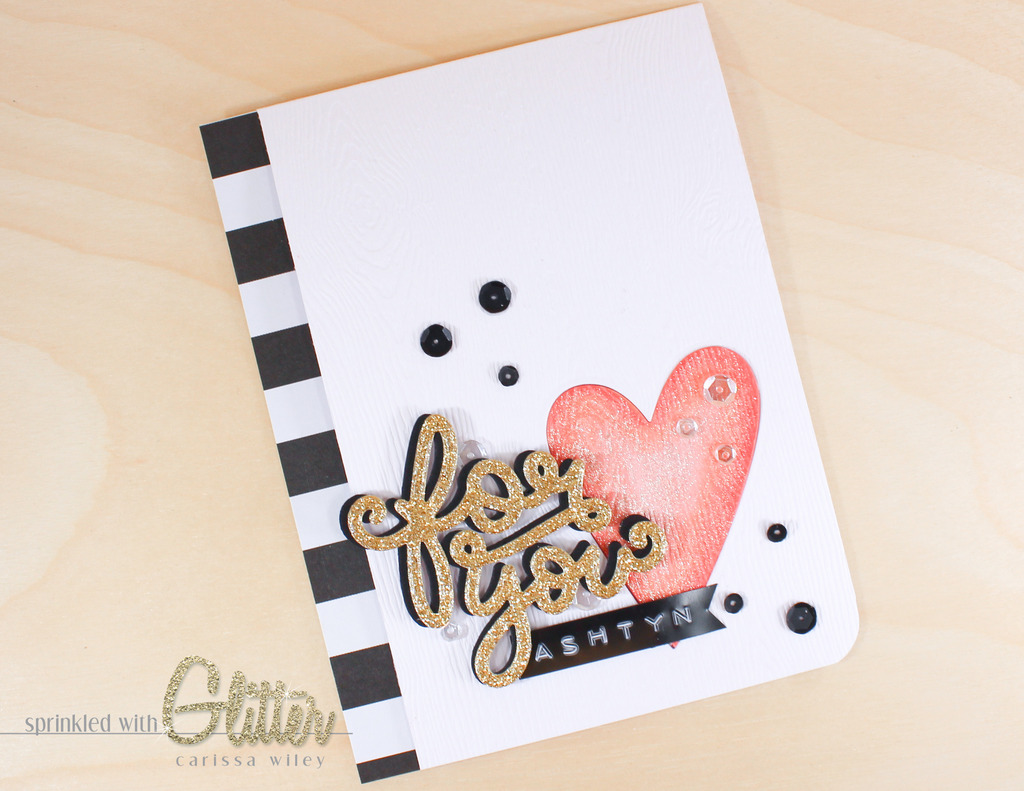
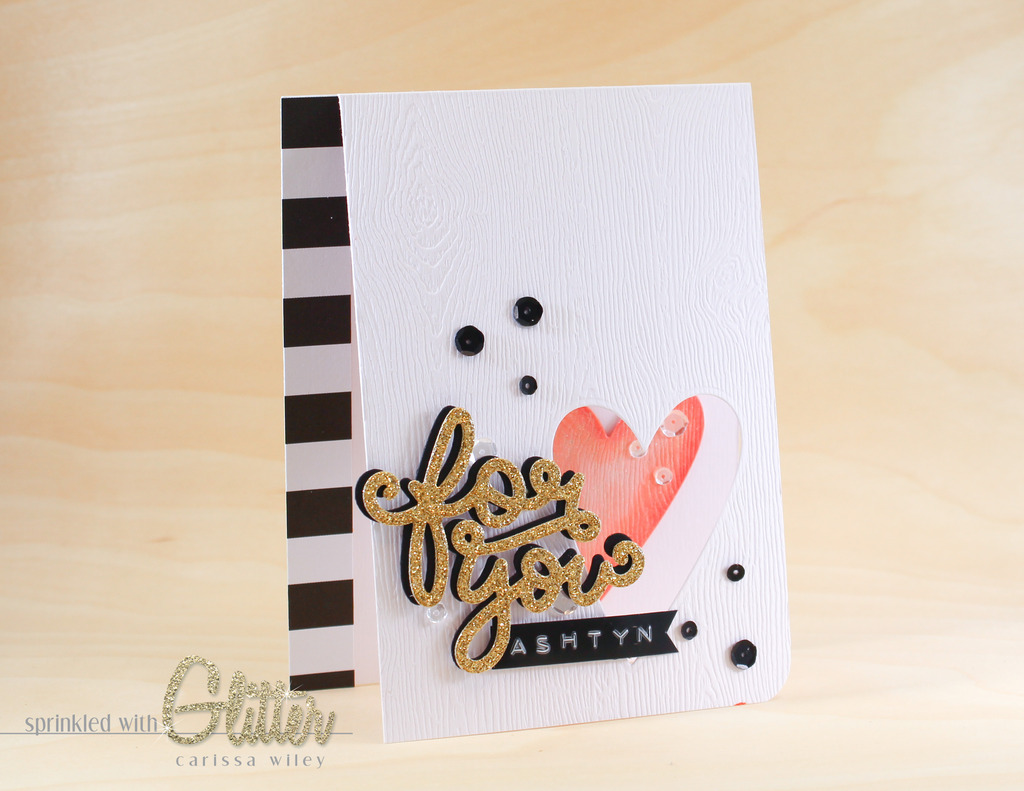
Hi everyone! A few weeks ago, I was playing in my craft room, with no plan in particular. I started creating this card for my niece with some simple die cuts, but I really wanted to make those die cuts special. I'll show you how I took plain Jane die cuts, and dolled them up a bit.
I love this card because it's perfect for my tween niece. She's not a teenager, but she's not a little girl either. This card design has a little bit of edge to it, which keeps it from feeling too cutesy for a tweeny bopper. But the sparkly touches keep it feeling girly enough for her!
I started with some woodgrain embossed card stock from the Essentials By Ellen line. I love this embossed paper. It is a great way to keep a card clean and simple, but add texture. The texture really keeps the card from feeling flat and too plain. Also, the textured card stock is a quick way to add interest to your die cuts.
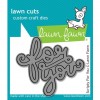
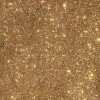
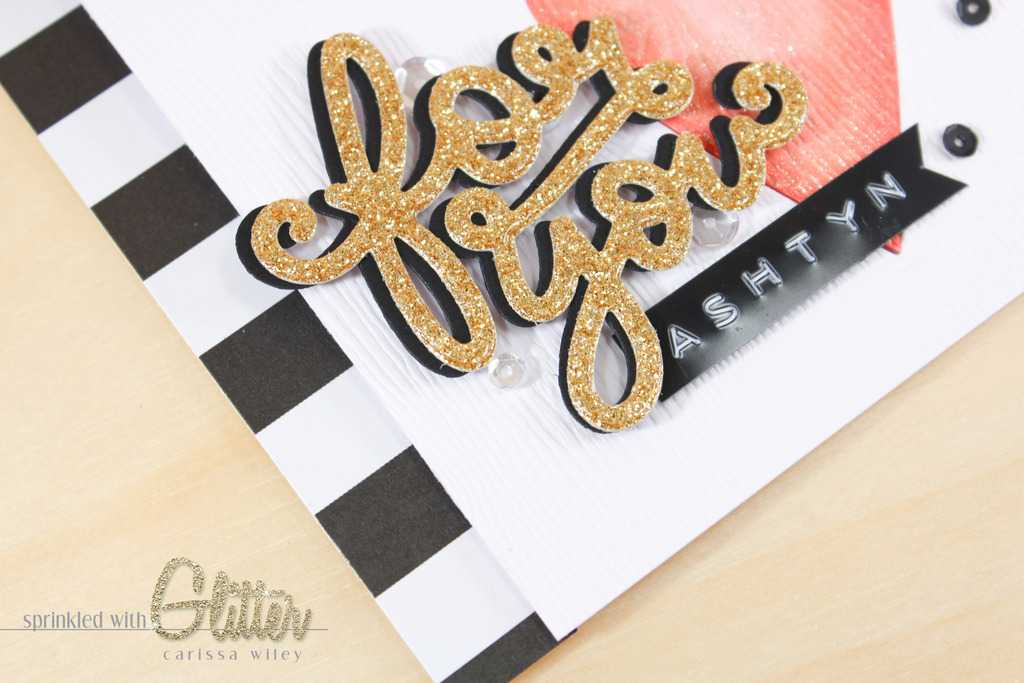
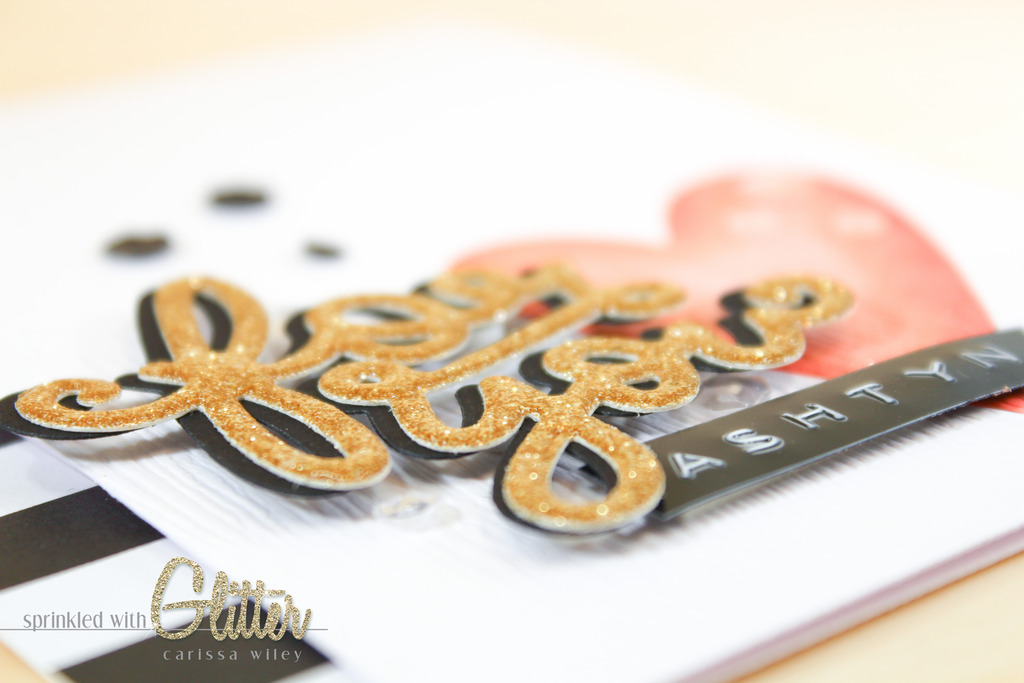
I used the Scripty For You die from Lawn Fawn for my sentiment on the card. I chose to cut it from my favorite gold glitter card stock. The gold glitter adds instant glam to the die cut, without any extra work. You could add your own glitter to a plain white die cut as well. But I love the no mess results I get with the American Crafts gold glitter cardstock. It's a one step, sure fire way to add life to die cuts.
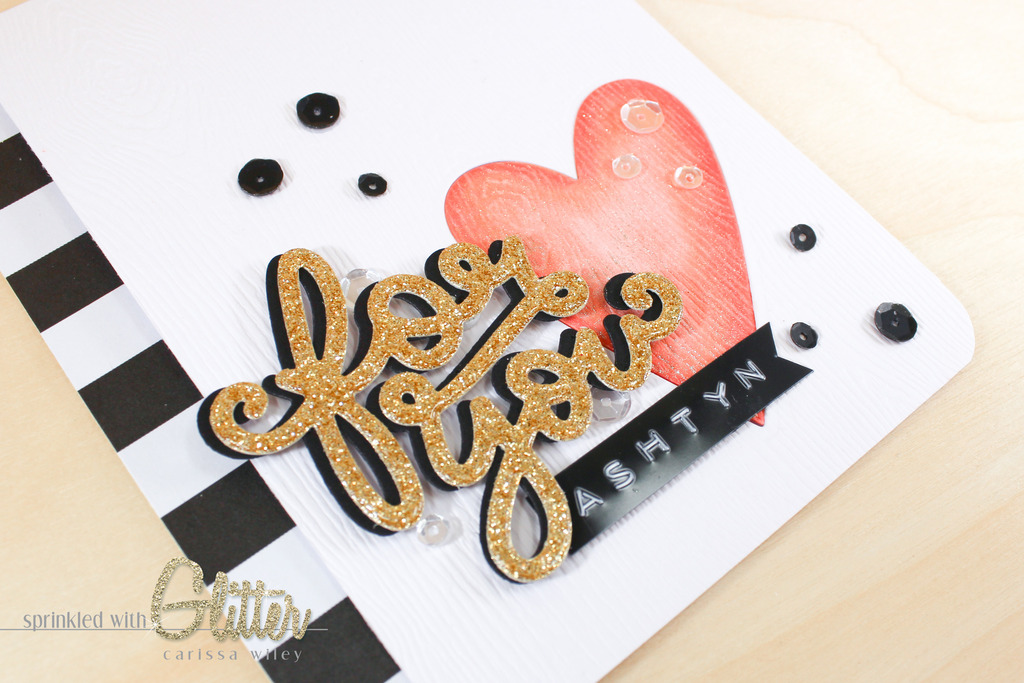
In addition to cutting the Scripty For You die out of gold glitter card stock, I also added a shadow. This die doesn't come with a shadow die, so I just cut it from black card stock and adhered the two dies together, but slightly offset them. This really makes that sentiment piece pop off the white card stock base. Nesting dies are easy ways to add shadows as well, however, you don't have to have a shadow die or nesting die to create that effect. Offsetting the two die cuts will add a shadow and make the die cut feel more substantial.
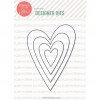
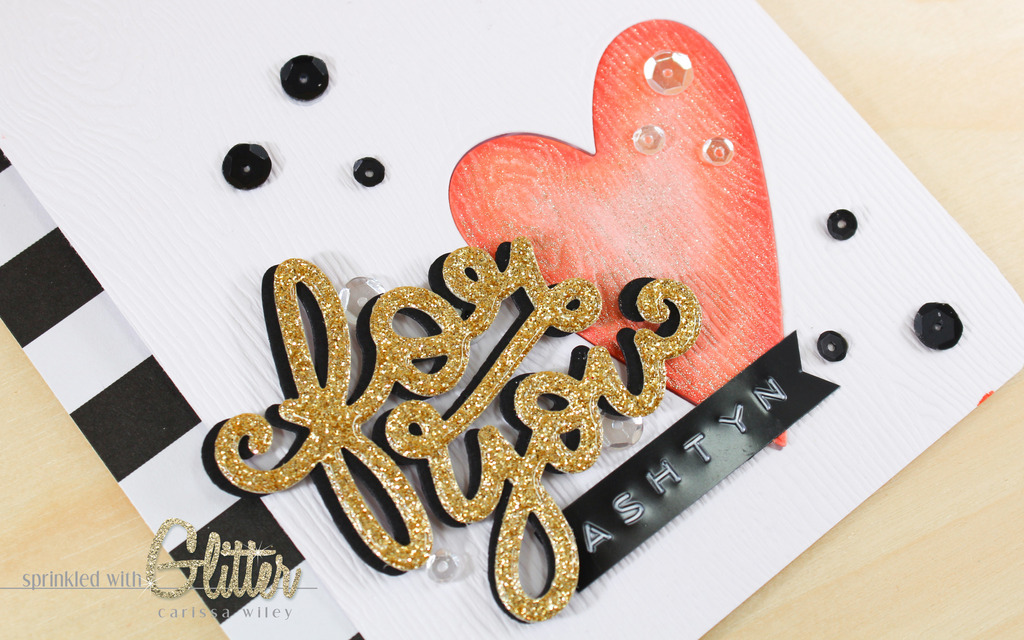
To doll up the heart die cut, I used Copic markers to add color and shading. You don't have to use Copics for this. You can use Distress Inks, ink pads, paints, embossing powder or other markers you may have to add color to a plain white die cuts. I think it would be fun to take a bunch of white die cuts and experiment with different ways of adding color and shading. If you don't have Copic markers, try coloring your die and then inking the edges with an ink pad or distress ink to add quick shading.
Once I colored the heart die cut, I added some sparkle (or maybe a lot of sparkle) to it by coloring over the whole thing with my Zig Wink Of Stella Clear Glitter Brush Marker. I used two layers of this shimmer pen to really make it shine. I love how quick and easy this marker makes adding shimmer to any stamped, colored or die cut image. It's a fun touch that really catches the eye.
To finish the card off, I added a layer of Glossy Accents over the For You sentiment die cut. The Glossy Accents really makes this glitter die cut shine. It also adds dimension. I love the way the Glossy Accents seems to magnify the sparkle of the glitter paper when it's layered over the top. It's a real WOW!
Here's some quick ways to doll up plain die cuts.
- Use "fancy" paper. Textured card stock, glitter card stock or patterned papers are quick, one step ways to add instant interest, color and pattern to your die cuts.
- Color me happy. Add color to your plain white die cuts with markers, paints, embossing powders or ink pads. You can step it up a notch by adding shading to them as well. Comic markers are great for adding shading, but you can also ink the edges of your die cut to add shading around the edge as well. You can also check out THISblog post, where I created ombre die cuts.
- Shine bright. Add glitter or shimmer to your die cuts. The Zig Wink Of Stella Clear Glitter Brush Marker is one of my favorite ways to add shimmer. You can also add glitter with Stickles, or just plain ol' glue and glitter (which is anything but plain). In this card project, I also added Glossy Accents over the top of my die cut to add even more shine to the already sparkly gold glitter For You die cut.
- Embellish it. Add sequins, twine, thread or rhinestones to accent your die cuts. Try substituting the dot over an "i" with a sequin or a rhinestone. Layer your die cut on top of some metallic thread or tie up your die cut with some twine. All of these are quick and easy ways to doll up your die cuts.
- Add dimension. Foam tape is my favorite ways to make a die cut POP. Use foam adhesive to adhere your die cuts to your project to take your dies to a whole other level.
I've created a video tutorial walking you through the creation of this card. I've also linked all the products used in this project below.
Thanks for stopping by today! I hope you enjoyed this quick and easy project. And until next time, I hope you have a fabulous day!
Supplies
*affiliate links used*

