Celebrate - Easy Foiled Die Cuts - Masculine Birthday Card
Hi everyone! Thanks for joining me today. I hope you're having a wonderful December. Can you believe the new year is just around the corner?
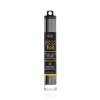
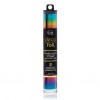
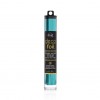
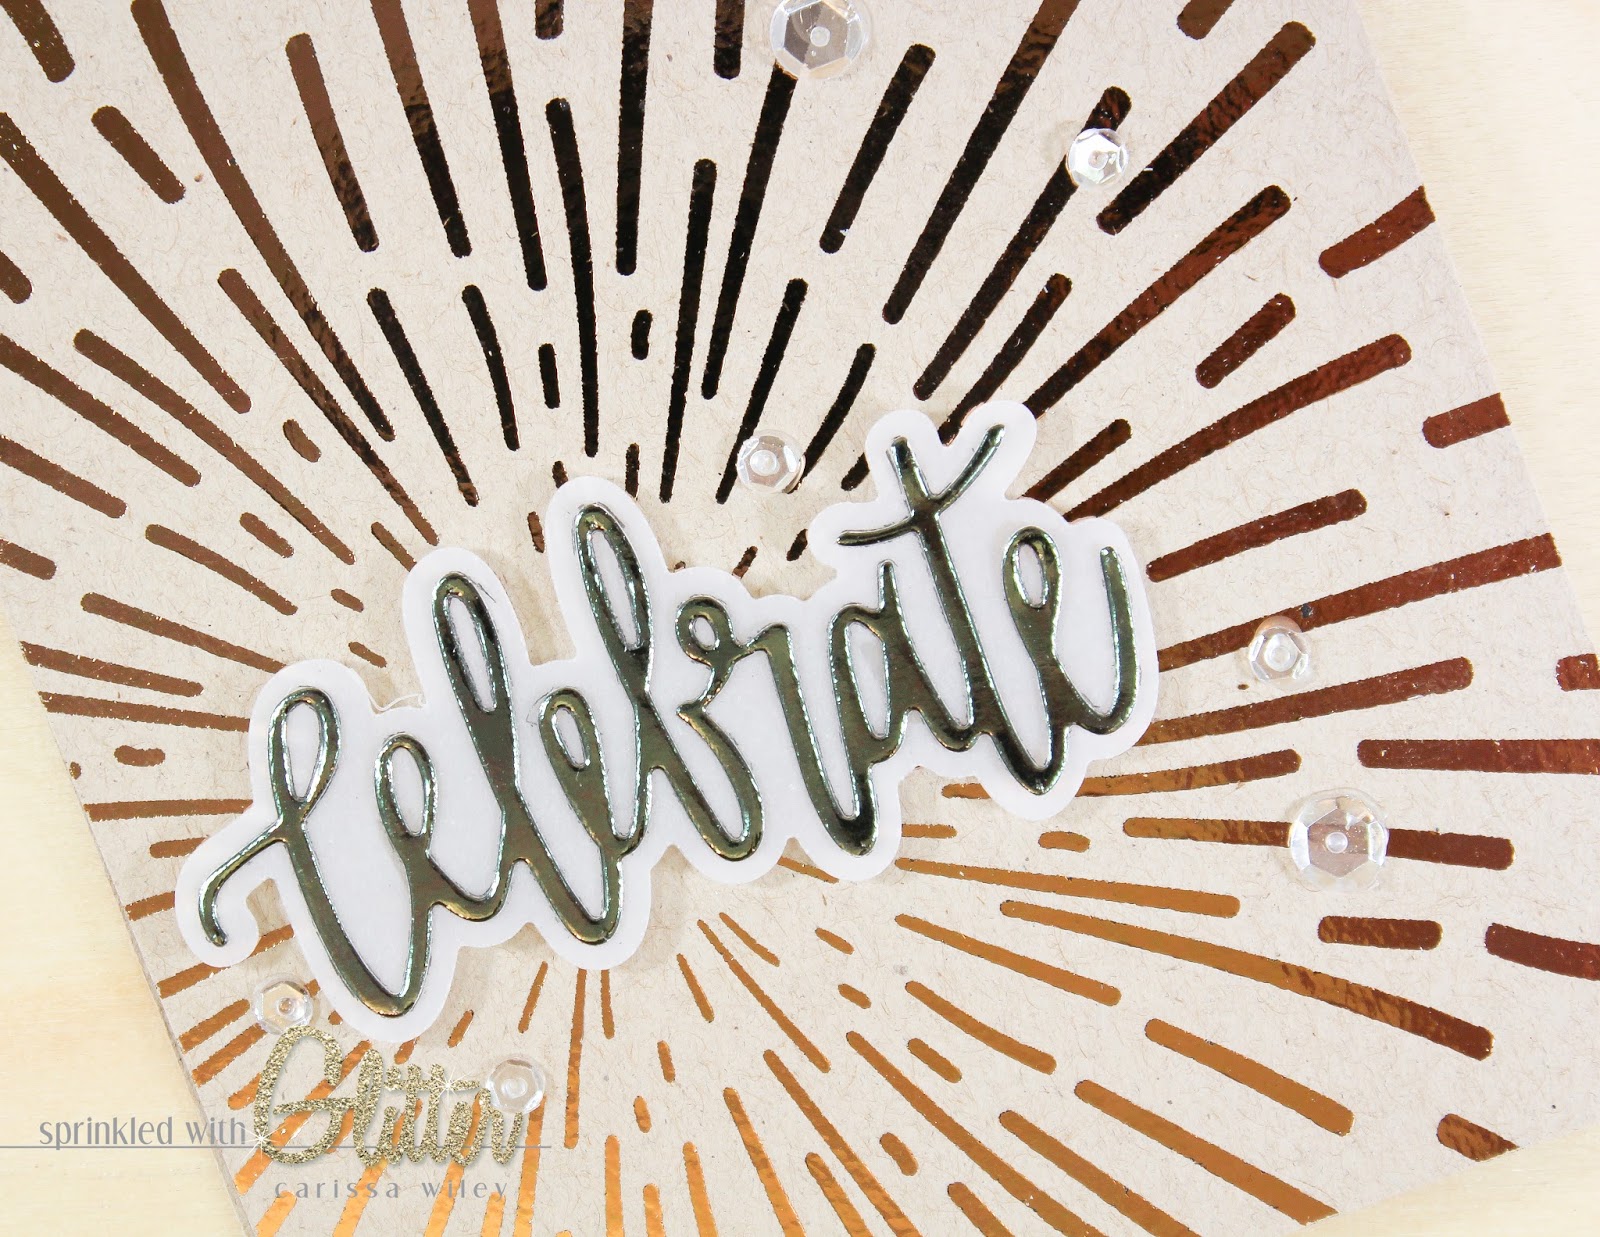
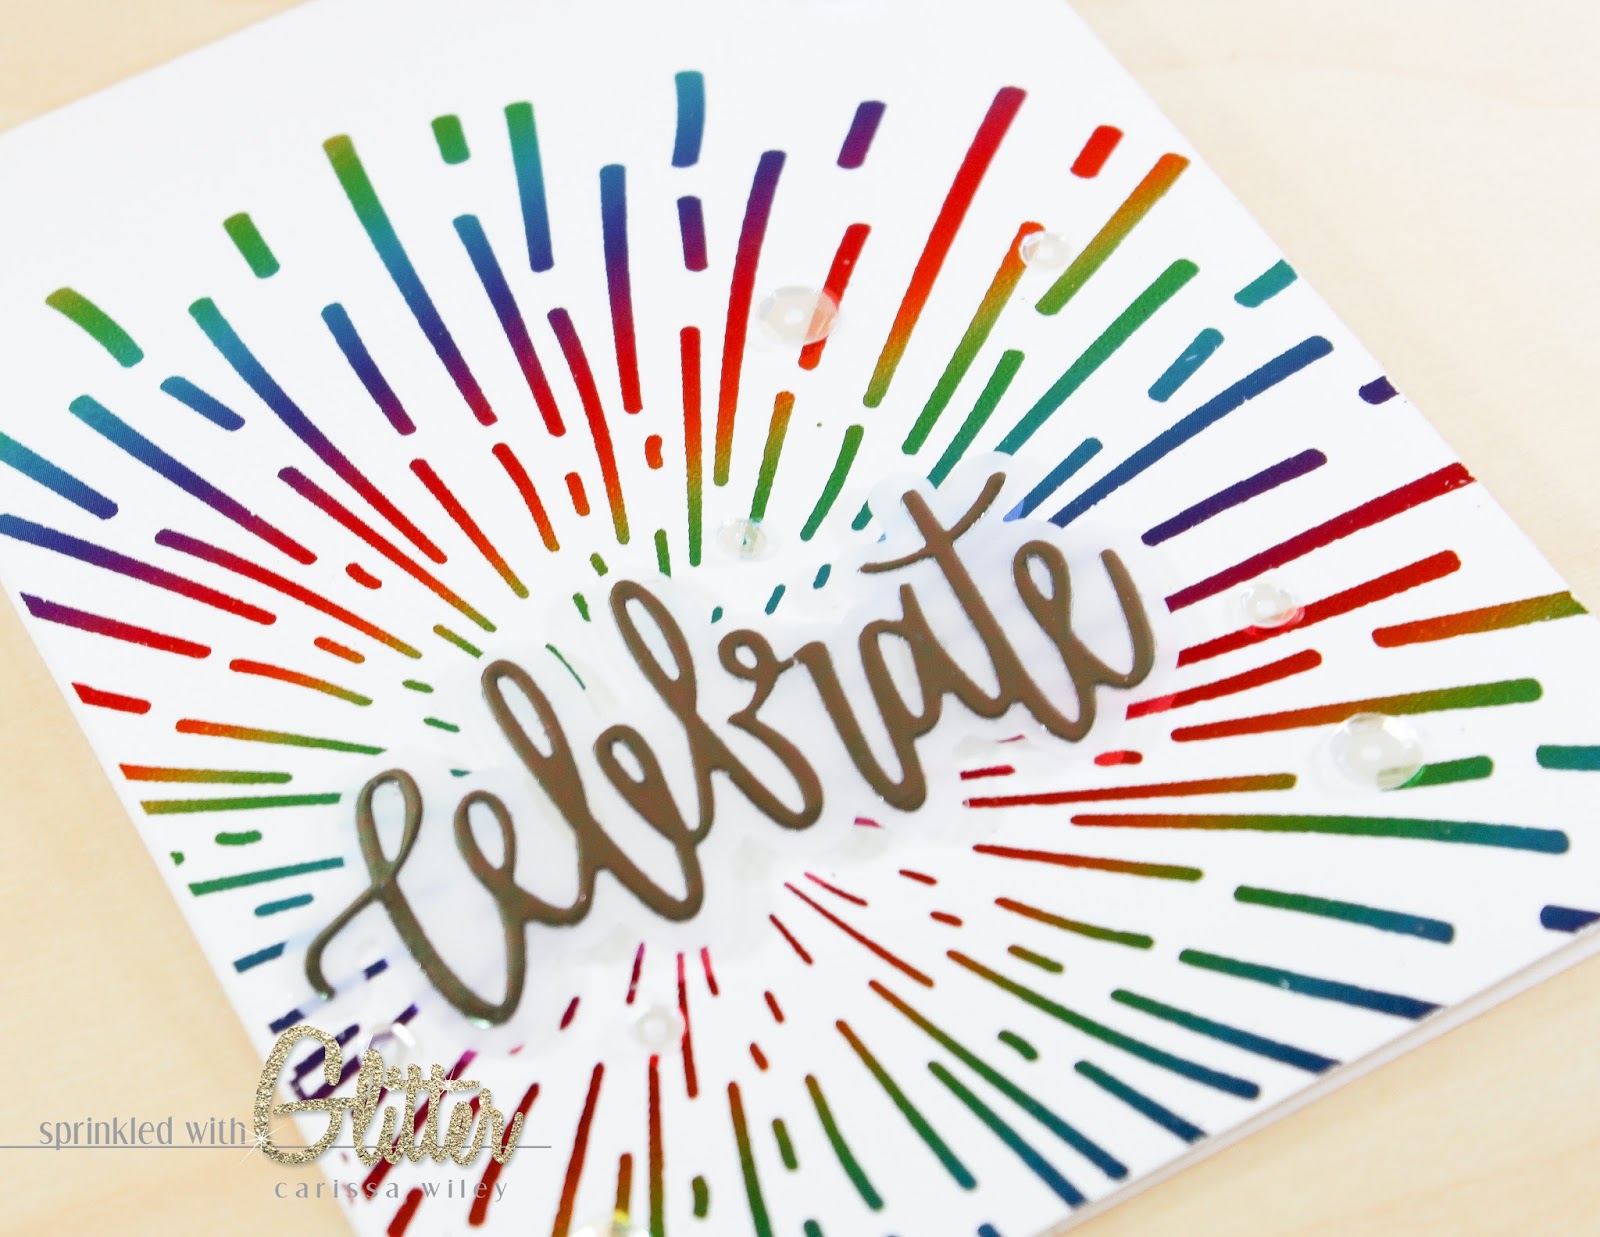
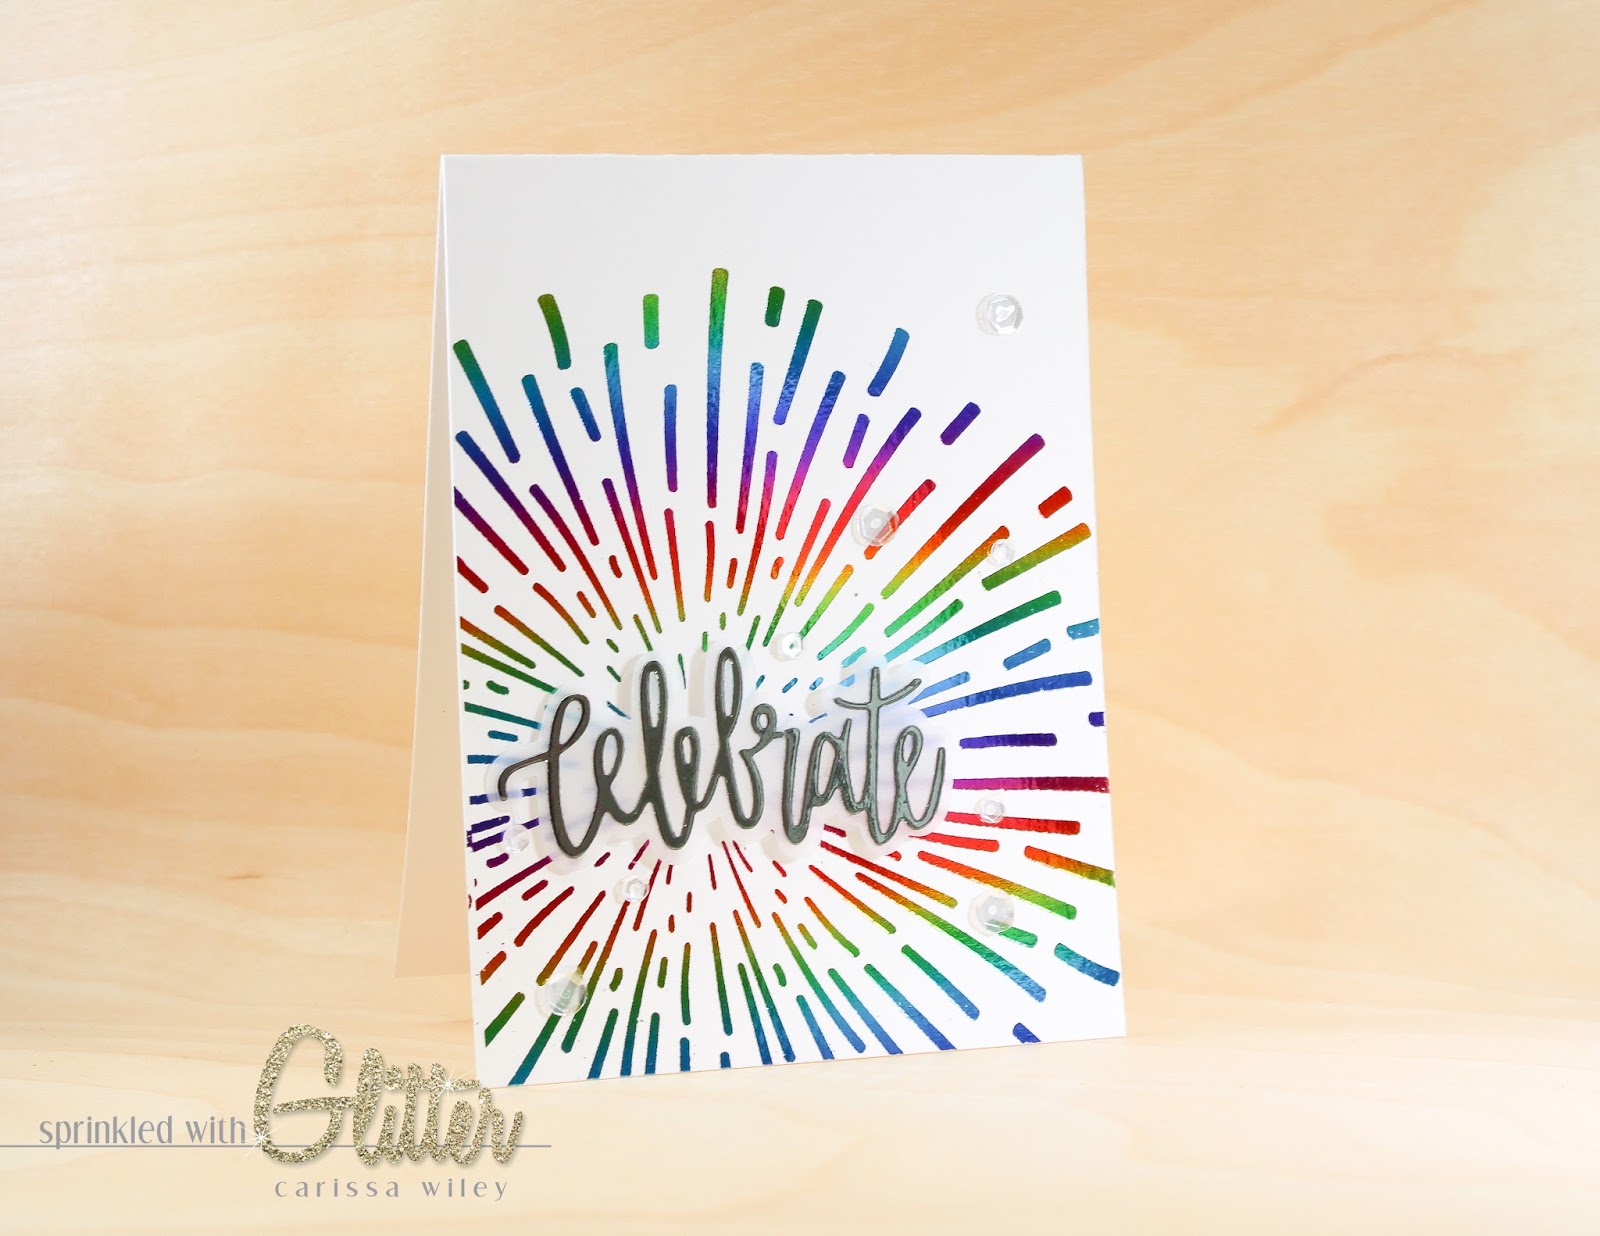
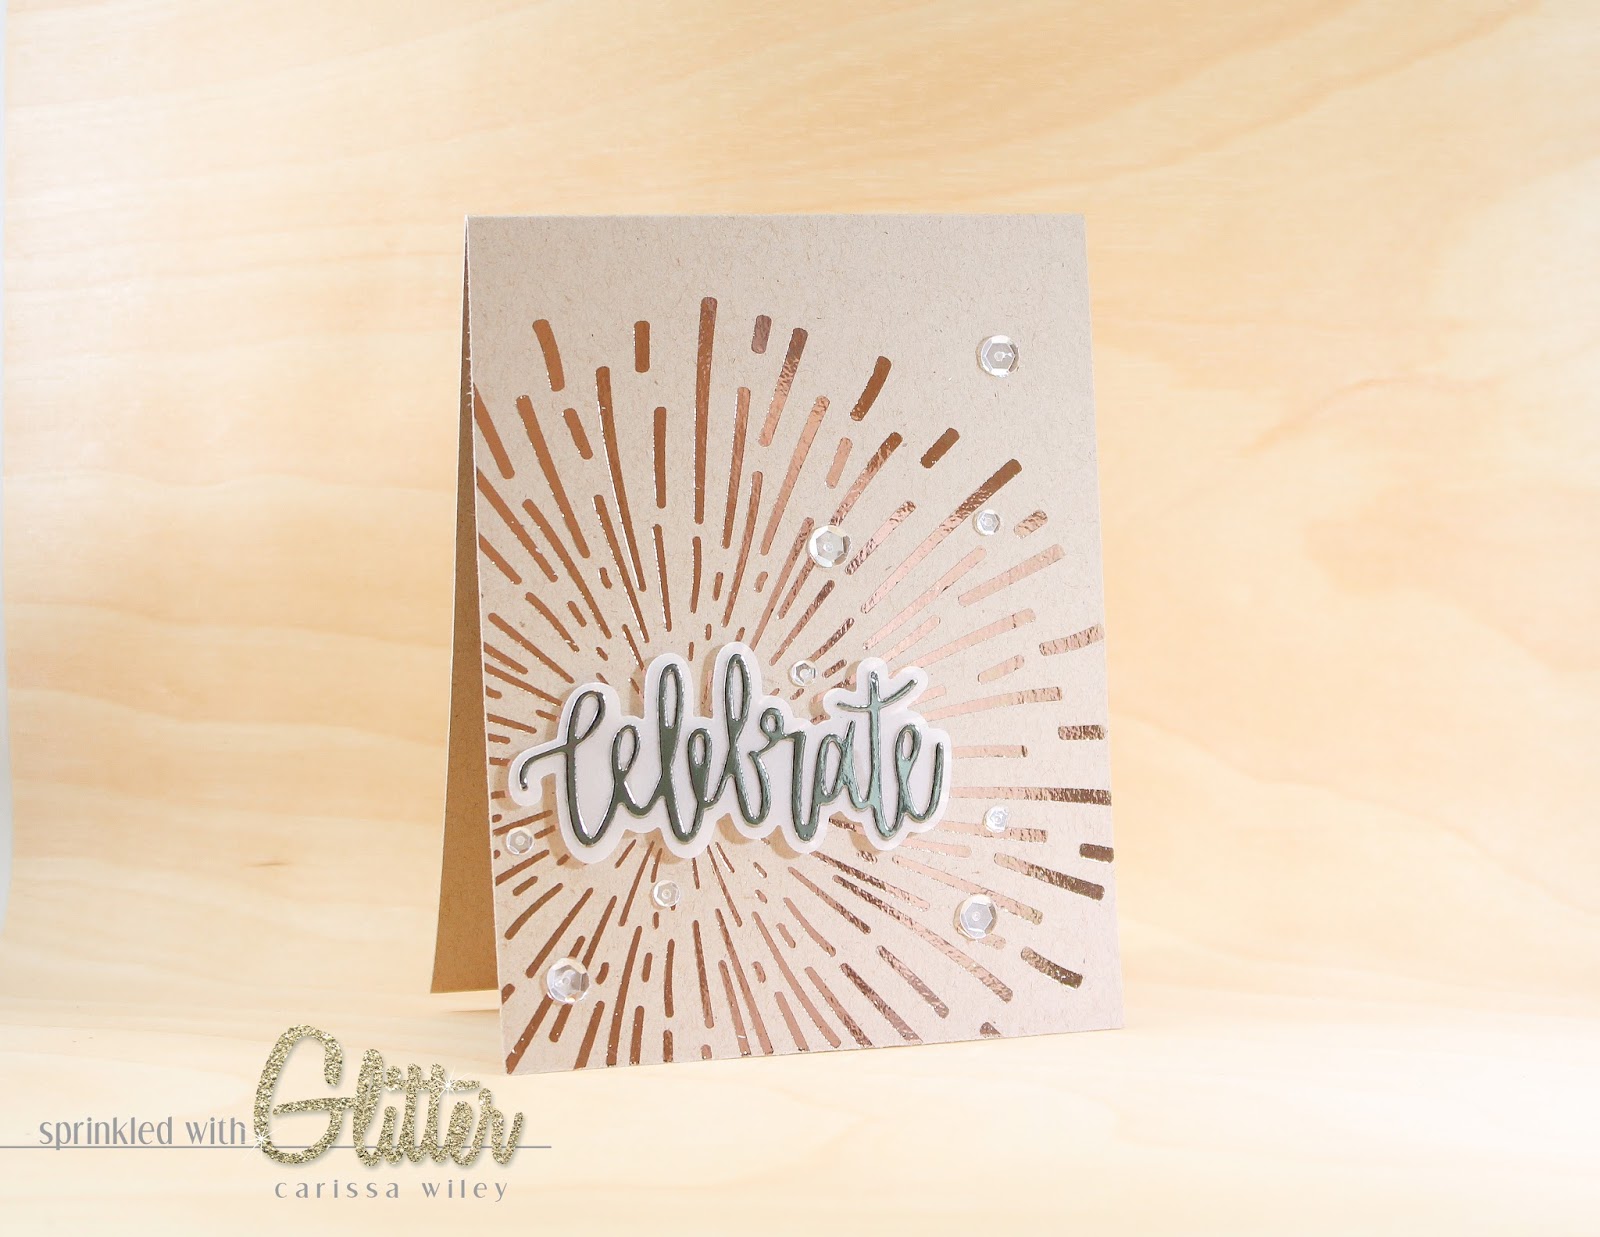
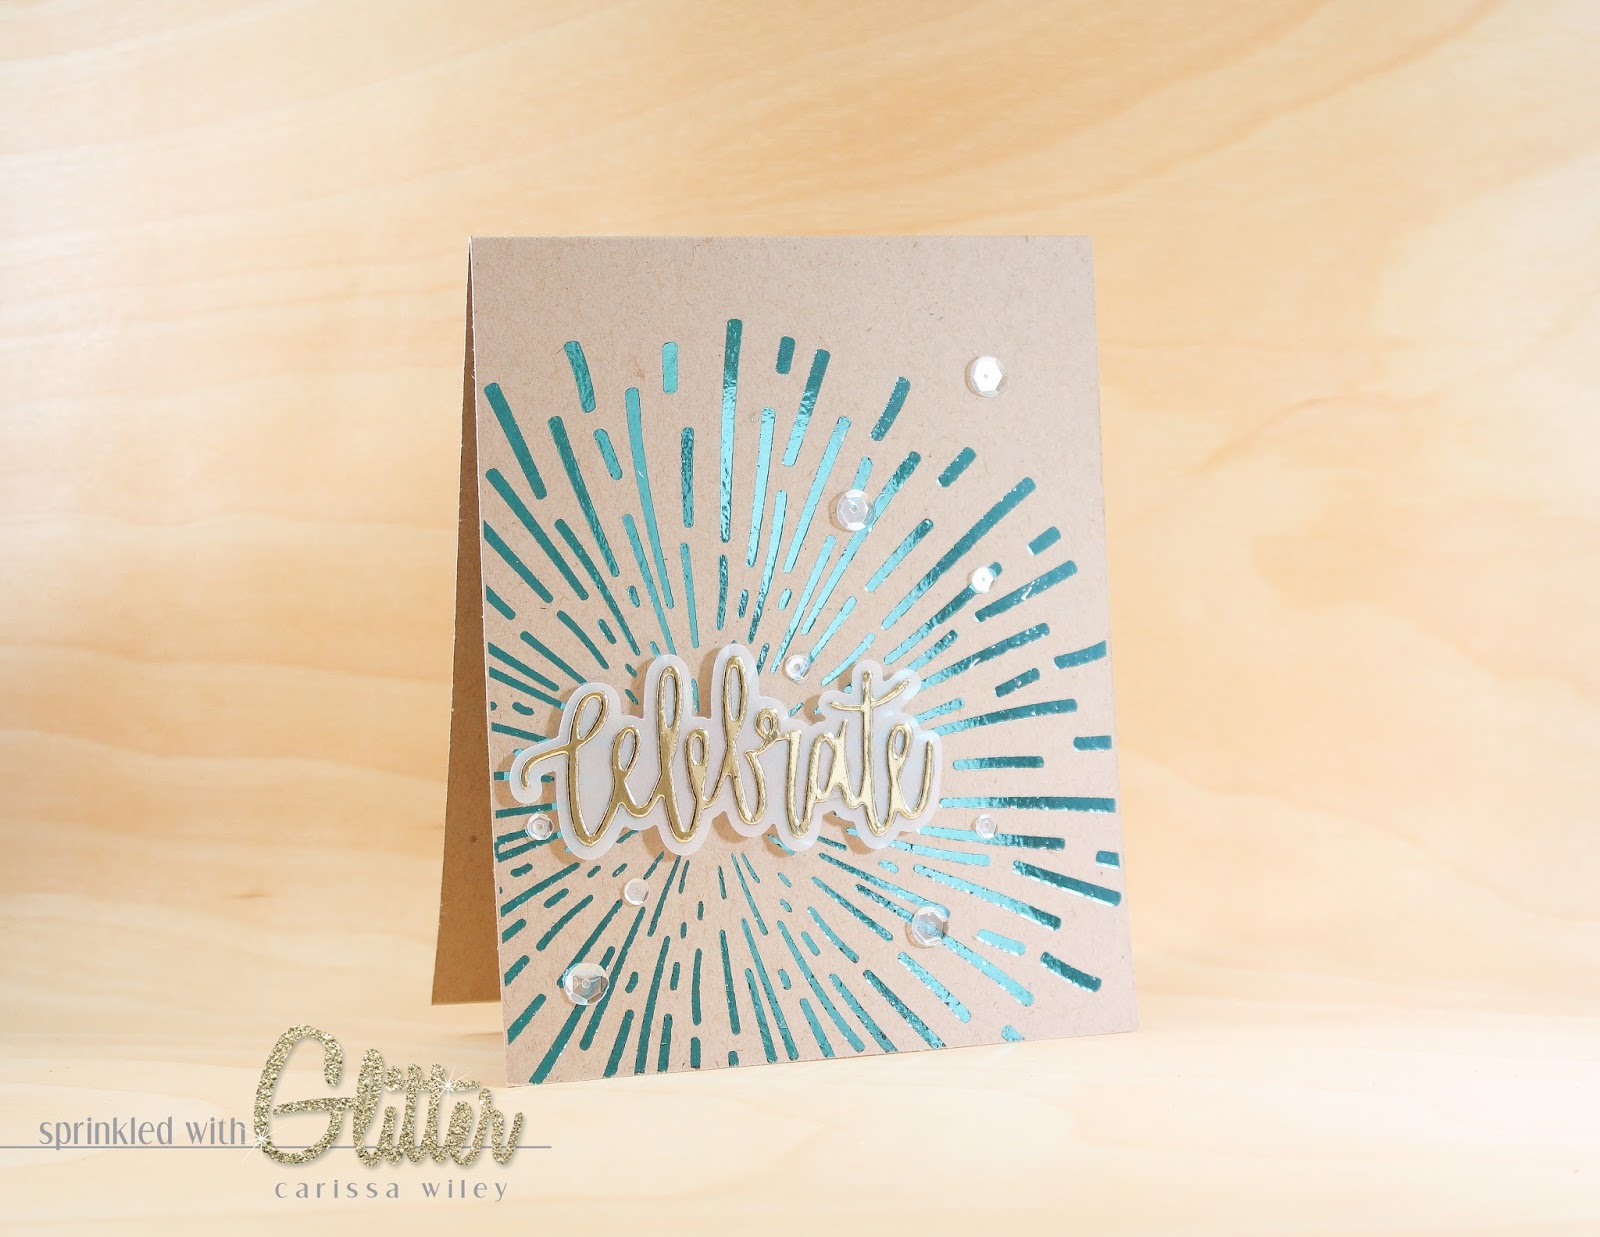
Today's card features some of my favorite products from ThermOWeb's Deco Foil line. I chose to create a card that's perfect for the man in your life. However, these colors can be easily changed to create a card that's perfect for anyone in your life. I'll show you a couple versions. I also thought this color combination makes a beautiful New Year's card.
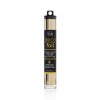
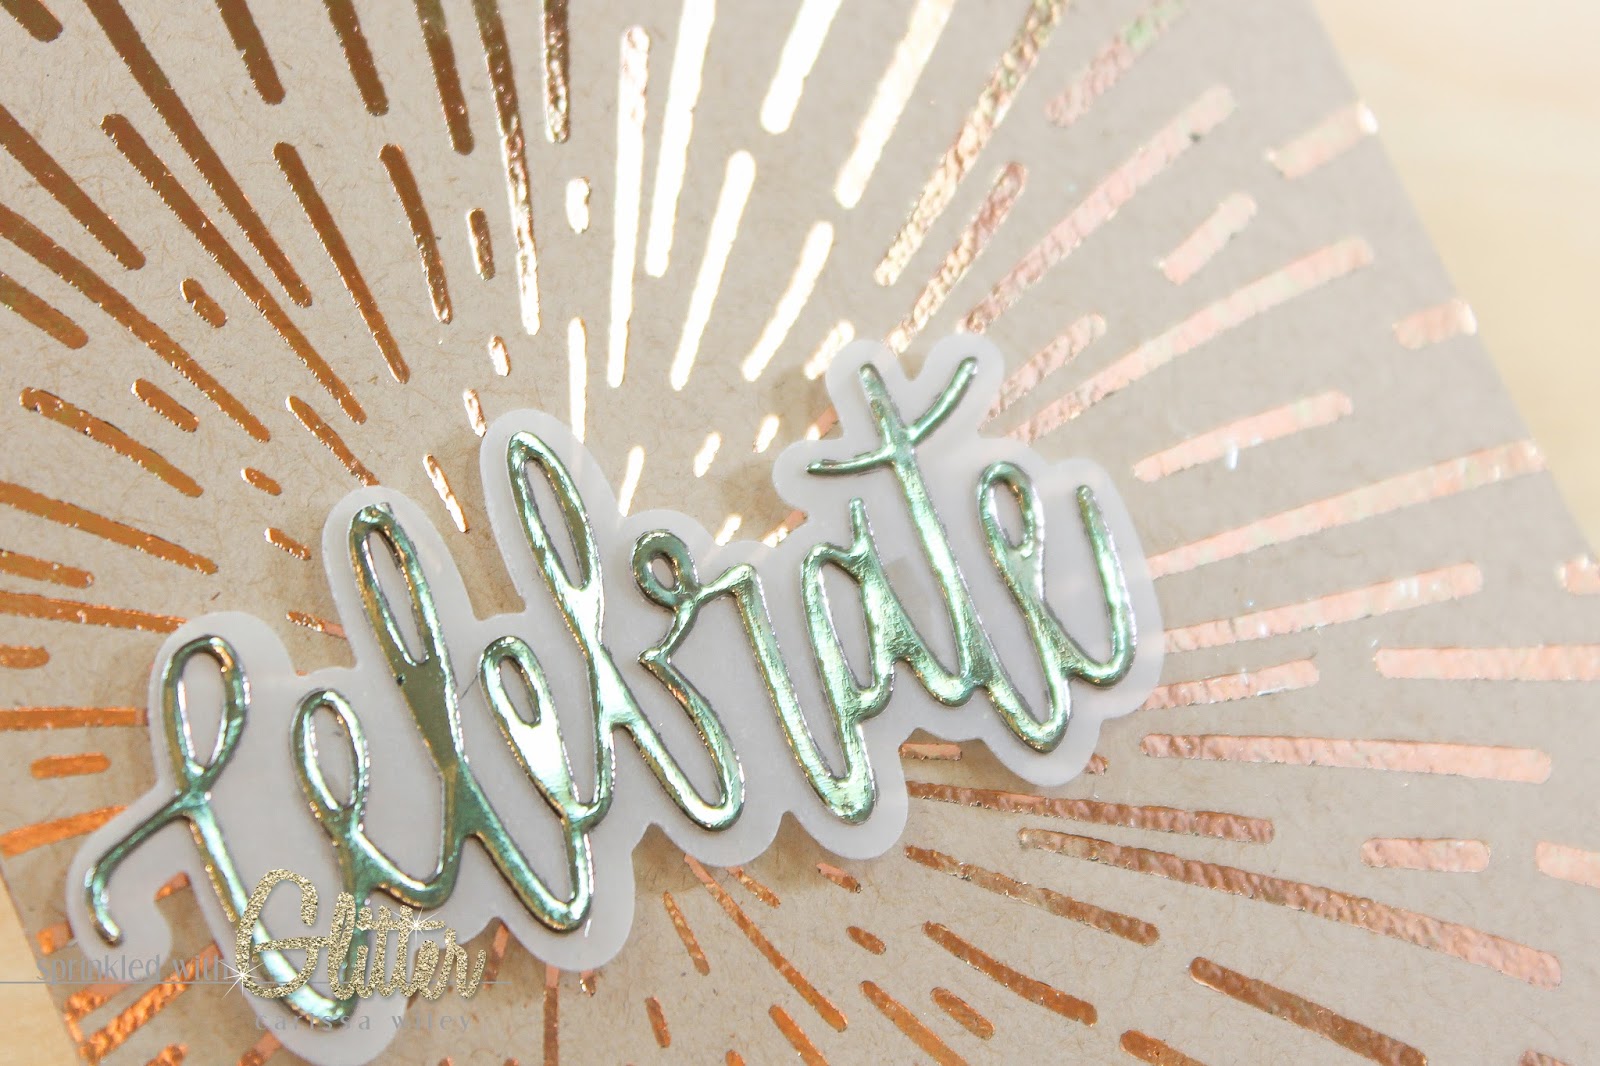
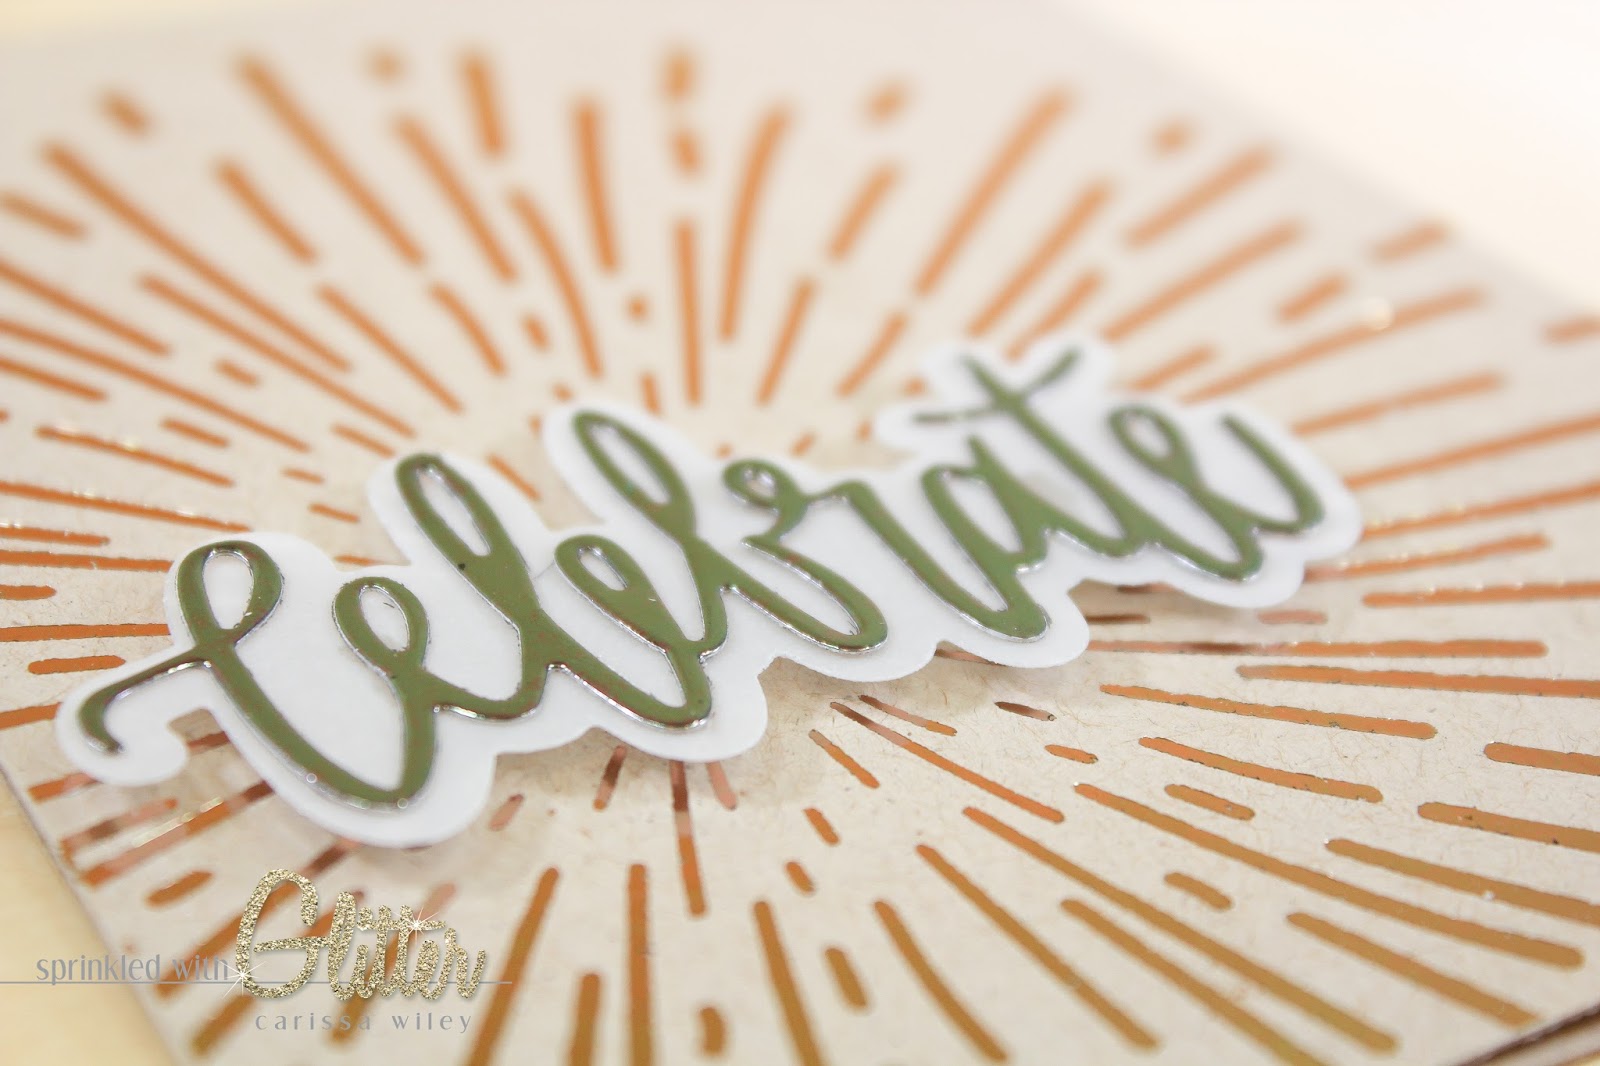
I really wanted to try using the rose gold Deco Foil on kraft card stock. Boy was I glad I did. The results are absolutely STUNNING. Sometimes, I get stuck in a rut of foiling on white card stock. It was fun to branch out and use a colored card stock for my foiling today. I think I'll be trying other colors of card stocks for foiling soon. There are so many colors of Deco Foil available, I'm sure I could come up with some really fun combinations.
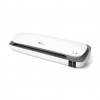
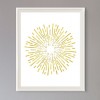
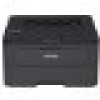
I used a starburst printable that I downloaded from Esty for the design on my cards. I've included a link to the printable below. I printed it out on my card stock using a laser printer. I've linked the one I use below as well. If you don't have a laser printer, you can take your design to a local office supply or copy shop to have it printed with a toner based printer. This technique won't work with an inkjet printer.
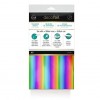
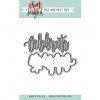
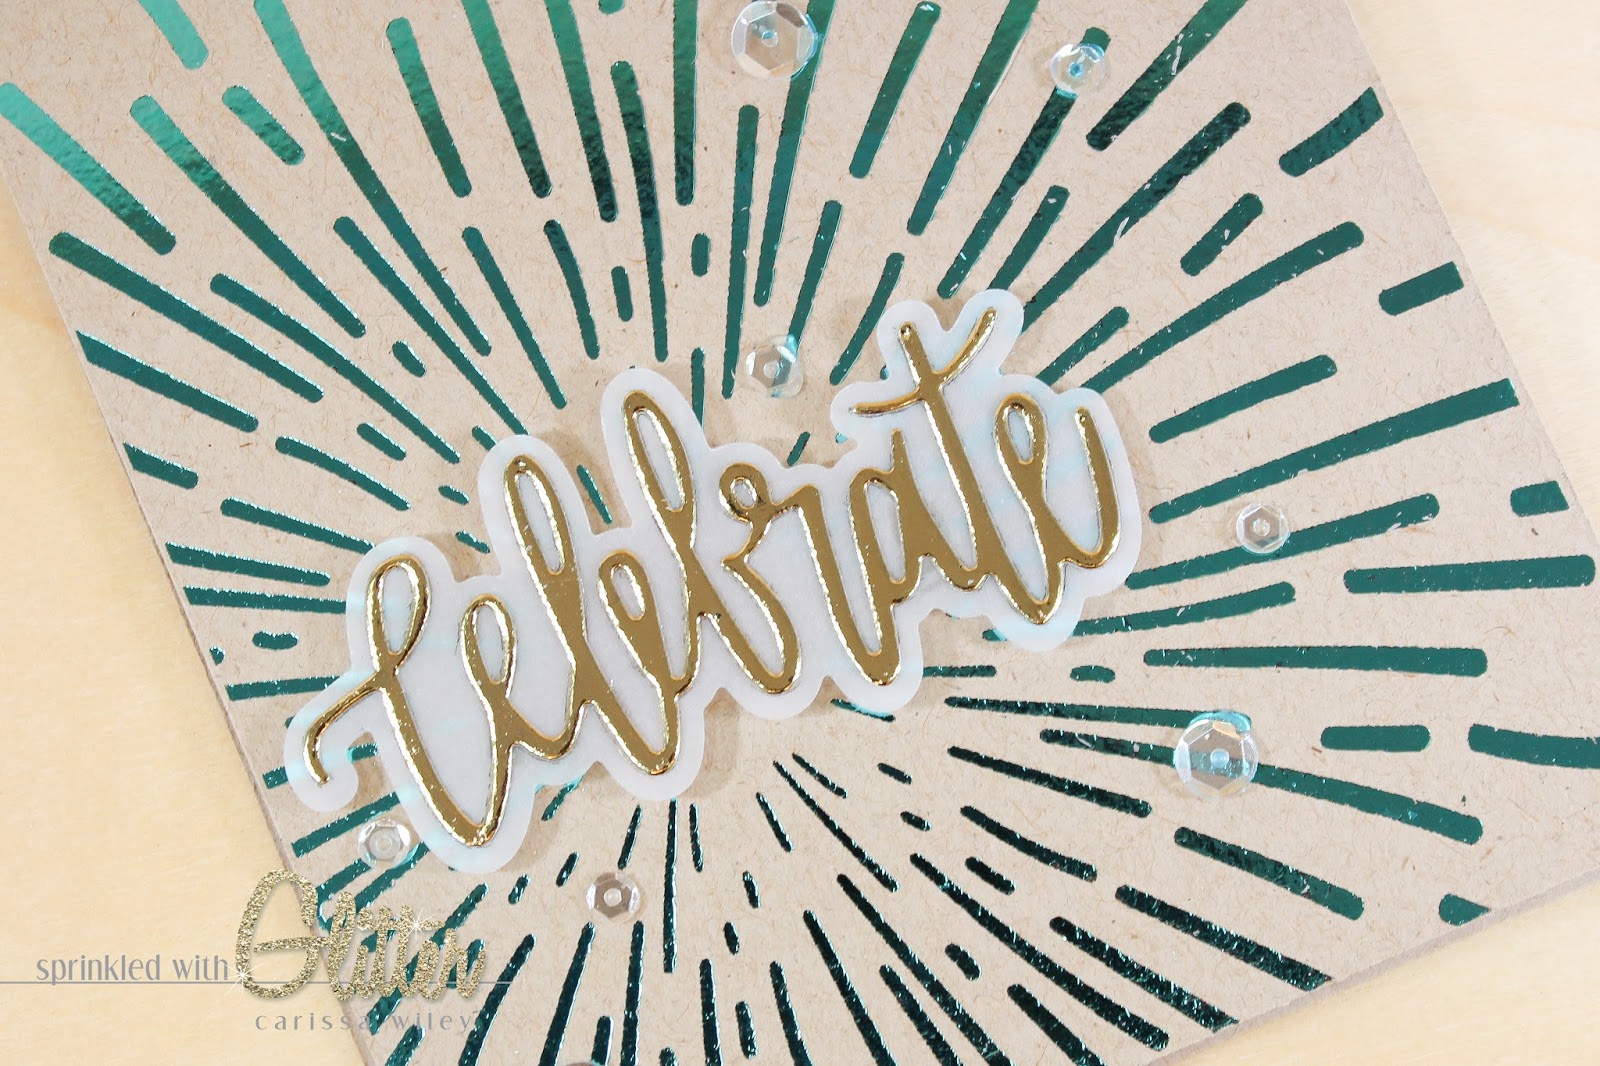
In order to create my foiled die cuts, I used a Neat And Tangled die to die cut the PeelNStick Toner Sheets from ThermOWeb. These toner sheets also come in a non adhesive backed option. But since I'm using such an intricate die cut, it was helpful to have the adhesive already on the back. It sure made adhering that skinny little die cut a whole lot easier.
I also love using these toner sheets because I don't get any toner on my hands. It's almost like the toner is sealed in. In the past, when I've tried to create my own, I ended up with toner everywhere and uneven results. I get great results with these toner sheets.
I tried foiling my die cuts a couple of ways. I found that I got the best results when I die cut the toner paper first and then applied the foil to my die cut. I also tried foiling a large sheet of toner paper and then die cutting. The results were much cleaner when I die cut first.
I've included a video tutorial below walking you through the entire creation of these cards. I created several versions. I've also included links to the supplies used in these projects.
Thanks for stopping by today. I hope you've enjoyed these projects. Until next time, I hope you have a fabulous day!
GIVEAWAY INFORMATION
ThermOWeb is allowing me to give away this awesome prize pack with YOUR CHOICE of Deco Foil colors. This prize pack includes 4 colors of Deco Foil, 3 Designer Stencils, Deco Foil Foam Adhesive, Deco Foil Adhesive Pen and an adhesive remover square. This giveaway will end at 11:59 pm PST on 12/23/2016. Giveaway is open to US residents only. Entrants must be 18 years or older or have parents permission to enter. To enter, use the Rafflecopter widget below.
Please use the Rafflecopter app below to enter the giveaway.

Supplies
*affiliate links used*

