Tips For Color Layering Stamping - Altenew's 4th Anniversary Blog Hop Day 3 & Giveaway
Hi everyone! Thanks for stopping by. I'm so glad you're here to play in my virtual craft room with me! I'm here today to celebrate the 4th Anniversary of Altenew! I just ❤︎ their stamps and dies so much...and they make the most fantastically detailed floral images. I'll be using one of these fabulous florals today in my card projects.
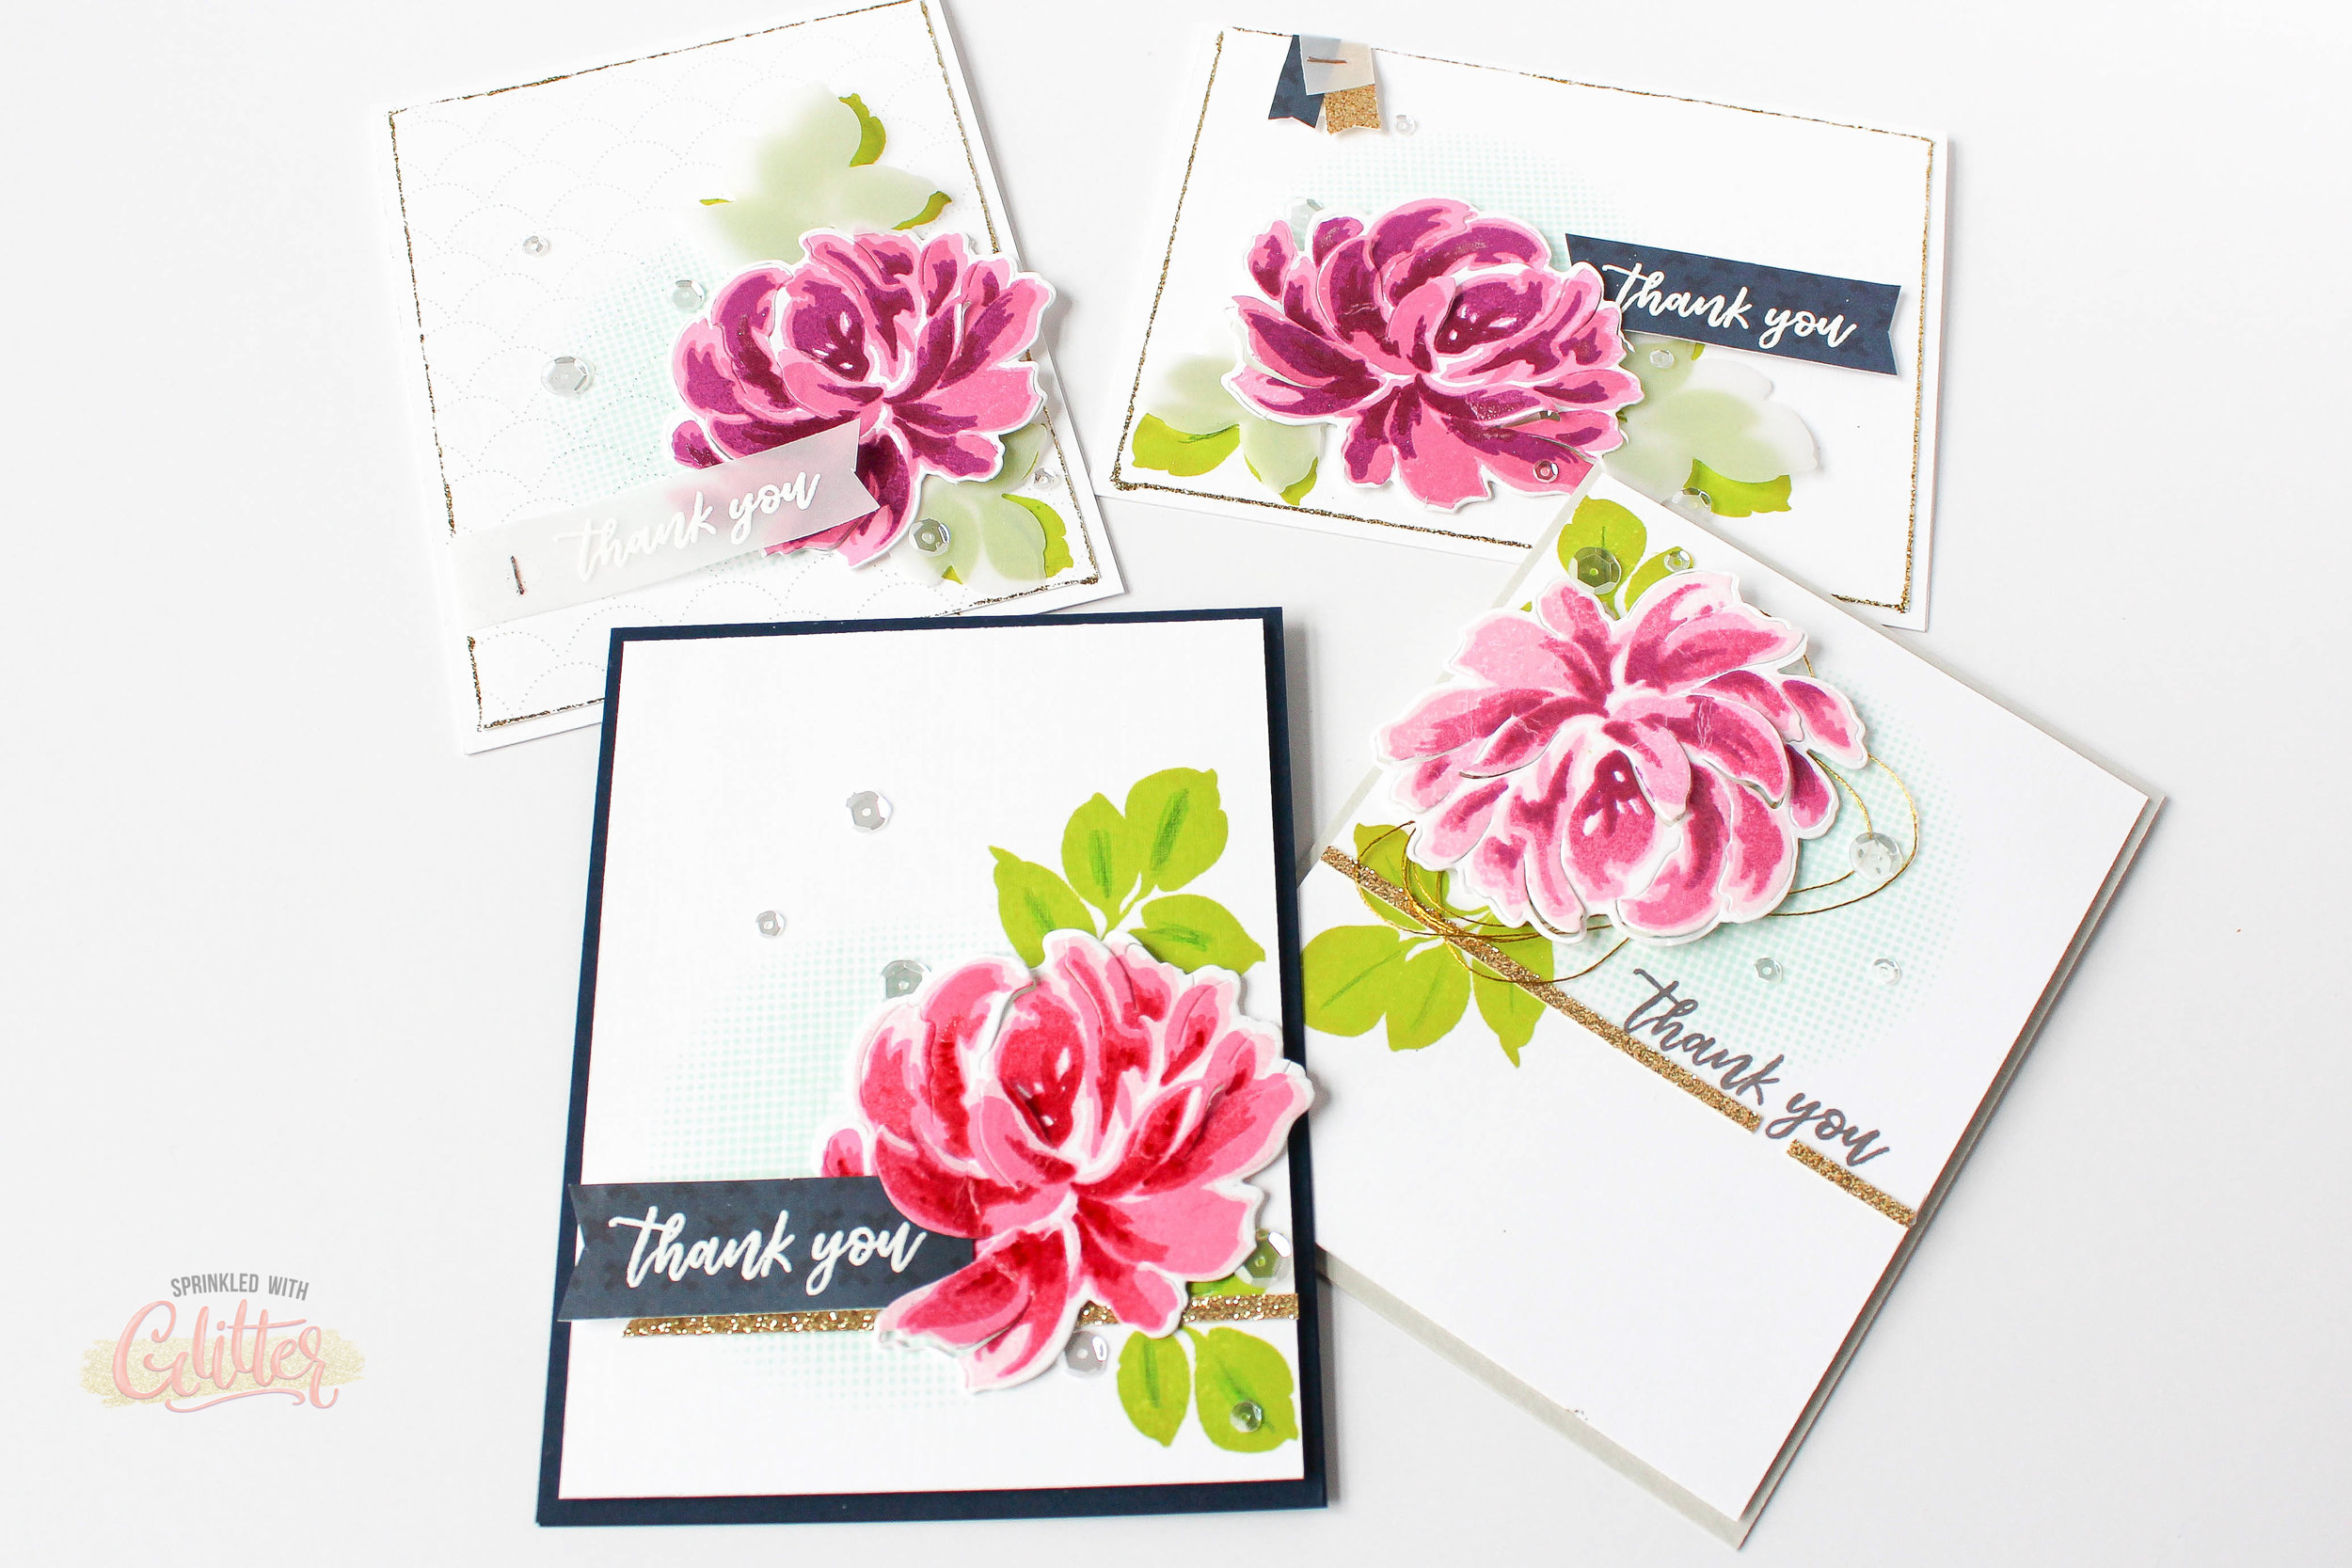
I'll be walking you through four different card projects in today's video. While the cards use many of the same products, each has their own unique details. I'll also give you some tips for creating with color layering stamps. Be sure to check out the video to get all of the details. If you prefer to watch this video in HD on my YouTube channel, you can click HERE.
I love the purple ink combination I used in three of the projects today. This bright, orchid-like purple is one of my favorite colors. I've paired it with a bit of navy. This may or may not be the color scheme in my bedroom. Gotta love a bit of navy.
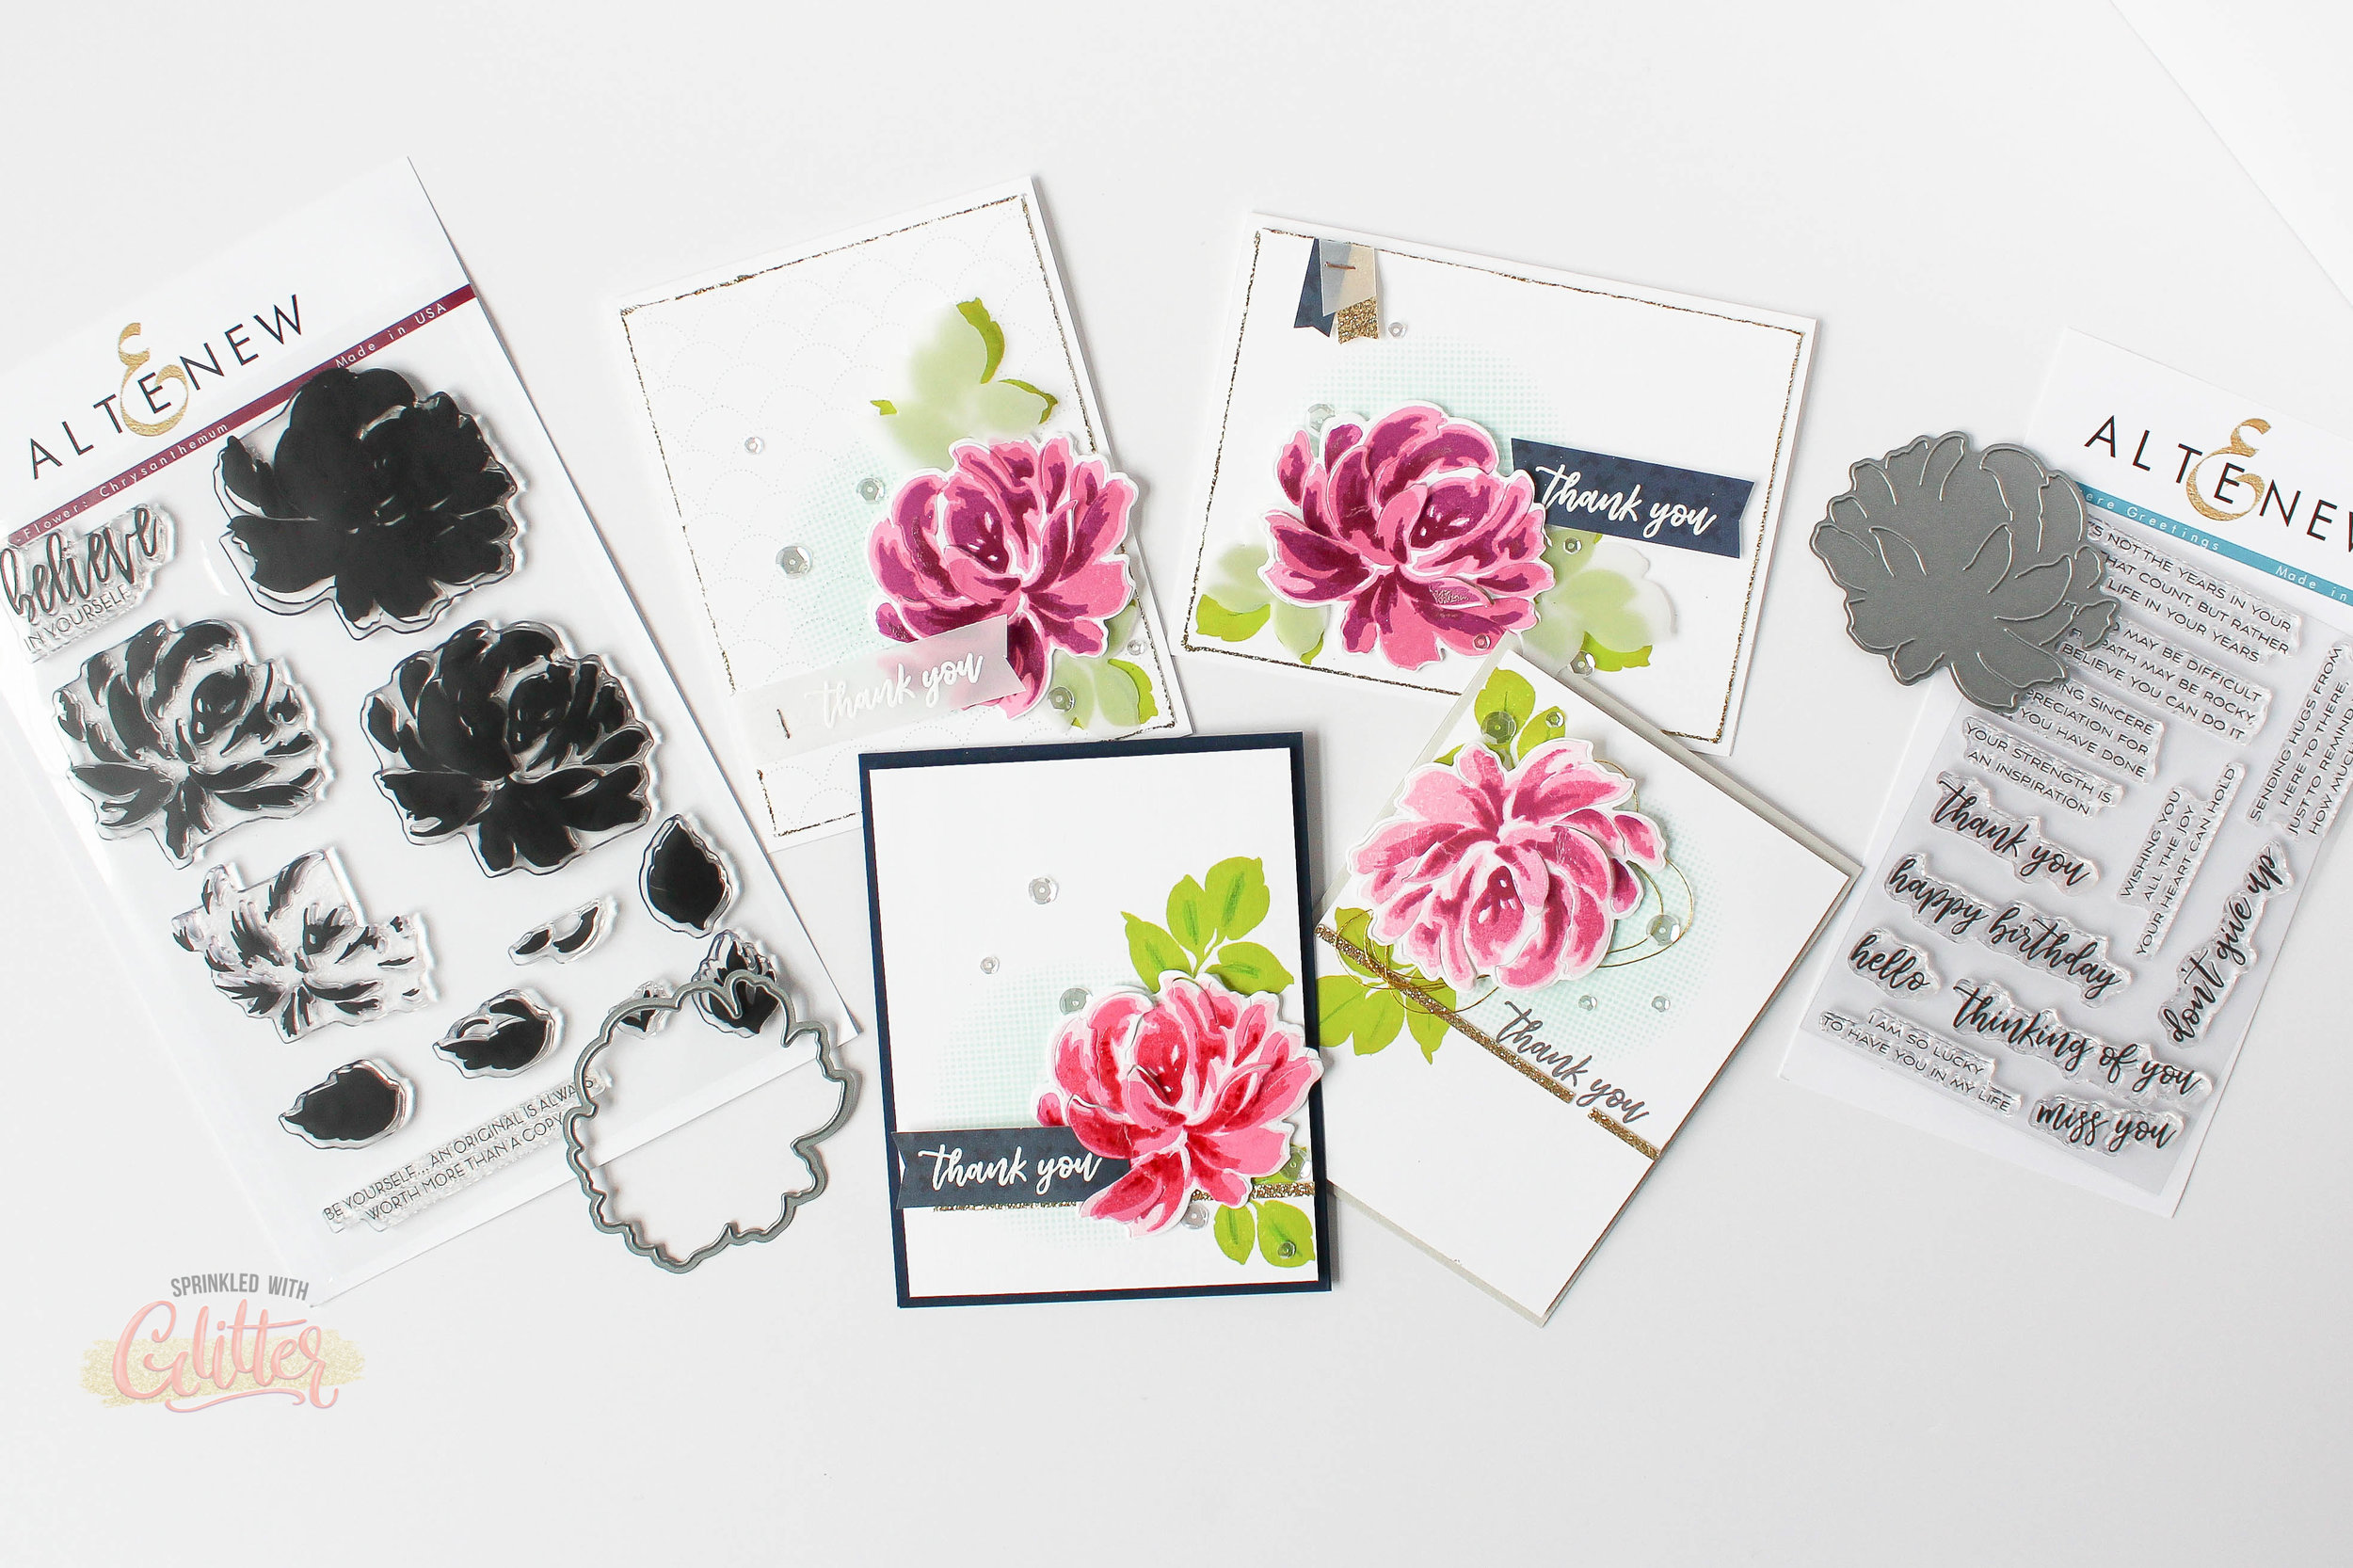
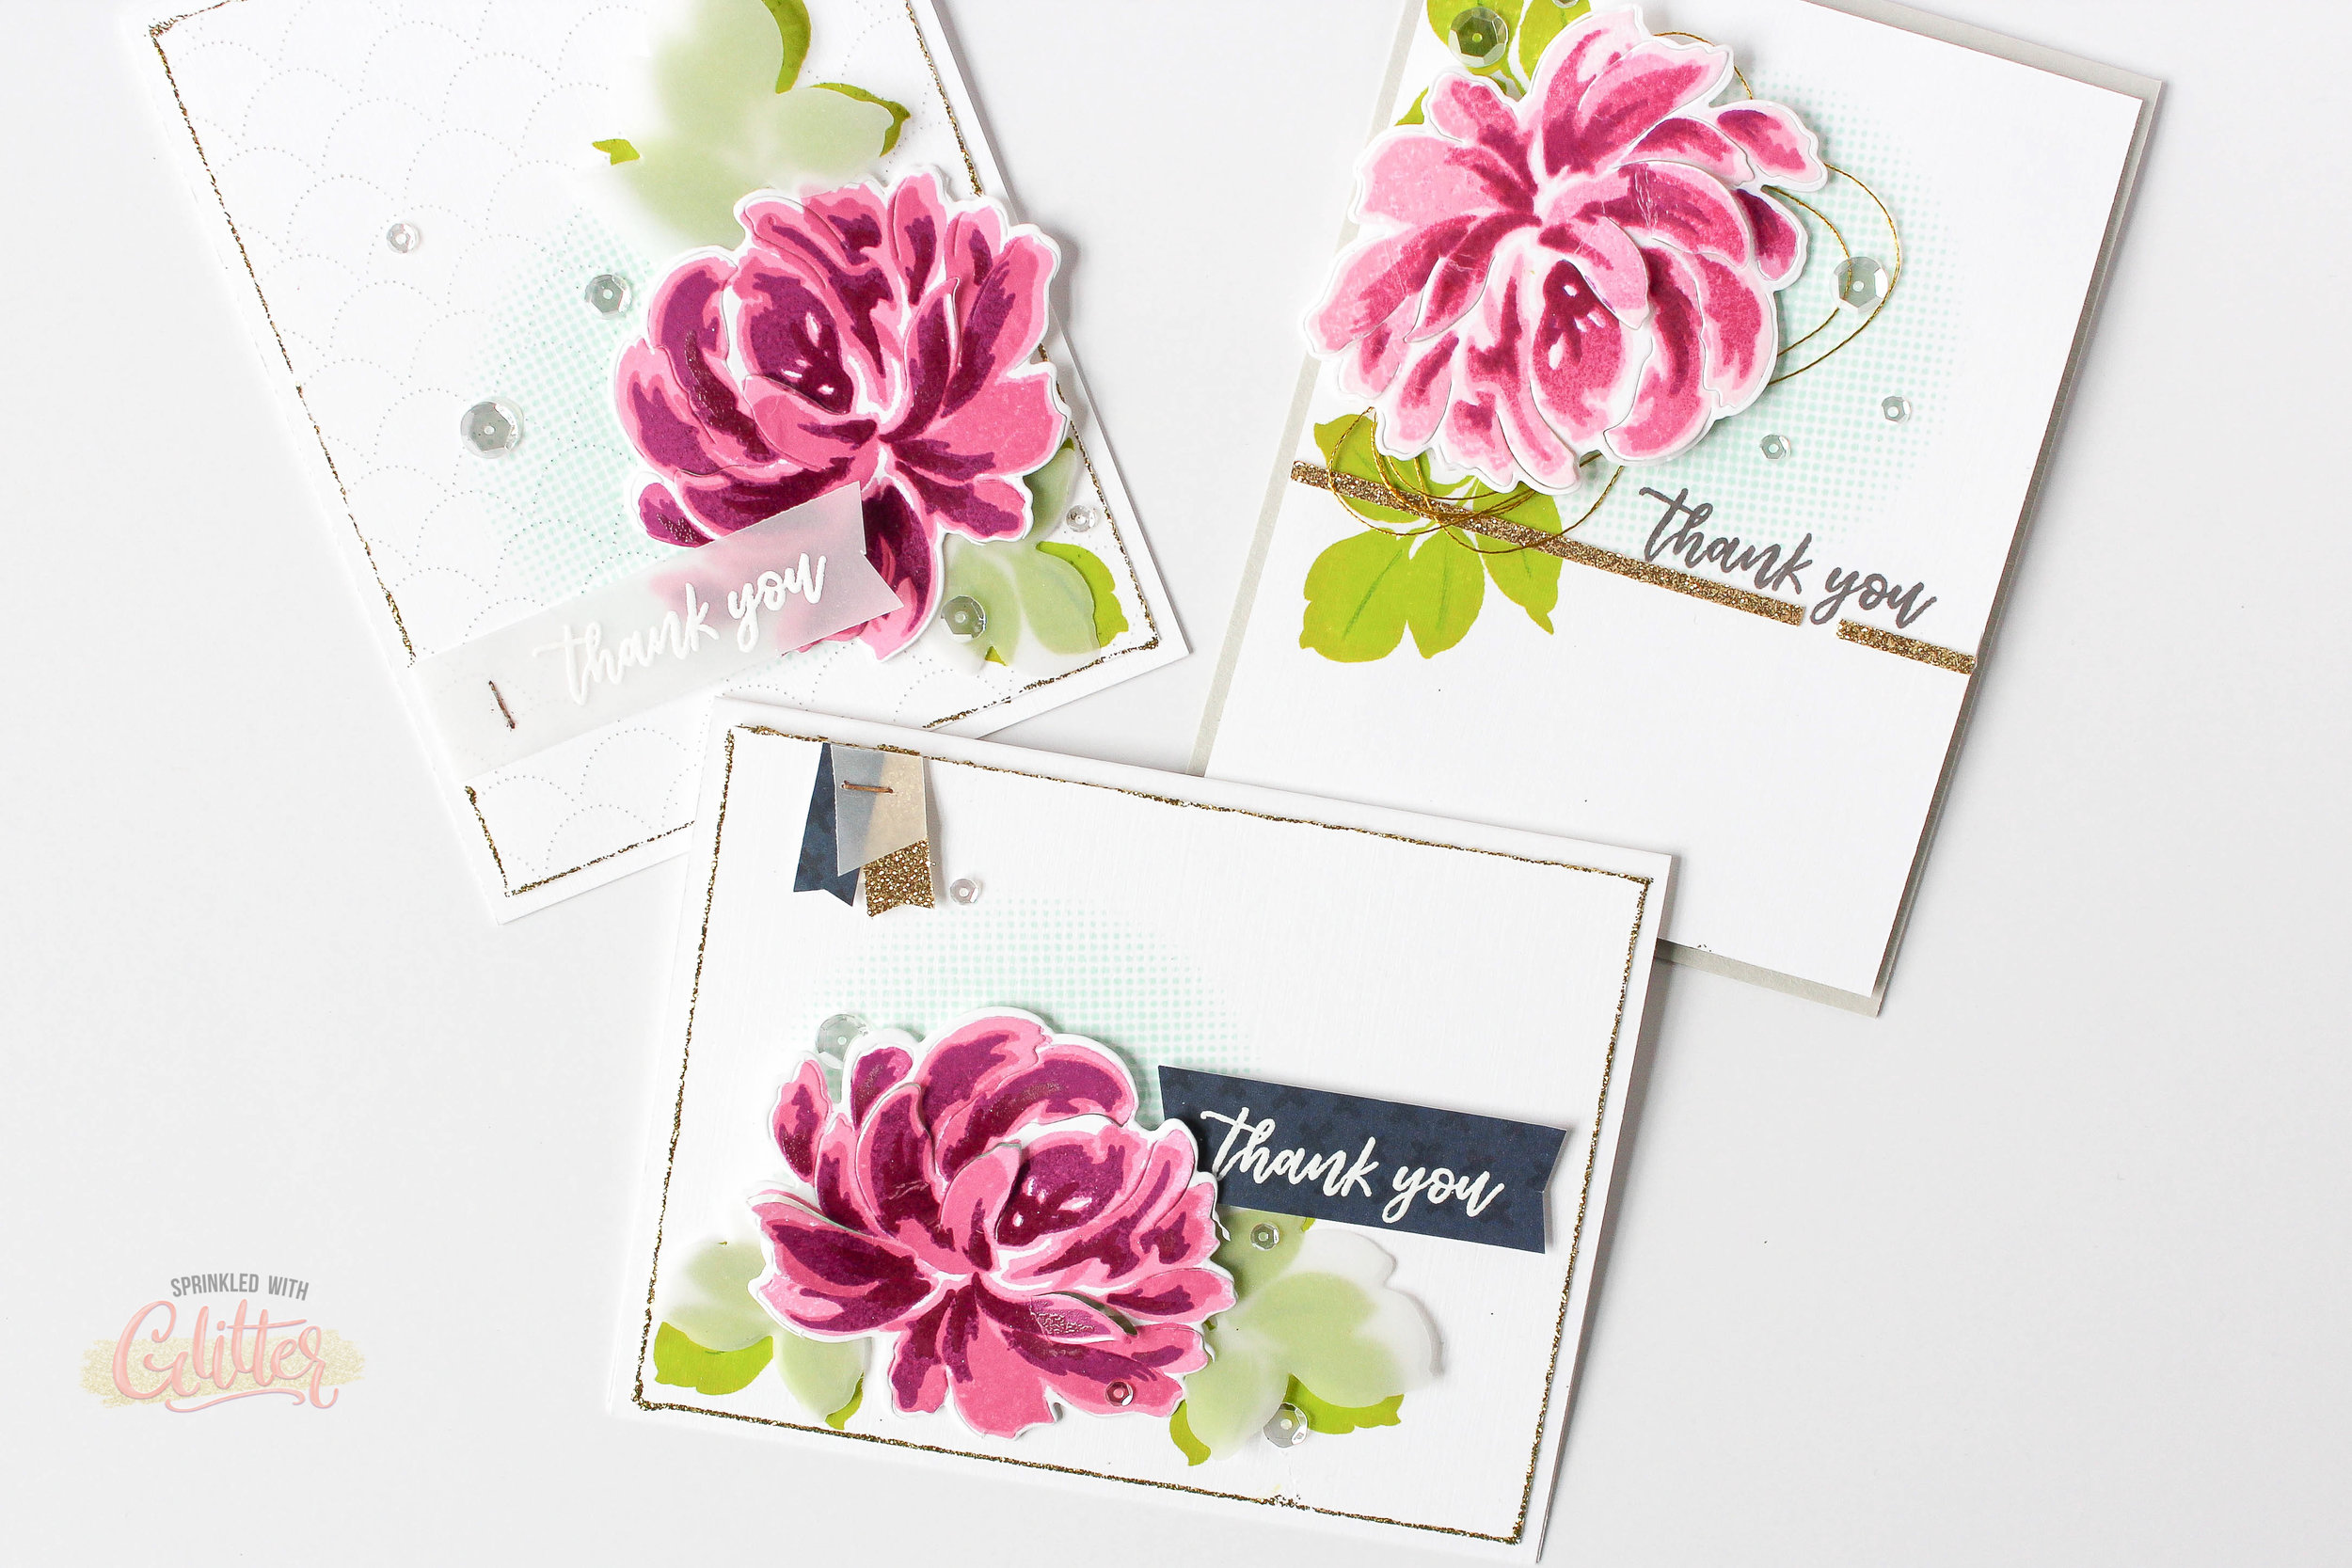
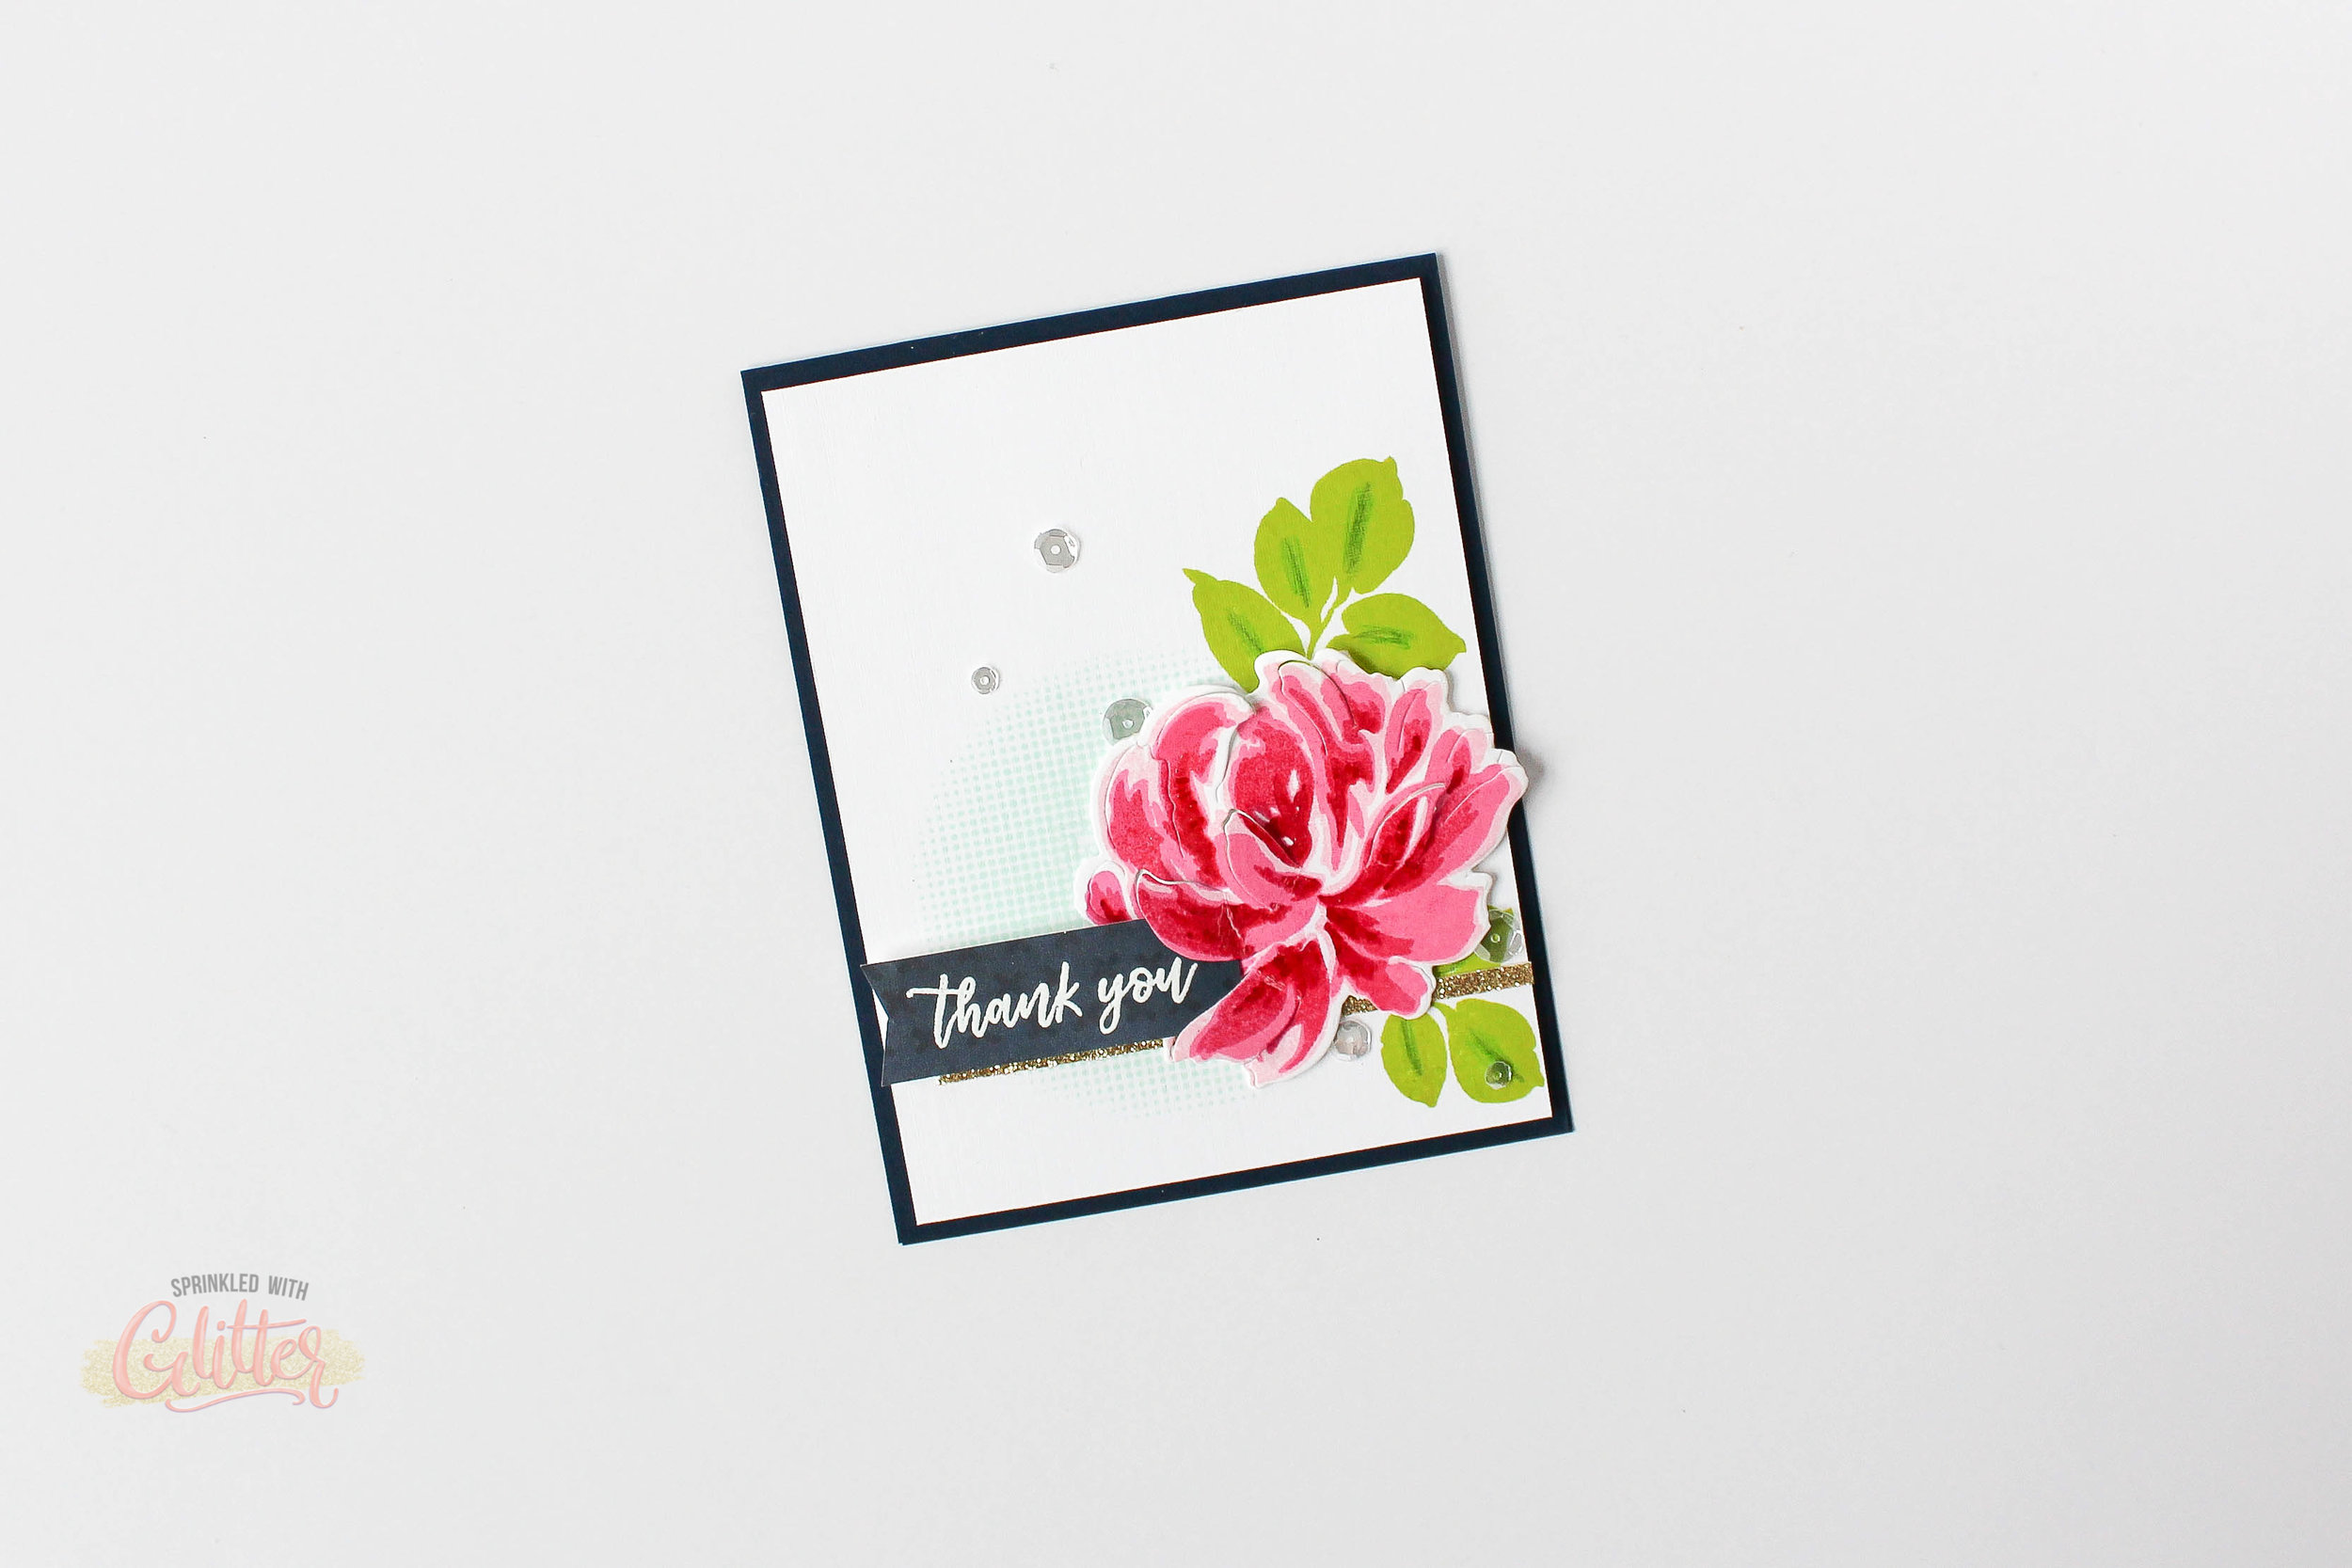
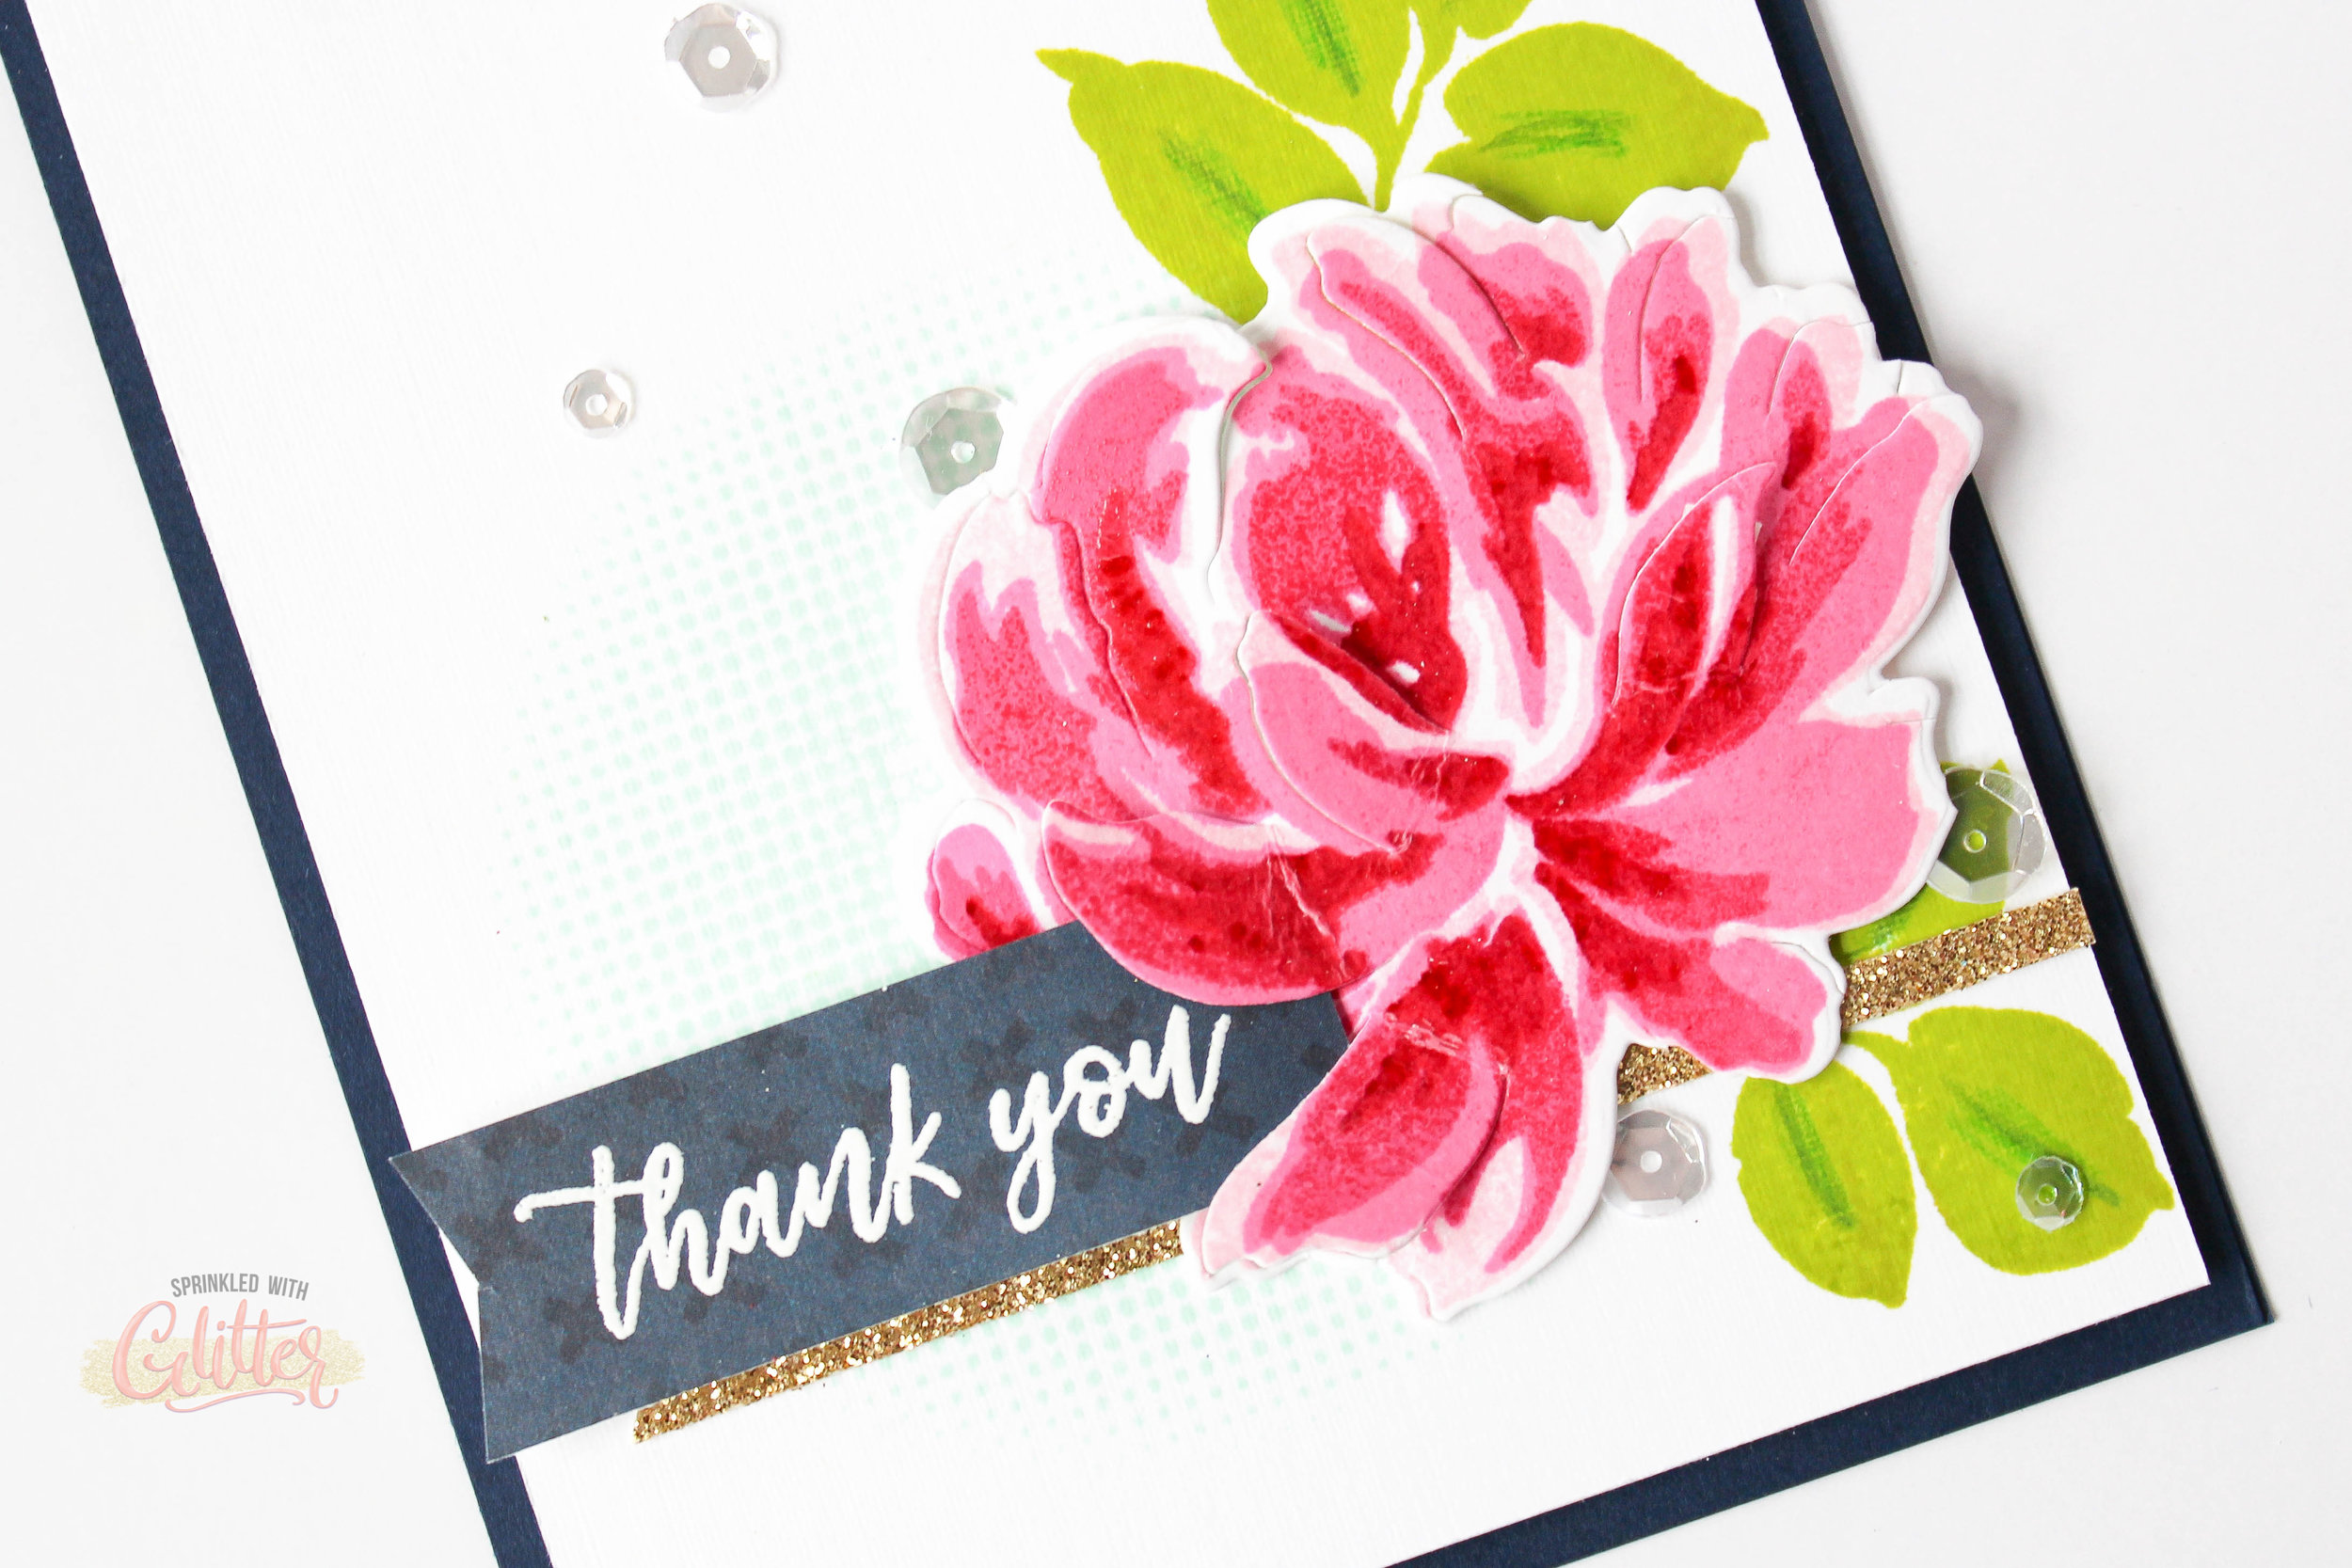
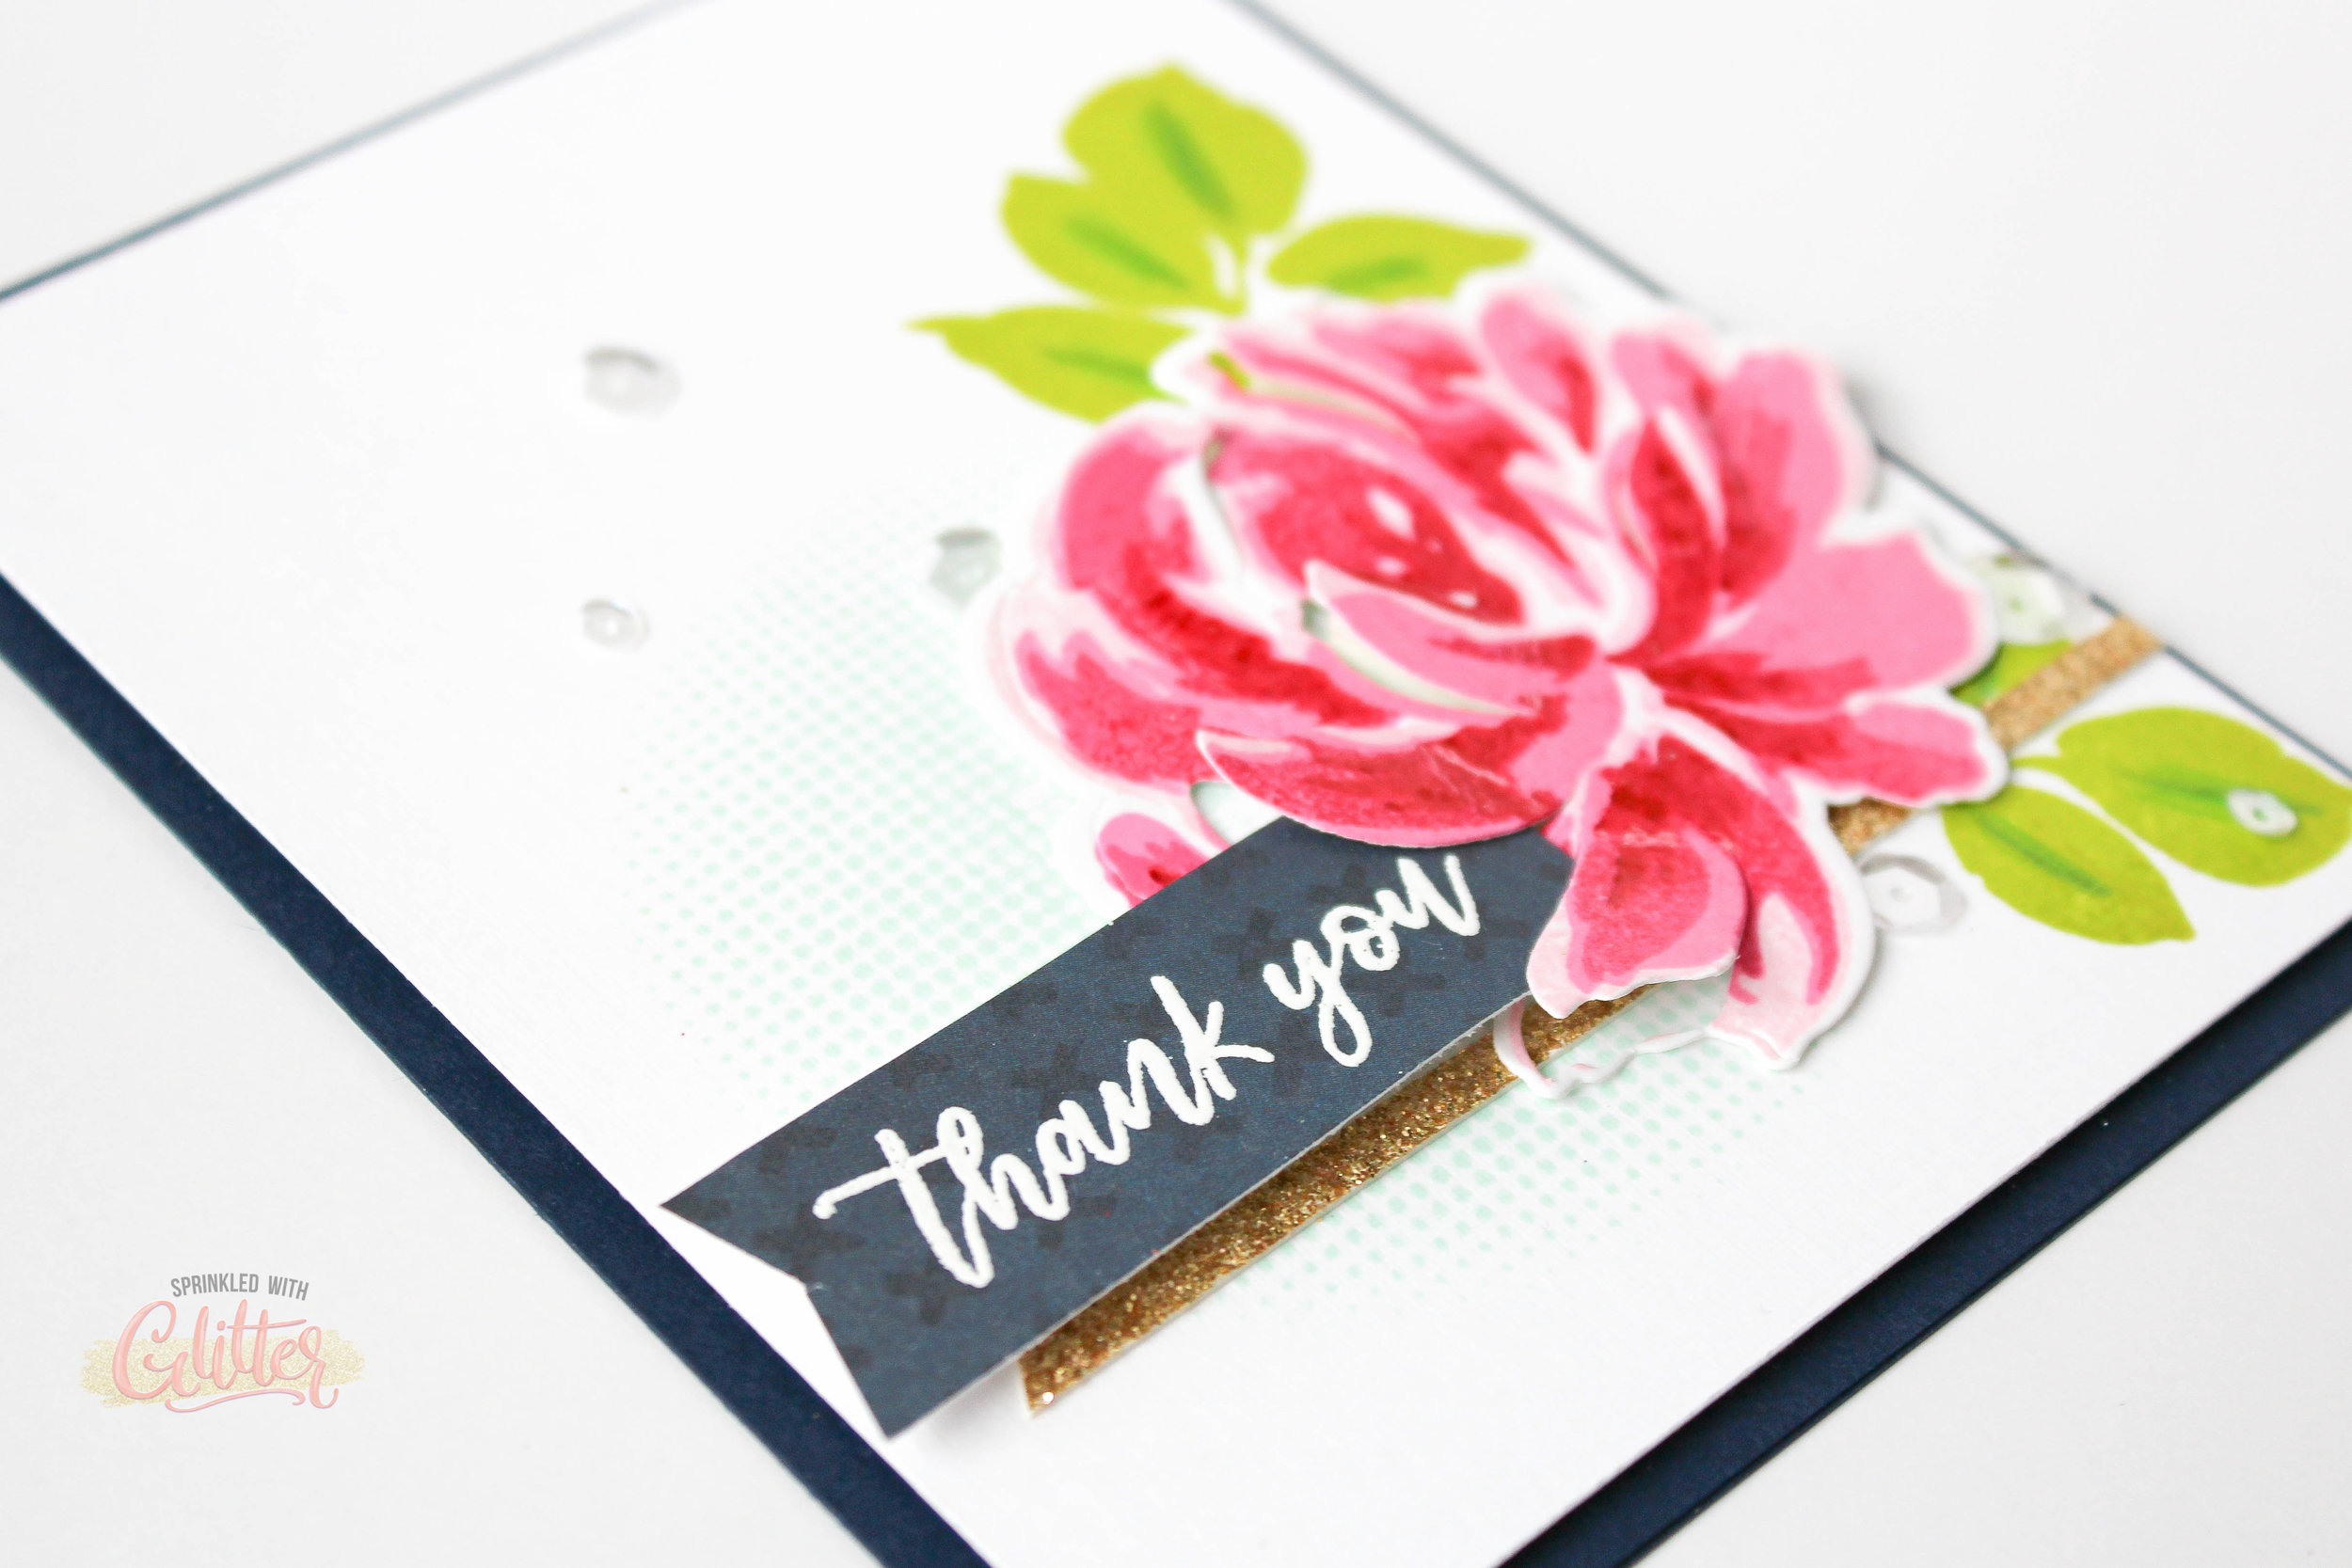
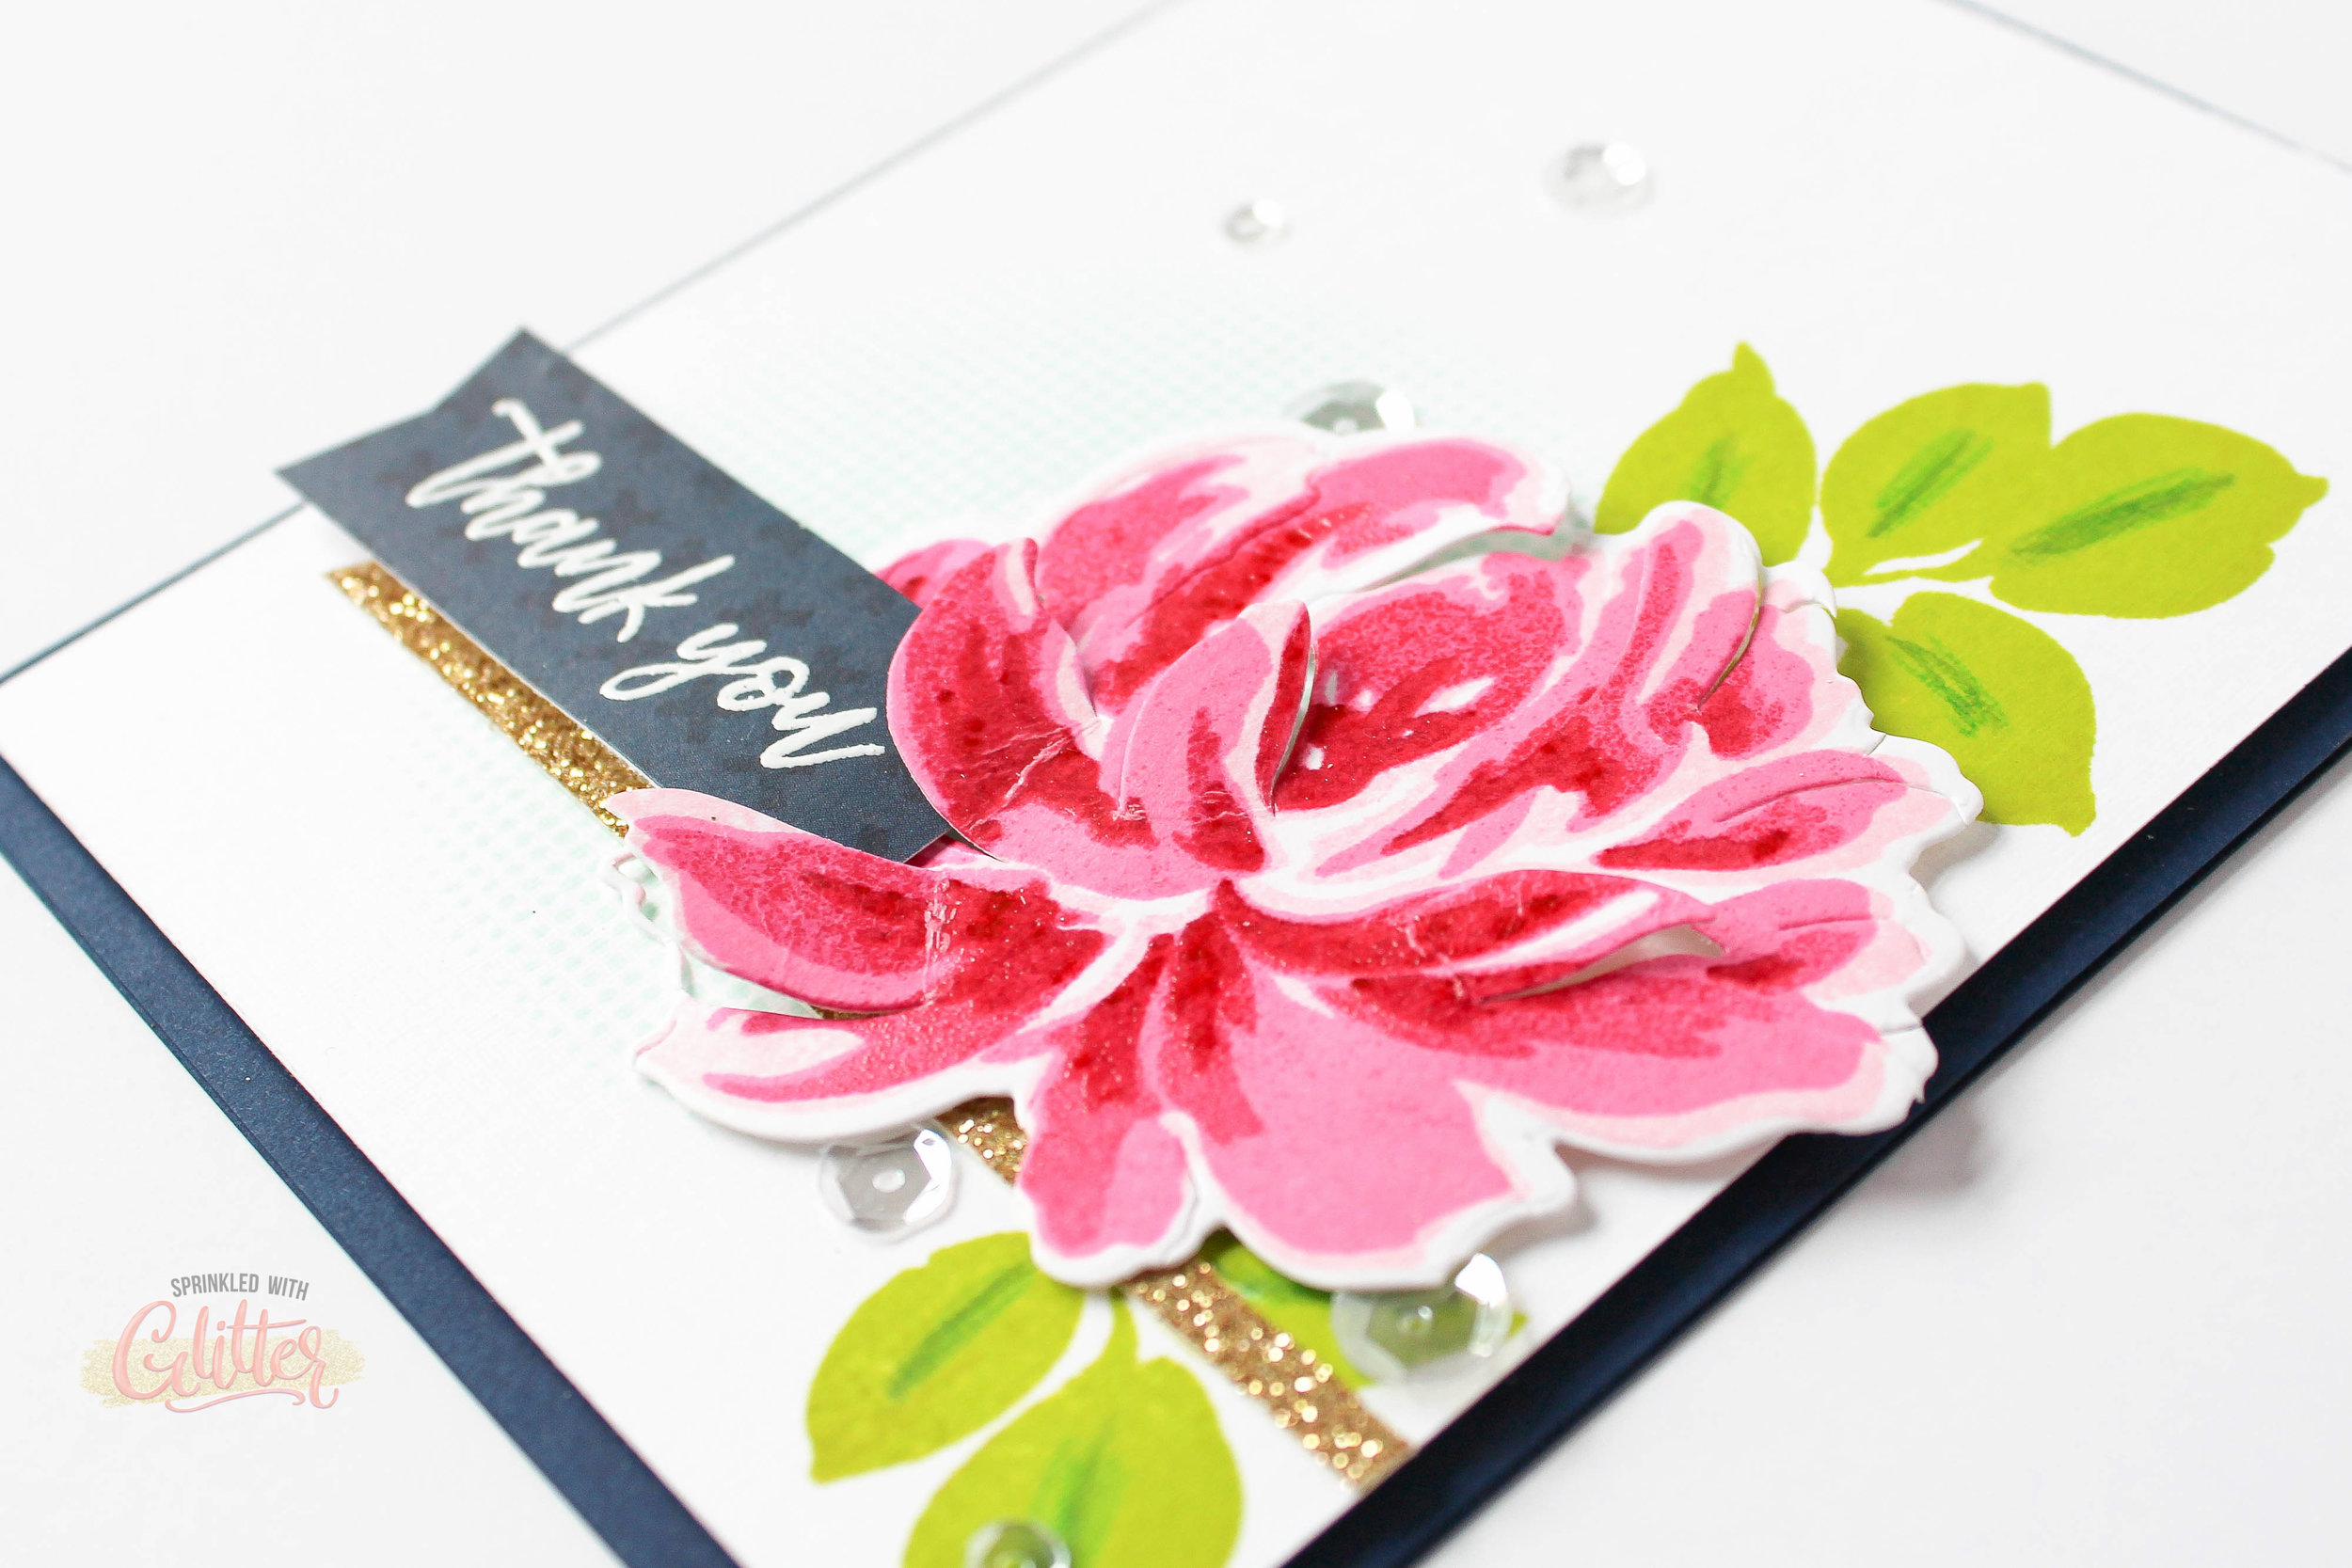
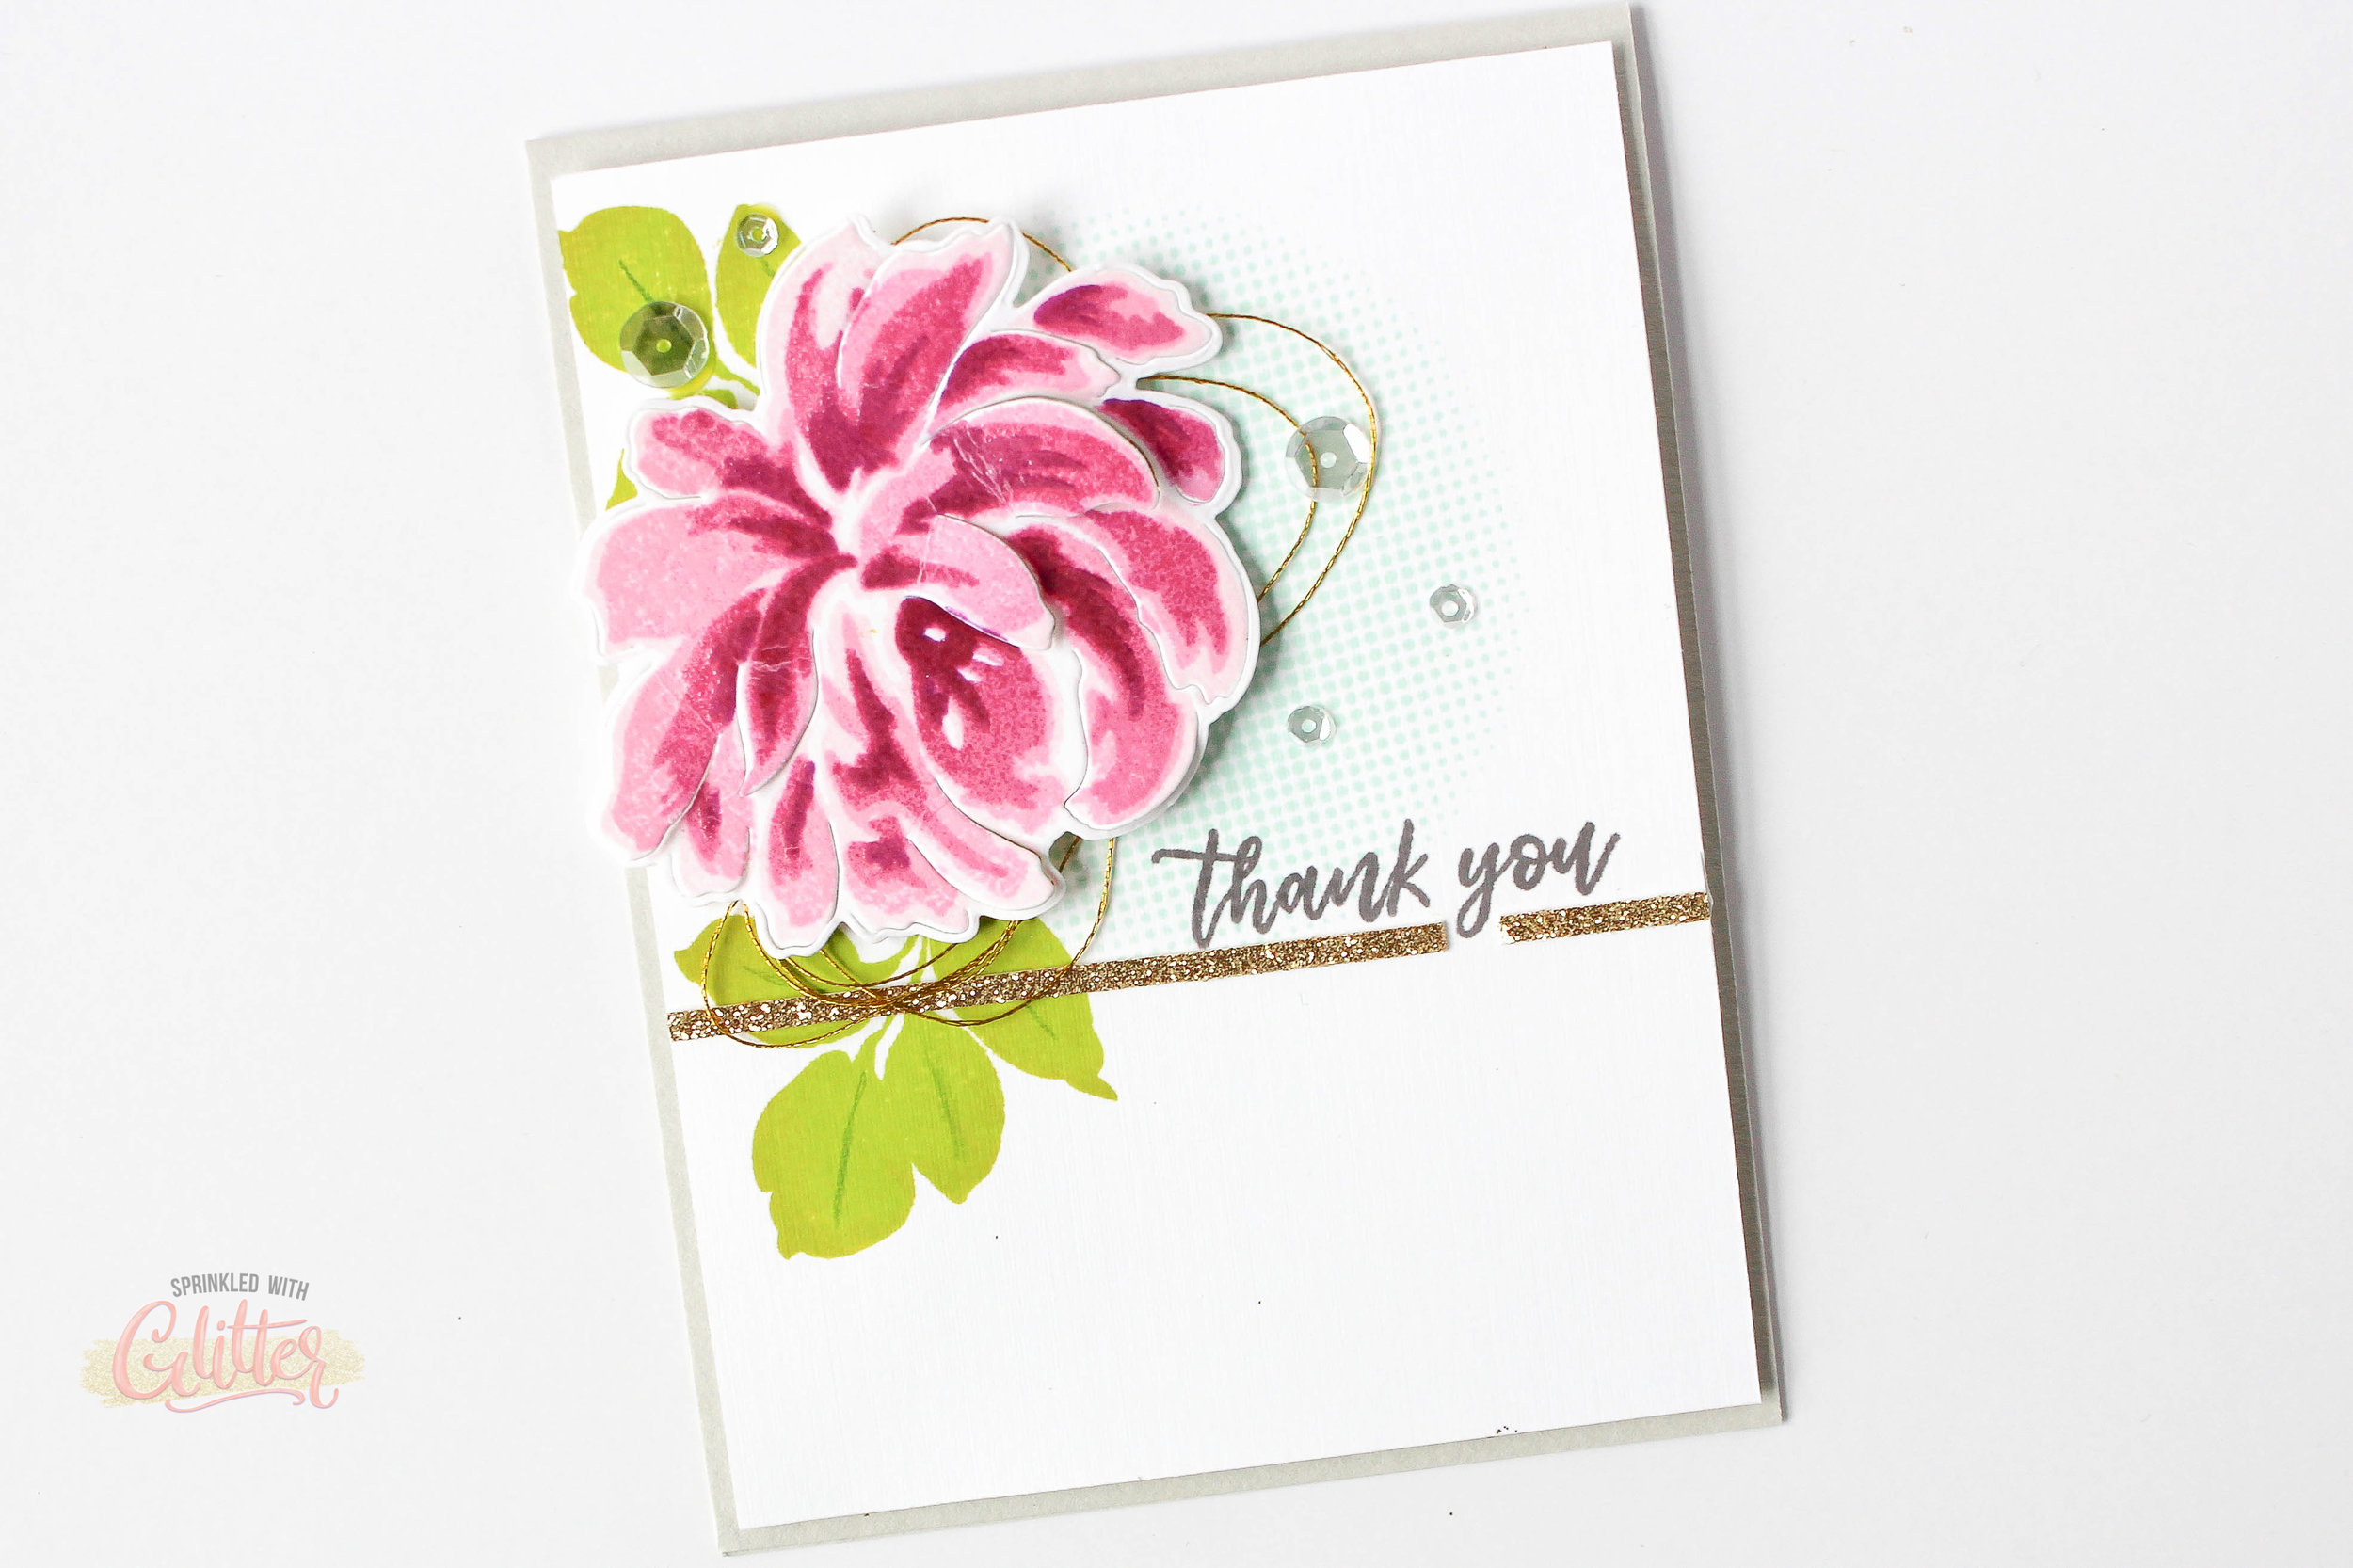
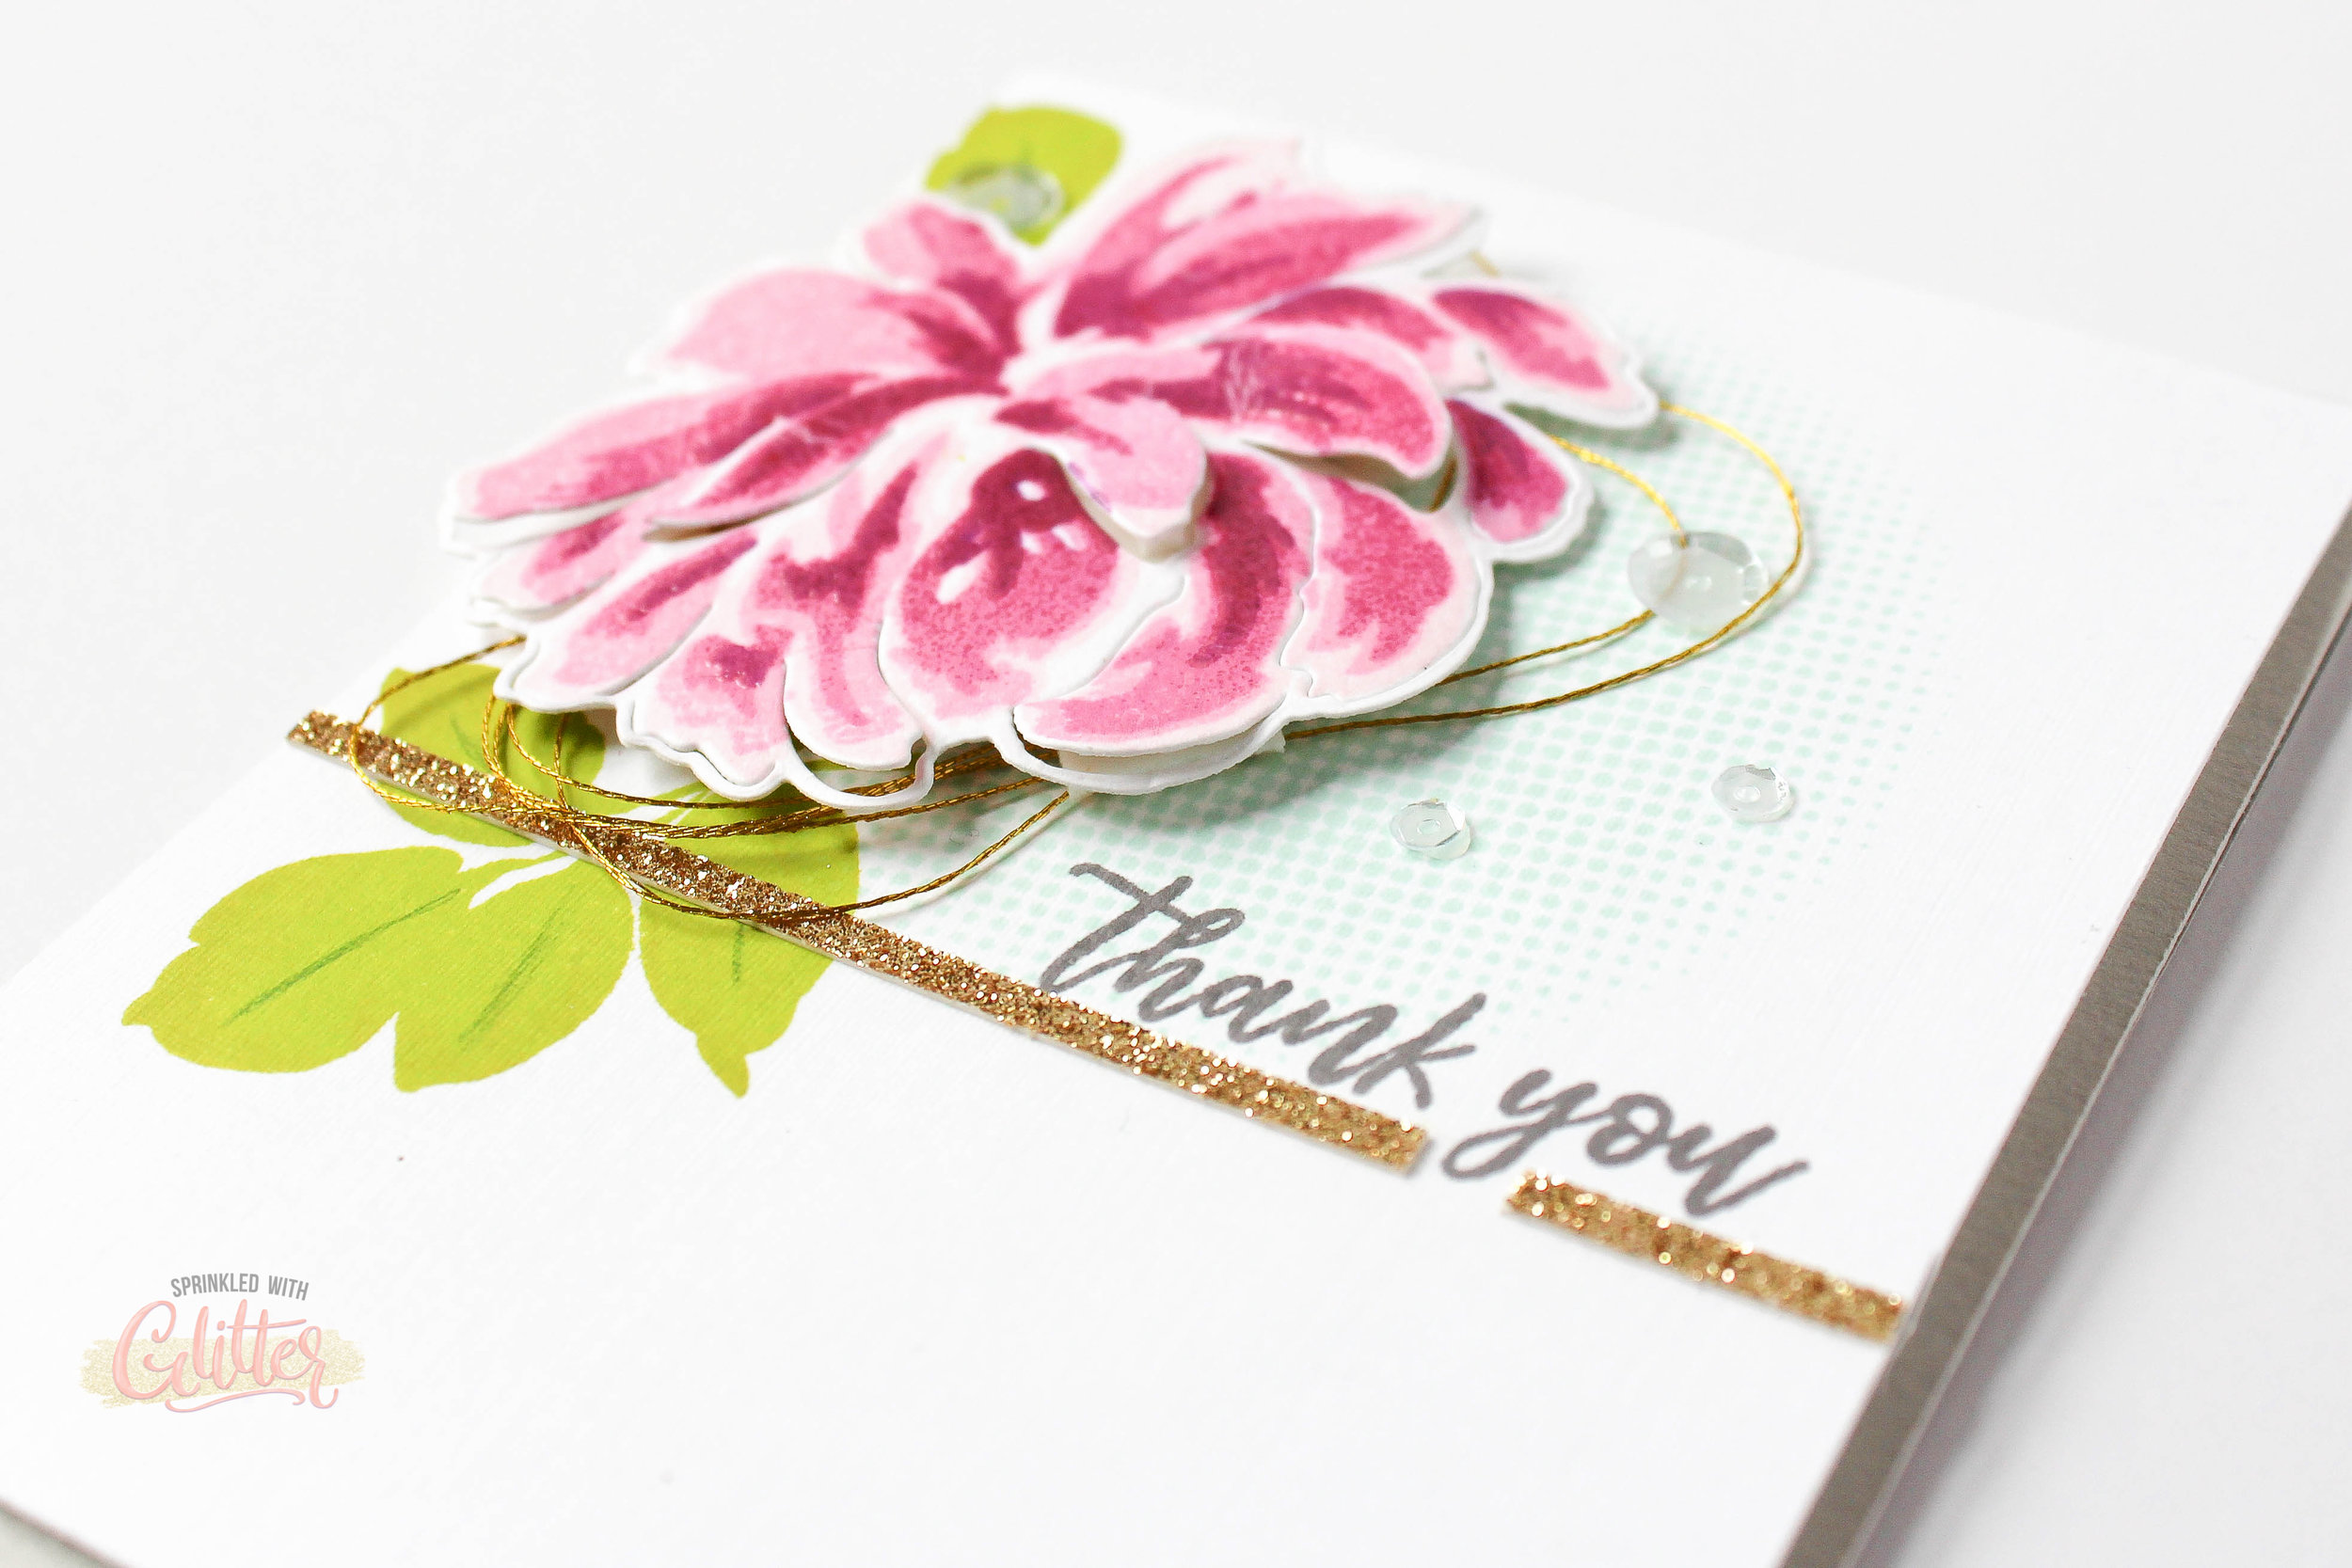
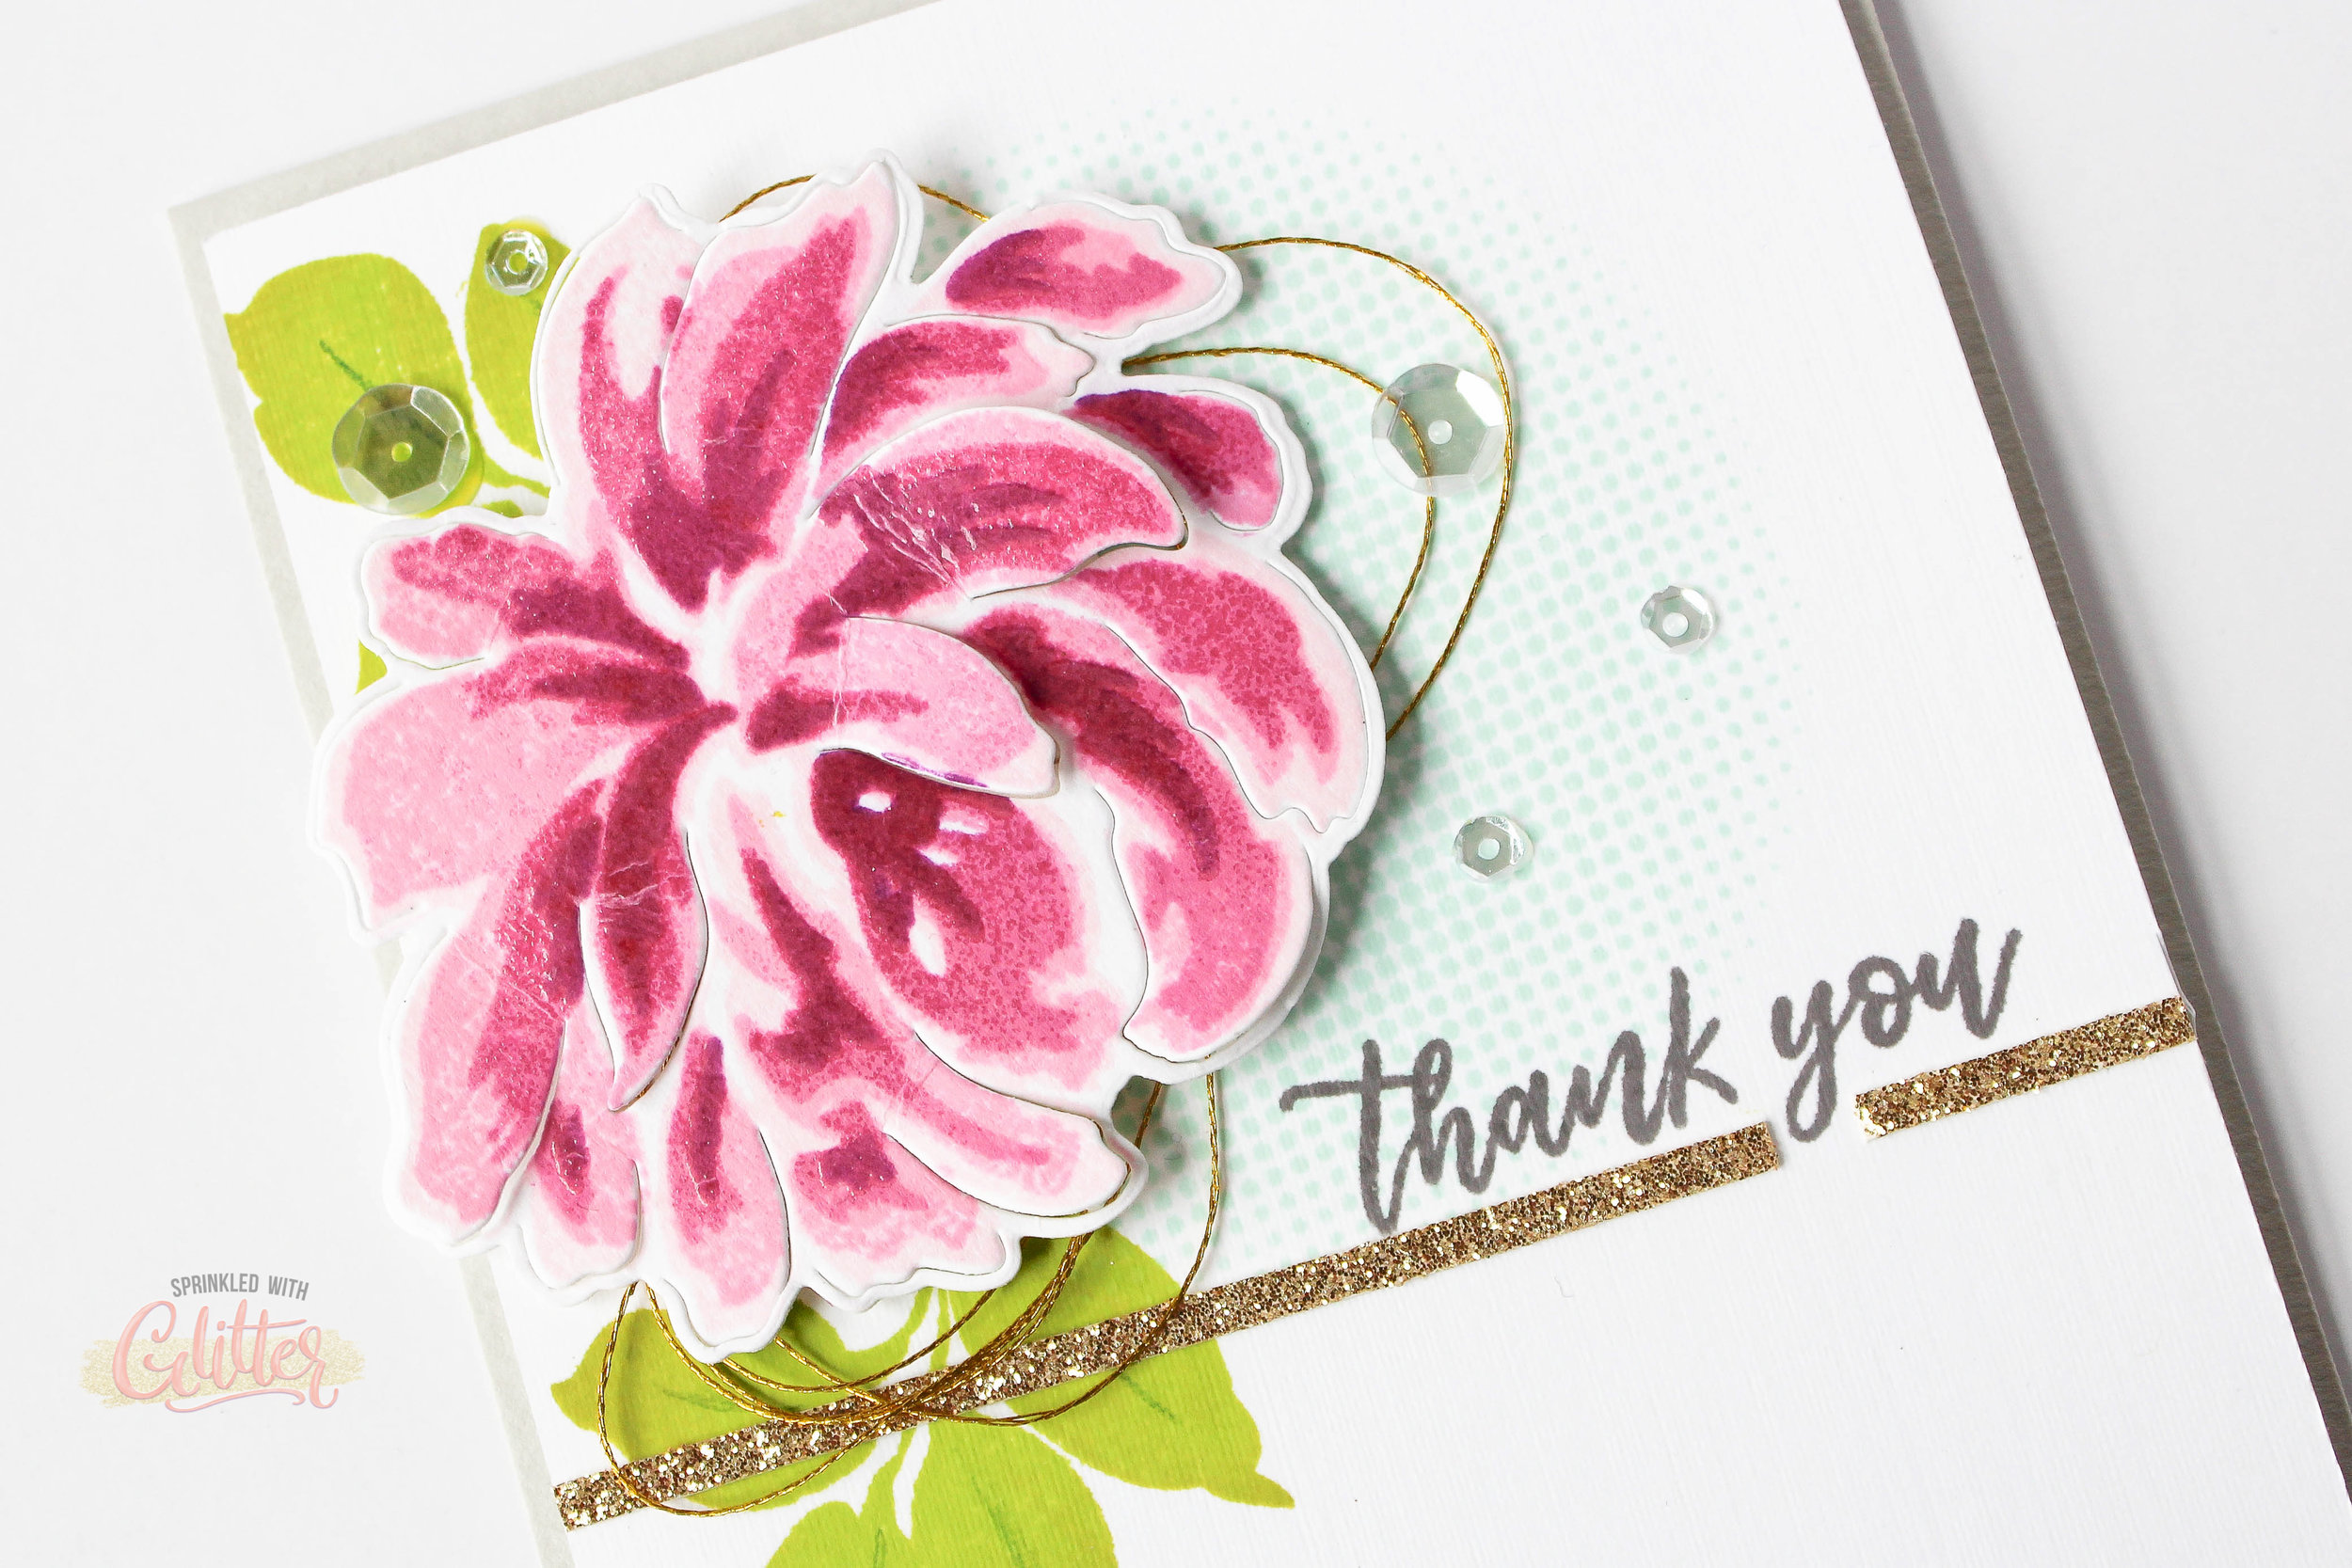
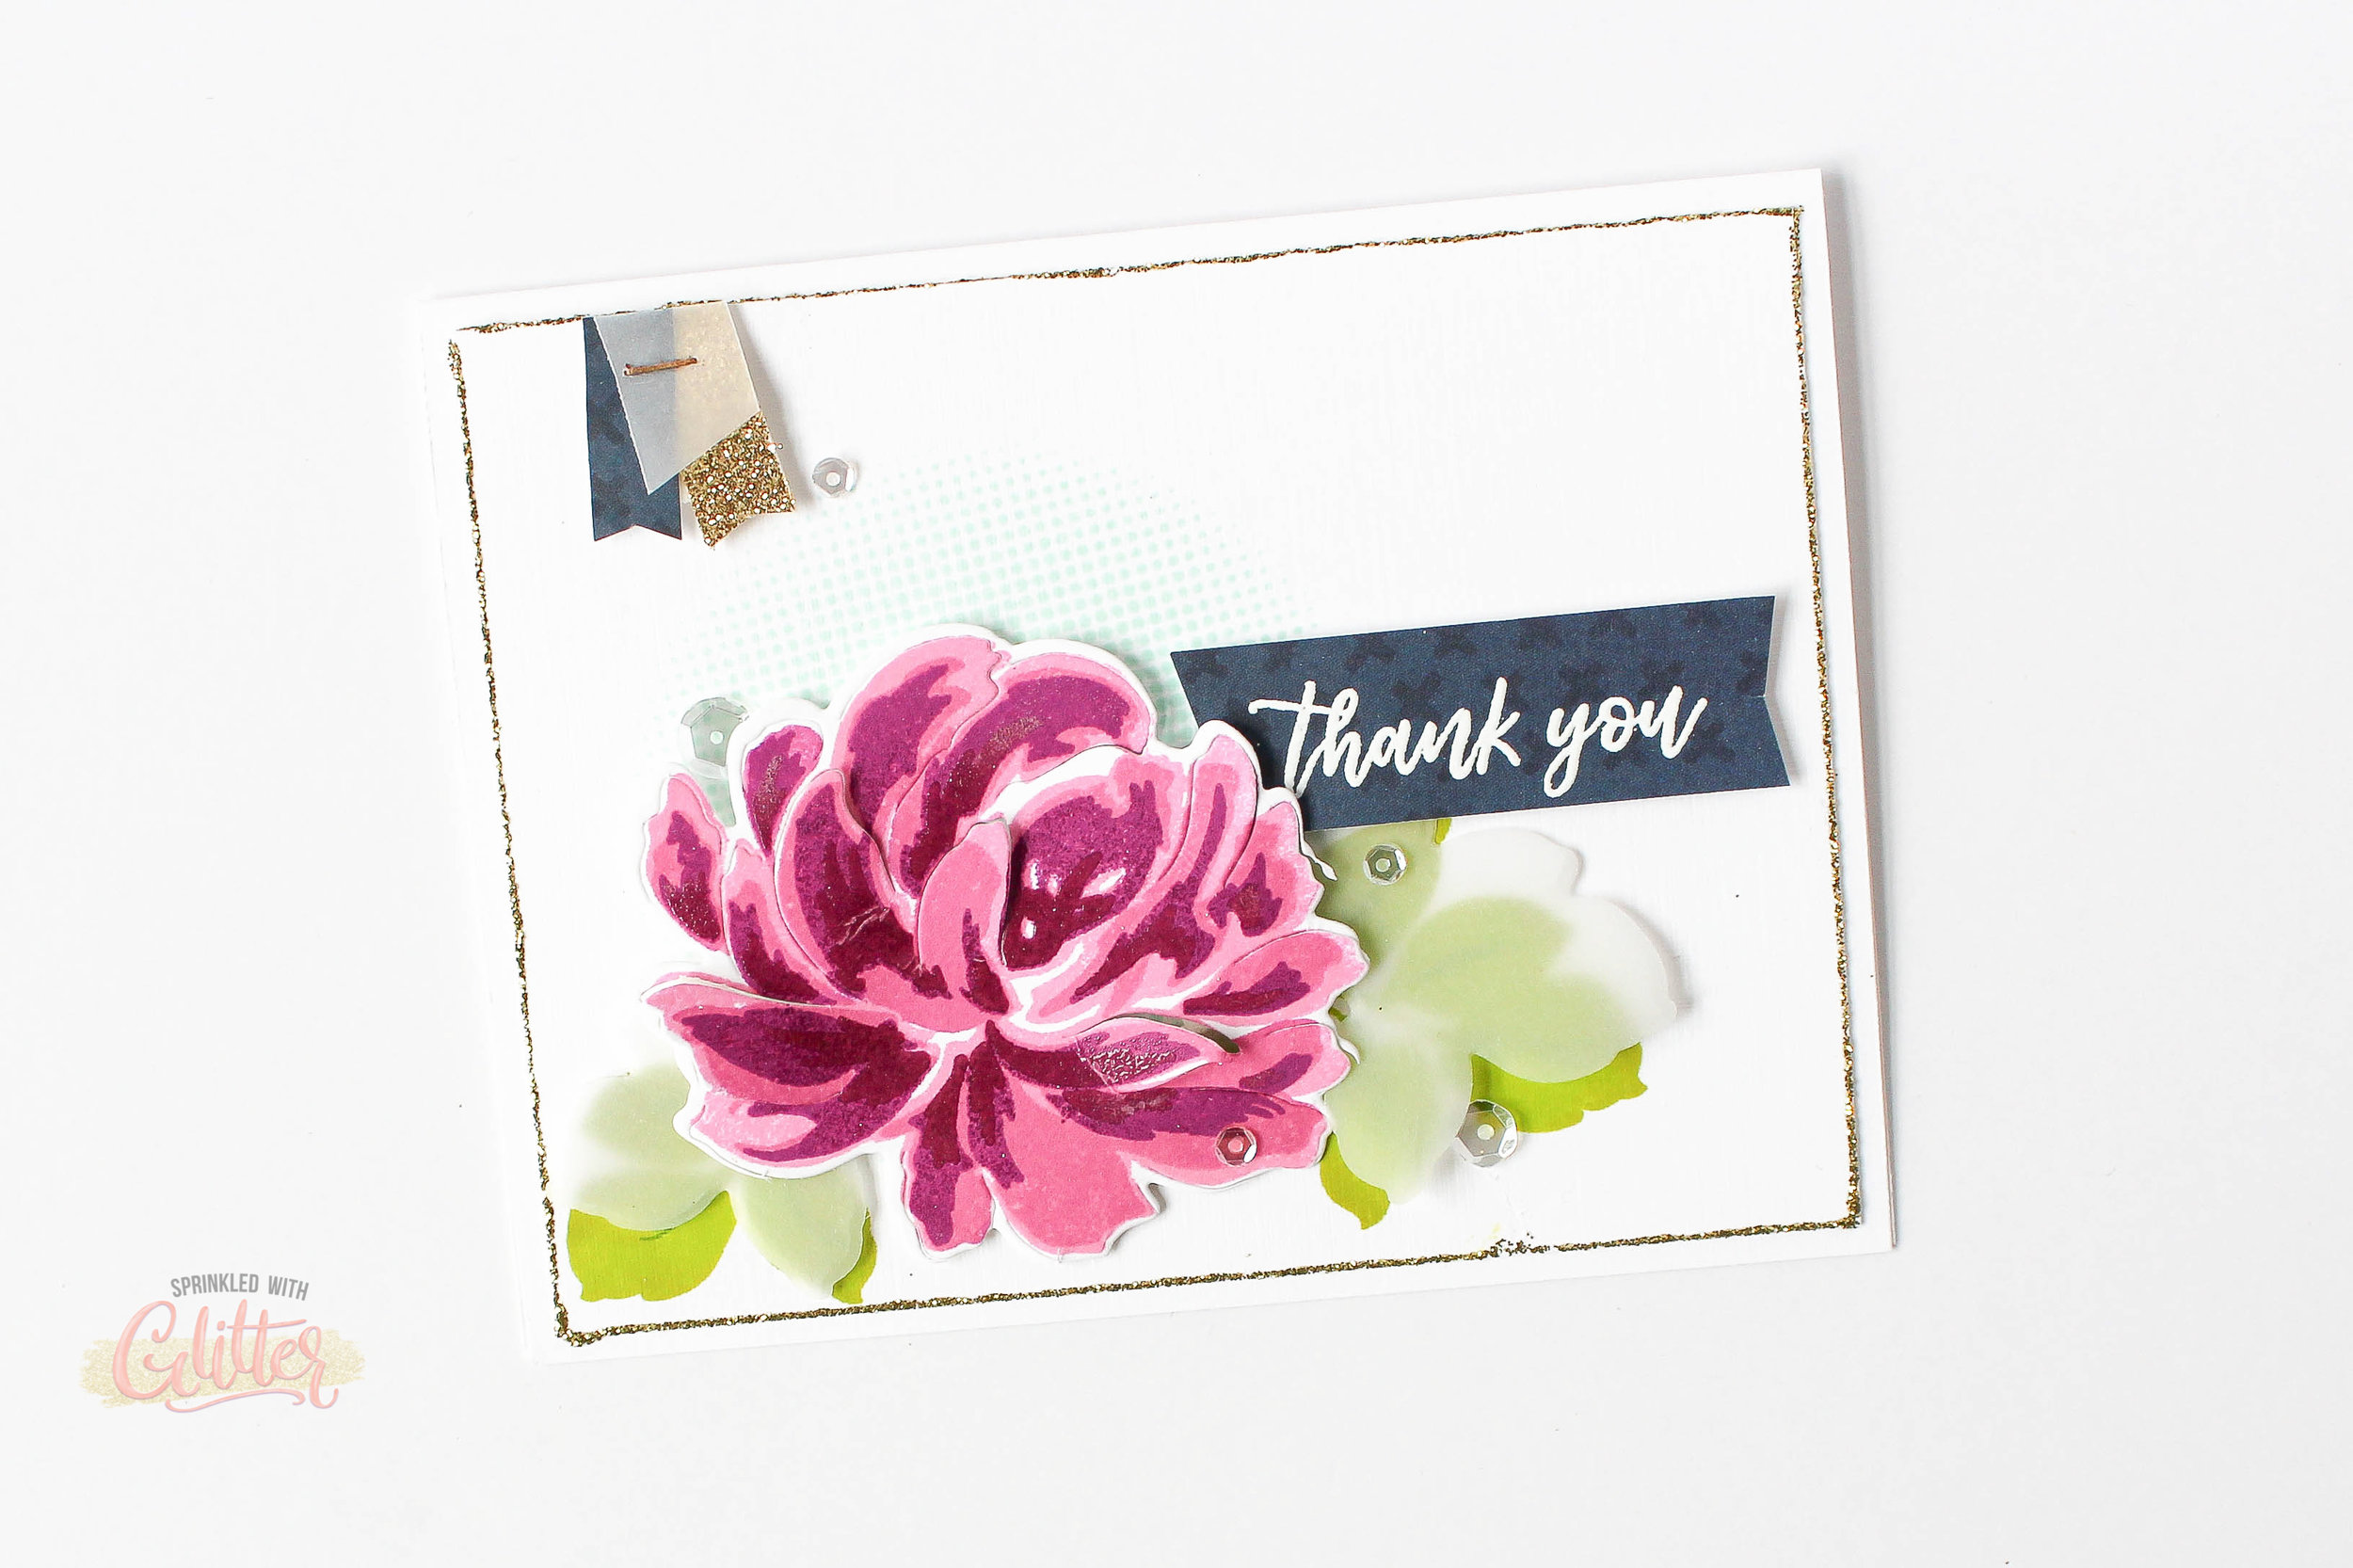
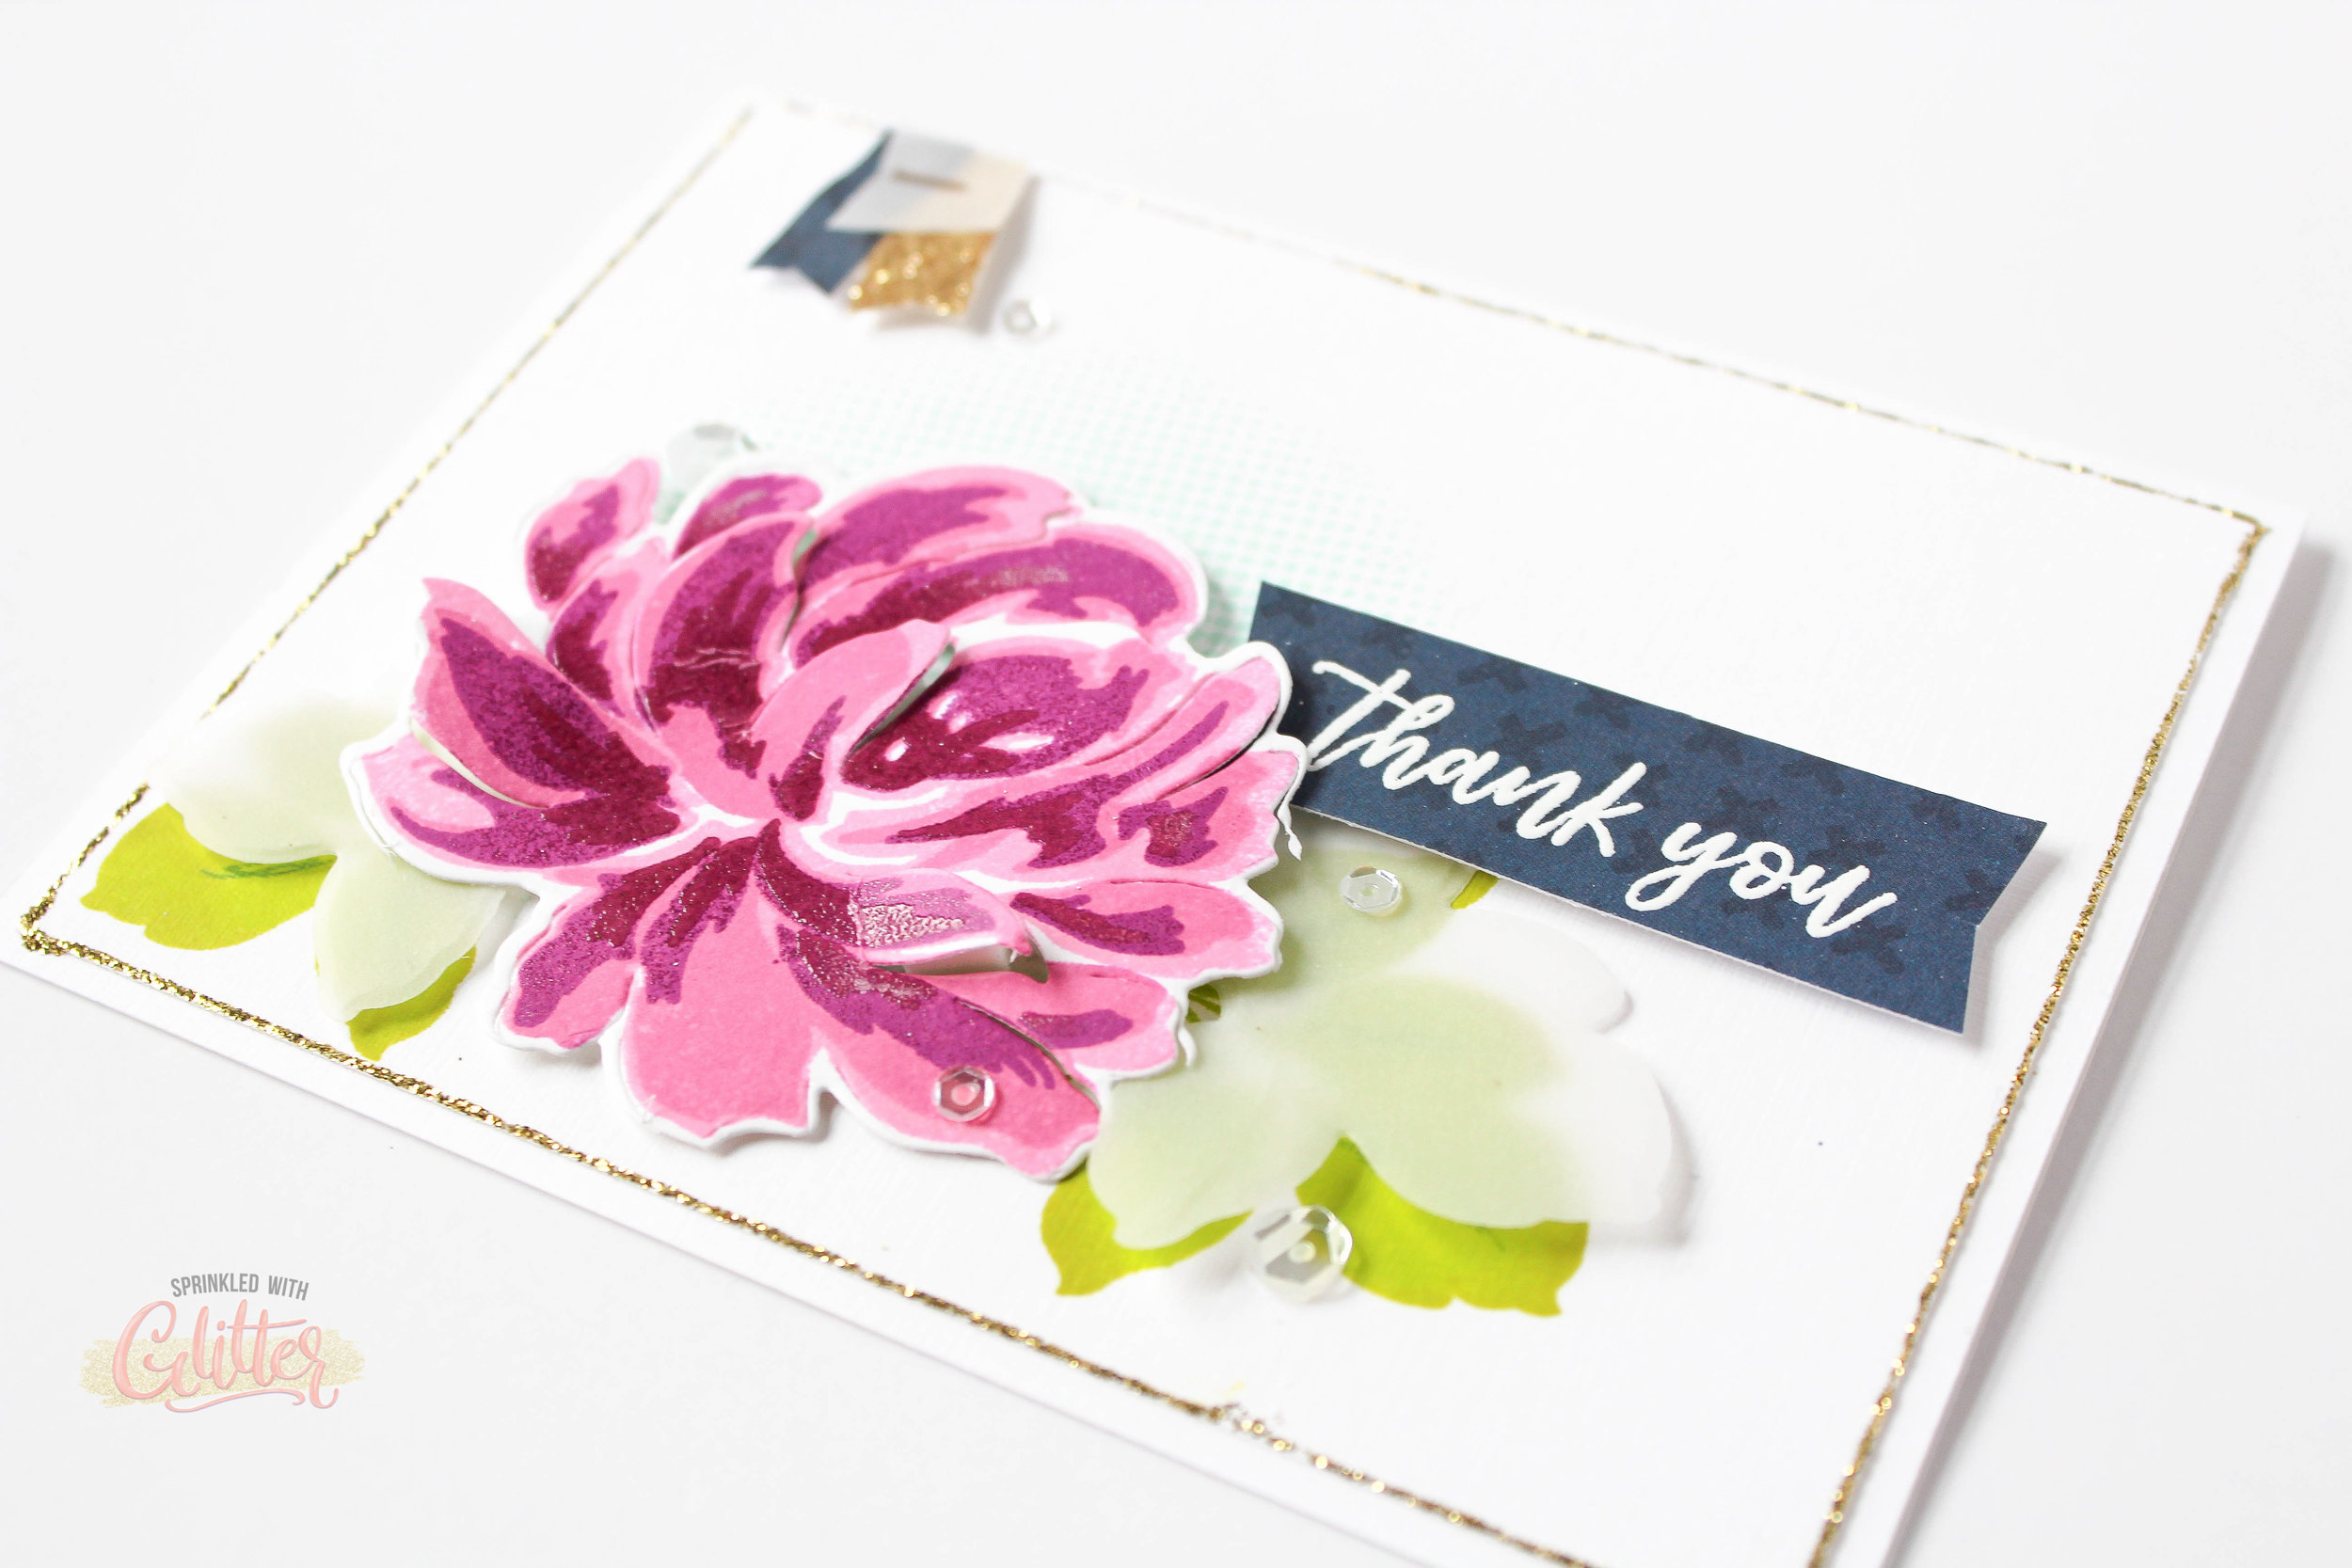
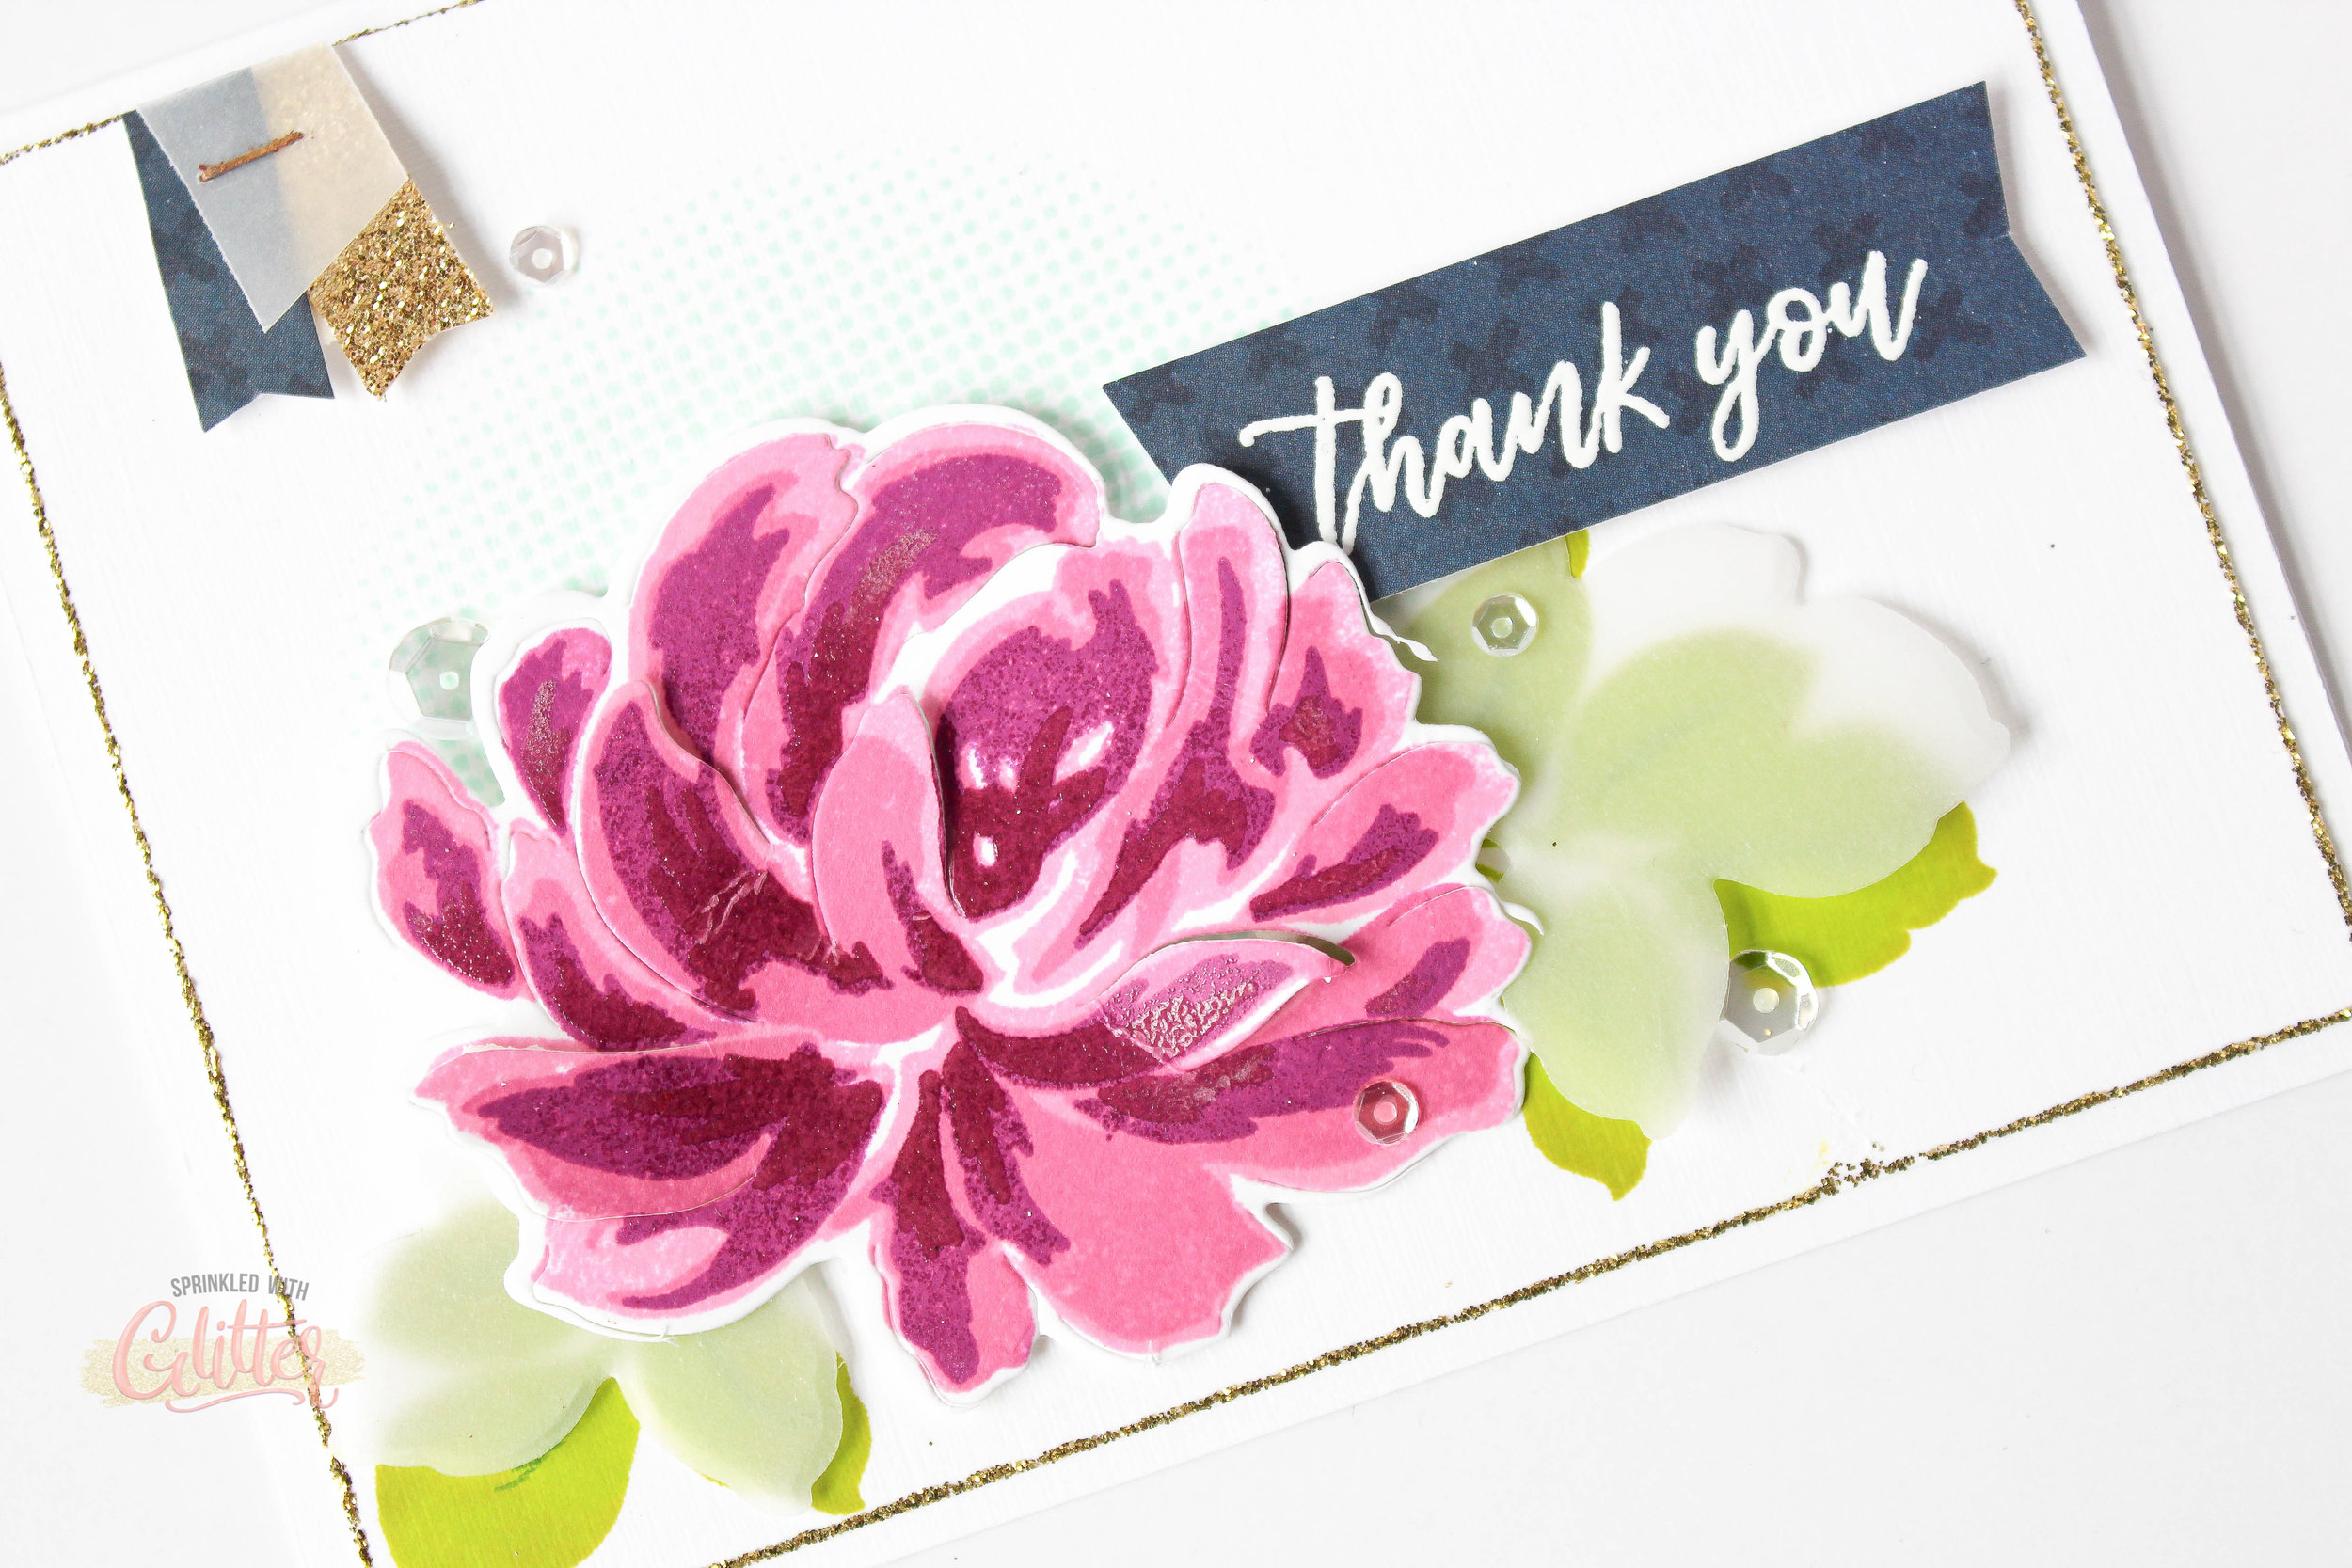
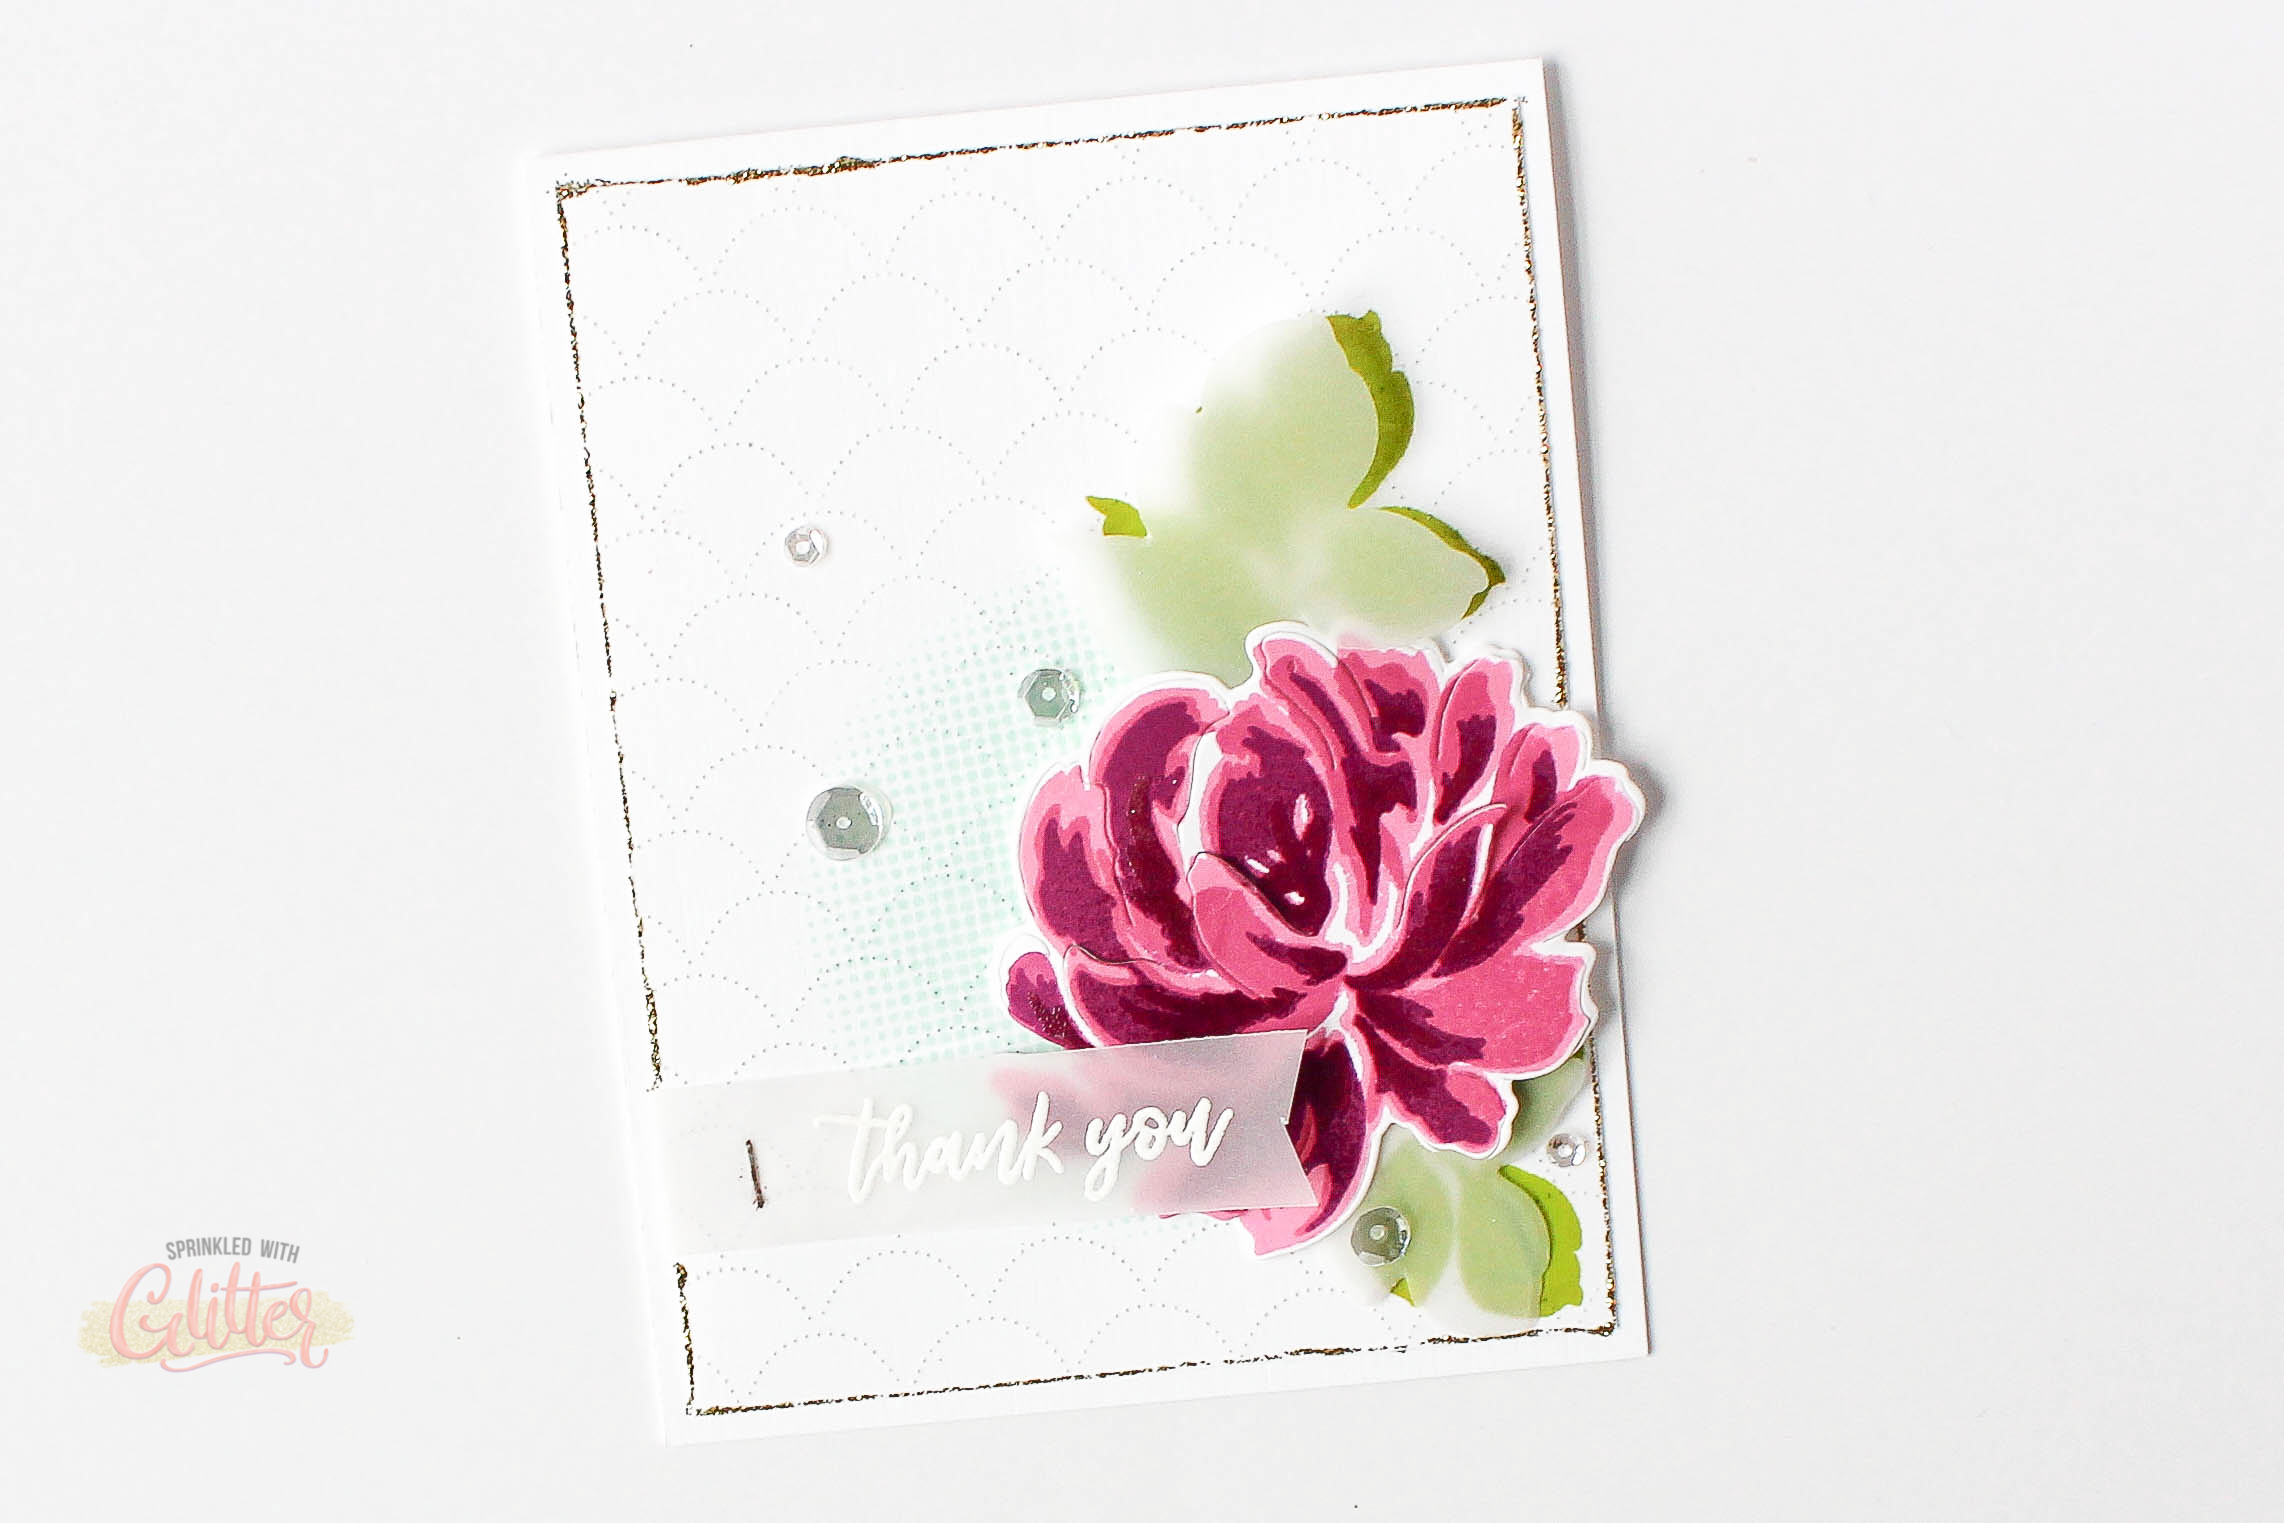
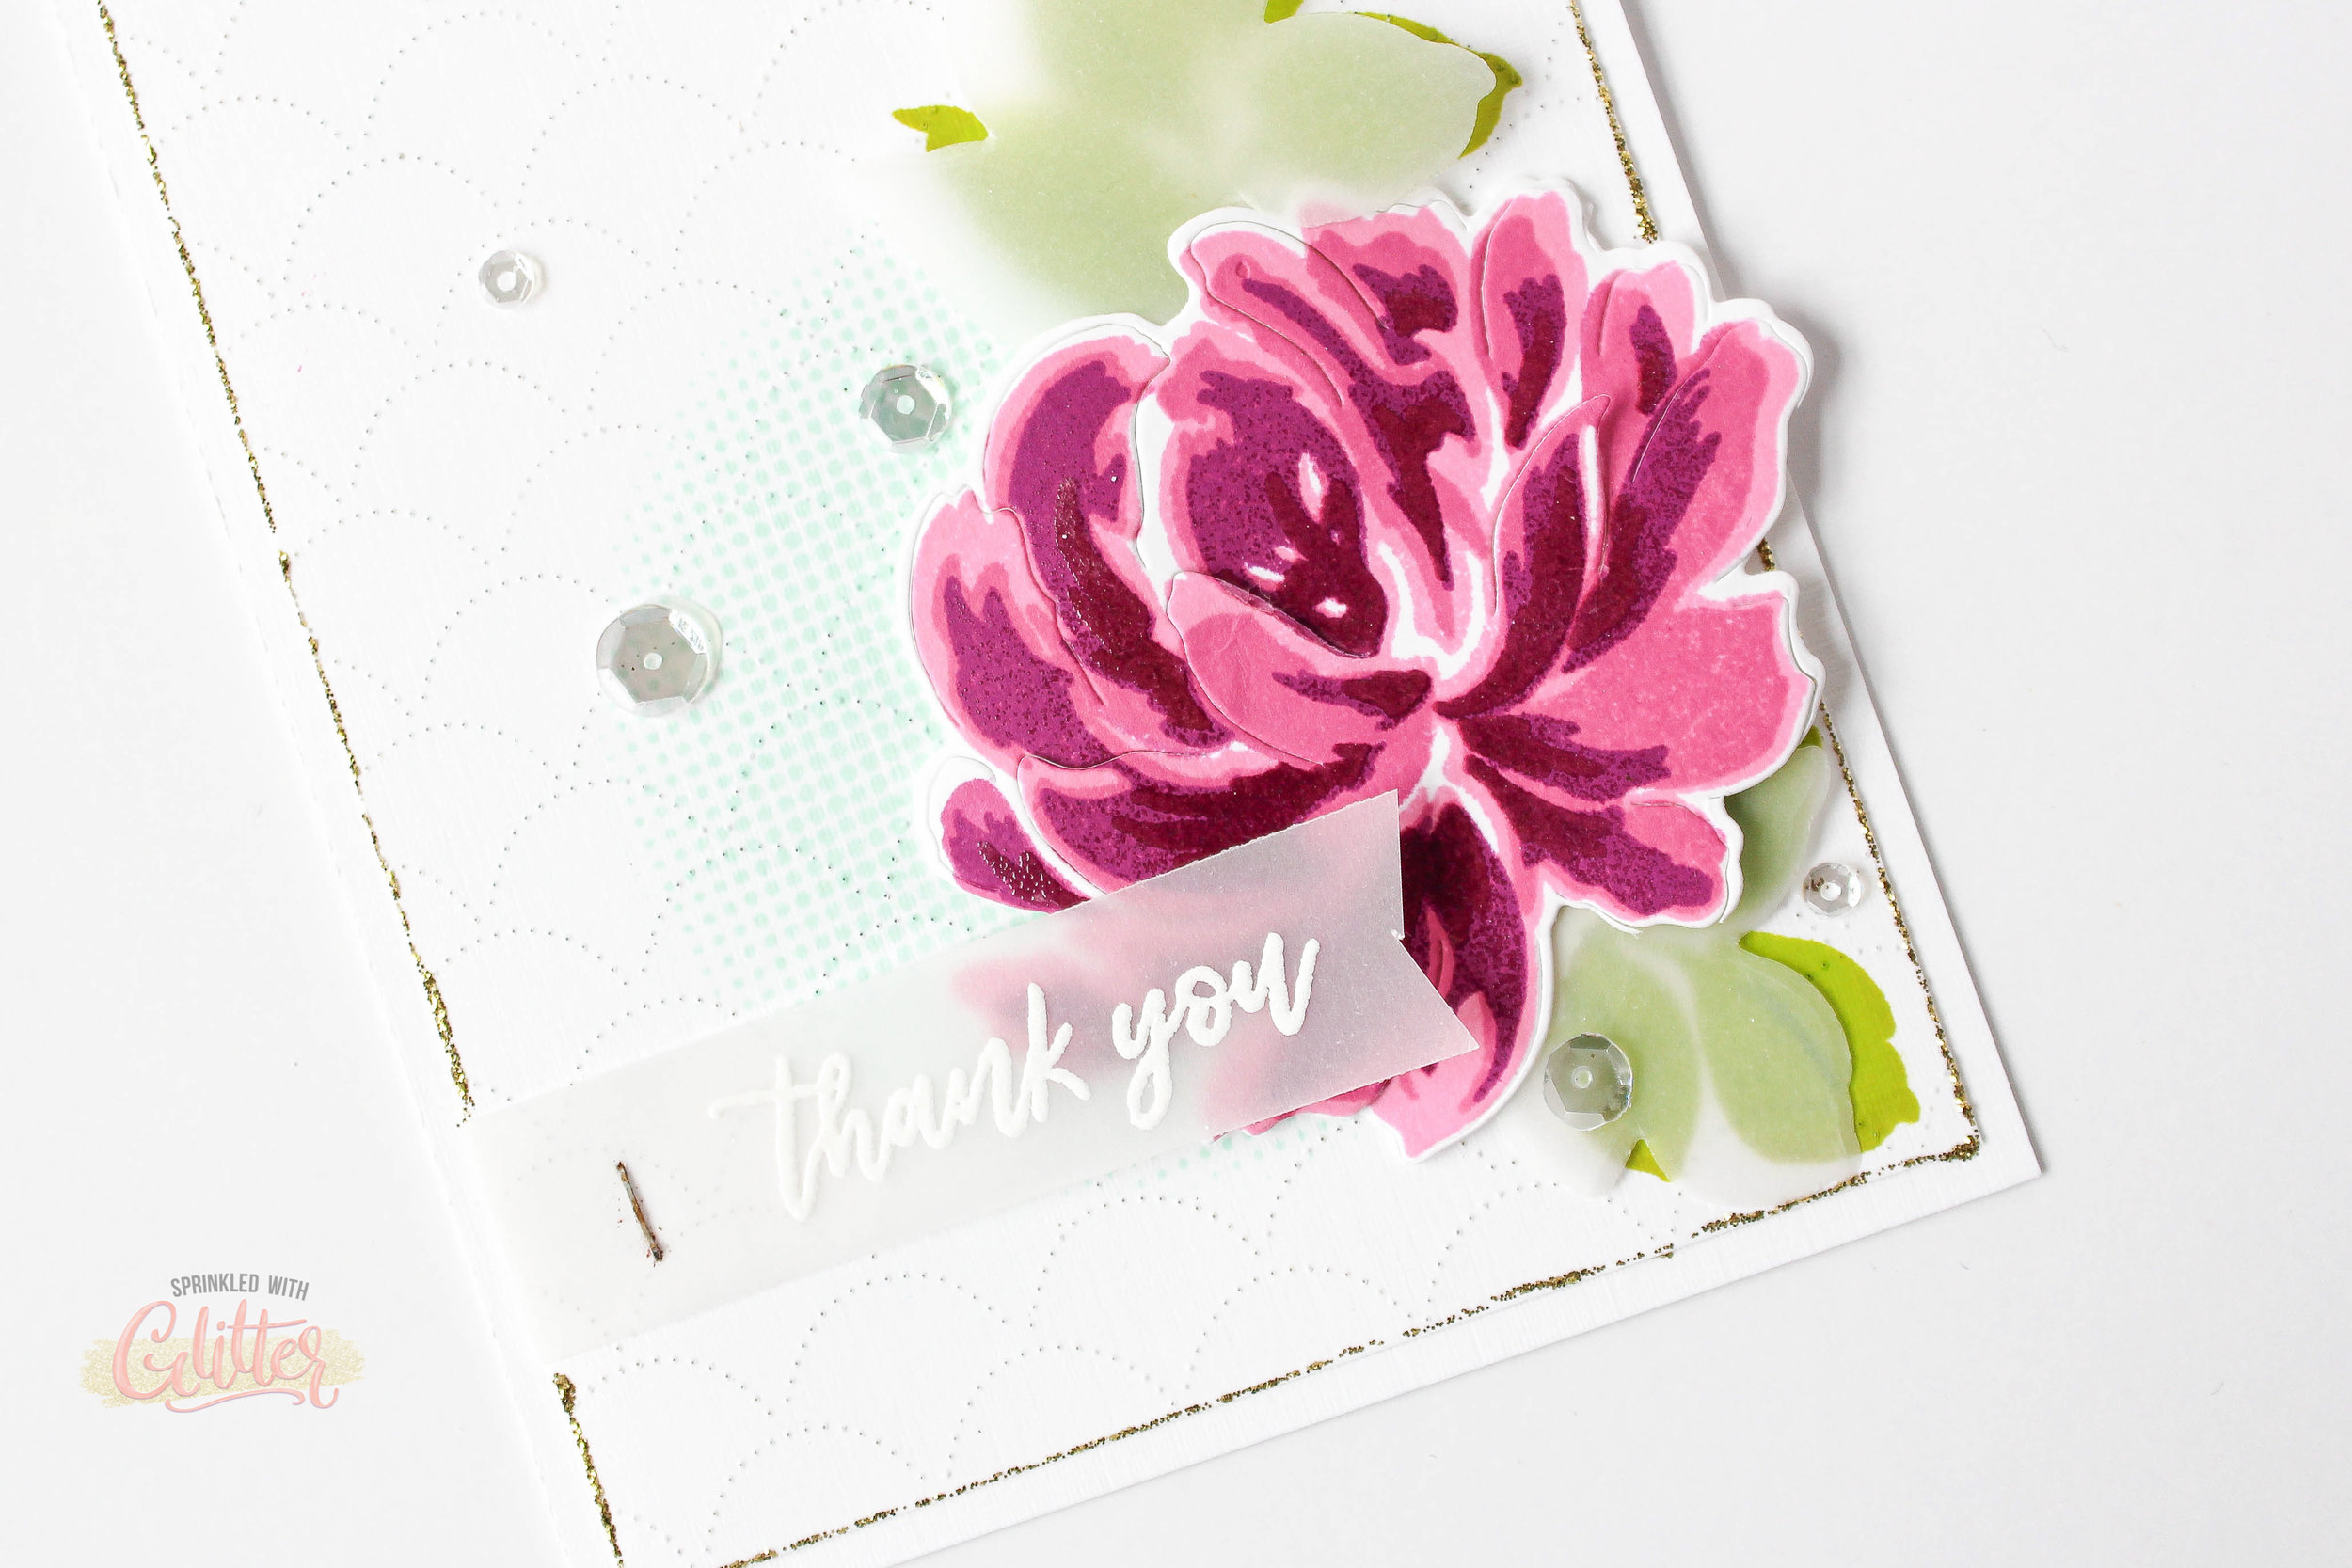
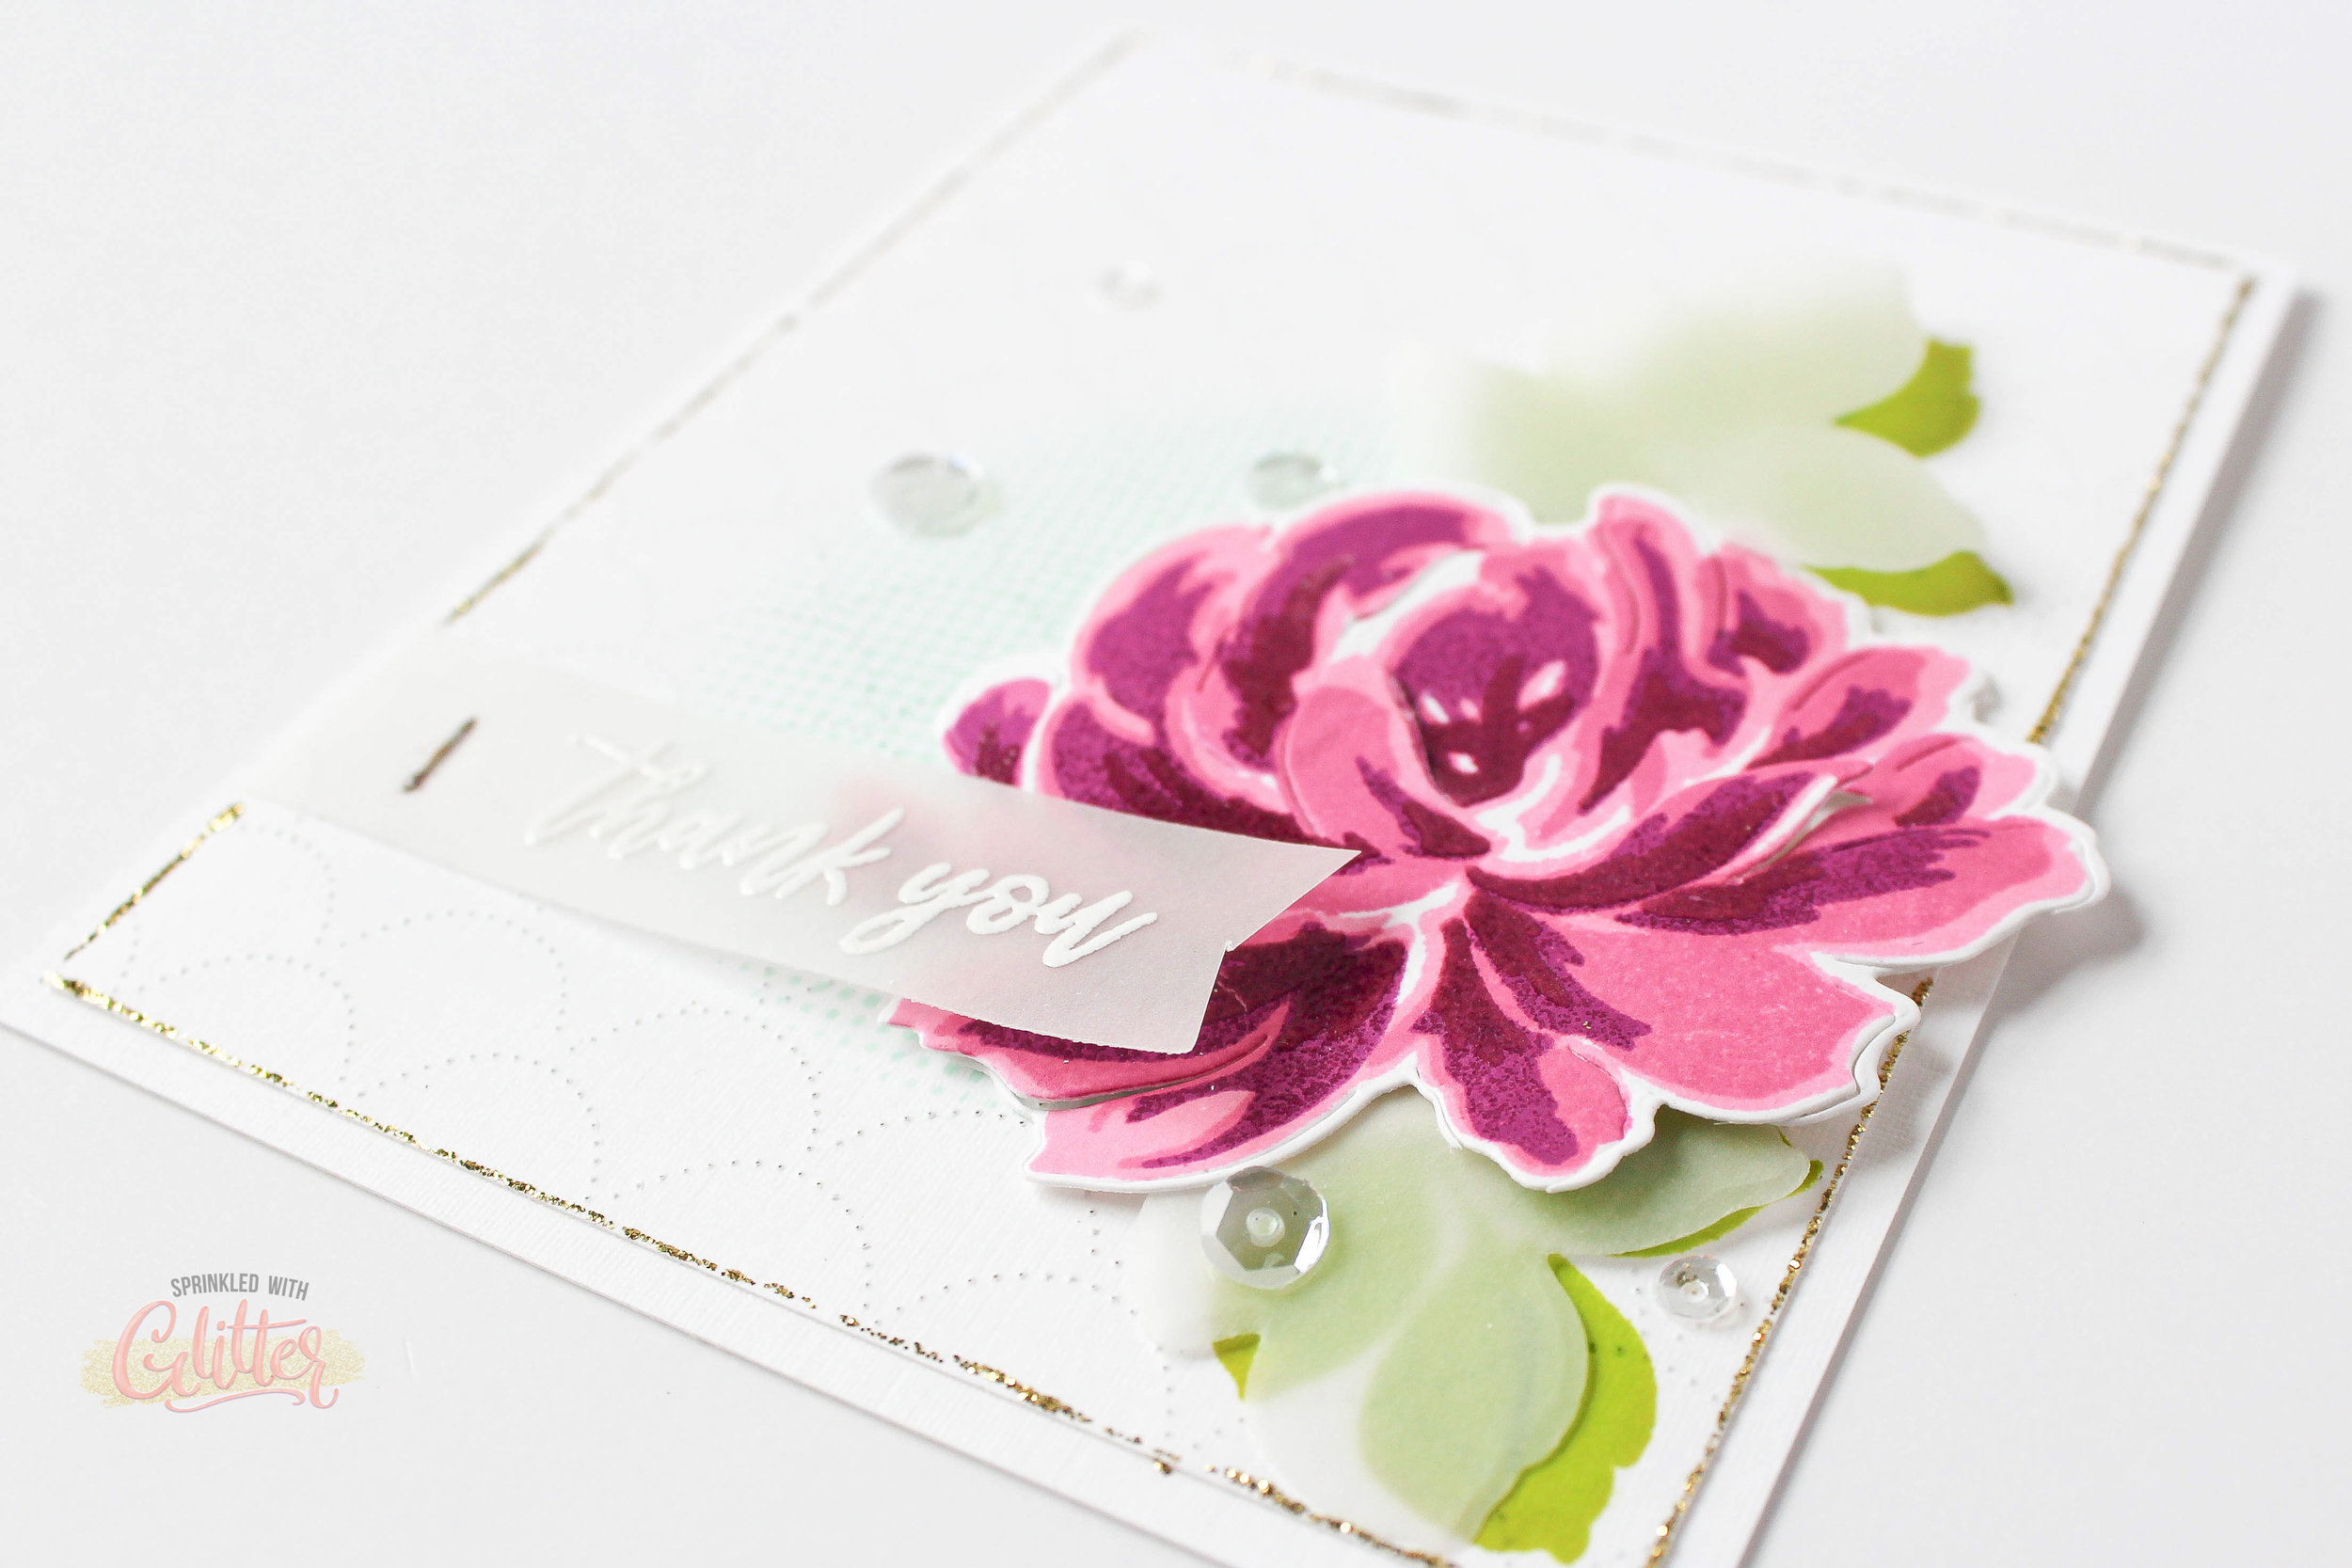
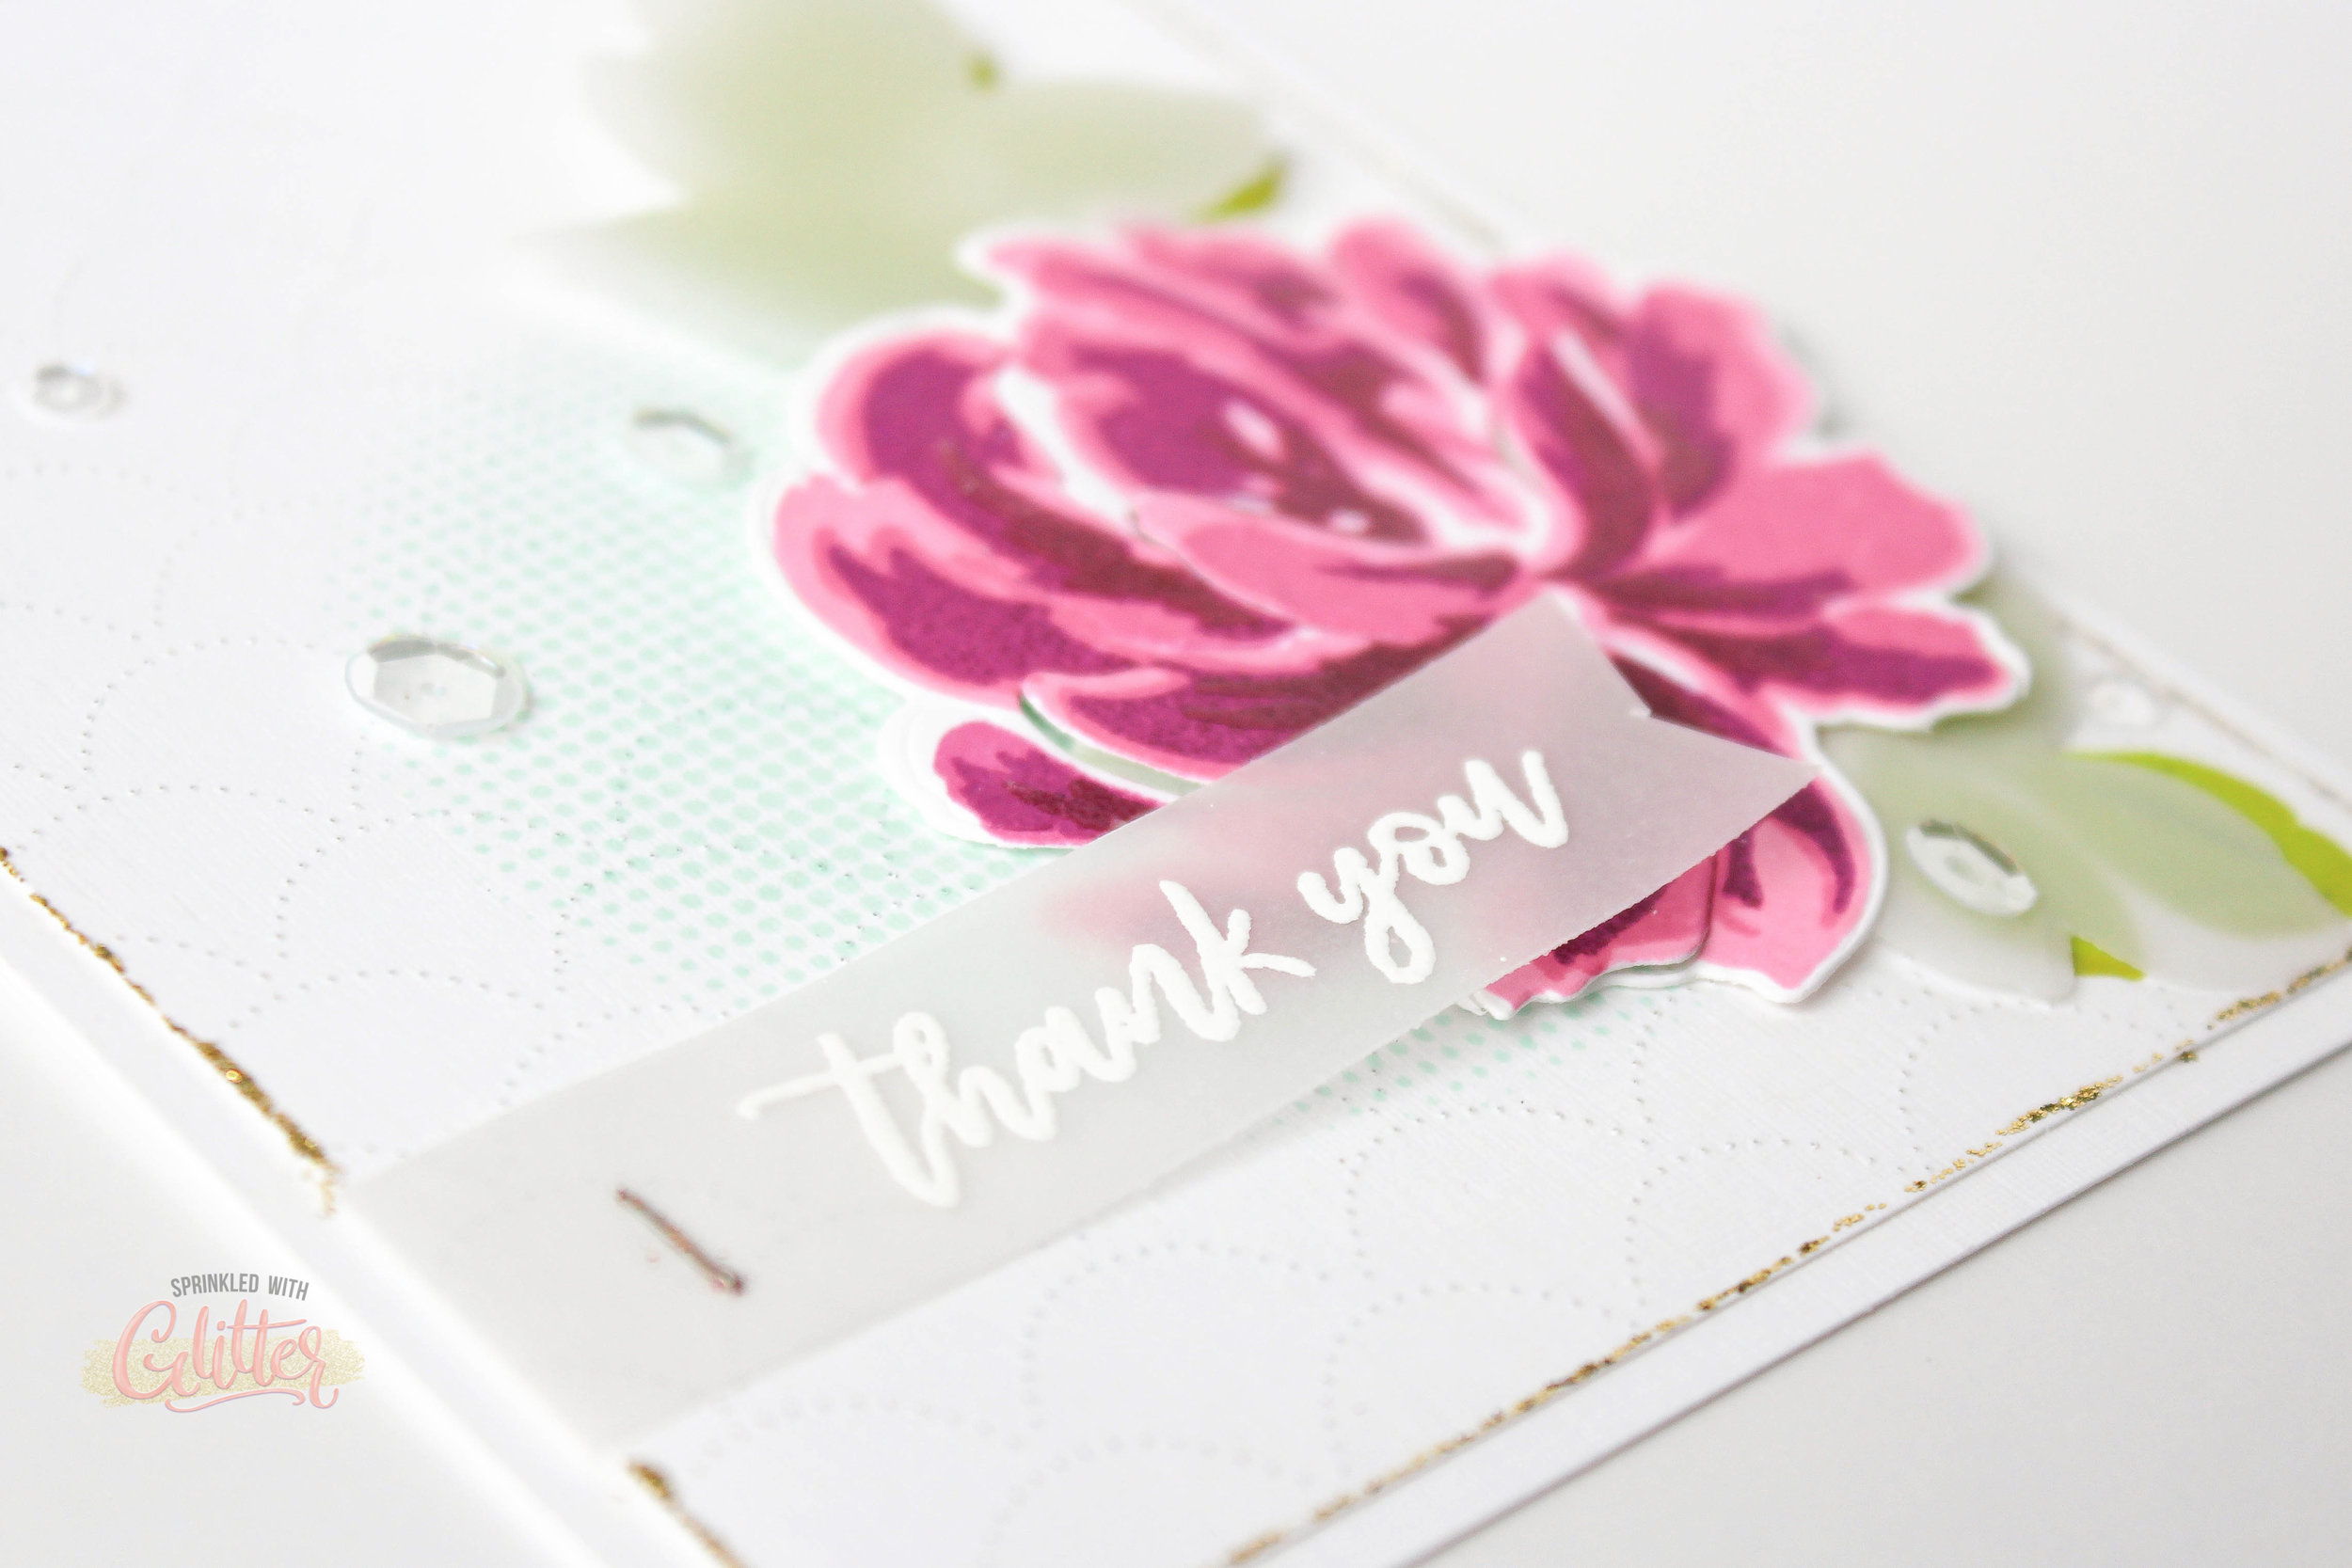
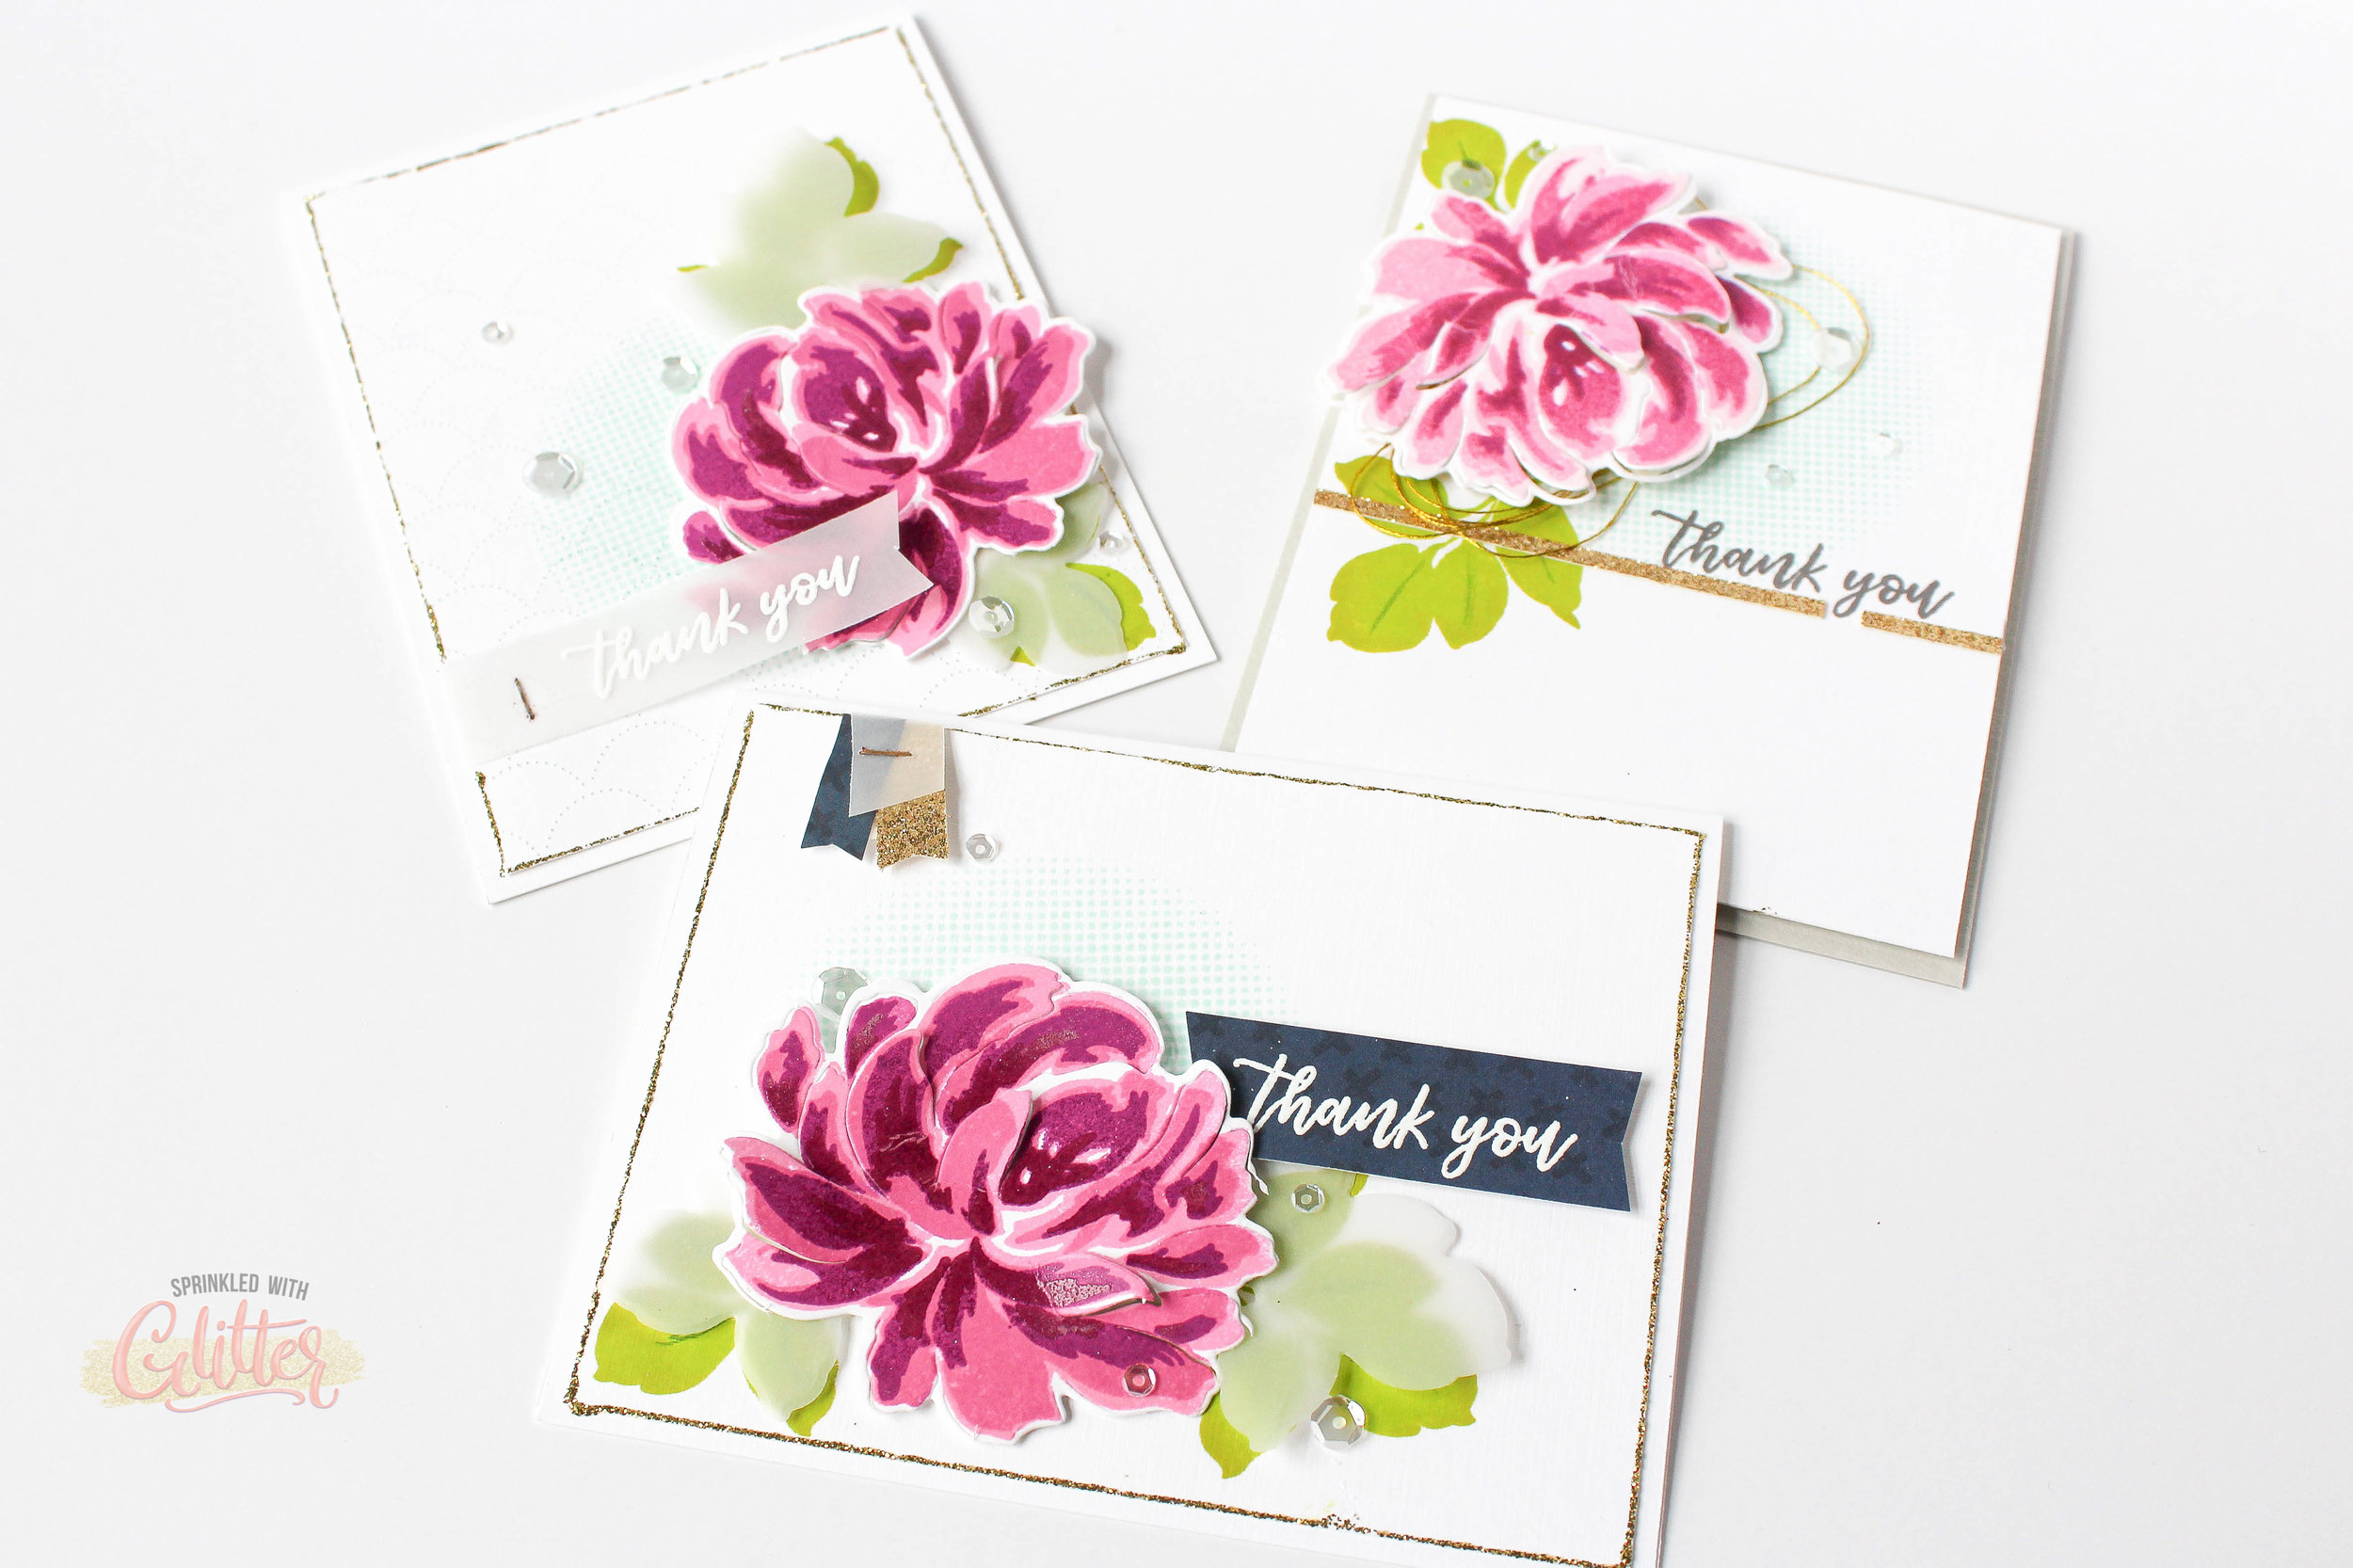
I love layering stamps like this Build-A-Flower Chrysanthemum stamp set from Altenew. Here's my favorite tips for getting the best results every time.
- Use a stamp positioning tool. I'm using the Mini Misti here today. If I could only choose one stamp positioning tool, I would choose the original Misti because I find it's the most versatile. Using a stamp positioning tool makes it easy for me to get accurate alignment.
- Get your head right down over that stamp. You'll get the best view of where the stamp will land and will get better results if you look straight down through the stamp to check alignment
- Use landmarks. I like to find specific points on the stamp that I know are supposed to align and make sure those points around the stamp are aligned with the previous layer. It can be a particular petal or detail that really helps me find just the right spot.
- Create multiples. You already have all that stuff out, might as well create a bunch. Then you'll have some on hand for future projects as well. And if you're using a stamp positioner, this is even easier!
- Use coordinated inks. Ink sets like the ones I'm using from Altenew today are created to work together, with a light, medium, dark and darker ink color. This takes the guess workout of choosing inks that will work well together. If you don't have four different colors, choose a couple that you know work well together and stamp each one of those twice on the second and fourth layers to build a darker color.
BLOG HOP DETAILS
This post is a part of a blog hop celebrating Altenew's 4th Anniversary! Happy anniversary Altenew! If you've come to me from Lydia Evans' blog, thanks for hopping on over! I'm so glad you're here! There are so many fabulous creators on this hop. I hope you'll continue on for more inspiration. Your next stop is TaeEun Yoo.
If you ever get lost along the way, or if you want to make sure you've seen it all, be sure to start from the beginning by visiting the Altenew blog.
There are also a ton of fabulous sponsors and prizes...and man I mean a TON! There will be 30 lucky winners! Be sure you leave a comment at every stop for more chances to win. Be sure to leave comments by April 15th, 2018 at 11:59 PM EDT for a chance to win! 30 WINNERS will be chosen at random from the comments left on any of the blogs on each day of the hop and will be announced on the Altenew blog on April 17th, 2018.
And if all of that wasn't enough, I have a special code for you to use when shopping at Altenew. FREE U.S. shipping with code HAPPY4TH or $5 OFF international shipping with code ANNIV at checkout. Offer valid from April 3rd until April 8th at 11:59 pm EDT. Not valid on prior purchases. Cannot be combined with other promo codes.
Thanks for stopping by! I hope you've enjoyed these projects. Until next time, I hope you have a fabulous day!
XOXO
SUPPLIES
*affiliate links used*
|


