Adding Shading To Stamped Images Using Copic Markers
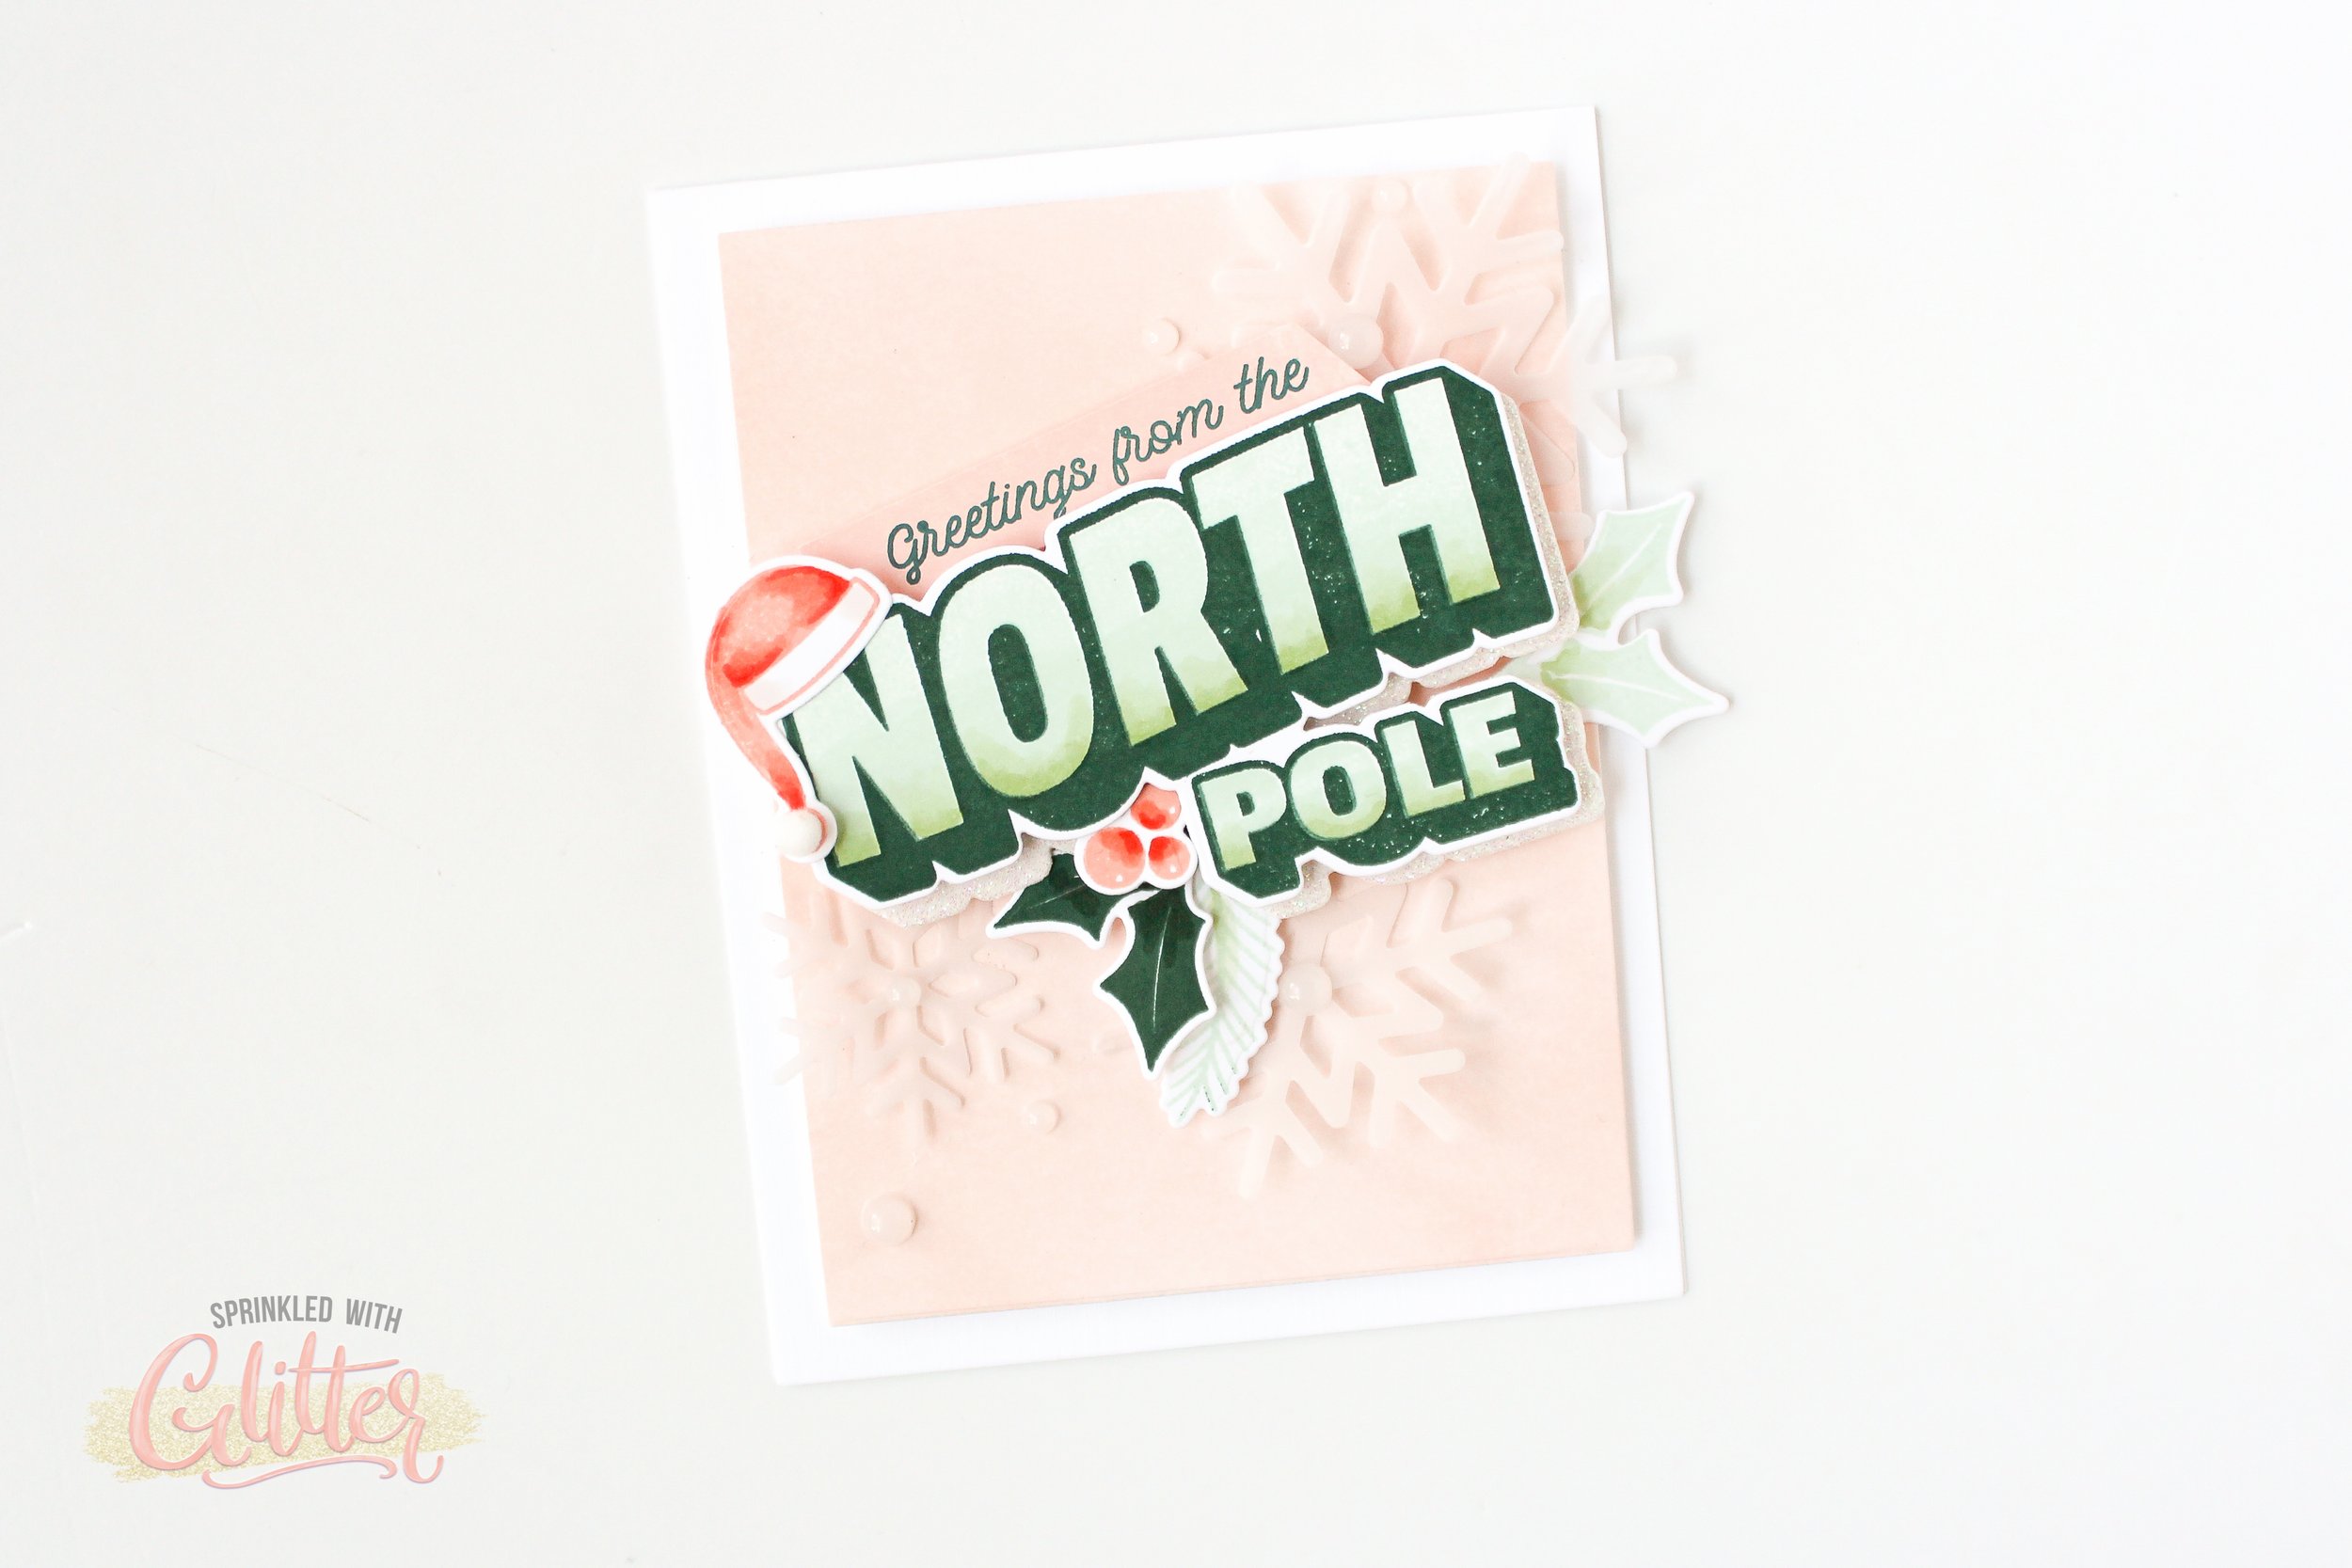
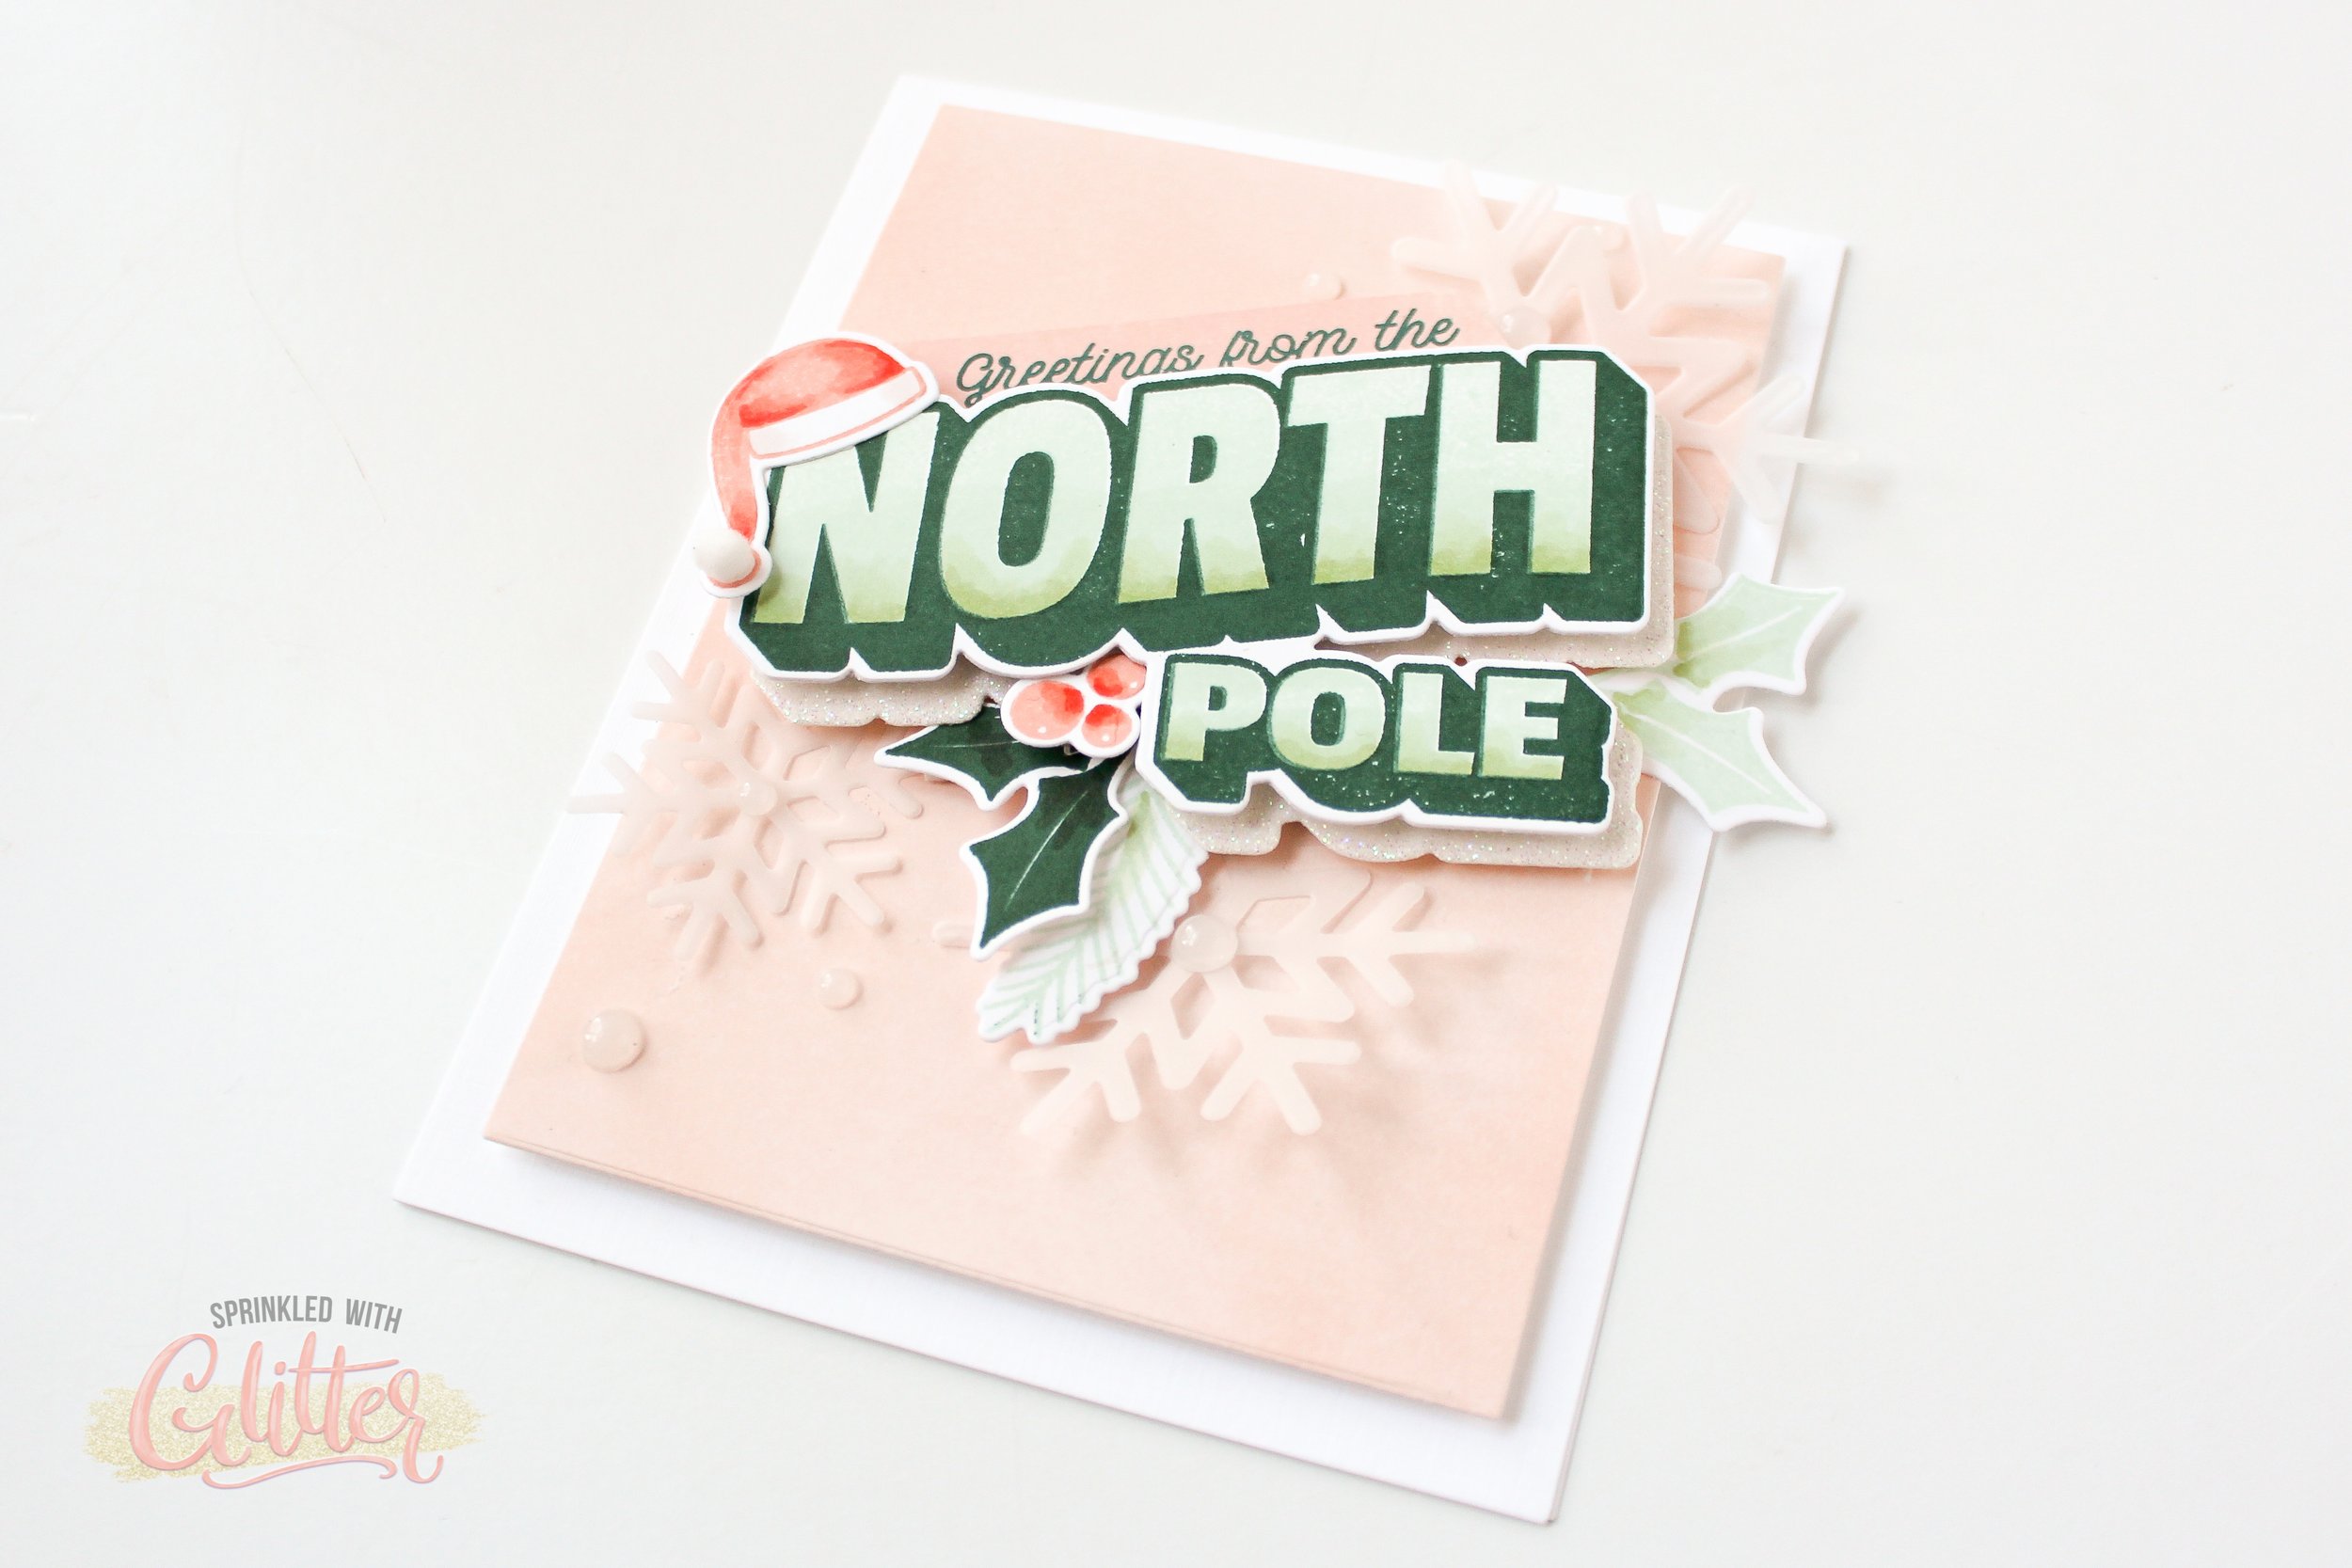
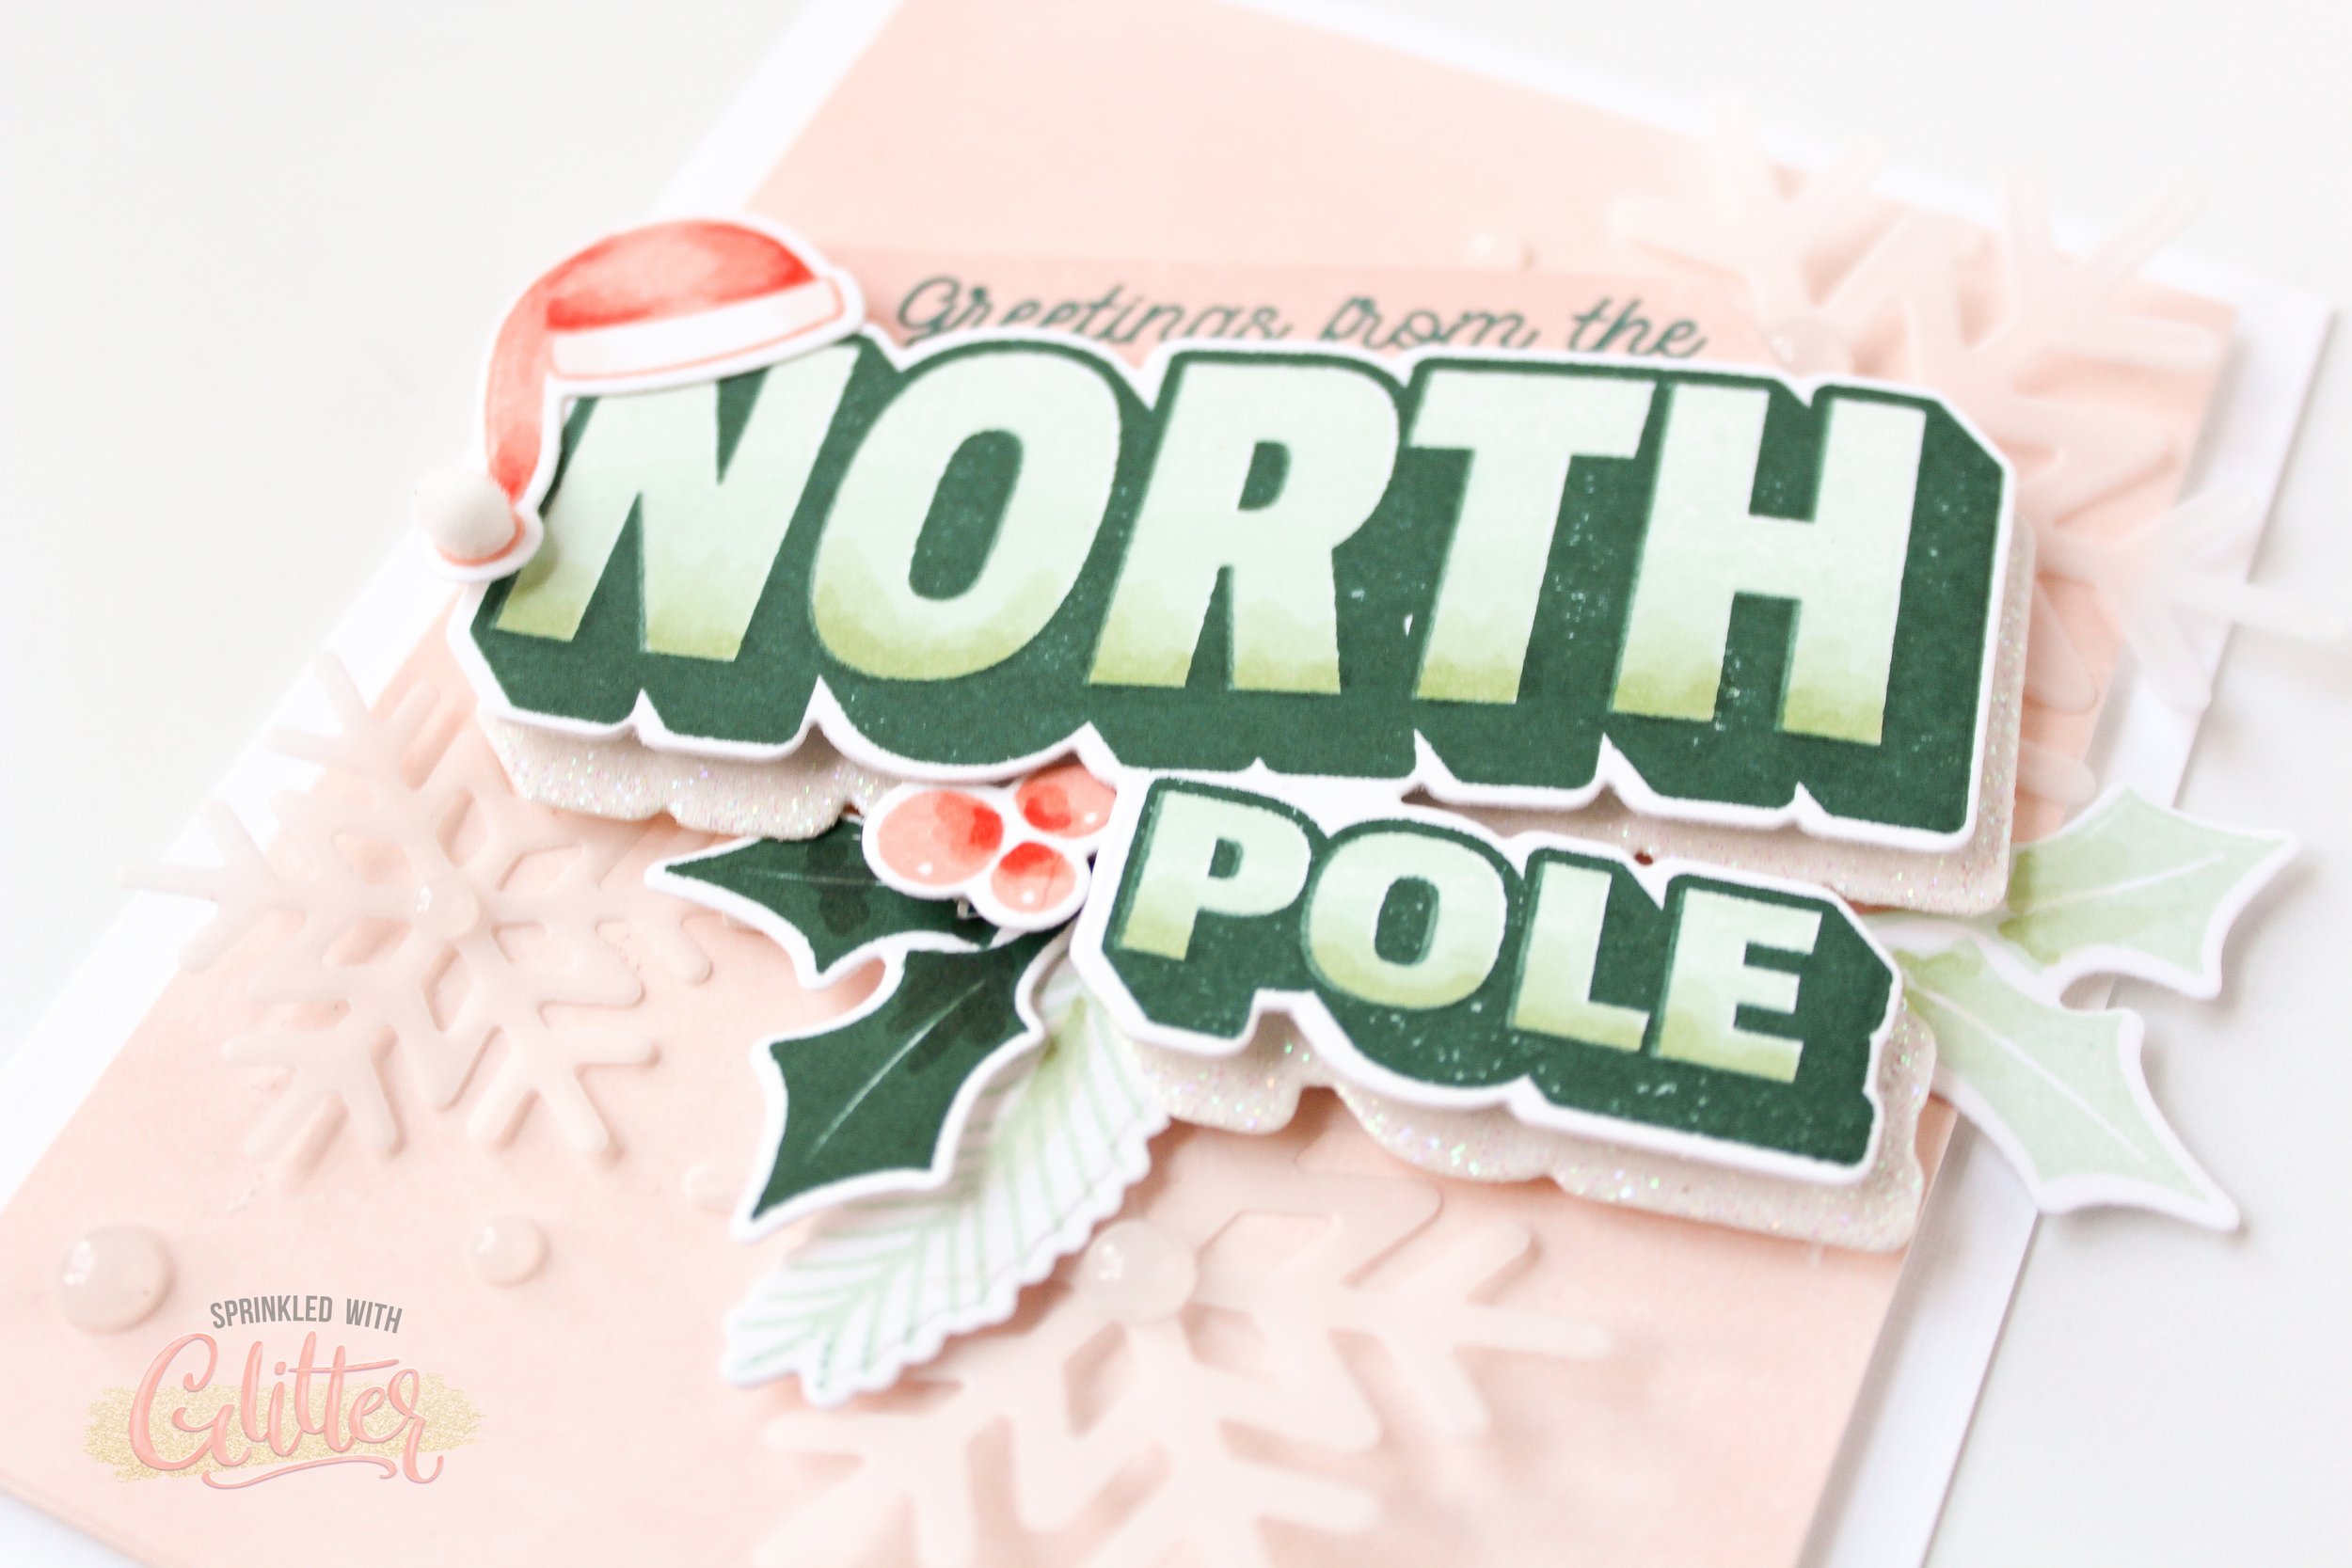
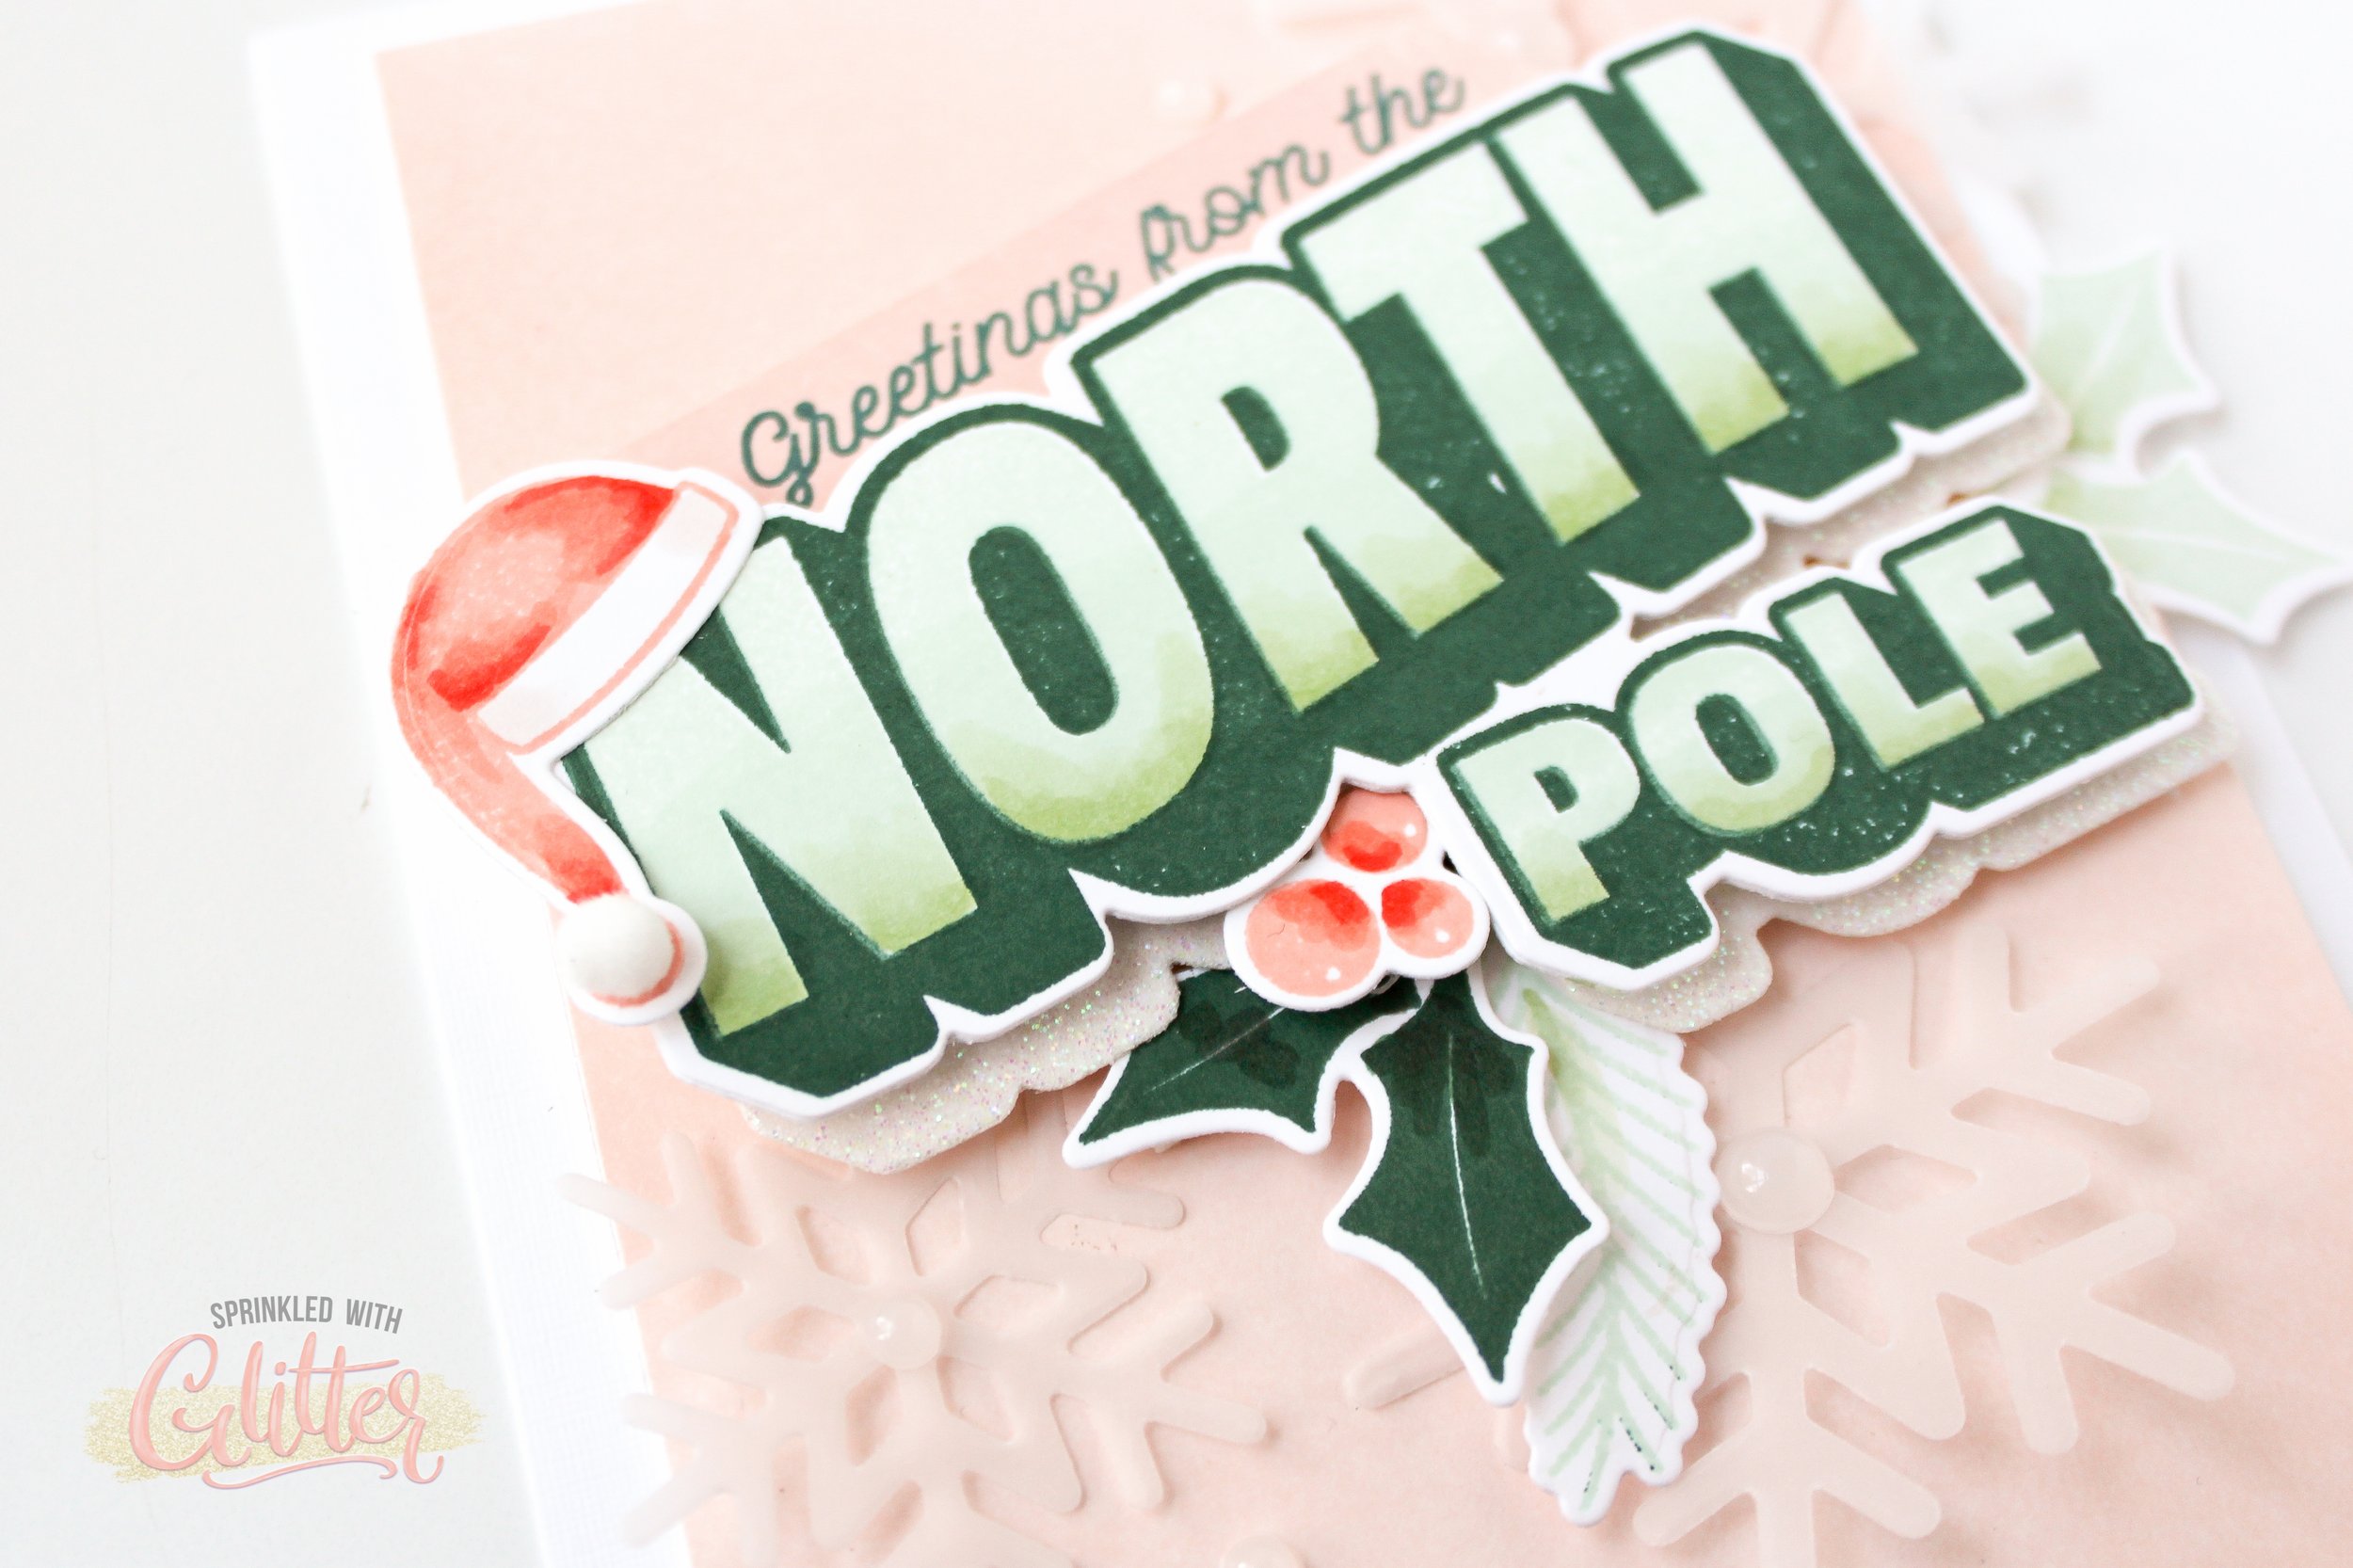
Today I’m sharing how to add shading to your stamped images using Copic (or alcohol ink) markers. Adding shading with your markers is a great way to add depth and dimension to your solid stamped images.
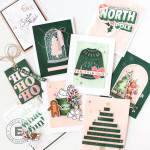
This card features the brand new North Pole Greetings stamp and die set from the Essentials By Ellen Holiday 2022 release. You can check out the complete release by clicking HERE.
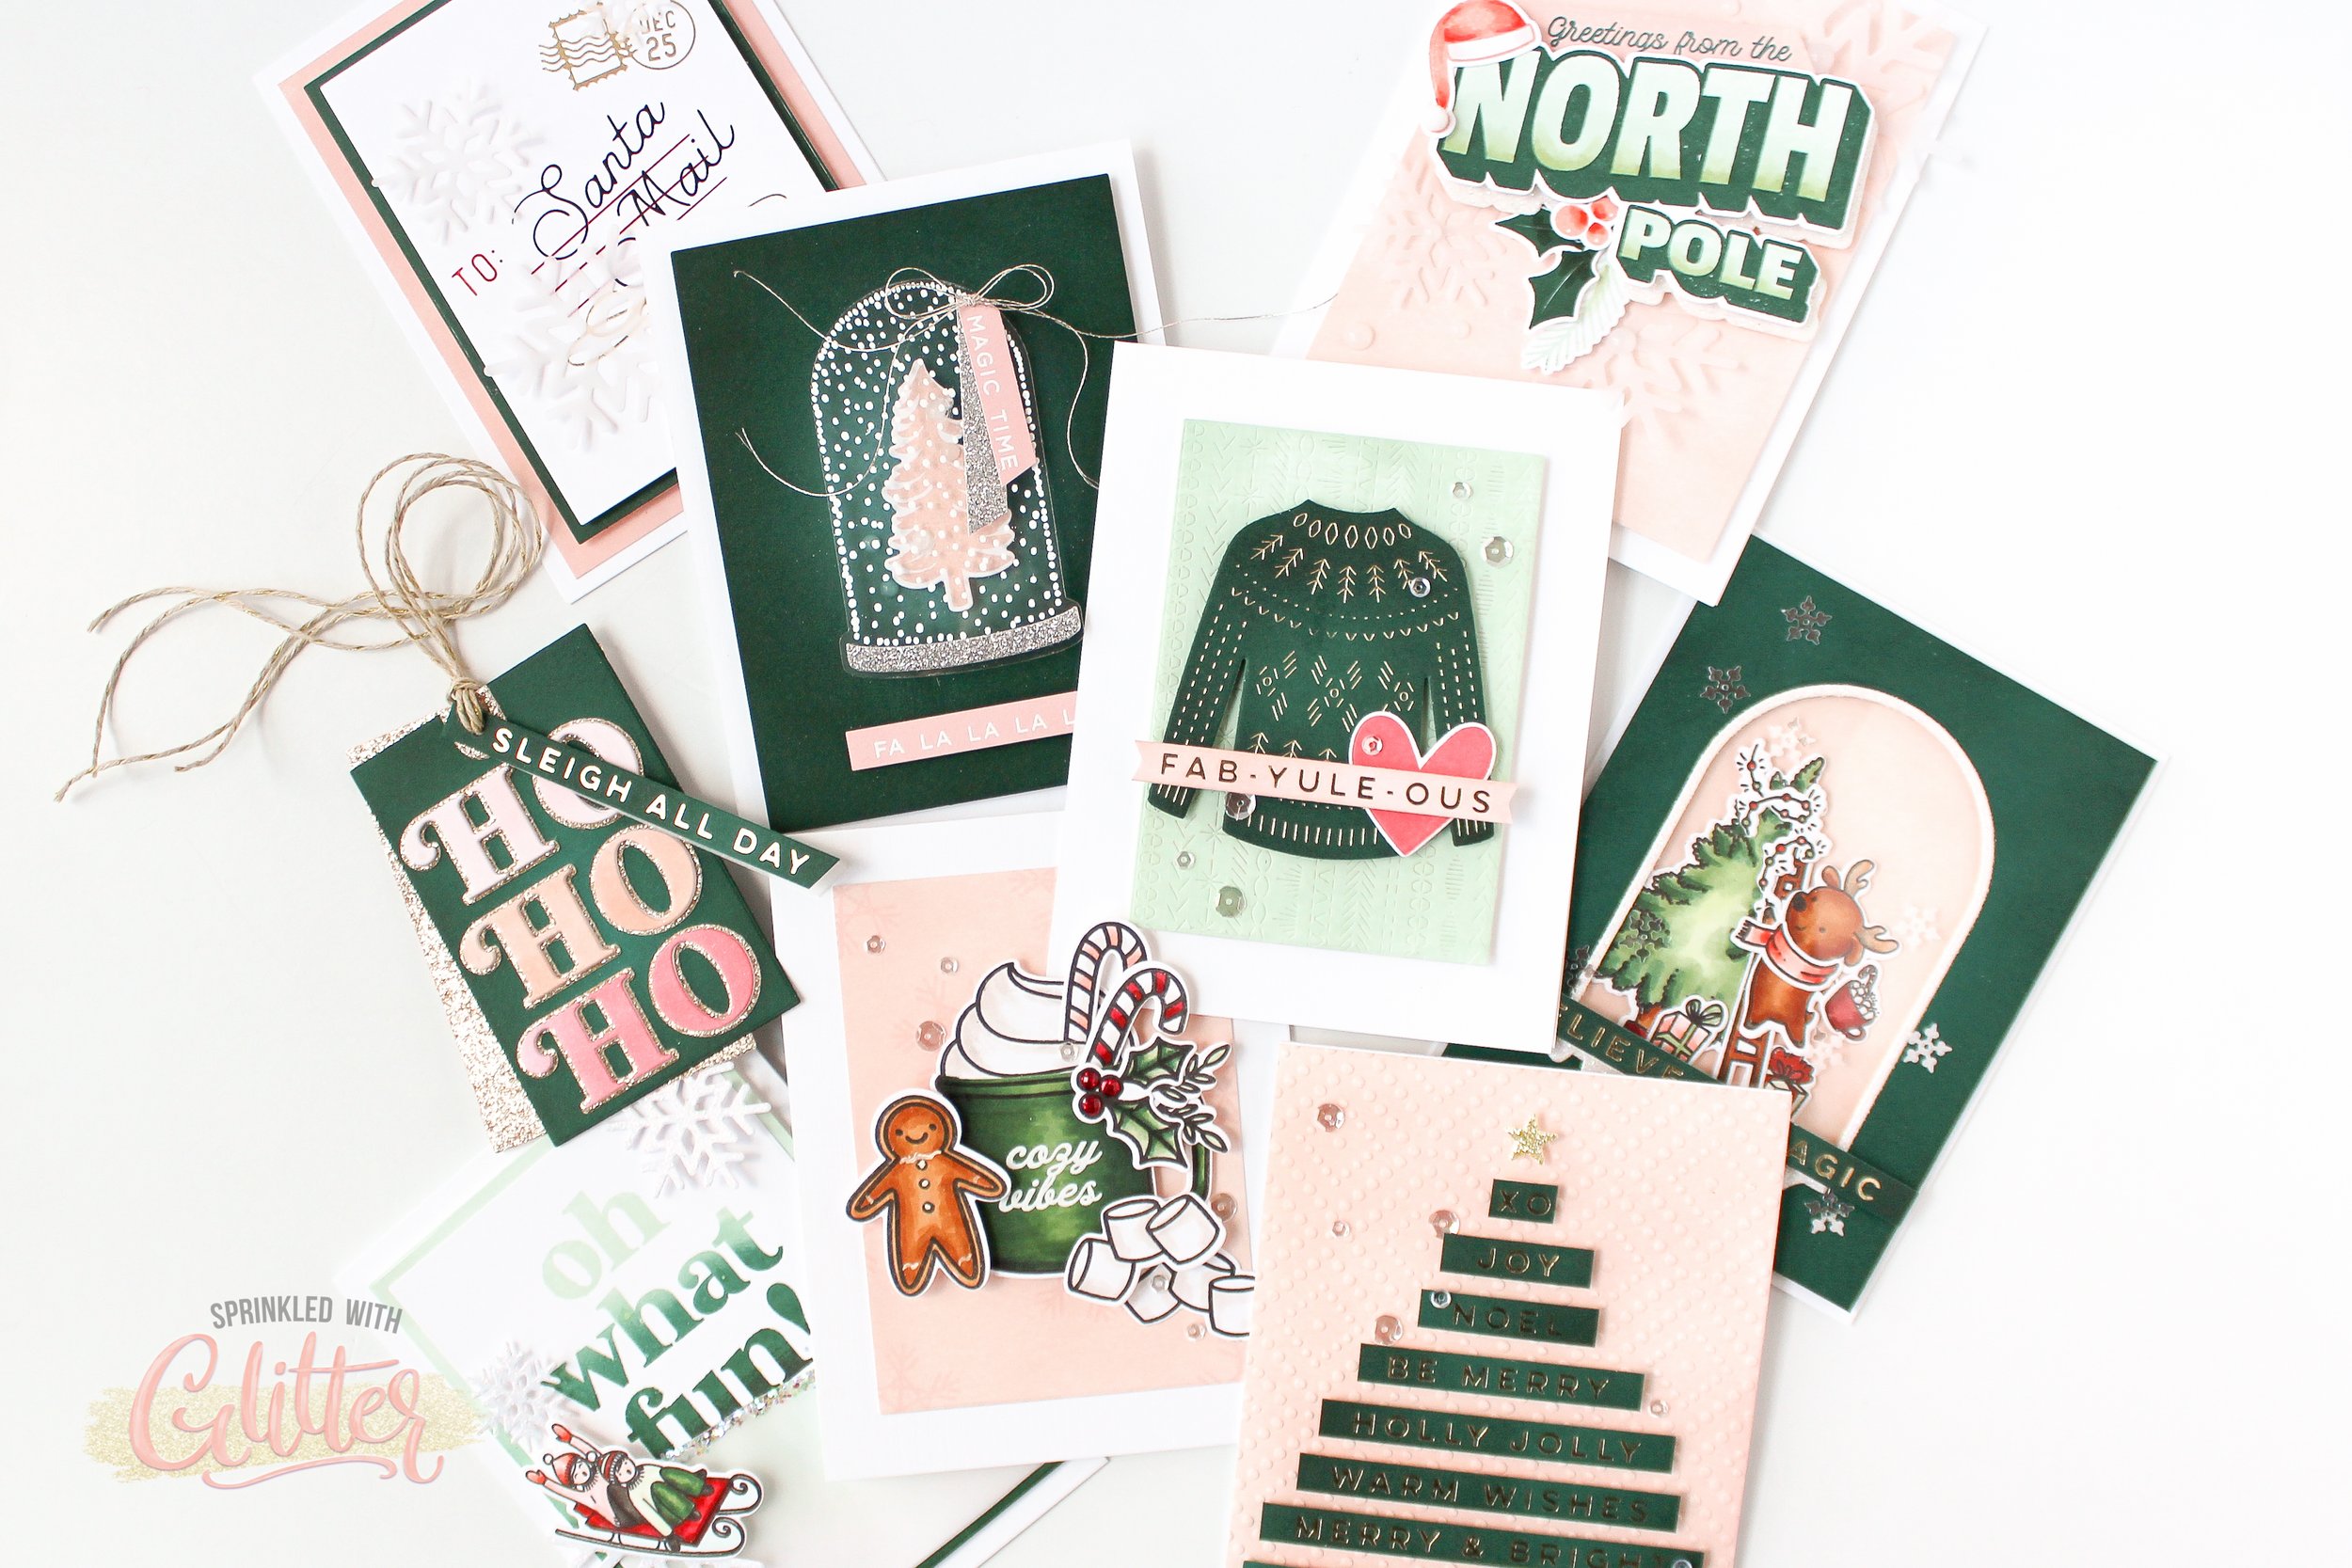
Yesterday, I shared another fun card featuring this new release. You can check that out HERE.
I’ll walk you through how I created this card and made those stamped images POP in today’s video tutorial. I’ll also give you tips and tricks along the way, so be sure to check it out!
If you want to watch today’s video in HD on my YouTube channel, be sure to click HERE to head over there now. While you’re there, don’t forget to like this video, subscribe and turn on the notifications so you won’t miss any of my paper crafting and card making video tutorials. ❤︎
Thanks for stopping by today. I hope you enjoyed this project. Until next time, I hope you have a fabulous day!
XOXO
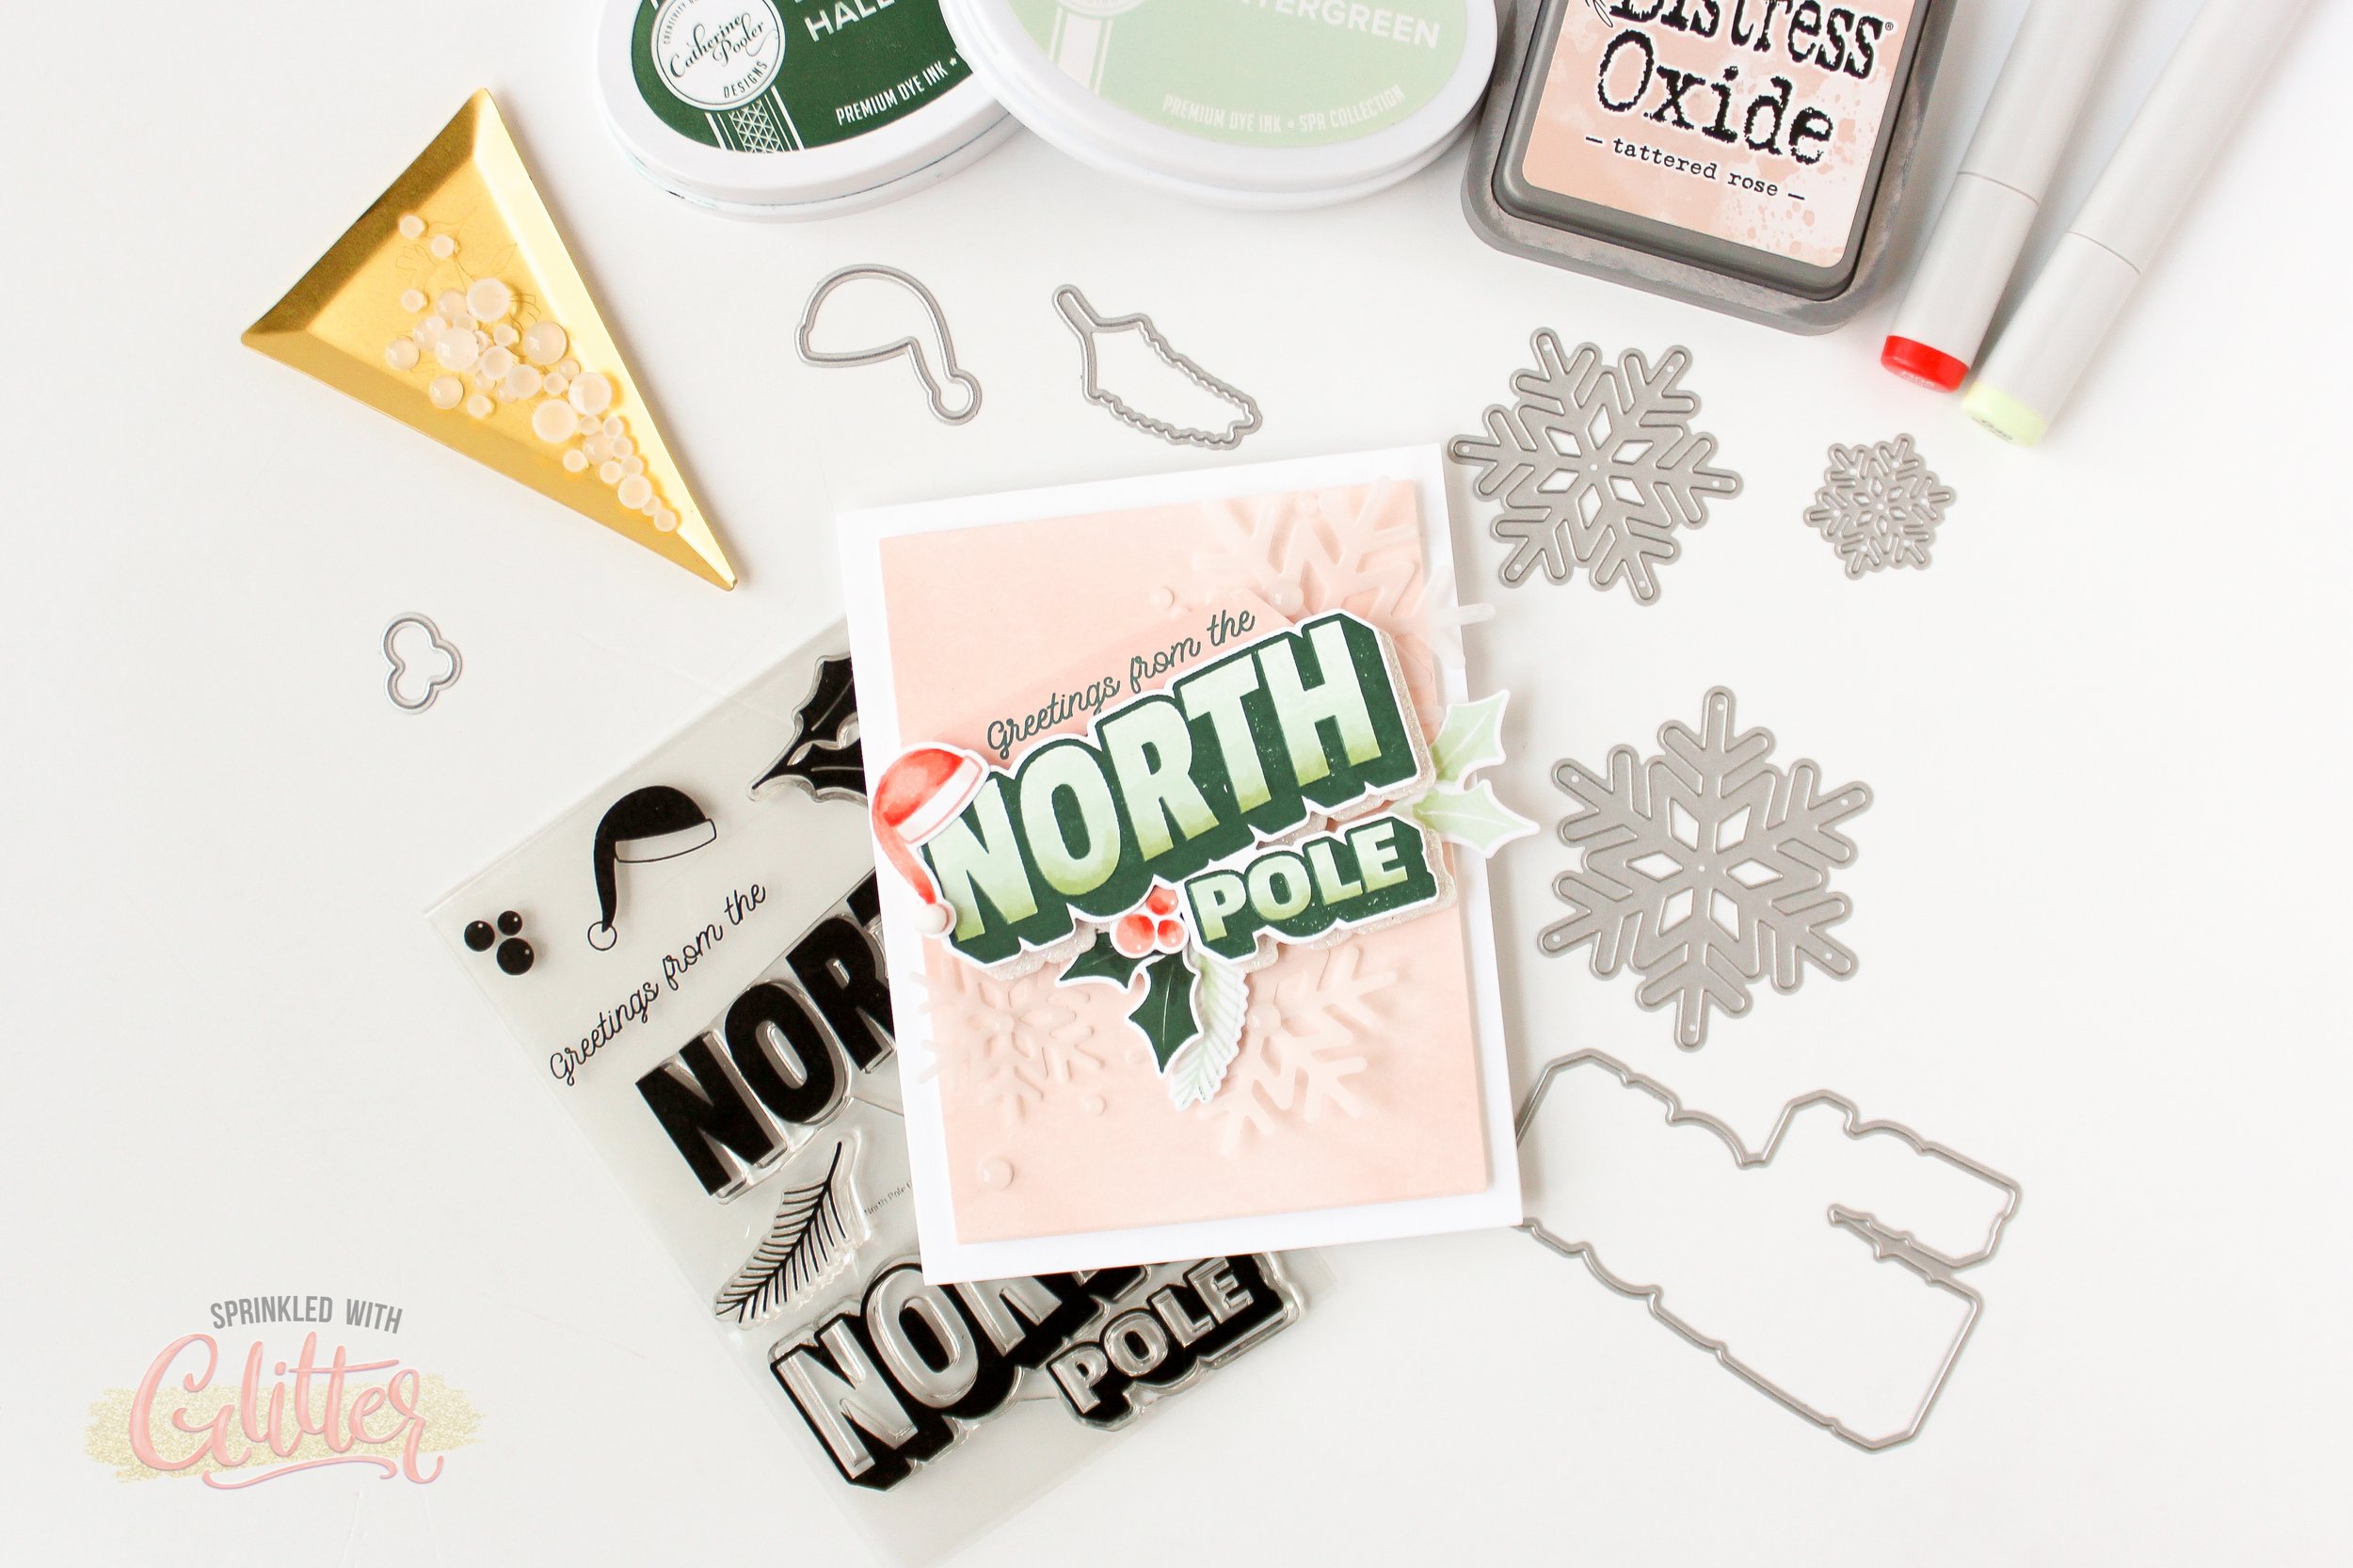
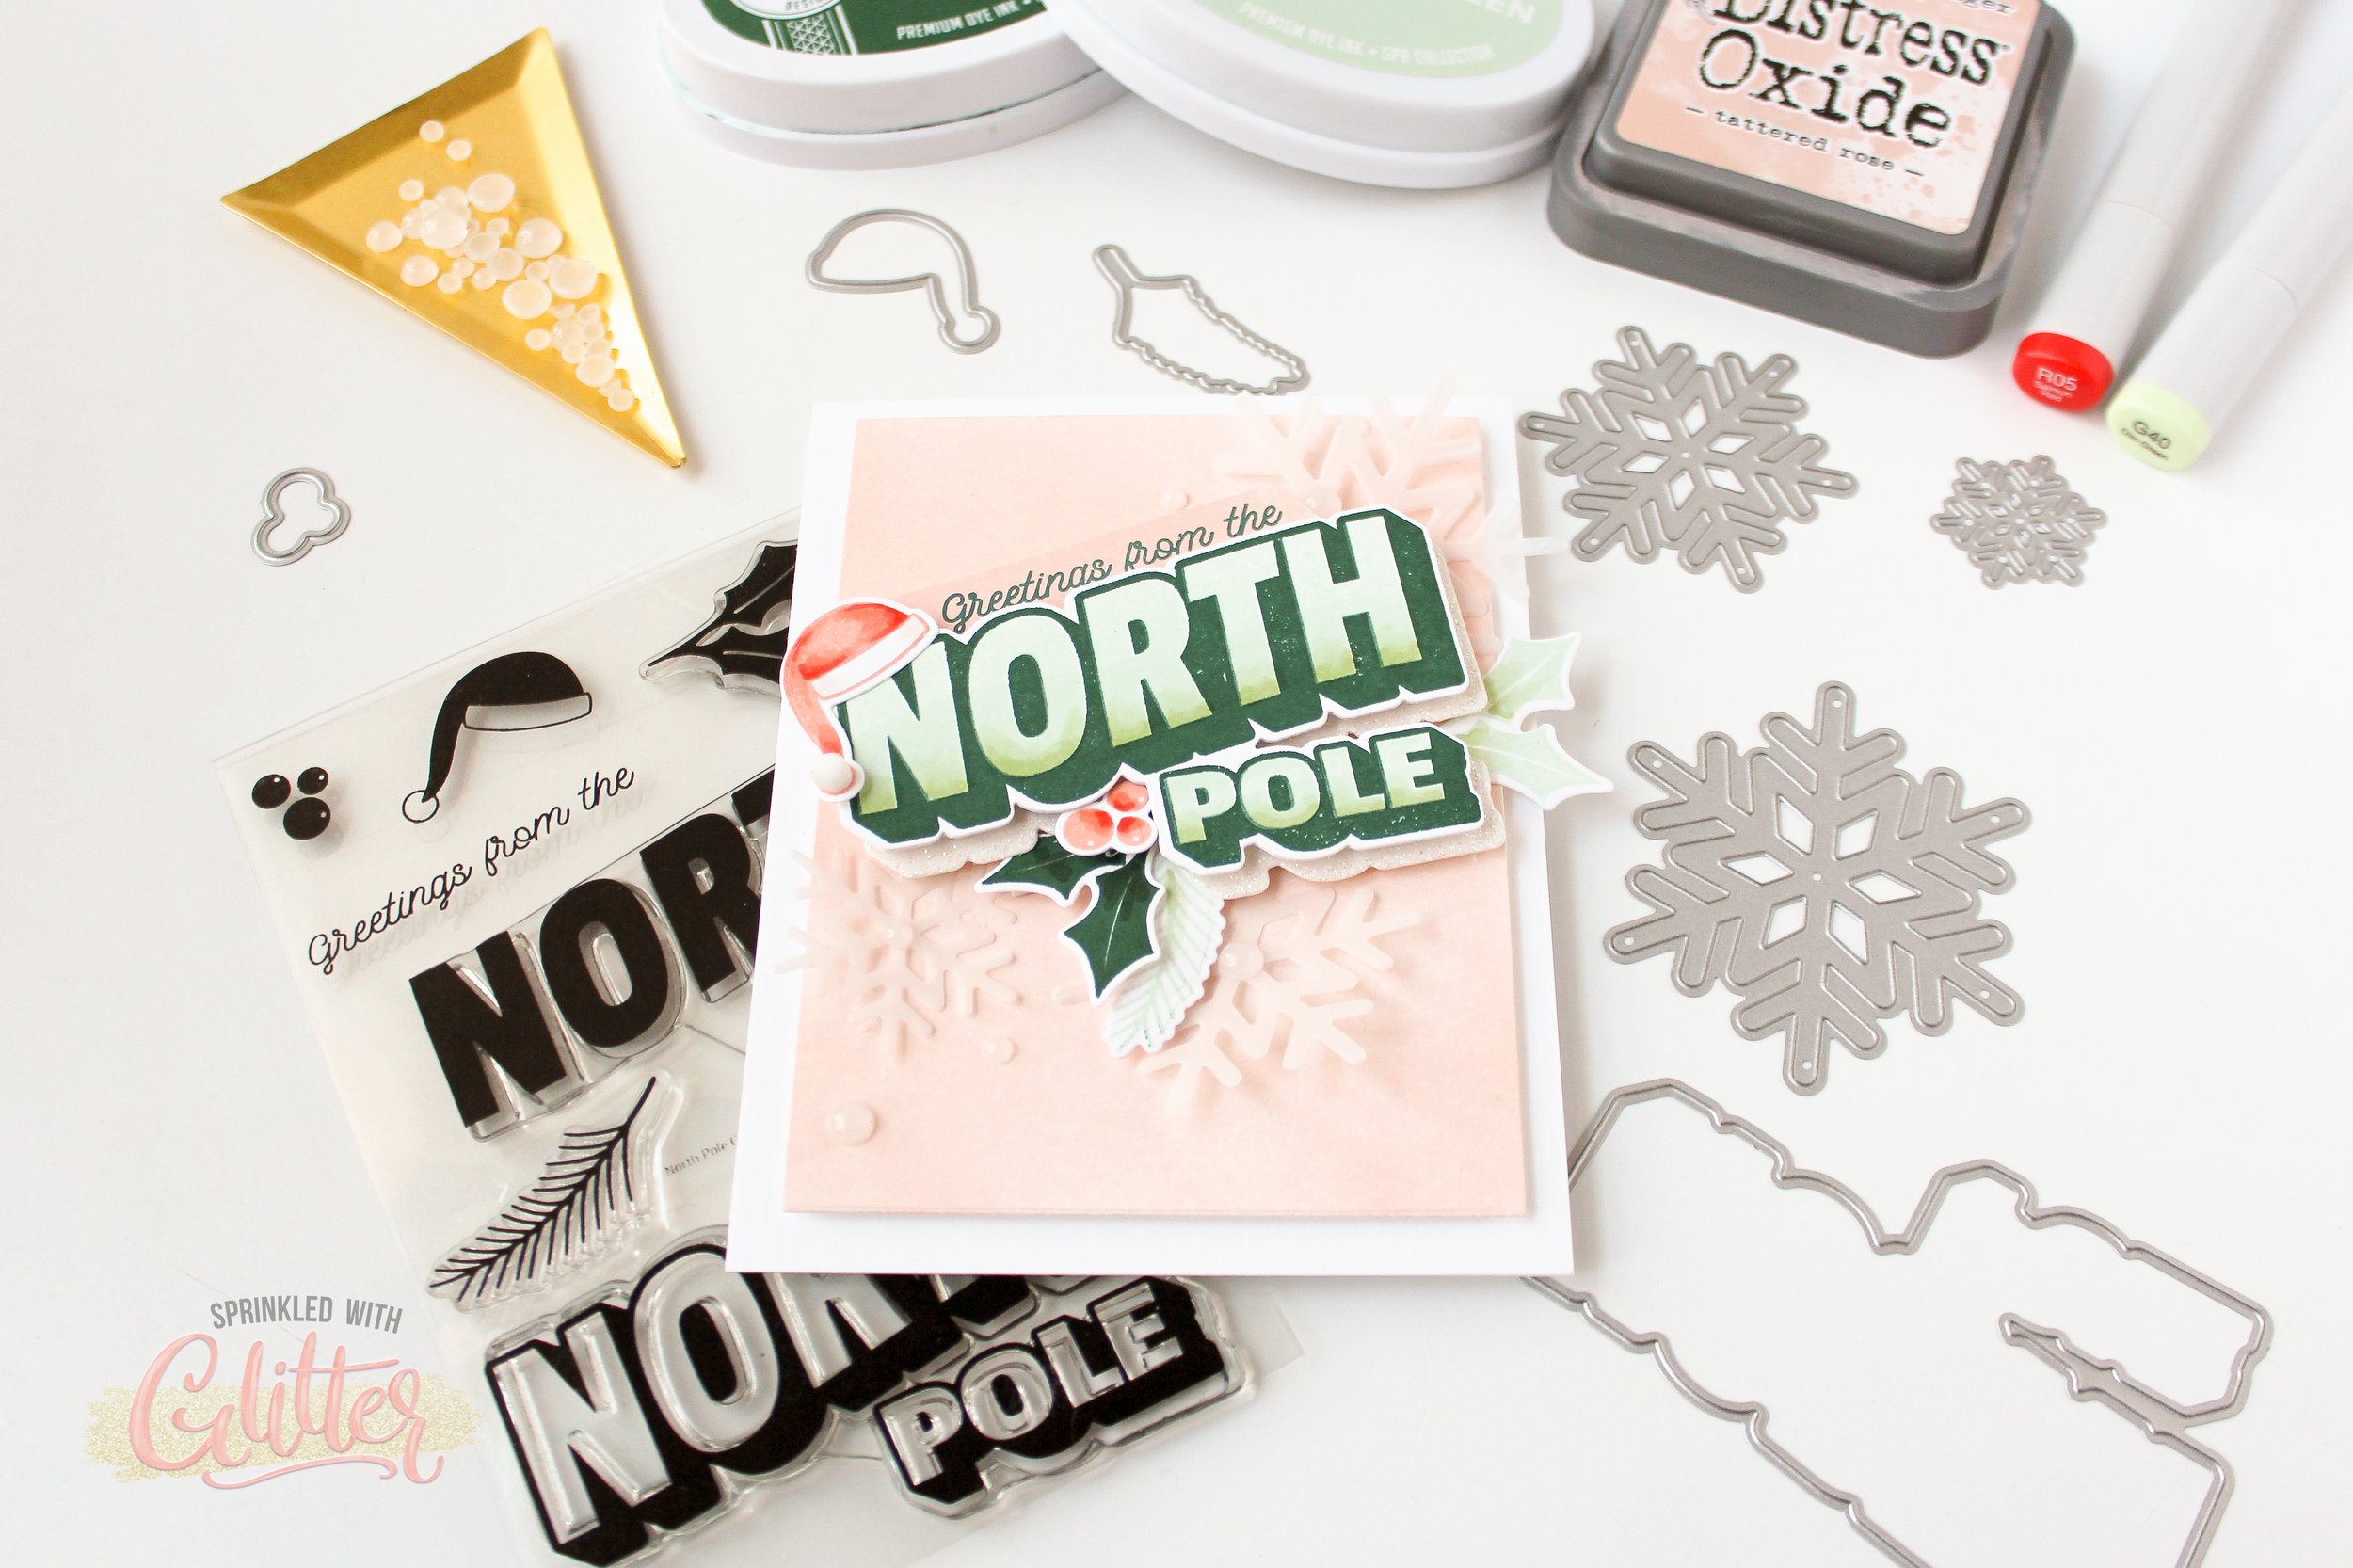
SUPPLIES
*affiliate links used*
*products marked with an * have been supplied by the manufacturer*
|

