Wonderful - Iron Off Embossing With A Twist - Honey Bee Stamps August Release
Hi everyone! Welcome back. I have some really fun cards to show you today, so we're going to get right to it. This post is a part of the Honey Bee Stamps August Release Honey Hop. The new stamps will be available tomorrow, August 26th...get them while you can! If you want to make sure you see all of the posts, be sure to start at the Honey Bee Blog. You can also enter to win some prizes.
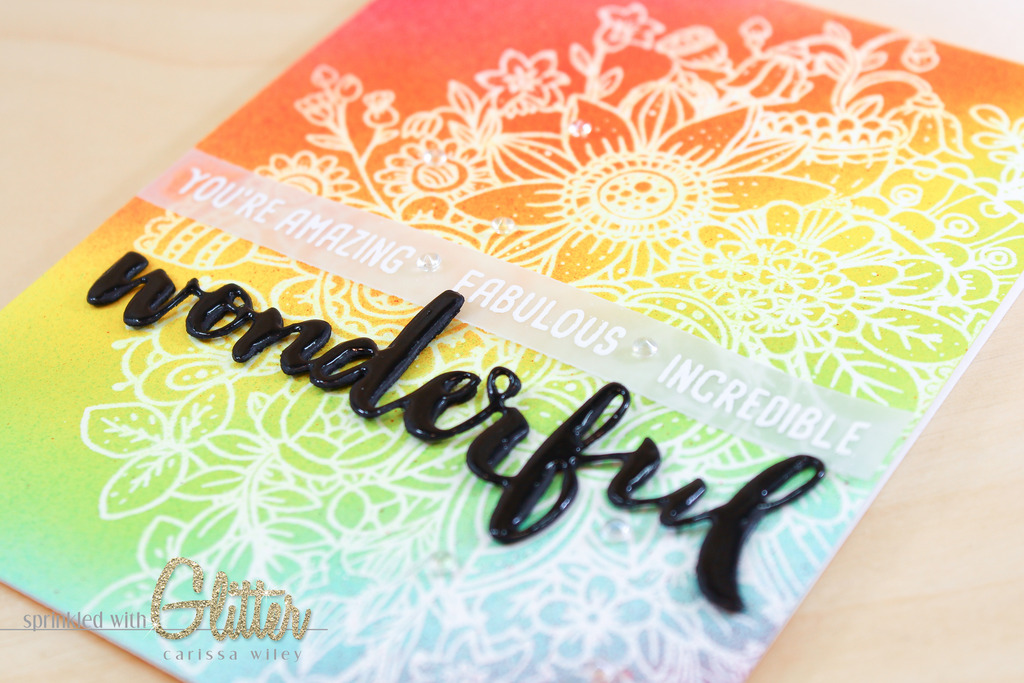
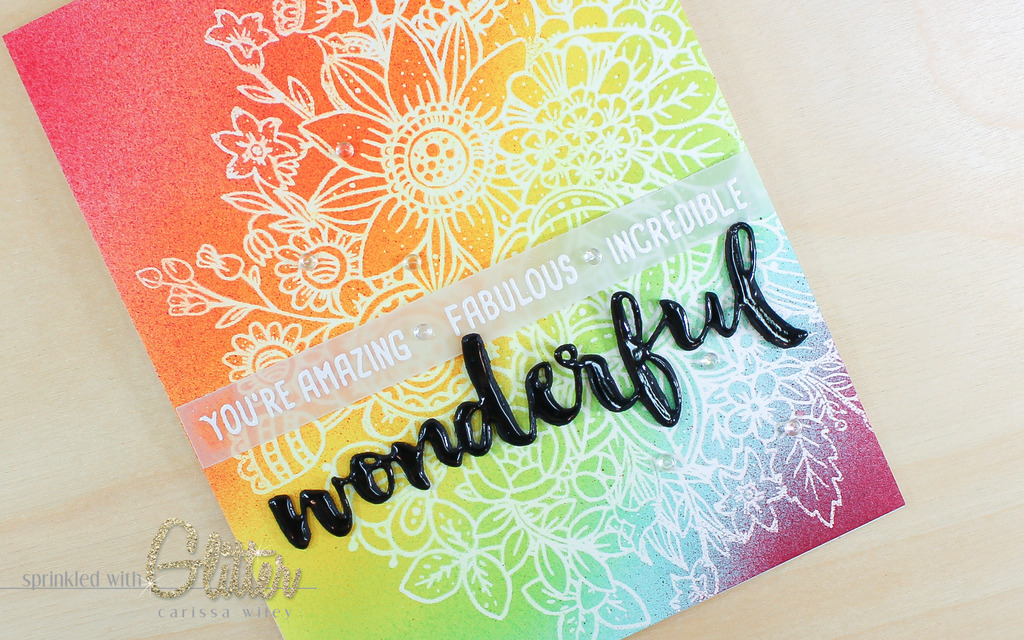
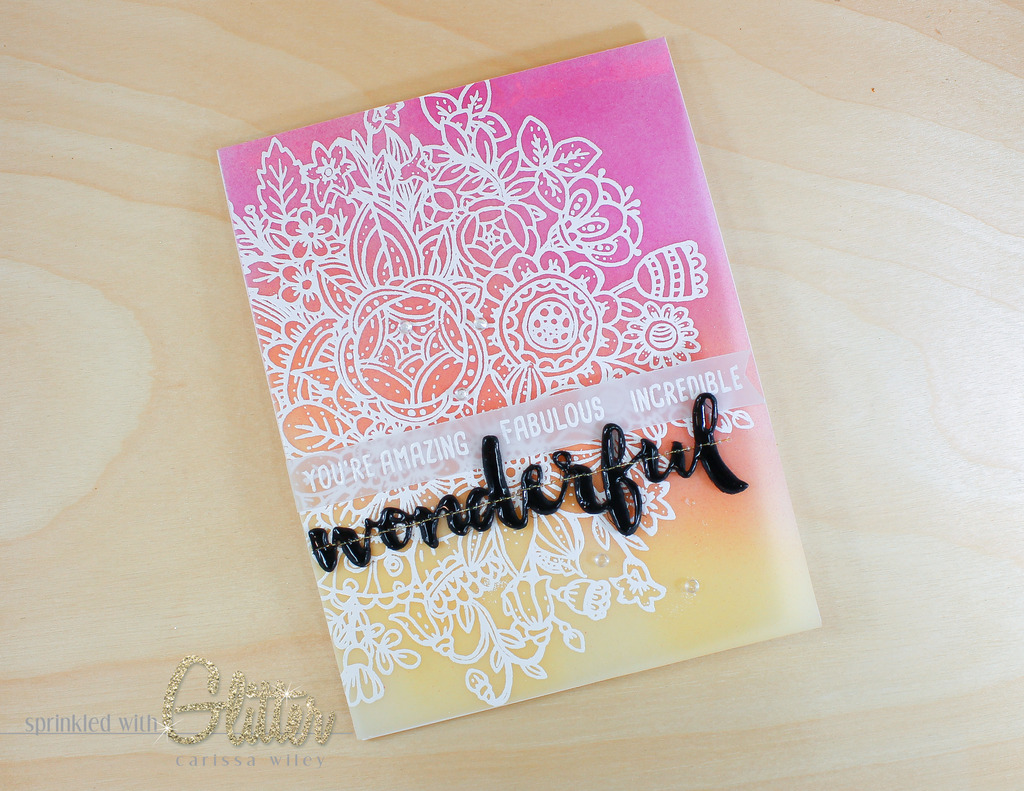
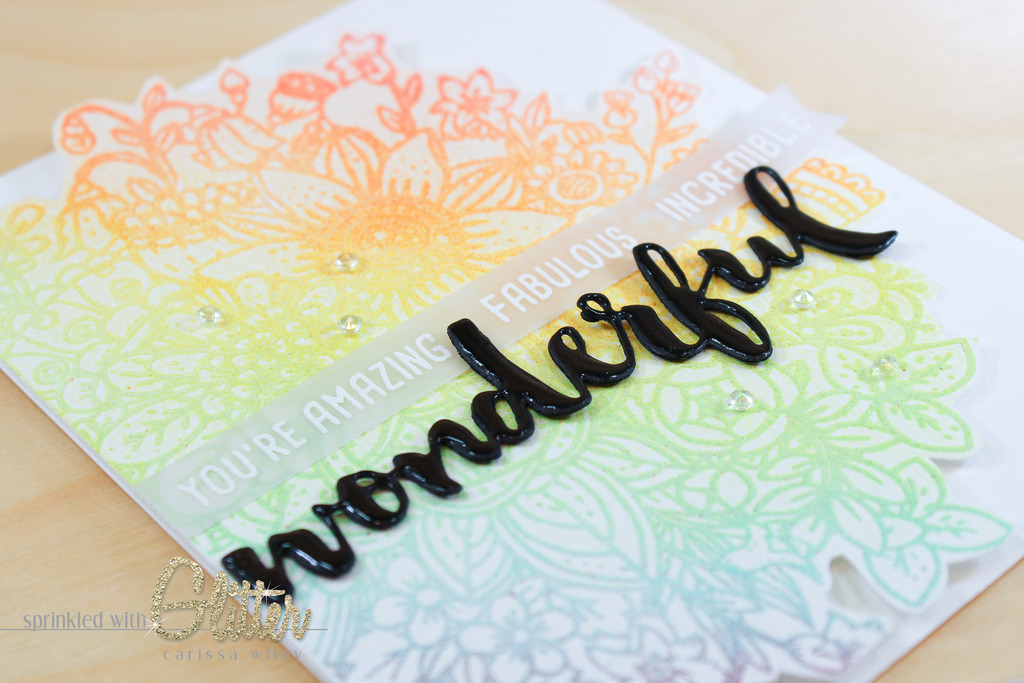
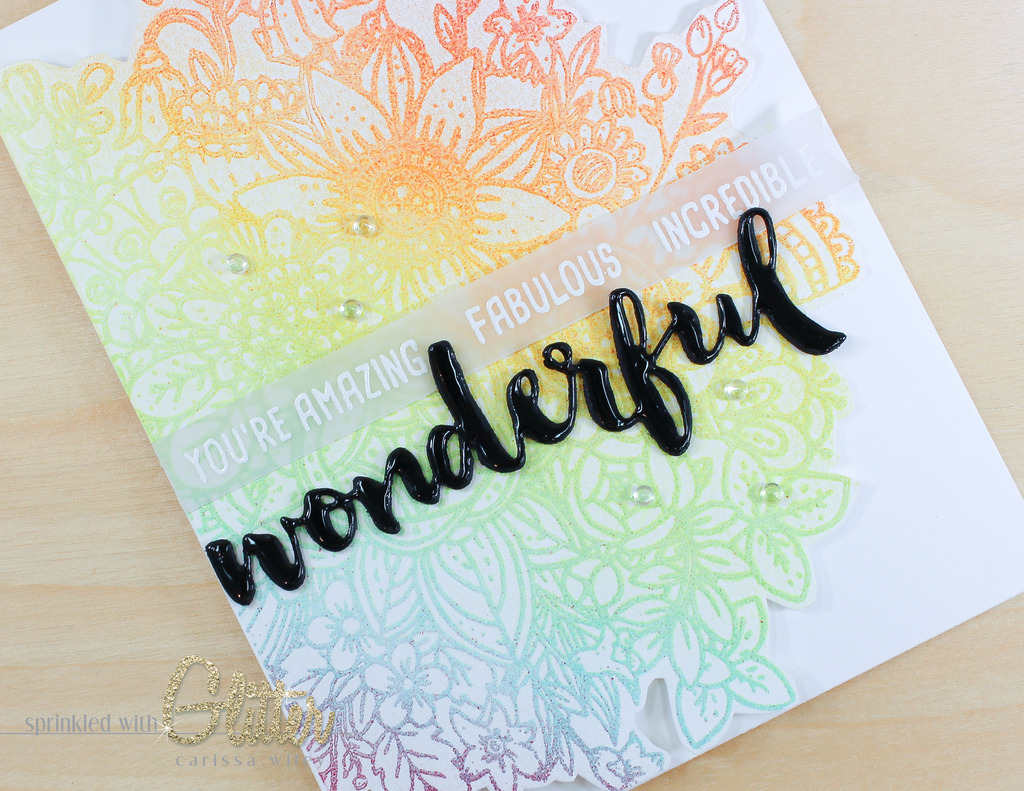
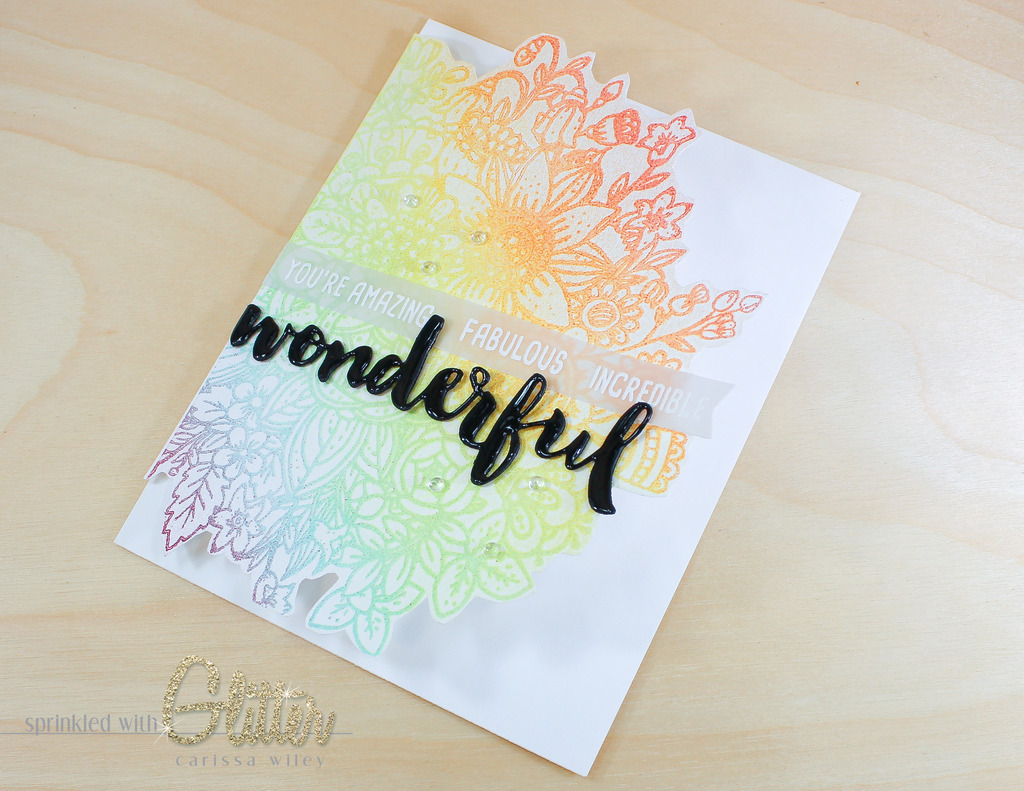
I created several cards using the Zen Bouquet stamp set, Wonderful die and Sentiment Builder stamp set. These all pair so beautifully together. The Zen Bouquet (available tomorrow) was inspired by the ever so popular adult coloring books. And it would be so much fun to color with your favorite coloring medium.
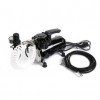
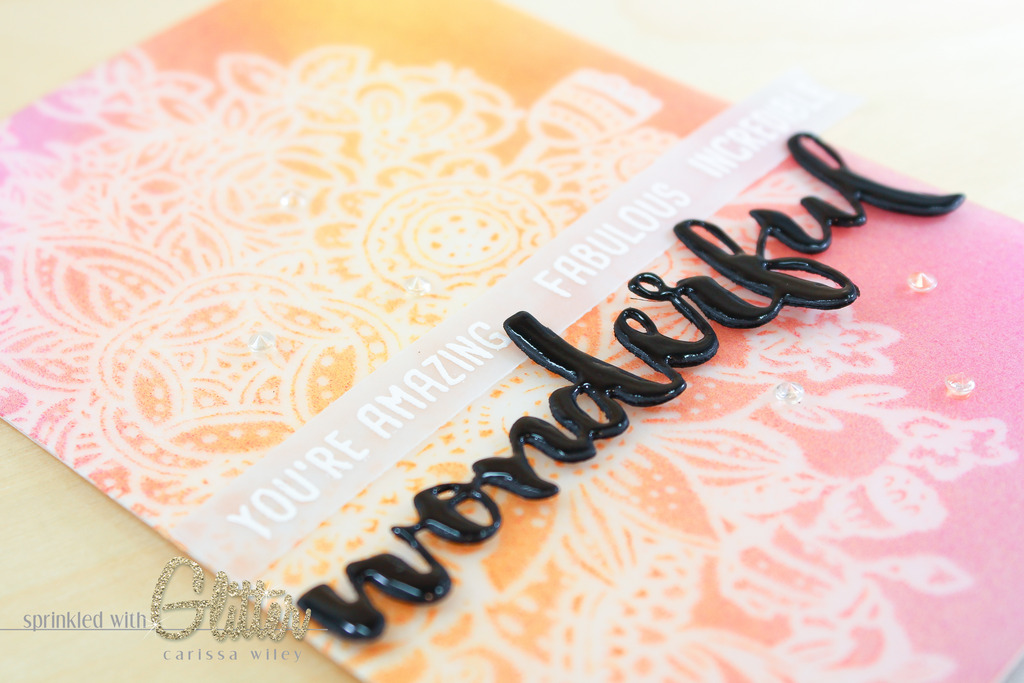
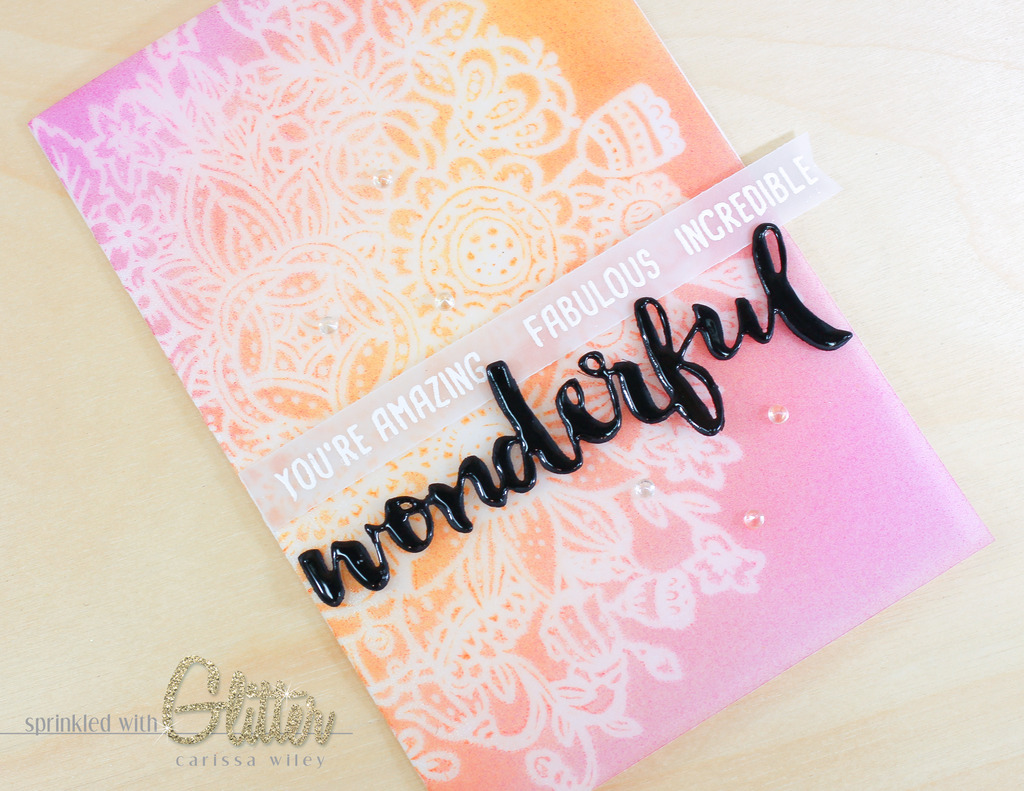
When I started these projects, I had originally thought I would do some experimenting with the Iron Off Embossing technique and my Copic Airbrush system. And I discovered the most amazing technique on accident. My plan was to use the Copic Airbrush system to add color over an embossed image and then use heat to remove the embossing powder, leaving crisp white lines underneath.
I used my Minc in place of an iron (but you could totally use an iron). When the embossing powder transferred to the scratch paper, I discovered that the transferred image was just as beautiful as the original piece. Because Copic ink is alcohol based, the ink dried on top of the embossing powder and the color transferred, along with the embossing powder to the scratch paper.
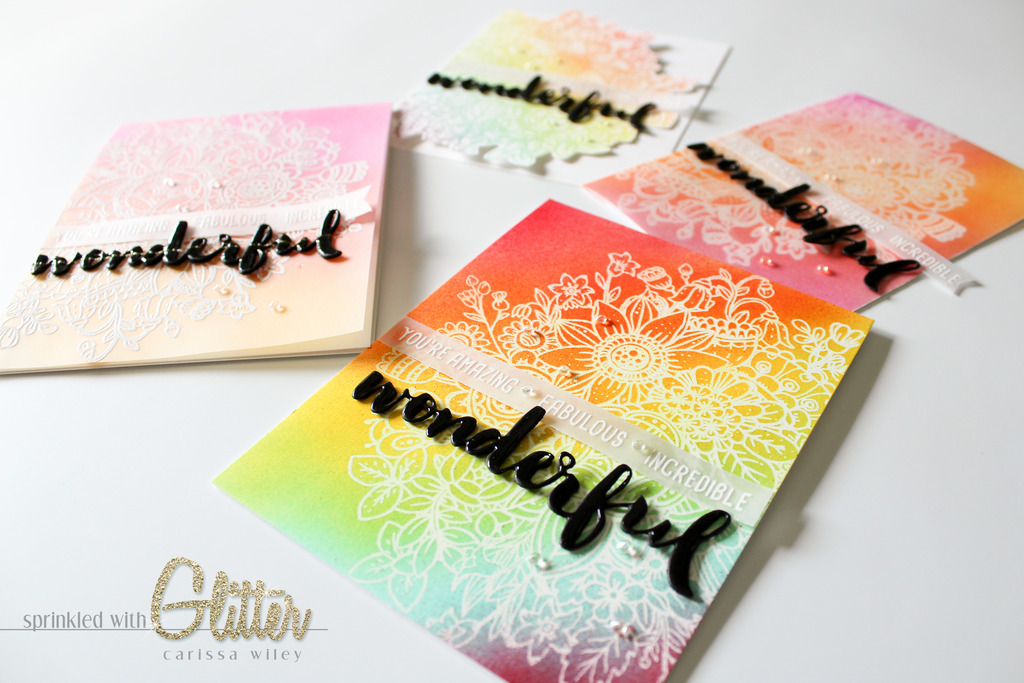
For every piece that I airbrushed, I had the opposite image in a colorful rainbow. I put both of these pieces to use on my cards.
I'll walk you through this technique in the video tutorial below...and give you some tips and tricks too. Be sure to check it out!
I tried this technique with vellum as well. Although the results weren't quite as great as they were with the card stock, I was still left with a very beautiful card front that has a very cool shine to it from the spread of the clear embossing powder on the surface.
I also used the Copic Airbrush system to add color to the back side of embossed piece of vellum. The result of this was absolutely stunning.
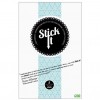
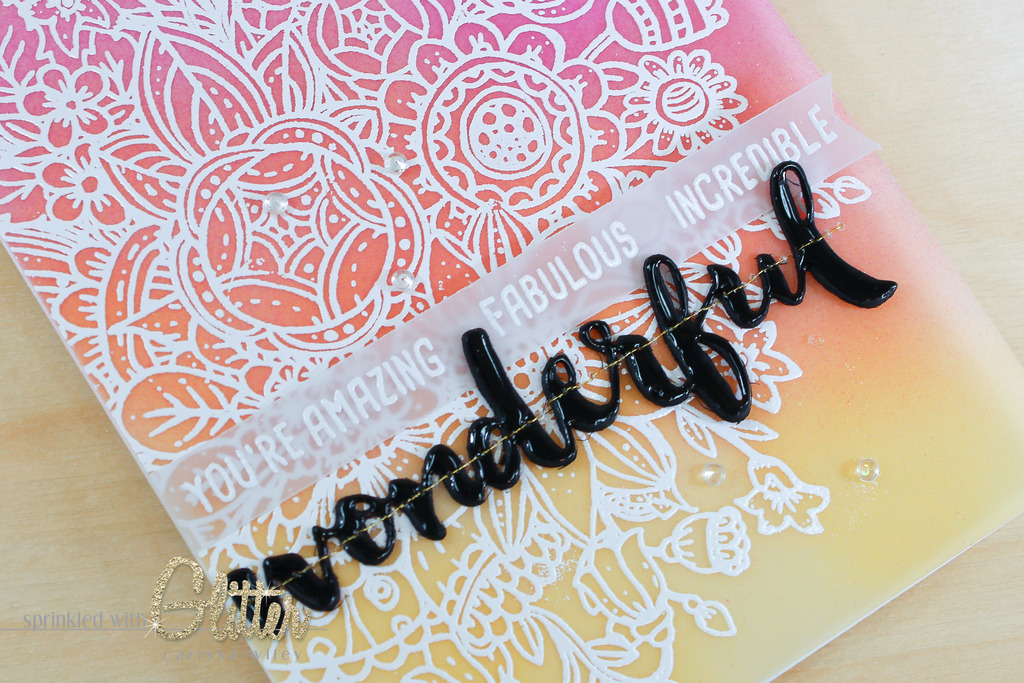
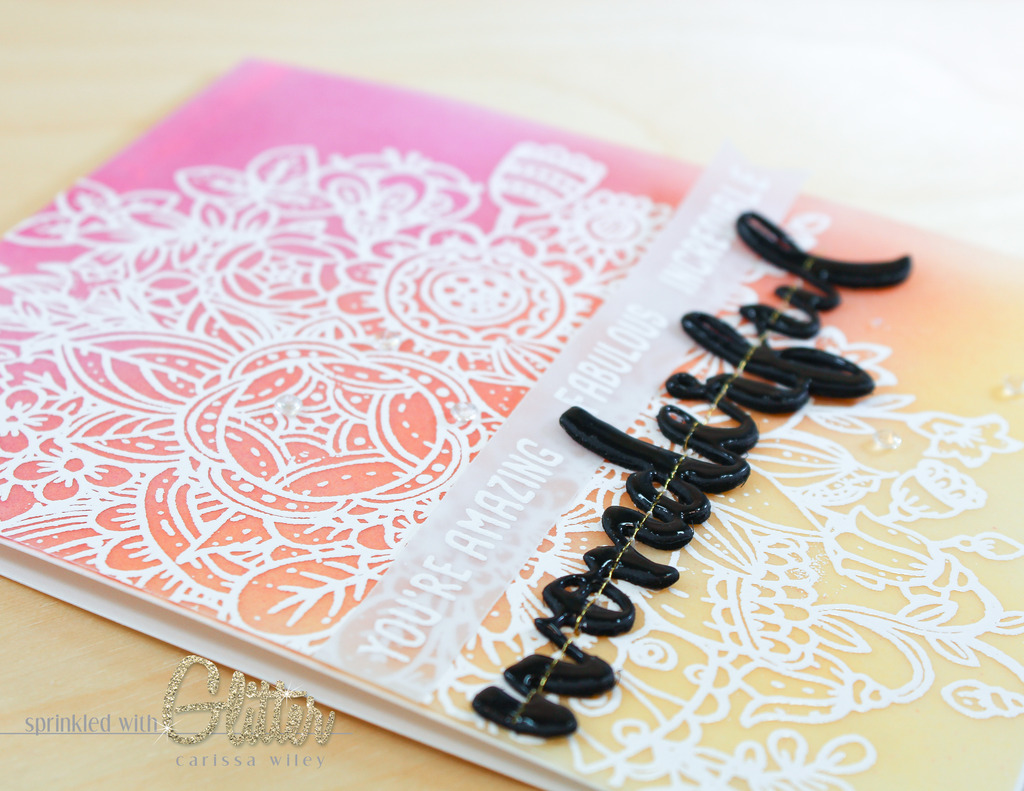
I die cut the wonderful sentiment from black card stock, layered with black craft foam. This created a lot of dimension on the die cut. I added a layer of Stick It adhesive between the card stock and foam layers. I also added a layer of Stick It to the back side of the foam. This made for some self adhesive, dimensional die cut sentiments. I covered them in Glossy Accents to bump up the wow factor on these die cut sentiments.
I finished each of the cards off with some gems from the Honey Bee store.
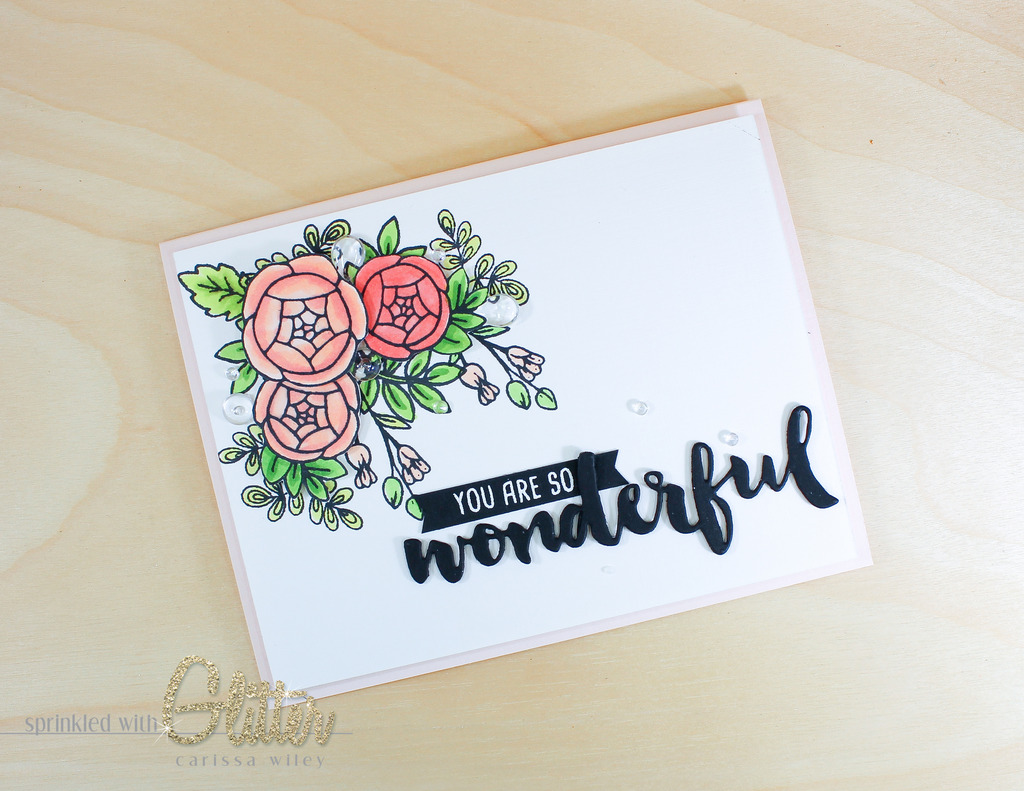
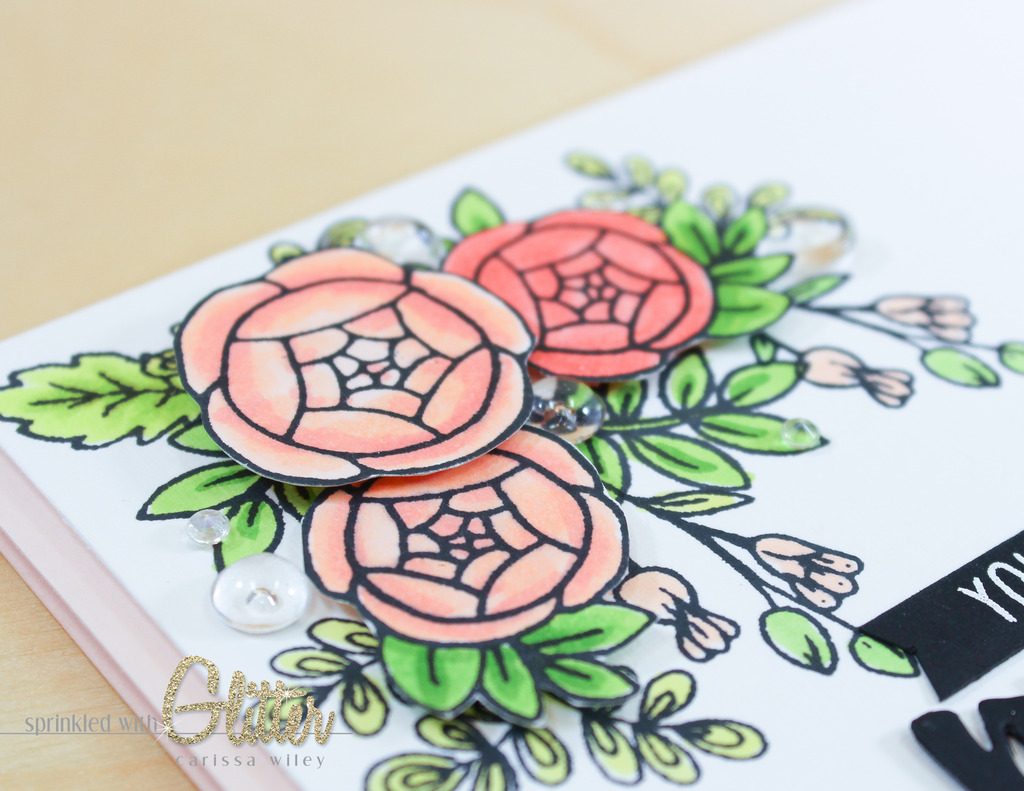
I also created a card with the smaller blooms from the Zen Bouquet stamp set. I did some simple Copic coloring and a little fussy cutting to create this card.
I used foam adhesive to add some dimension to these pretty little roses. And I embellished this cluster of flowers with some of the clear dew drops from Honey Bee.
Your next stop on the Honey Hop is Crystal's Blog. Be sure to head there after you check out the video tutorial below and enter to win one of the two fabulous prize packs!
Giveaway Information
What’s a Honey Hop without some sweet prizes, right? Honey Bee Stamps not only has one awesome prize pack but TWO!! One winner will win the Zen Florals pack (Zen florals, Zen Bouquet, and each of their matching die sets) and a second winner will win our Alpha prize pack! (Color me alpha stamp set, sentiment alpha stamp set, and color me alpha die set). All you have to do to win is comment on the Honey Bee Stamps blog and again at each stop along the hop by Sunday August 28th. Winner will be announced on Monday August 29th at Noon PST.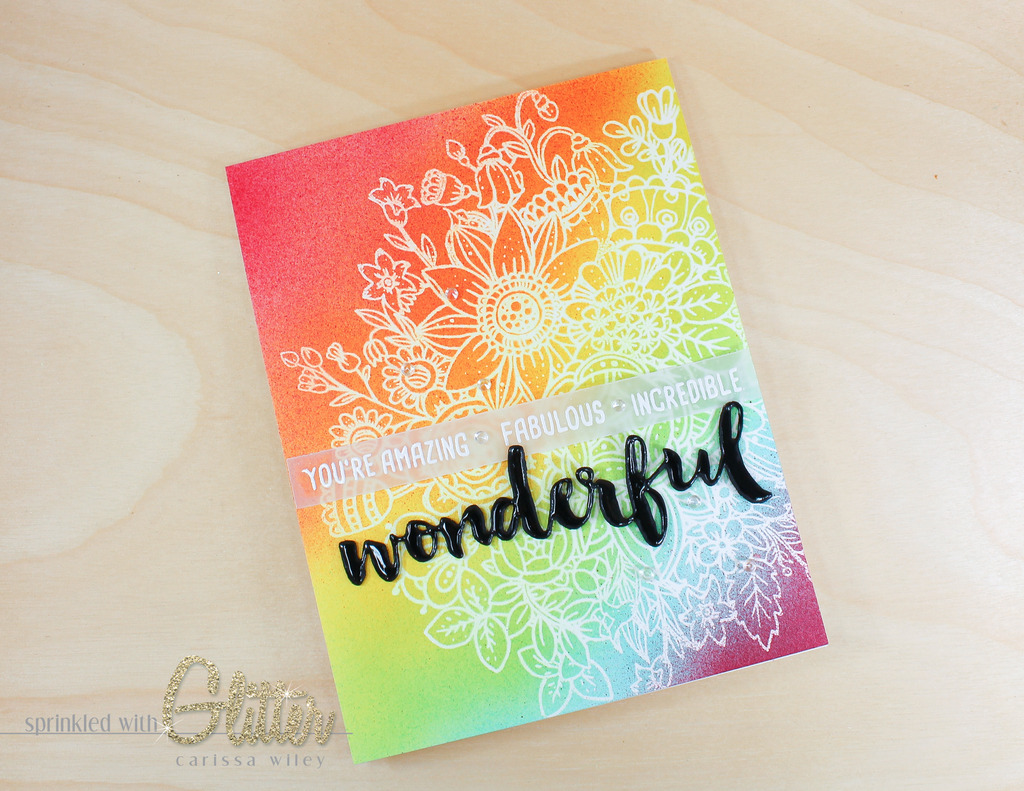
Supplies
*affiliate links used*


