Pretty Pink Posh October Release Blog Hop
Hi everyone! I’m so glad you stopped by today! I am participating in the Pretty Pink Posh October Release Blog Hop. It’s going to be a great time, with lots of inspiration for you…including 3 different projects here. I’ve included a linked list of all of the talented people participating in this blog hop below, so be sure to head over to their blogs for plenty more inspiration. And be sure to leave comments at each stop along the way to be entered for a chance to win one of two $25 Pretty Pink Posh gift certificates.
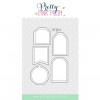
I am using the new Mini Tags dies to create some fun banner cards today. I love the stitched detail on these dies. The shapes are great for using for banners, like I have, or for sentiments on your cards. I also thought it would be really fun to do some partial die cutting to create longer or shorter versions of these dies. (Maybe I’ll show that technique in a video soon.)
These cards are simple to create…and could be easily mass produced for the holidays or use this simple layout if you need to restock your stash of birthday cards. Changing the colors and sentiments to fit the occasion is simple and will change the entire feel of the card.
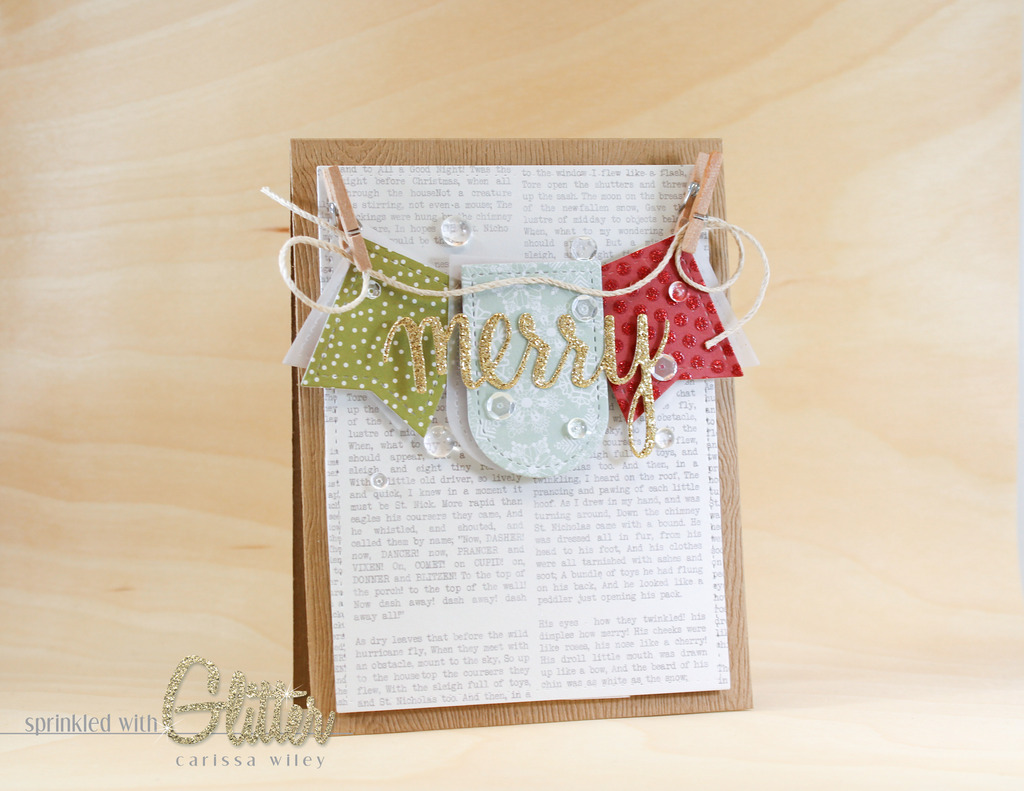
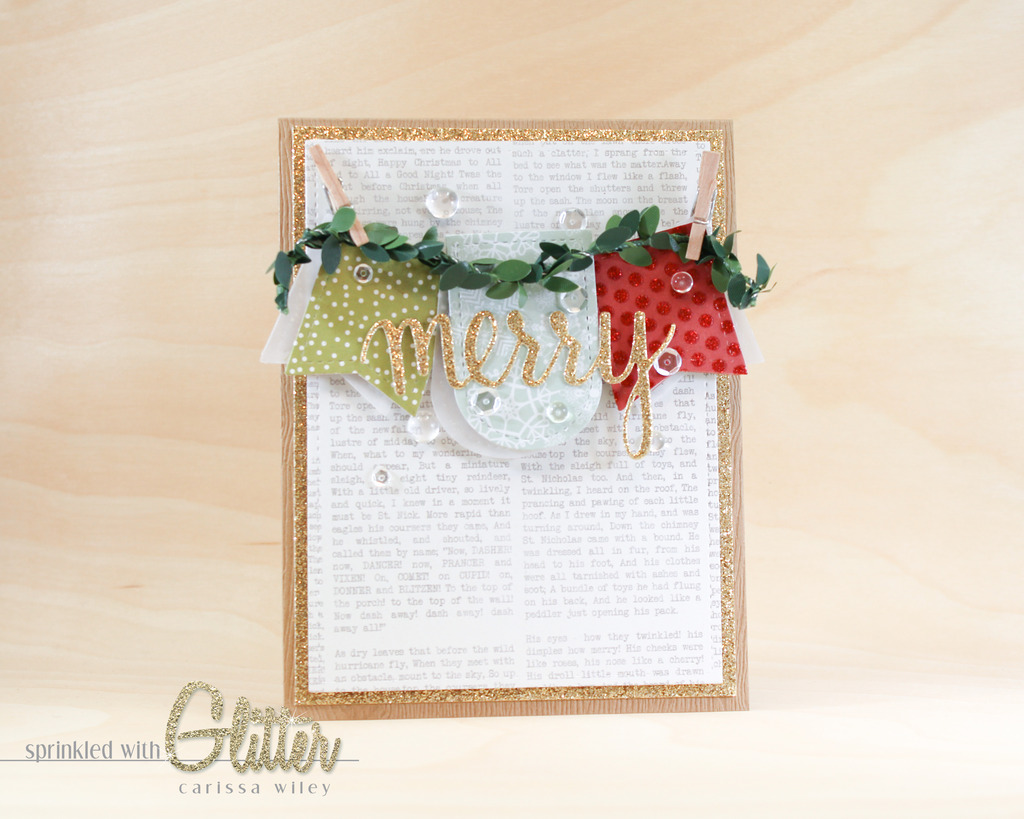
For the first card, I started by choosing some patterned papers from the My Mind’s Eye Cozy Christmas 6x6 paper pad. By choosing all of my papers from the same 6x6 pad, I know that they’ll work together perfectly. I especially love the text paper I chose, which has the Christmas classic, Twas The Night Before Christmas, printed on it. The glitter accents on these patterned papers are a fun touch too!
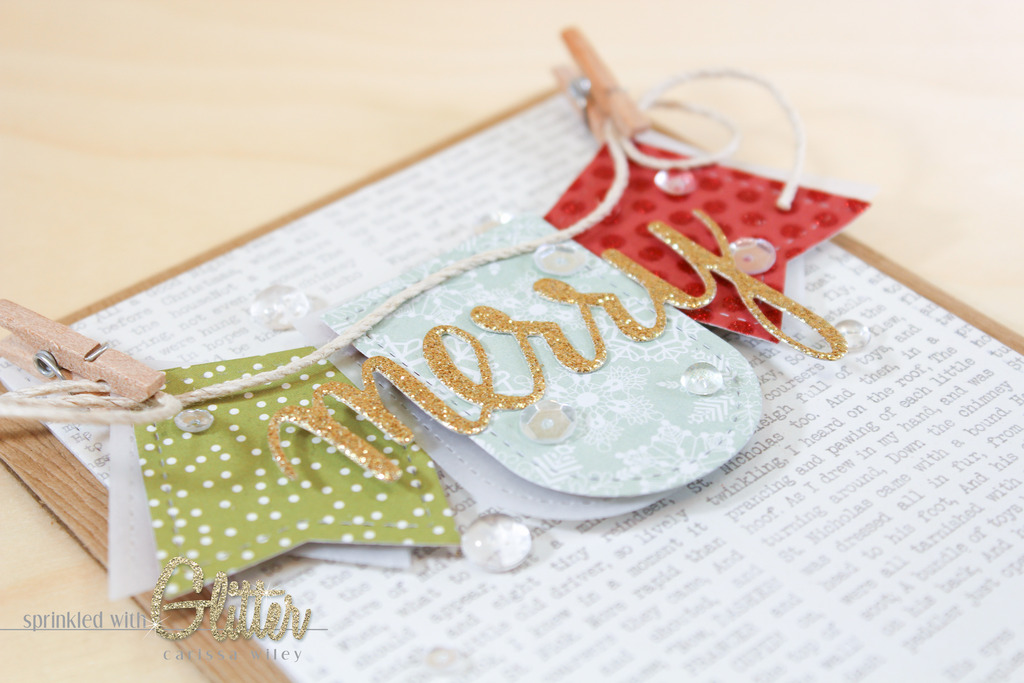
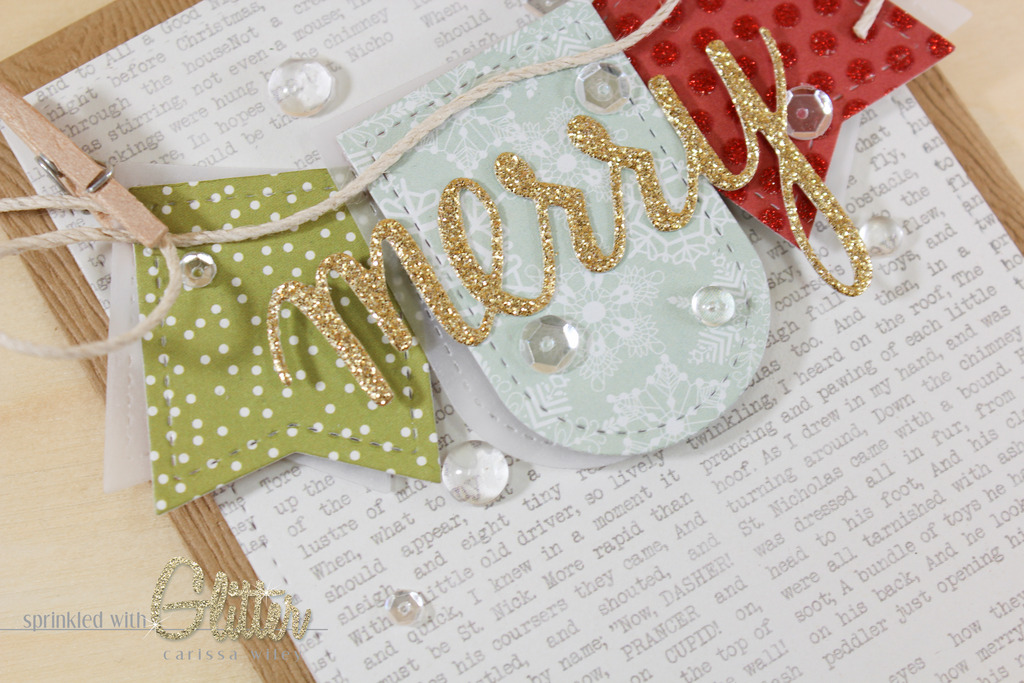
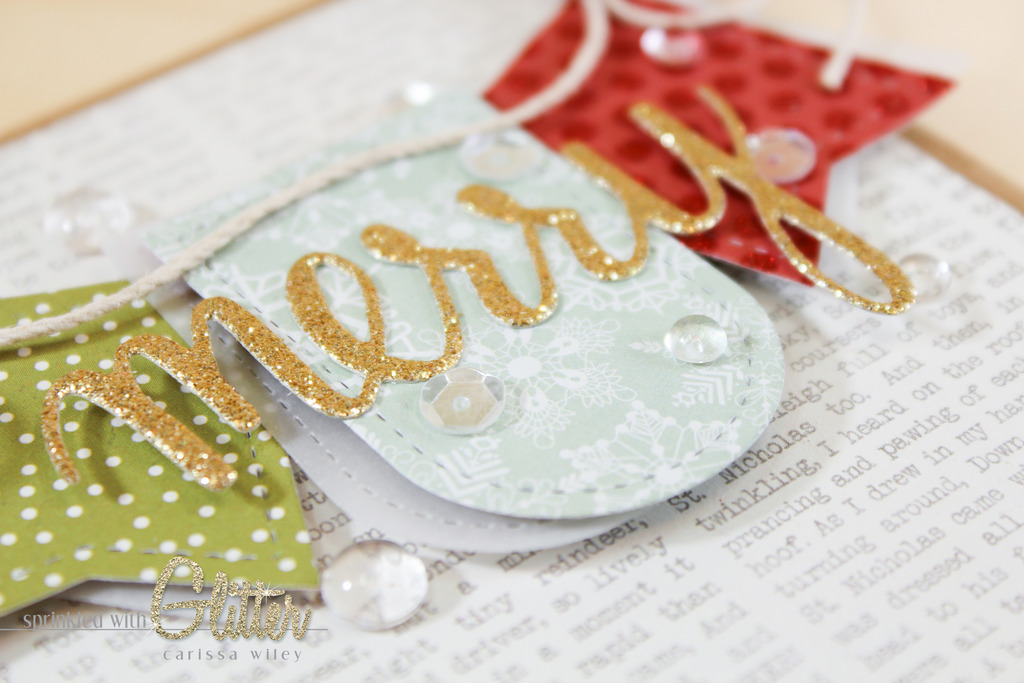
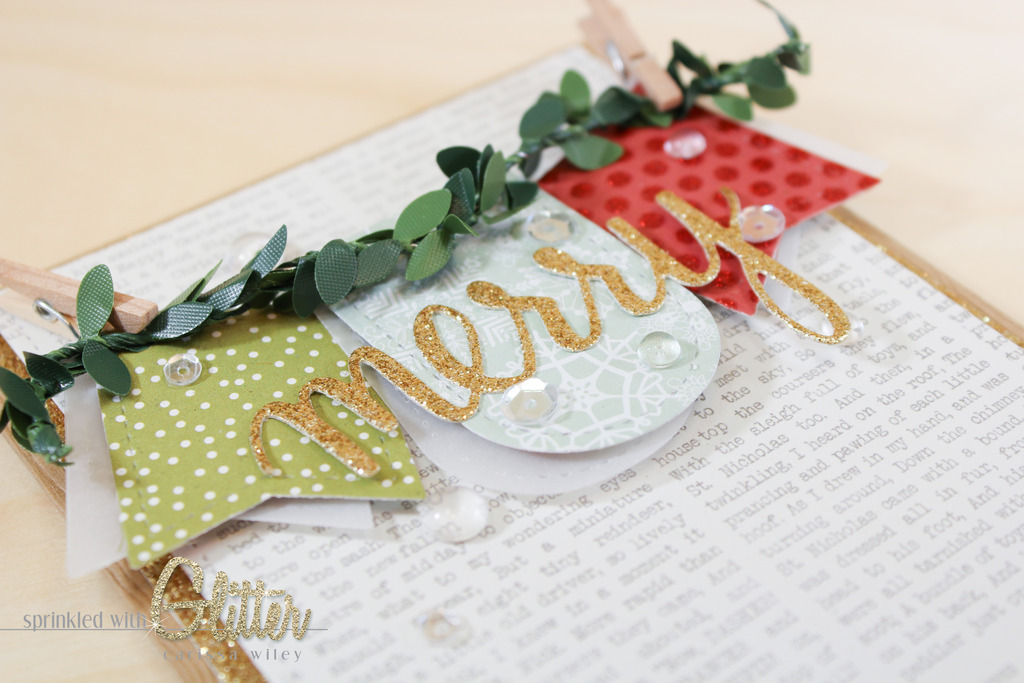
I cut each of my tags individually. These dies are more than capable of cutting through multiple layers of patterned paper at one time. But I find that when cutting multiple layers, you lose a little definition in the stitched detail, which is one of the best parts of these dies. By cutting each one individually, you’ll better preserve the definition of the stitching.
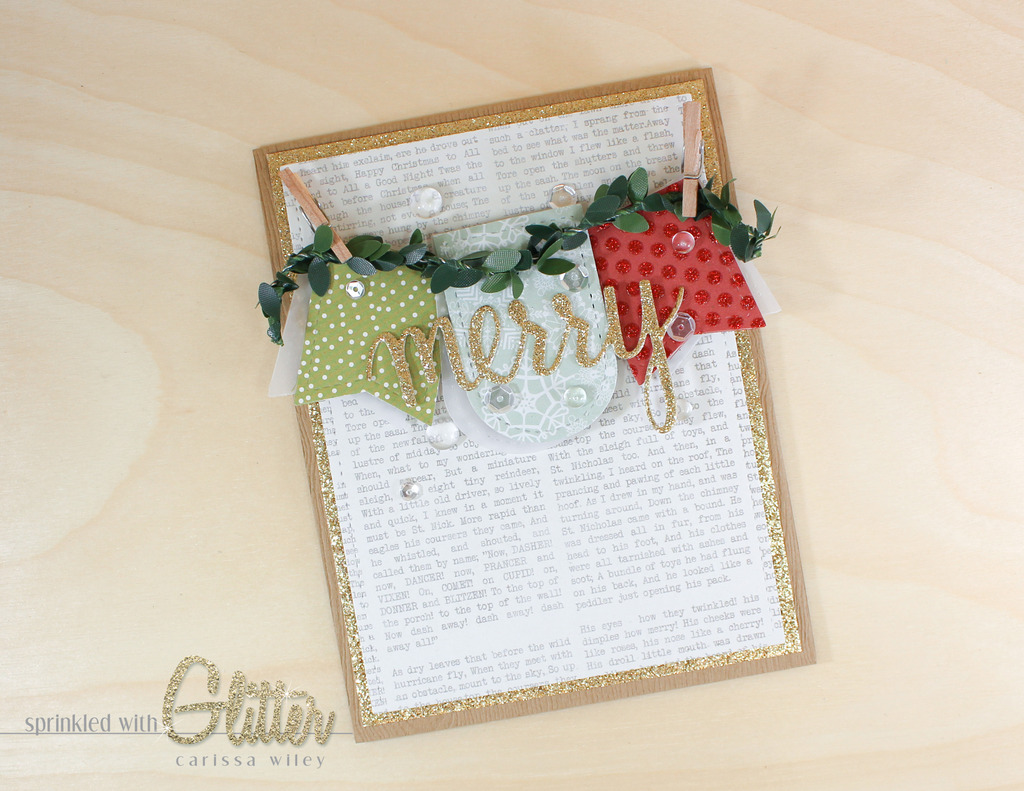
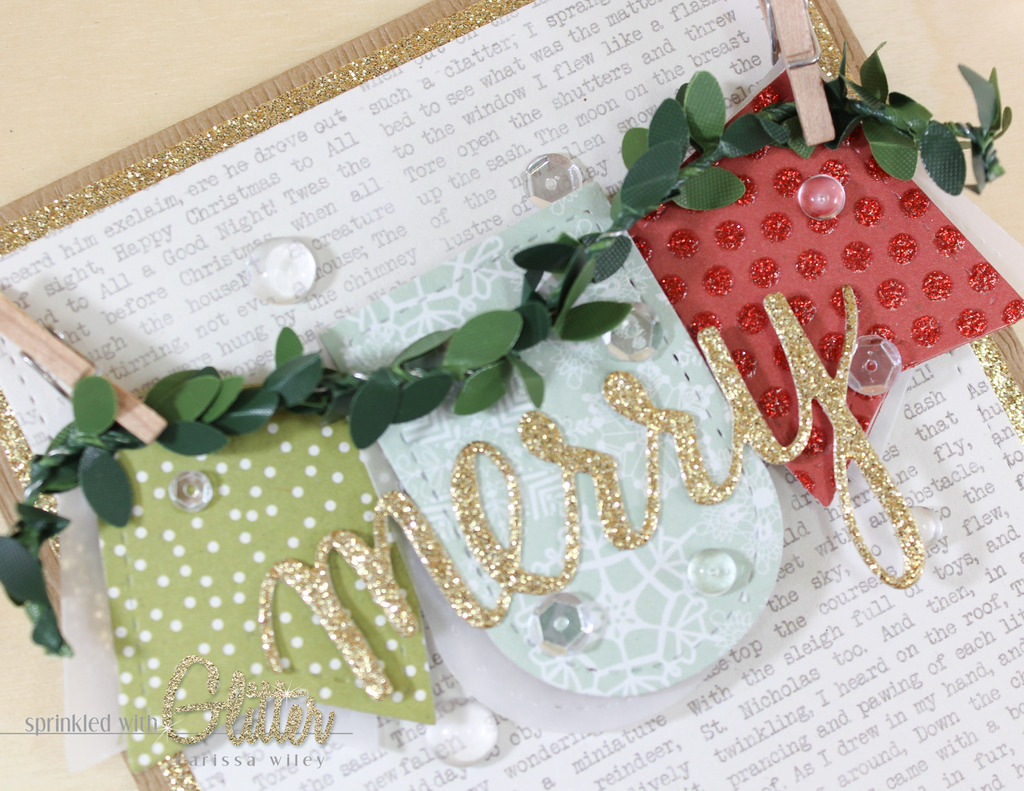
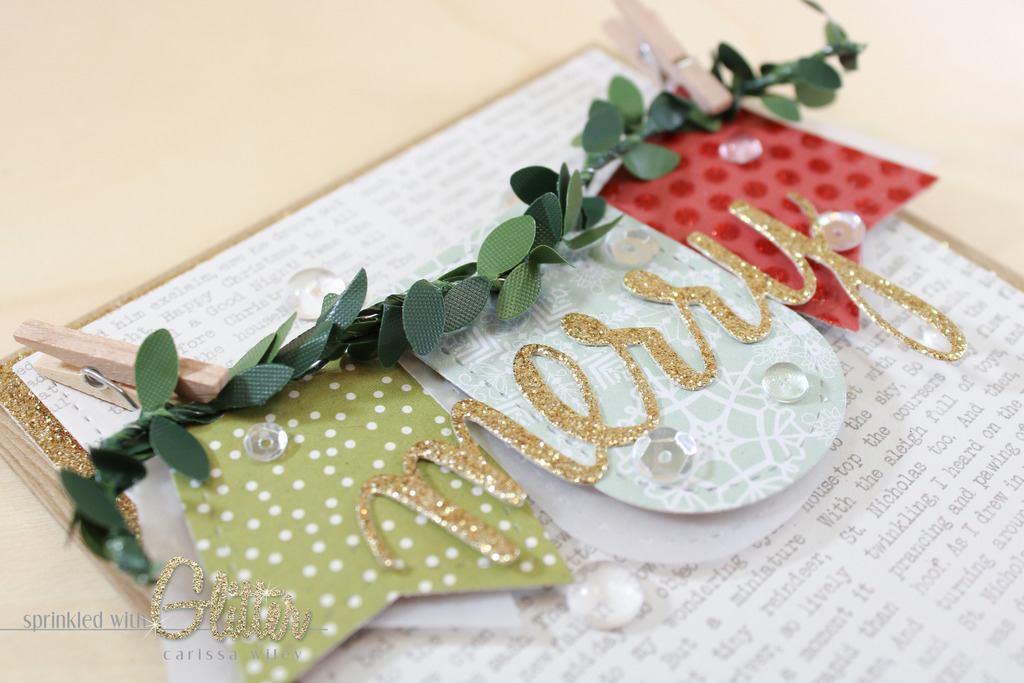
I layered my tag shapes with some vellum behind them. I added foam adhesive between the patterned paper layer, as well as behind the vellum layer, to give this banner lots of dimension. The center shape sits on two layers of foam adhesive, so that it sits up higher than the two side pieces. I love that putting this rounded shape in the middle really softens the banner and creates the perfect backdrop for my glittery sentiment.
I cut my card front using the Lawn Fawn Stitched Rectangles Dies. The stitched detail ties in with the detail on the edges of the tags. Carrying this detail through the card design really pulls all the shapes together. They feel like they were made for each other.
I added some hemp twine and a couple of mini clothes pins to the banner. This natural hemp twine from Lawn Fawn has lots of body and is easy to shape in to fun curls and gentle swags. A little bit of Multi Medium Matte keeps the twine in the shape I want and helps secure the clothes pins in place as well.
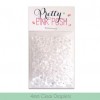
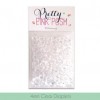
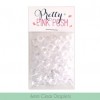
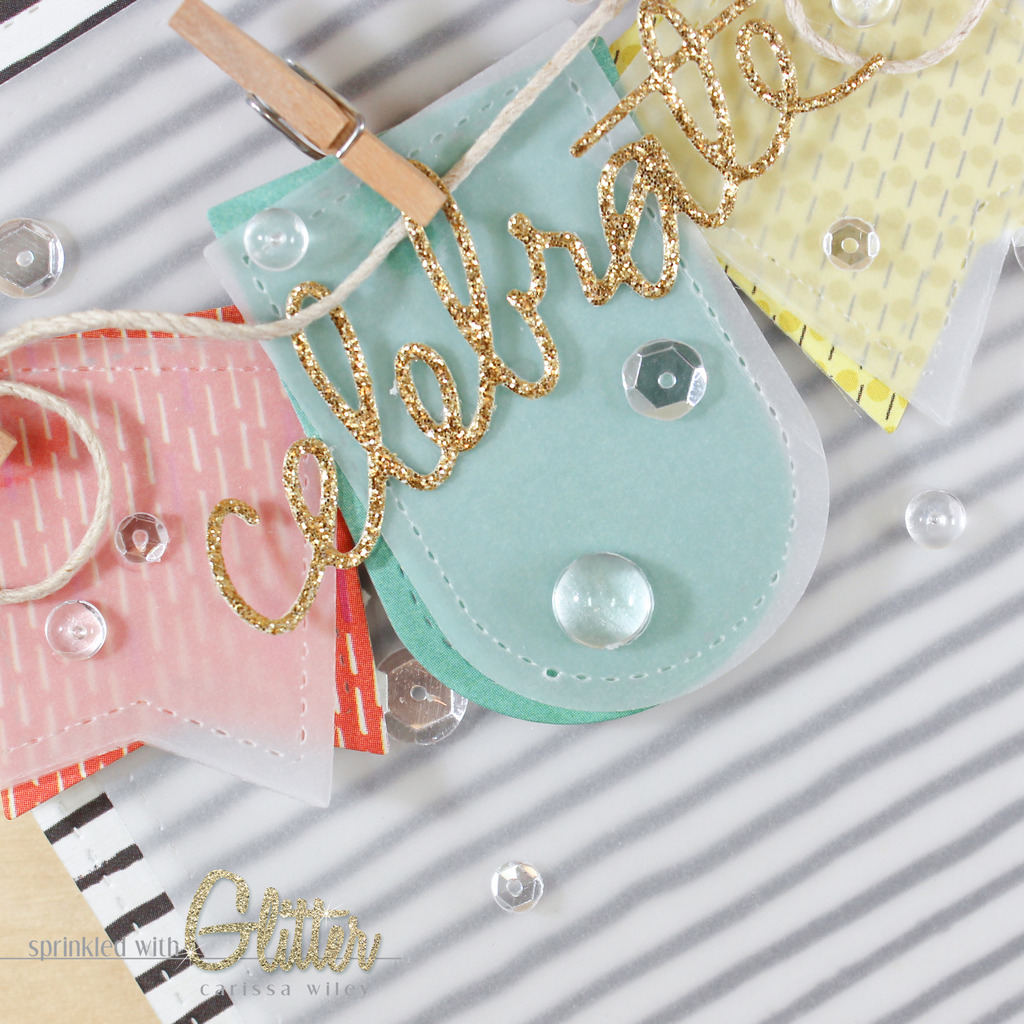
I finished off this card with a nice mix of the new Droplets and some Sparkling Clear sequins from Pretty Pink Posh. These Droplets are so much fun! They come in both 6mm and 4mm sizes. When combined with the Sparkling Clear sequins, there is a fun combination of shimmer and shine. They also add lots a bit of dimension. They would be lots of fun scattered over some polka dot patterned paper.
The second card is very much the same as the first…but I wanted to create something a little more “formal” feeling. I simply switched up the natural hemp twine for some Tim Holtz Boxwood Twine. This greenery adds such a classic Christmas feel to this card. I also added a layer of gold glitter paper behind the card front to add a bit more sparkle. These two simple changes completely change the mood of this card.
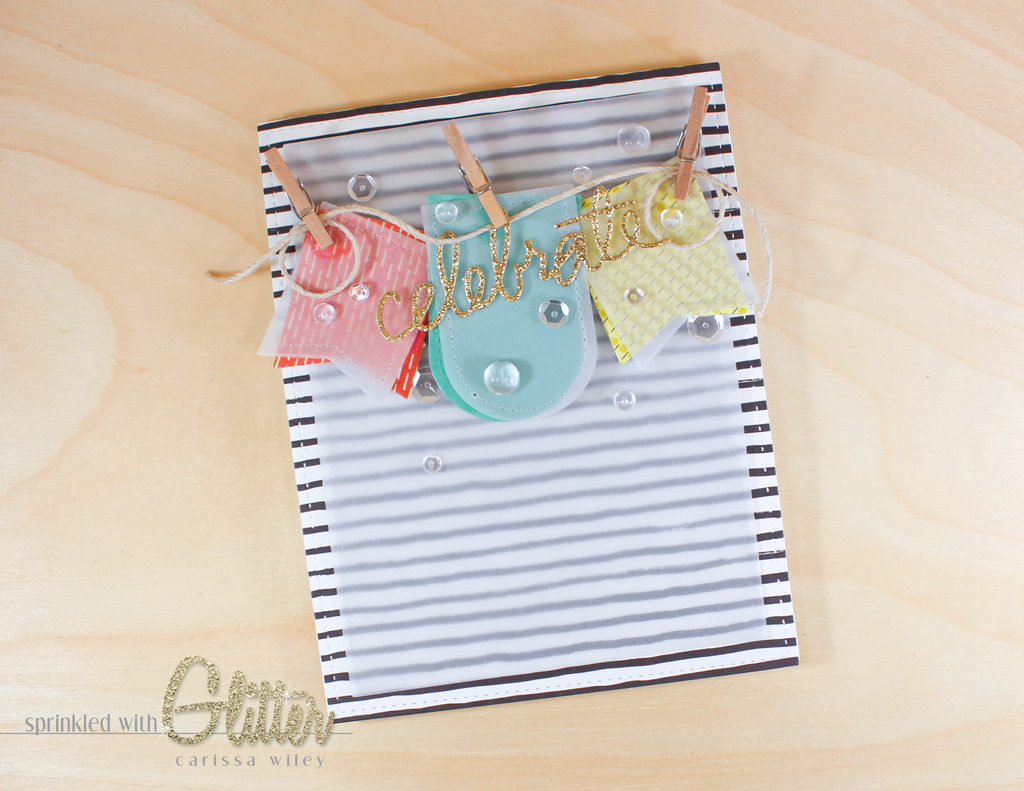
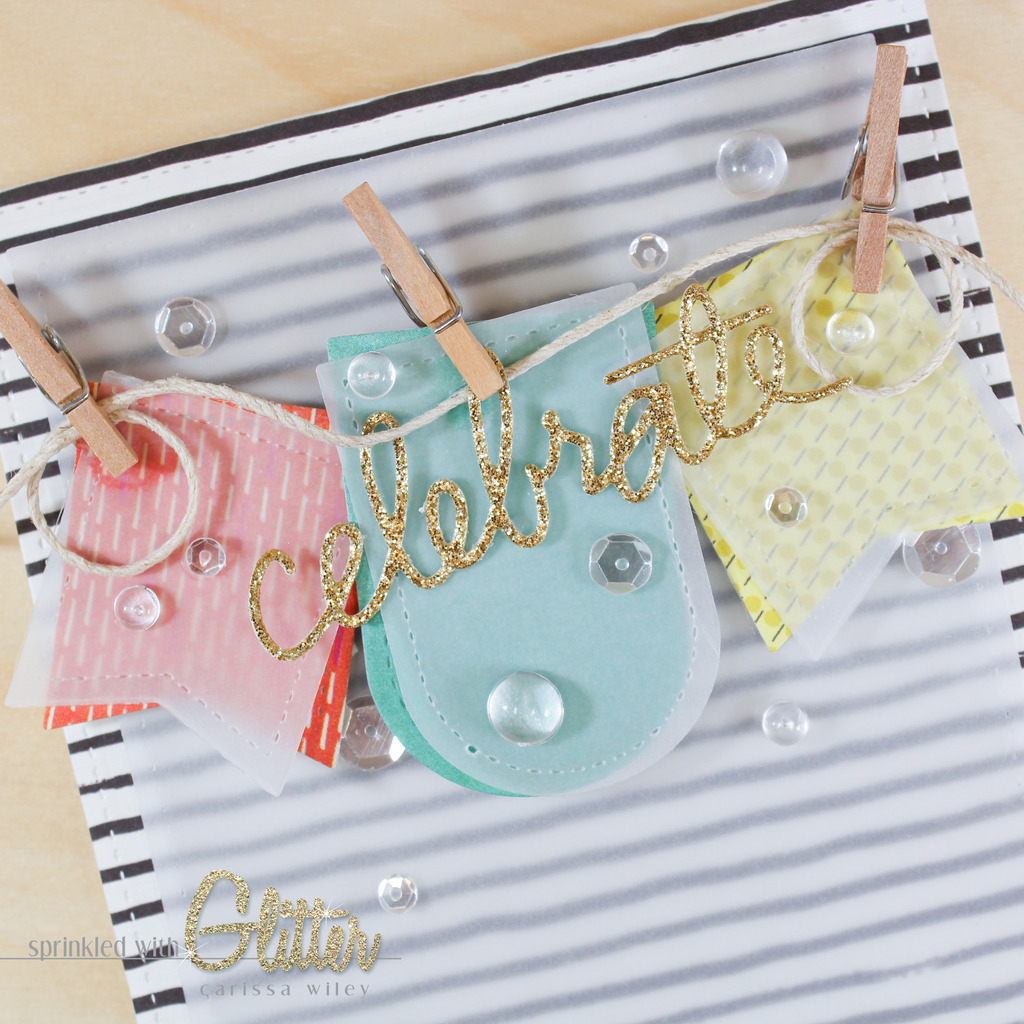
For the third project, I decided not to reinvent the wheel, but rather stick with the same layout and change up the patterns and colors to create a quick and easy card suitable for any celebration. If I find something that really seems to be working, I tend to go with it. And since I felt this layout was working so well...I went with it.
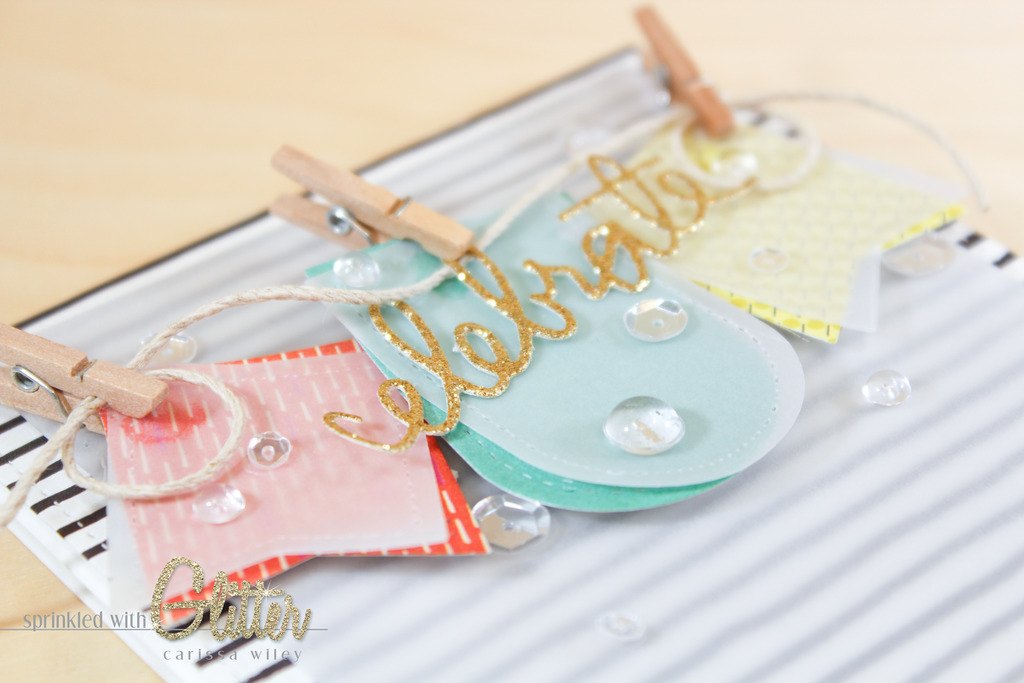
The patterned papers from Basic Gray’s B Side 6x6 patterned paper are BRIGHT and fun! But they were a bit more intense than I wanted for this project. I simply brought my vellum layers to the front of the tag shapes. This muted the colors a bit, and really allowed the sentiment to take center stage.
I used this same idea on the card front. I cut a layer of vellum using the Lawn Fawn Small Stitched Rectangles dies and layered that over an A2 sized card front. I used the Lawn Fawn Large Stitched Rectangles Dies to cut the black and white patterned paper layer, repeating that stitched detail once again.
I used the mini clothes pins and hemp twine once again. I used an additional clothes pin in the center of my banner to clip the sentiment in place. I did tuck a little Multi Medium behind that to keep it secure.
So there you have it…three very simple cards using the fabulous new Pretty Pink Posh Mini Tags Die Set. These cards are easy to put together…but have plenty of detail. You can use whatever patterned paper you have on hand to quickly create these quick cards.
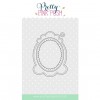
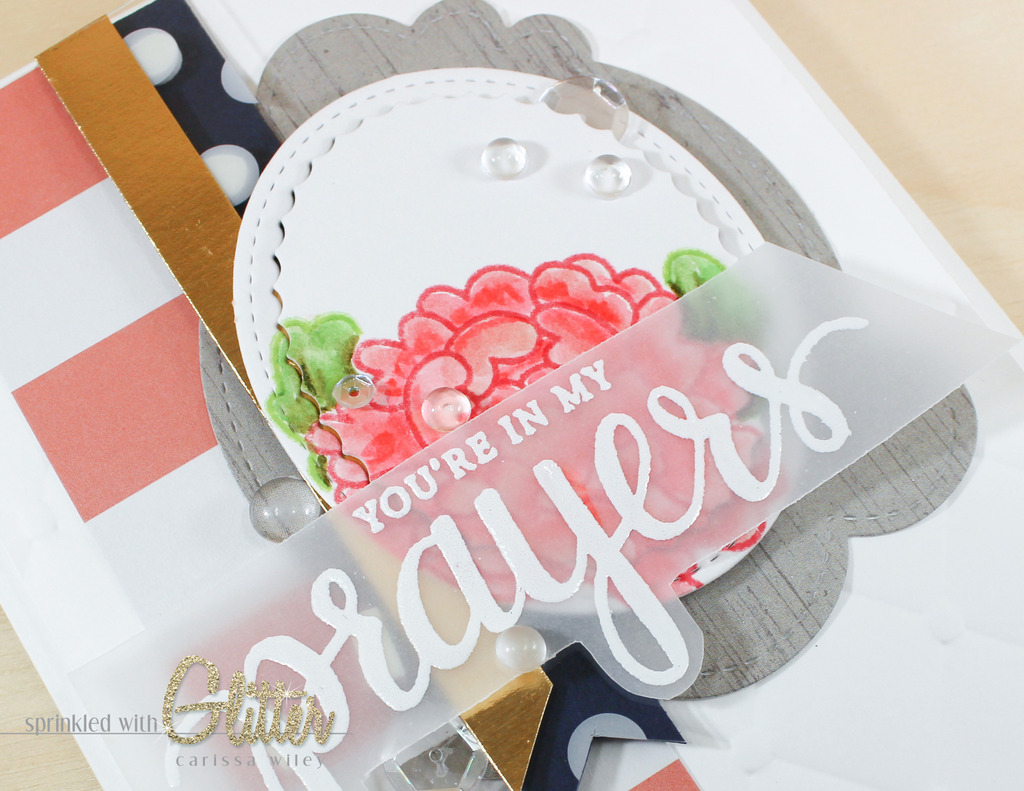
I also created a project using the new Decorative Tag Die from Pretty Pink Posh. I’ll be sharing a video tutorial of that project in the near future. But here’s a sneak peek at that project. :)
I’ve included a video tutorial walking you through the entire creation of these cards below. I’ve also included links to all the products used in these projects.
Don’t forget to check out all of the projects created with the new Pretty Pink Posh products. Here’s the blog hop order…so that you don’t miss any of these fun projects. And don’t forget to leave comments at every stop for your chance to win one of two $25 Pretty Pink Posh gift certificates. Winners will be chosen at random along the hop (comments must be left by 11:59 pm PDT on 10/18/2015).
Supplies
*affiliate links used*


